
How does a window box dieline work (and how do you set up window bleed and patch margins)?
Short answer: On a dieline for custom window boxes, the window opening is a closed cut-line loop inside the front or top panel surrounded by at least 3/8 inch of solid paperboard. Extend background color 1/8 inch inward into the window opening for bleed, keep logos 1/8 inch outside the cut, and leave the inner glue track unvarnished.
On this page
- What are the layers and zones on a window box dieline
- How do you align inner window bleed, text safe zones, and foil keylines
- How do inside back-wall printing and PET patch glue tracks work
- What are the pre-press specifications for a window box dieline
- How do I get a custom window box dieline and 3D proof
- Common mistakes
- FAQs
Request a custom quoteFree dieline & 3D mockup
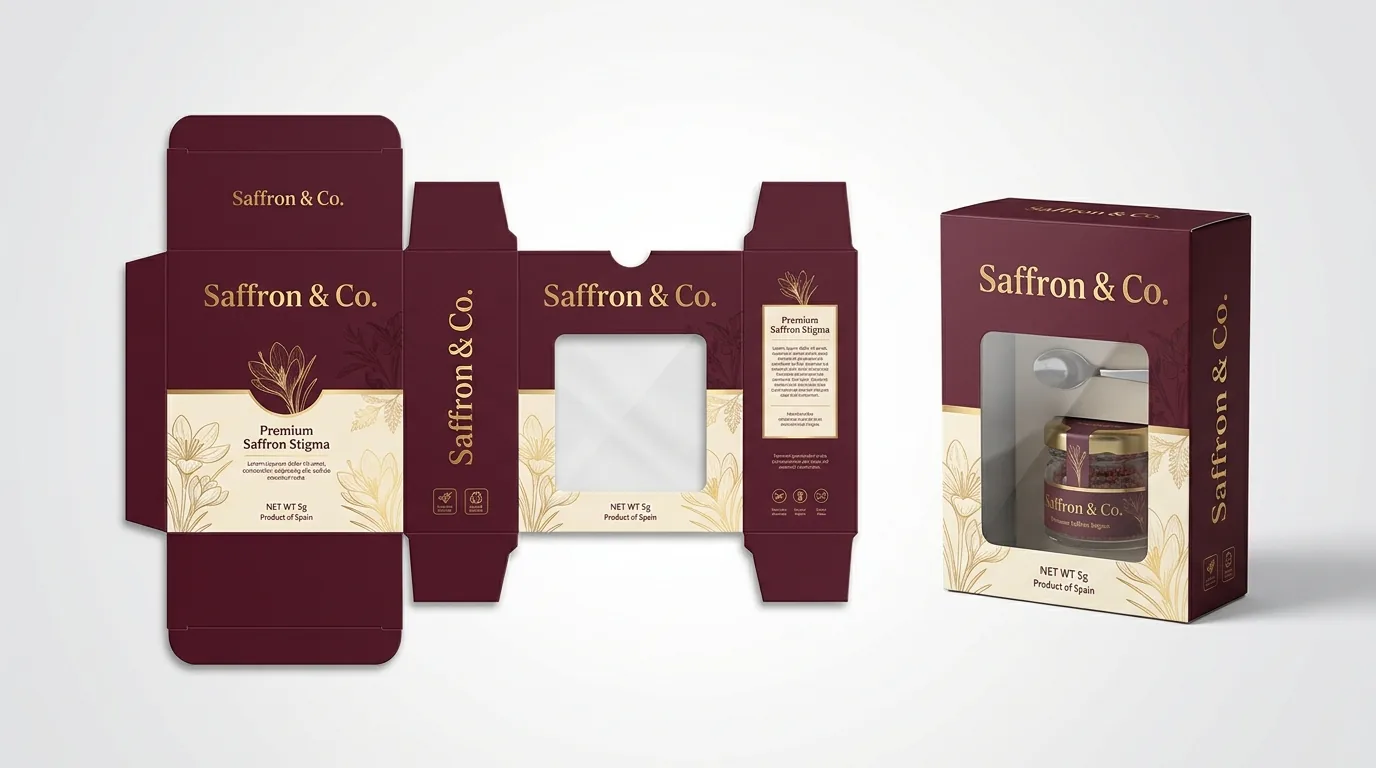
Setting up artwork on a window box dieline requires four rules beyond a standard folding carton template. First, every edge of the die-cut window loop must stay at least 3/8 inch (0.375 in / 9.5 mm) away from adjacent score lines so the carton corners remain rigid and the rotary window patcher has space on the inside wall. Second, extend your background flood color or pattern 1/8 inch (0.125 in / 3.175 mm) inward past the window cut line into the waste area so no unprinted white edge flashes around the opening after die-cutting. Third, if you are printing the inside of the carton, keep a 1/4 to 3/8 inch glue-track ring around the inside perimeter of the window free of varnish and lamination so the clear PET film patch bonds permanently. Fourth, keep foil borders and typography at least 1/8 inch back from the window cut edge.
What are the layers and zones on a window box dieline?
When our prepress team sends your custom CAD template for window boxes, the vector lines sit on a locked top layer in Adobe Illustrator. Alongside the standard outer carton cut lines, crease lines, and side glue lap, you will see three window-specific guides
- Window aperture cut loop (solid cyan or black line): The exact shape punched out of the front, top, or corner panel by the steel-rule cutting die. Everything inside this loop is stripped away as waste during die-cutting.
- Inner window bleed ring (0.125 in / 3.175 mm inside the cut loop): Just like outer carton edges need bleed, your front-panel background color must extend at least 1/8 inch inward across the window cut line into the cutout area so minor sheet-to-die registration shifts never leave a hairline of raw board.
- PET film patch footprint & glue track (dashed blue guide on inside wall, 1/4 to 3/8 in wider than cutout): Shows the exact outer perimeter of the clear polyester film sheet bonded to the inside wall and the 1/4 inch adhesive bead that seals it in place.
- Structural frame bridge (minimum 3/8 in / 9.5 mm to any red score line): The solid paperboard column between the window cut loop and the nearest vertical or horizontal fold line.
How do you align inner window bleed, text safe zones, and foil keylines?
The edge of a die-cut window draws the shopper's eye first on the retail shelf. Following these three pre-press tolerances keeps your window frame looking sharp on press
- Inward background bleed (+1/8 in / 3.175 mm into the window): Extend all background inks, gradients, and repeating illustrations 0.125 inches inward past the window cut line.
- Typography and logo safe zone (1/8 to 3/16 in outside the window cut): Keep product names, net-weight text, and small icons at least 0.125 inches (and preferably 0.1875 inches) outside the window cut line so the bevel of the cutting rule never pinches your lettering.
- Metallic foil or embossed window borders: Want a gold or silver foil border framing your window opening? Make the foil border at least 2 pt to 4 pt thick and offset it 1/16 to 1/8 inch (1.5 to 3 mm) outside the window cut line rather than placing a hairline foil stroke directly on the cut blade. That slight offset prevents foil flaking at the cut edge and absorbs normal 0.5 mm die-to-foil registration tolerance.
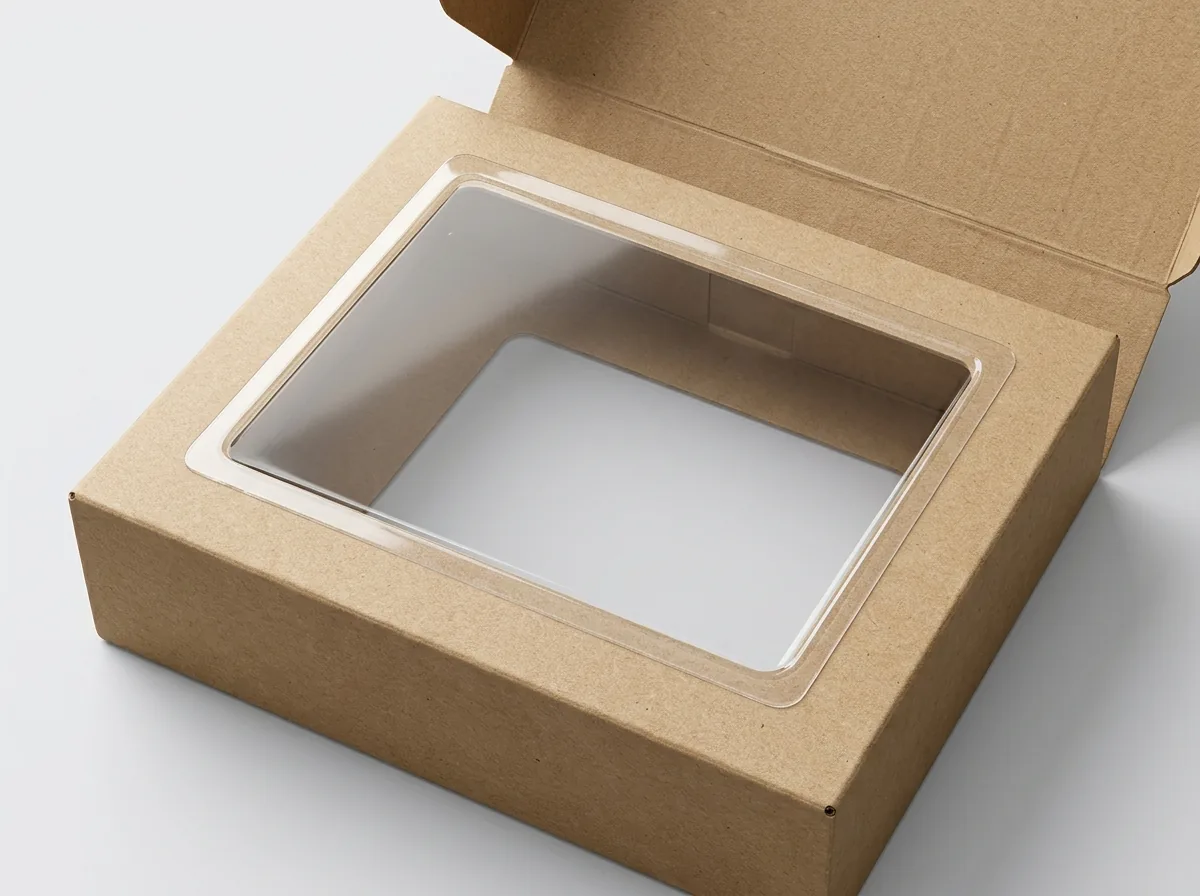
How do inside back-wall printing and PET patch glue tracks work?
Because customers look through the clear window into the carton interior, printing the inside of a window box, common on custom bakery boxes, custom cosmetic boxes, and custom toy boxes, turns the inside back wall into a theatrical stage backdrop behind your product
- Stage-backdrop printing on the inside back panel: When you order 2-sided printing, the inside face of the back panel (and the inside of the two side walls) is visible right around your product through the front window. Printing a brand pattern, botanical illustration, or contrasting solid color on the inside back wall eliminates plain white board shadows.
- Keeping the inside window glue track unvarnished: If you print or coat the inside of the carton on a film-patched box, our prepress team masks out a 1/4 to 3/8 inch (6 to 9.5 mm) keep-out ring around the inside perimeter of the window cutout. Leaving bare paperboard fibers in that ring allows the rotary window-patching adhesive to form a permanent fiber-tearing bond with the clear PET film.
- Panoramic corner-wrap crease lines: When a window crosses the 90-degree vertical score line between the front panel and the side panel, the red dashed crease line continues straight across the window opening on the dieline to tell the window-patching machine where to pre-score the clear PET film.

Know your size? Compare pricing across up to 3 quantities.
Request a Quote →What are the pre-press specifications for a window box dieline?
After you measure your product and window opening and choose between an open cutout or film-patched window, use the table below to verify every layer in your Adobe Illustrator file
| Dieline Zone | CAD Layer Style | Pre-Press Tolerance Rule |
|---|---|---|
| Outer box cut lines | Solid cyan or black line | Extend outer background bleed +0.125 in (3.175 mm) past cuts |
| Window cutout loop | Solid cyan or black inner loop | Extend background art +0.125 in inward into the window hole |
| Fold / score lines | Dashed red or magenta line | Keep window cutout at least 0.375 in (3/8 in) away from scores |
| Window safe zone | 0.125 in outside window cut | Keep all text, icons, and logos outside this buffer ring |
| Foil border around window | Vector spot-color layer (Overprint) | Offset foil keyline 1/16 to 1/8 in outside the window cut line |
| Inside PET patch glue track | 0.25–0.375 in inside ring | Leave free of inside varnish, ink, and lamination film |
| Side-seam glue lap | Cross-hatched side flap | Leave 100% unprinted and unlaminated on both sides |
How do I get a custom window box dieline and 3D proof?
You can preview and download a custom-sized straight-tuck-end window dieline right on our style page. When you request a quote on CubitPack (from 1,000 boxes, with 10–14 business days standard turnaround or 4–5 business days rush), our packaging specialists build your exact custom dieline, whether your window is a rectangle, arch, oval, leaf, or two-sided panoramic corner, at no charge. Every order includes free design help, a free digital proof, and a free 3D mockup before payment, with zero die or plate charges and free shipping to all 50 US states.
- Keep the CAD dieline on its own locked top layer in Adobe Illustrator so our prepress team can separate the cutting, creasing, and window-patching plates cleanly.
- Outline all fonts, embed high-resolution 300 DPI CMYK images, and specify Pantone codes for brand-critical spot inks.
- Spin your interactive 3D mockup before payment to inspect how your front window frame and interior product backdrop line up from every angle.
- Order a custom printed prototype or our $50 pre-made sample kit if you want to test the physical PET window patch stiffness and product fit in hand before full production.
What are the most common artwork mistakes on window box dielines?
Avoid these five pre-press errors when placing artwork on a window carton template
- Knocking out a white hole in your background artwork right on the window cut line instead of extending 1/8 inch of inward bleed into the cutout.
- Placing a thin 0.5 pt metallic foil stroke directly on the window cut blade, which causes foil flaking and visible registration shifts along the cut edge.
- Applying flood UV varnish or lamination across the inside 1/4 inch window glue track on a 2-sided printed carton, preventing the PET patch adhesive from bonding.
- Drawing sharp 90-degree interior corners on a large window cutout without a slight 1/16 to 1/8 inch corner radius, which makes the paperboard corner prone to nicking when shoppers handle the box.
- Moving or scaling the window cutout loop on the locked CAD dieline layer without re-checking the 3/8 inch score-line margin and PET patch size.
Get a window dieline at your size
A simplified drawing for planning your design. Your free production dieline comes with your proof, made for your exact size and board.
Packaging for this
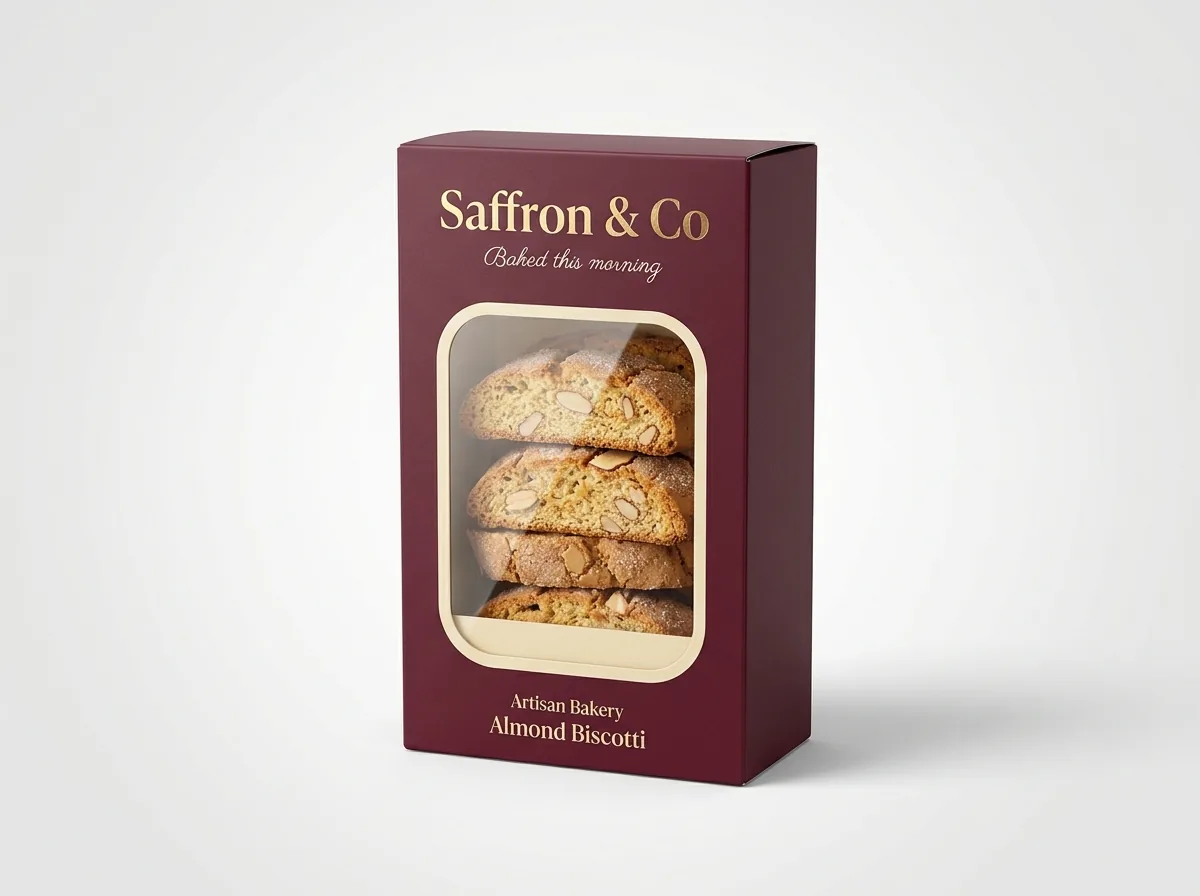


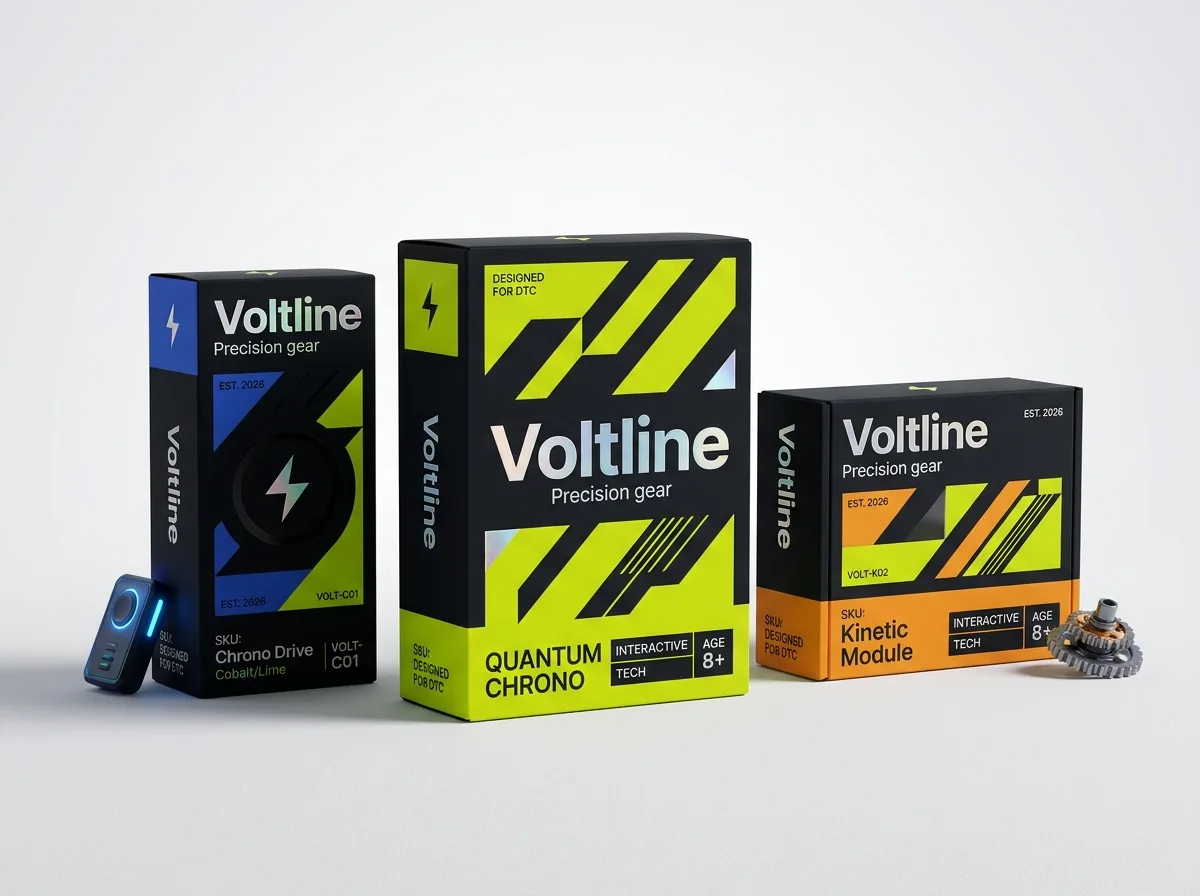

Ready to order window boxes? Compare up to 3 quantities with a free 3D mockup.
Request a Quote →Questions about window boxes
Should I cut a hole in my background artwork where the window goes?
No. Leave your front-panel background color or pattern continuous across the window (or extend it at least 1/8 inch inward past the window cut line). Because the steel-rule cutting die punches out and strips away the window paperboard after printing, leaving background ink inside the cutout guarantees zero unprinted white edges.
Why should window corners have a small radius instead of a razor-sharp 90-degree corner?
Adding a subtle 1/16 to 1/8 inch (1.5 to 3 mm) corner radius to rectangular or square window cutouts prevents stress concentration at the corners of the paperboard frame, reducing the chance of the frame tearing during high-speed window patching and retail handling.
How close can a foil-stamped border sit to the die-cut window edge?
Offset your foil border 1/16 to 1/8 inch (1.5 to 3 mm) outside the window cut line and make the stroke at least 2 pt to 4 pt wide. That small paperboard margin keeps the cutting blade from crushing the foil edge and looks clean even with normal 0.5 mm press registration tolerance.
Can I print on the clear PET window film itself?
Most brands frame the window with foil or typography on the surrounding paperboard so the PET window remains 100% crystal-clear.
How do I get a custom dieline for an arch, oval, or corner-wrap window?
Submit your inside box Length × Width × Height through our quote form and describe your window shape in the notes. Our packaging specialists email a custom Adobe Illustrator PDF dieline with your exact window aperture and PET patch guide at no cost.
Still have a question? Ask a packaging specialist.
Request a Quote →Request your window boxes quote
Tell us your size and quantities, and one dedicated account manager prepares pricing for each tier.
- Free design & AI-to-print studio + 3D mockup
- No die or plate charges · 4–5 day rush available
- Free shipping to all 50 states
- 10% off your first order
We verified window aperture cut conventions, 0.125 in inward bleed rules, 0.25–0.375 in inside PET patch adhesive keep-out zones, and 0.375 in score-line bridges against Paperboard Packaging Council (PPC) prepress guidelines and ECMA folding carton standards. A packaging specialist checked every specification. Spot something wrong? Tell us and we fix it.
Sources
What changed
- October 24, 2026: First published with window dieline layer anatomy, inward bleed rules, foil border offsets, and inside PET glue-track keep-out specs.
More guides
New packaging guides by email
Sizes, materials and design tips. Unsubscribe anytime.