
How do I measure my products and rows for a custom display box?
Short answer: To size custom display boxes, measure one individual retail unit (width × depth × height) and multiply by your column count (left to right) and row count (front to back). Add 1/8 to 1/4 inch to both horizontal dimensions for finger clearance, and set the front lip to 25%–35% of unit height.
On this page
- What is the 4-step formula for display box dimensions
- How tall should the front display lip and back header billboard be
- What are standard display box sizes by retail product
- How do lane dividers, step risers, and die-cut holes change your tray size
- How do I verify my display box measurements before printing
- Common mistakes
- FAQs
Request a custom quoteFree dieline & 3D mockup
Unlike a single-product carton that wraps around one item, a custom display box is sized around a multi-unit grid of 6, 12, 18, or 24 retail packages standing in rows and columns. Start by measuring one finished unit at its widest point, especially if you pack flexible gusset pouches or pillow-sealed snack bars that bulge in the middle. Multiply the single-unit width by the number of side-by-side columns and add 1/8 to 1/4 inch (3 to 6 mm) of total breathing room to get your interior tray Length (L). Next, multiply the single-unit front-to-back thickness by the number of front-to-back rows and add 1/8 to 1/4 inch to get your interior tray Width (W). Finally, set the back wall Depth (D) equal to the full standing height of one unit, and set the low front display lip to 25%–35% of that height so units never tip forward while 65%–75% of the front label stays visible.
What is the 4-step formula for display box dimensions?
Every dimension you enter on our display boxes quote form is the usable inside measurement of the tray cavity in Length × Width × Depth order, plus the low front lip and upright back header height. Follow these four steps to convert your single-unit dimensions (w × d × h) into an exact tray size
- Step 1, Interior Length (L, left to right across the shelf face): Multiply the width of one unit (w) by the number of columns (C), then add 1/8 inch (for rigid unit cartons) or 1/4 inch (for flexible pouches or wrappers) so shoppers can pull the first unit out without wedging the row. Formula: L = (w × C) + 0.125 to 0.25 in.
- Step 2, Interior Width (W, front to back on the shelf): Multiply the front-to-back thickness of one unit (d) by the number of rows from front to back (R), then add 1/8 to 1/4 inch of cumulative clearance. Formula: W = (d × R) + 0.125 to 0.25 in. Keep W under 8.0 inches if the tray will sit next to a checkout register.
- Step 3, Back Wall Depth (D, bottom floor to top lid crease): Set D equal to the full vertical height of one standing unit (h) plus 1/16 inch so the top closure flap folds flat across the tops of the units during shipping without crushing them.
- Step 4, Front Lip Height & Upright Header Height: Set the permanent front display lip to 25%–35% of D (minimum 1.0 inch). In a 1-piece tear-away display box where the top lid folds back 180 degrees to form the header billboard, the upright header height above the back wall equals 75% to 100% of W (typically 3.0 to 5.0 inches).
How tall should the front display lip and back header billboard be?
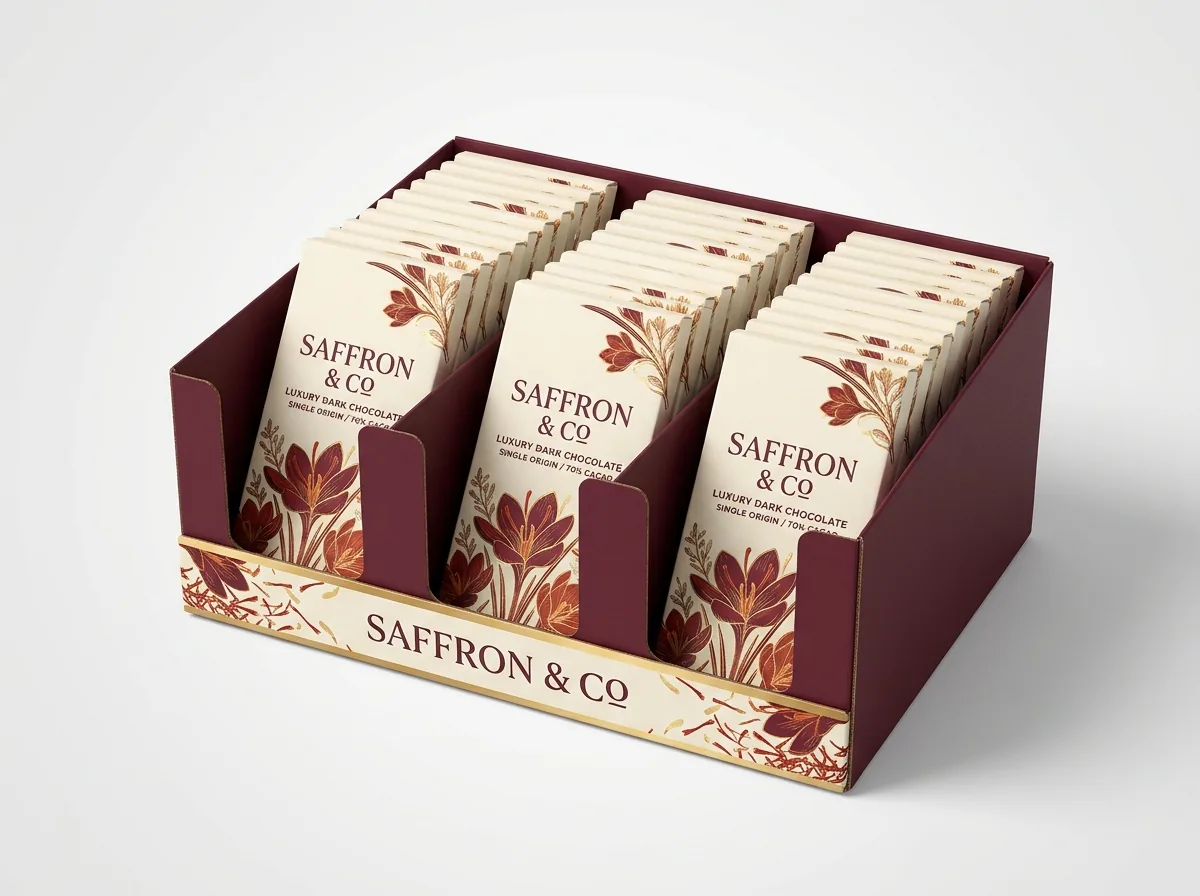
The low front lip (also called the kick plate) has two jobs that pull in opposite directions: it must be tall enough to keep the front row of products from tumbling out onto the counter, and low enough that shoppers can read the flavor name and logo on the front unit
- The 25%–35% front lip sweet spot: If your chocolate bar or gummy pouch stands 5.0 inches tall, a 1.5-inch front lip (30% of unit height) sits below the center of gravity of the bar so it cannot tip forward, while leaving the top 3.5 inches (70%) of the wrapper completely unobstructed.
- When to increase the lip to 35%–40%: Top-heavy tapered tubes, glass dropper bottles without a hole insert, or slick glossy pillow pouches that slide easily benefit from a slightly taller 35% to 40% front lip.
- Upright header billboard proportion: On a standard 1-piece tear-away display carton, the top lid closes over the tray depth (W) during transit and then folds in half (180 degrees) to lock behind the back wall. Because it folds in half to create a rigid two-ply sign, an 8 × 6 × 4 inch tray naturally produces a 3.0 to 4.5 inch tall upright billboard above the product tops.
- Sloped side wall angle: Connecting a 1.5-inch front lip to a 4.0-inch back wall creates a clean 22-degree upward side slope that exposes the side profiles of the first three rows to shoppers walking down the aisle.
What are standard display box sizes by retail product?
Every display carton at CubitPack is die-cut to your exact unit grid starting from 1,000 boxes, with zero die or plate charges. Use the reference table below to benchmark interior tray dimensions, front lip heights, and board grades for eight common point-of-purchase categories
| Retail product & pack count | Single unit size w × d × h (in) | Grid layout (Cols × Rows) | Recommended inside tray L × W × D + Lip (in) |
|---|---|---|---|
| Protein or granola bars (12-ct) | 2.25 × 1.25 × 5.25 in | 2 cols × 6 rows | 4.75 × 7.75 × 5.31 in (1.5 in lip) |
| Artisan chocolate bar cartons (12-ct) | 2.5 × 0.5 × 5.5 in | 2 cols × 6 rows | 5.25 × 3.25 × 5.56 in (1.625 in lip) |
| Lip balm tubes w/ hole grid (12-ct) | 0.63 dia × 2.65 in | 4 cols × 3 rows | 3.75 × 3.0 × 2.75 in (1.0 in lip + deck) |
| Single-serve gummy pouches (12-ct) | 3.25 × 1.0 × 4.75 in | 2 cols × 6 rows | 6.75 × 6.25 × 4.81 in (1.5 in lip) |
| Wrapped herbal tea envelopes (24-ct) | 2.63 × 0.25 × 3.13 in | 3 cols × 8 rows (2 dividers) | 8.25 × 2.25 × 3.25 in (1.125 in lip) |
| 10 ml essential oil / serum boxes (12-ct) | 1.25 × 1.25 × 3.5 in | 4 cols × 3 rows | 5.19 × 3.94 × 3.56 in (1.25 in lip) |
| Nail polish bottles w/ riser (12-ct) | 1.13 × 1.13 × 3.0 in | 4 cols × 3 rows (step riser) | 5.0 × 4.0 × 3.75 in (1.125 in lip) |
| Snack nut gusset bags (16-ct) | 4.0 × 1.5 × 6.0 in | 2 cols × 8 rows (1 divider) | 8.38 × 12.25 × 6.13 in (2.0 in lip · E-flute) |
Know your size? Compare pricing across up to 3 quantities.
Request a Quote →How do lane dividers, step risers, and die-cut holes change your tray size?
When merchandising candy in custom candy boxes, lip balms in custom lip balm boxes, snacks in custom snack boxes, or tea in custom tea bag boxes, adding an interior insert keeps products orderly when the tray is half sold down, but you must add the insert allowance to your interior dimensions
- Vertical front-to-back lane dividers: If you split a 3-column tray with two vertical card partitions so flavours stay separated, add 1/16 inch (0.0625 in) per paperboard divider wall or 1/8 inch (0.125 in) per E-flute corrugated divider wall to your interior Length (L).
- Stadium step-tier risers: When displaying short jars, nail polish bottles, or mini tins in 2 or 3 front-to-back rows, a folded paperboard step riser raises each rear row by 0.75 to 1.0 inch so the back row labels are never hidden behind the front row. If your display box ships closed with the products already standing on the riser, add the riser step height (+0.75 to +1.0 in) to your back wall Depth (D).
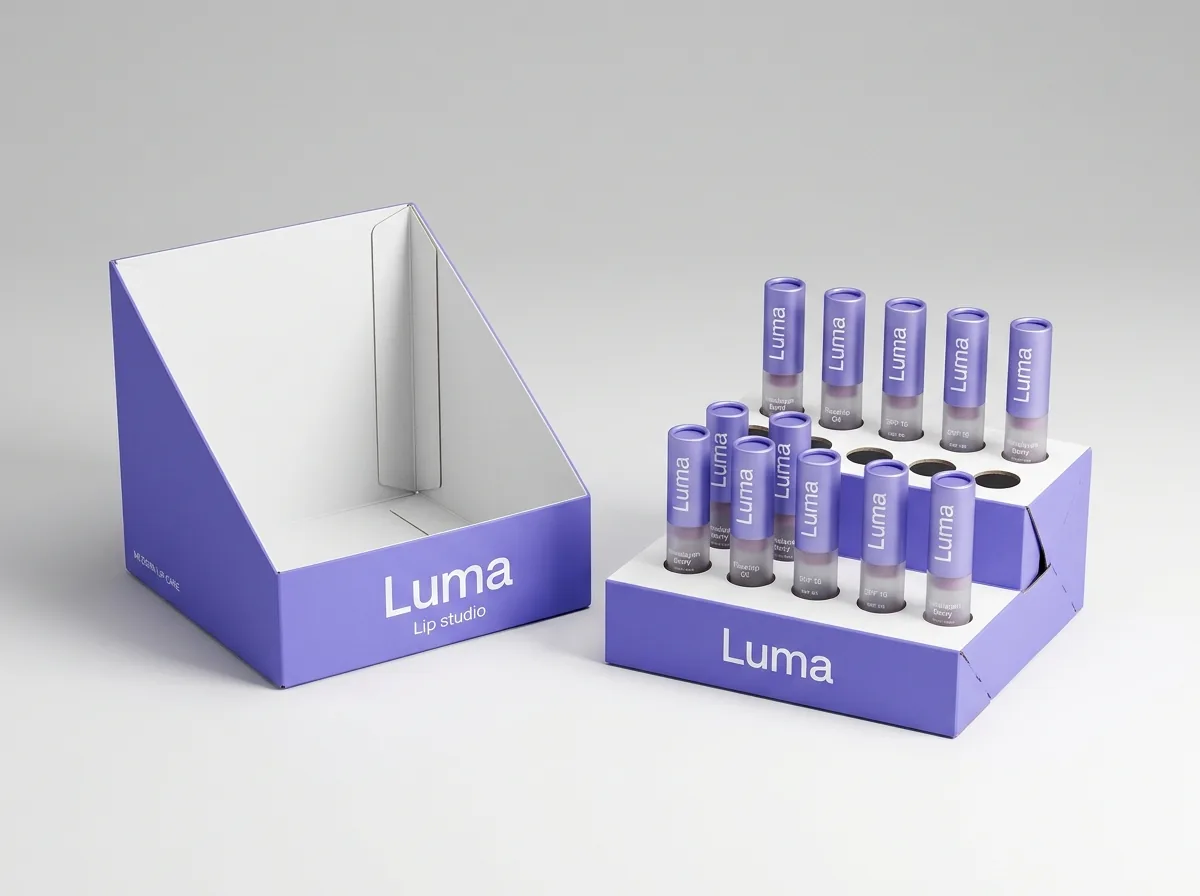
- Die-cut hole platforms (cradle decks): Narrow cylinders with a height-to-base ratio greater than 3.5 to 1 (like 0.63-inch lip balm tubes or gel pens) will tip like dominoes on an open floor. A raised paperboard deck punched with circular holes spaces each tube 1/4 to 3/8 inch apart; add that bridge spacing between holes when calculating L and W.
- Compare counter and dispenser structures: Want to see when a tiered counter display or bottom-chute dispenser works better than an open tray? Read our guide on display boxes vs counter display and dispenser boxes.
How do I verify my display box measurements before printing?
Once you have your target grid, read our companion prepress walkthrough, display box dieline and header setup explained, to see how the tear-away perforations and 180-degree header hinge are laid out on the flat sheet. When you request a quote on CubitPack (from 1,000 boxes, with 10–14 business day standard turnaround or 4–5 business day rush), our packaging specialists build a custom 2D vector dieline and 3D mockup around your unit dimensions at no cost, with zero die or plate charges and free US shipping.
- Step 1: Measure one filled retail unit (w × d × h) and decide on your pack count and grid (for example, 12 units in 2 columns × 6 rows).
- Step 2: Enter your calculated interior L × W × D in the quote form and select Card insert if you want lane dividers, a step riser, or die-cut tube holes.
- Step 3: Approve your free 2D dieline and 3D proof showing the exact front lip ratio, tear-away perforation path, and upright header height before payment.
What are the most common sizing mistakes on display boxes?
Check your measurements against these five common retail display sizing errors before approving your dieline
- Multiplying exact single-unit dimensions without adding +1/8 to +1/4 inch of finger clearance, which wedges the front row so tightly that shoppers cannot pull out the first bar or pouch.
- Measuring an empty or compressed flexible pouch instead of a real filled pouch at its center belly bulge, causing the side walls of the display tray to bow outward.
- Setting the front display lip taller than 40% of the unit height, which hides the product name and flavor callout on the front row of units.
- Forgetting to add the vertical height of an internal stadium step riser to the back wall Depth (D), preventing the top shipping lid from closing flat.
- Designing a checkout counter display tray deeper than 8 to 9 inches front-to-back (W), which overhangs narrow convenience store register ledges.
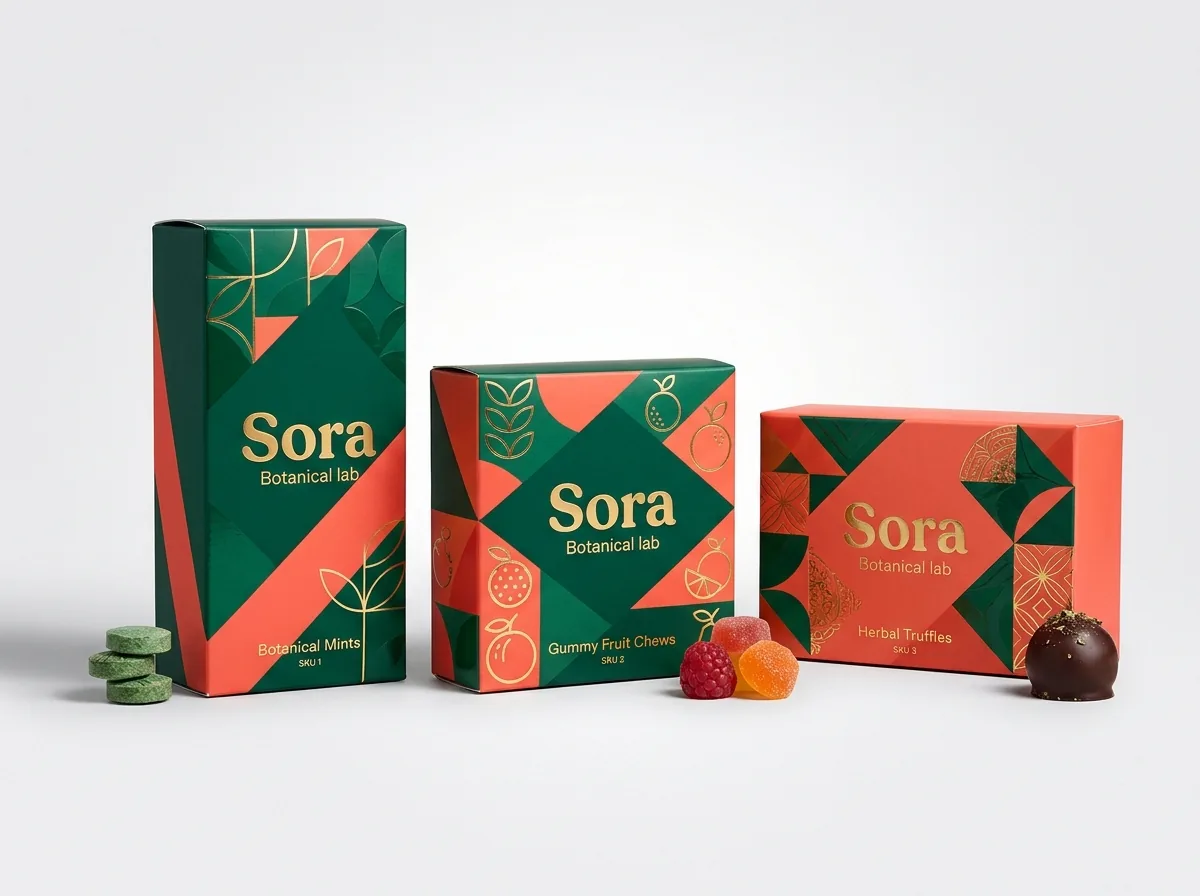
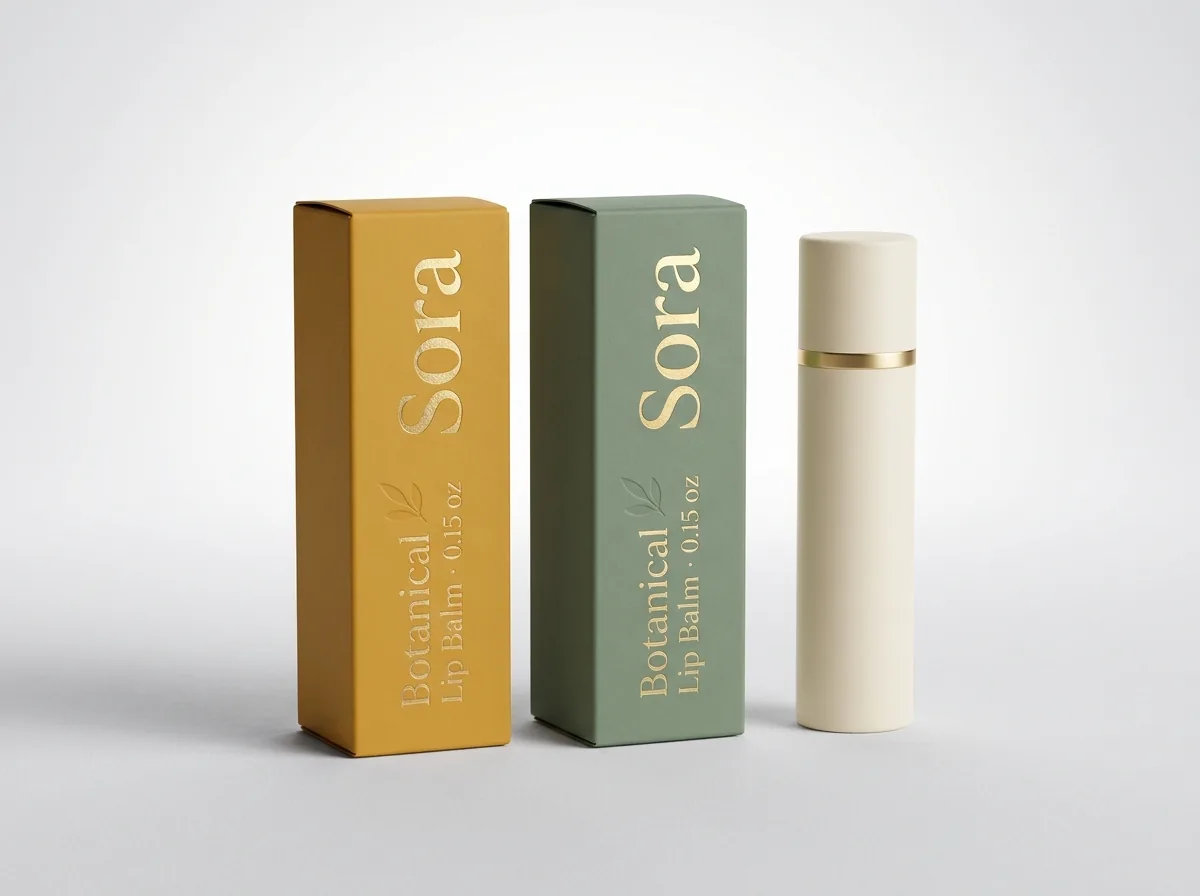
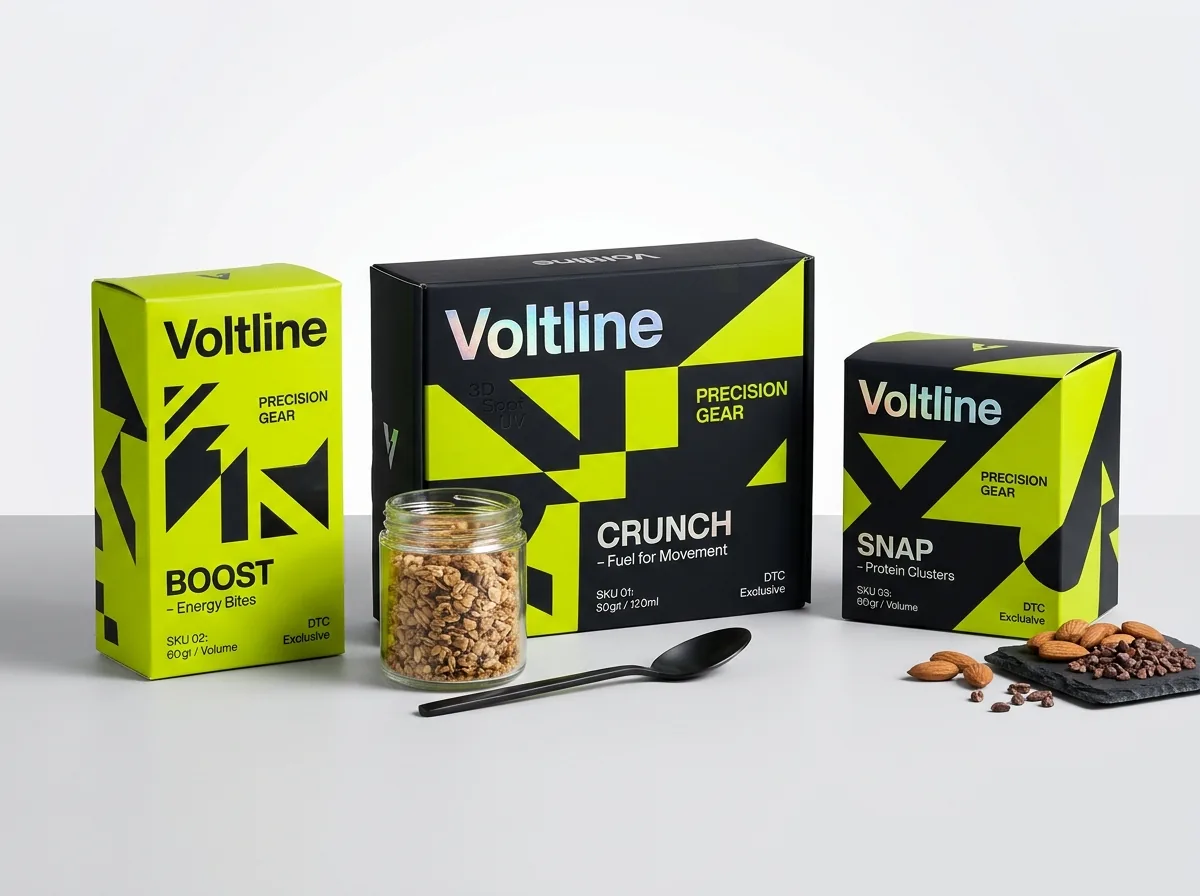
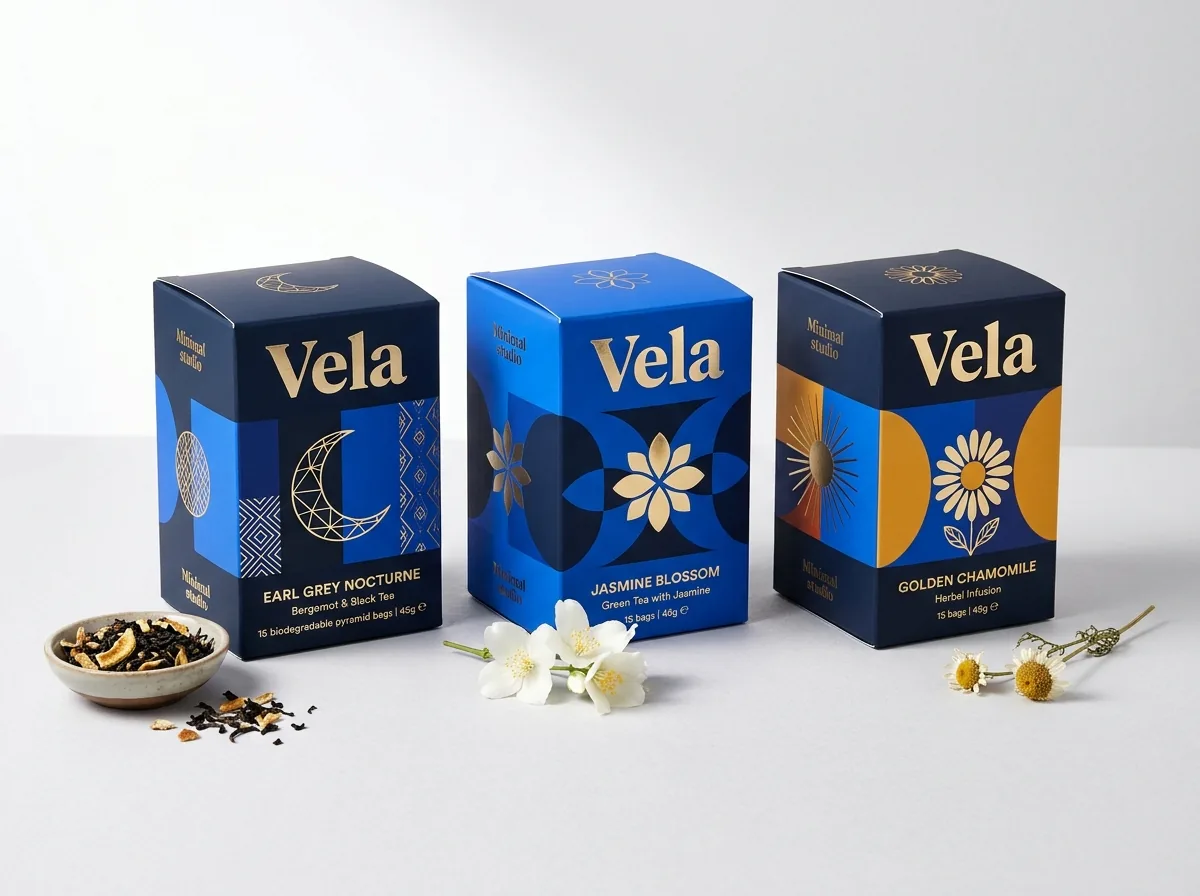
Packaging for this
Ready to order display boxes? Compare up to 3 quantities with a free 3D mockup.
Request a Quote →Questions about display boxes
How much clearance should I add around my products inside a display box?
For rigid individual folding cartons, tins, or square bottles, add 1/8 to 3/16 inch (3 to 4.5 mm) of total clearance to both the cumulative column width (Length) and cumulative row depth (Width). For flexible pillow-sealed snack bars or stand-up gusset pouches that vary slightly in thickness, add 1/4 to 3/8 inch (6 to 9.5 mm) across the row depth so pouches slide out smoothly.
In what order are display box dimensions written?
Display box dimensions are always written as interior Length × Width × Depth (L × W × D): Length (L) is the left-to-right width facing the shopper on the shelf, Width (W) is the front-to-back depth from the front lip to the back wall, and Depth (D) is the vertical height of the back wall from the tray floor to the top fold crease.
How do I calculate the front lip height of a display box?
Multiply the vertical height of one standing retail unit by 0.25 to 0.35 (25% to 35%). For example, a 4.5-inch-tall snack bar or mini carton pairs best with a 1.25 to 1.5 inch front lip, which keeps the front row from tipping forward while leaving more than two-thirds of the front label visible.
Does adding vertical lane dividers change the inside Length of the tray?
Yes. Each vertical divider wall takes up physical board thickness inside the tray. Add 1/16 inch (0.0625 in) for each paperboard divider wall or 1/8 inch (0.125 in) for each E-flute corrugated divider wall on top of your cumulative product width and finger clearance.
Can I send you one sample unit and tell you my pack count instead of calculating the tray size myself?
Yes. Simply tell us the dimensions of one unit and how many units you want per display box (such as 12 bars in 2 columns of 6) when you request a quote. Our packaging specialists will calculate the tray L × W × D, front lip height, and header proportions on your free dieline.
Still have a question? Ask a packaging specialist.
Request a Quote →Request your display boxes quote
Tell us your size and quantities, and one dedicated account manager prepares pricing for each tier.
- Free design & AI-to-print studio + 3D mockup
- No die or plate charges · 4–5 day rush available
- Free shipping to all 50 states
- 10% off your first order
We verified interior Length × Width × Depth conventions, 25%–35% front lip height ratios, and multi-unit row and column clearance allowances against Fibre Box Association (FBA) Retail Ready Packaging guidelines and Paperboard Packaging Council (PPC) structural standards. A packaging specialist checked every formula and size row. Spot something wrong? Tell us and we fix it.
Sources
What changed
- October 24, 2026: First published with 4-step row and column sizing math, 25%–35% front lip rules, step-riser allowances, and 8-category size chart.
More guides
New packaging guides by email
Sizes, materials and design tips. Unsubscribe anytime.