
How do display box perforations and fold-up header billboards work on a dieline?
Short answer: On a 1-piece dieline for custom display boxes, micro-perforation zip lines run across the front wall at the lip height and angle up both side walls to the top of the back wall. When the upper hood tears away, the top lid folds back 180 degrees along a center crease and locks behind the rear wall as a two-ply header.
On this page
- What are the zones of a 1-piece tear-away display box dieline
- How do I orient header artwork so it never prints upside down
- What are the standard perforation rules, corner offsets, and safe zones
- How do micro-perforations and 3/8 inch corner offsets prevent crushed boxes
- How do I get a custom display box dieline and 3D proof
- Common mistakes
- FAQs
Request a custom quoteFree dieline & 3D mockup
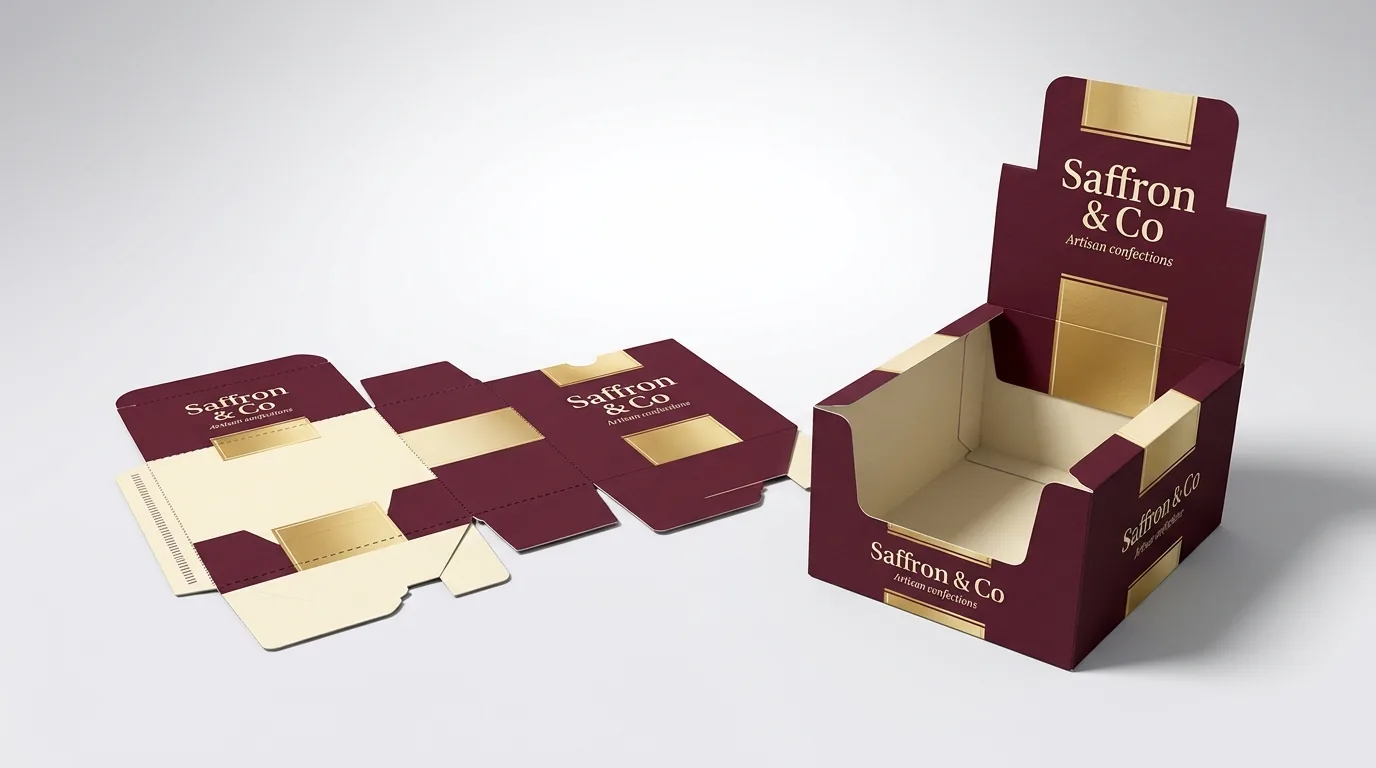
Setting up artwork and structural rules on a custom display box dieline requires coordinating two states of the same piece of paperboard: its closed shipping state and its open retail merchandising state. On the flat die-cut sheet, three line types control the conversion: solid cut lines define the outer blank and locking slots, dashed crease lines form the four vertical walls and bottom closure, and dotted micro-perforation rules define the removable transit hood. Across the front panel, the horizontal perforation sits at 25% to 35% of the carton height so the lower section stays behind as the front display lip. Across the left and right side walls, the perforations angle upward from the front lip to the top corners of the back wall. Once the perforated hood is zipped off at the store, the top lid panel folds 180 degrees over its center score line so the coated outside surface faces shoppers as a rigid double-wall header billboard.
What are the zones of a 1-piece tear-away display box dieline?
When you open a flat vector dieline for our display boxes in Adobe Illustrator, the layout looks like a standard tubular carton with four specialized conversion zones built into the upper panels
- 1. Permanent Lower Tray Zone (below the perforation): Includes the low front display lip (25%–35% of box height), the sloped lower triangles of the left and right side walls, the full-height back wall, and the 1-2-3 snap-lock or pre-glued auto-lock bottom flaps. Everything in this zone stays on the retail shelf until the last unit sells.
- 2. Removable Upper Transit Hood (above the front/side perforation): Includes the upper 65%–75% of the front panel and the upper triangular wings of both side panels. This hood protects your bars, pouches, or tubes during shipping and is discarded by the store clerk.
- 3. Center-Creased Top Lid / Header Billboard Panel: Hinged to the top edge of the back wall. During transit it folds forward 90 degrees over the top dust flaps to close the box; at the store it folds backward 180 degrees along its horizontal center score line to stand upright as a two-ply header sign.
- 4. Rear Header Locking Tabs & Slots: Two small male tabs on the tuck edge of the top lid snap into matching female slots near the top of the back wall (or friction-tuck behind the back row of products) so the folded header stands at a crisp 90-degree vertical angle.
How do I orient header artwork so it never prints upside down?
The most common prepress error on retail display cartons happens on the top lid panel that converts into the upright back header billboard. How you orient your logo depends on whether your dieline uses a double-folded 180-degree header or a single-crease 90-degree lid
- Why CubitPack uses a 180-degree double-folded header by default: Standard folding carton paperboard (C1S SBS) is clay-coated and printed on the outside surface only (4/0 printing). If you simply hinge a single-layer top lid straight up 90 degrees at the store, the unprinted inside face of the lid points forward toward shoppers, and under warm overhead retail lights, a single layer of 18 pt board quickly curls forward.
- How the 180-degree center fold brings the coated outside surface forward: By scoring the top lid horizontally across its middle and folding the front half backward 180 degrees over the rear half, the coated, glossy or soft-touch laminated outside surface of the sheet becomes the forward-facing header billboard, and the two plies lock together for twice the caliper stiffness.
- Exact artwork orientation rule on the flat dieline: On a flat dieline viewed from the outside printed surface with the Back Wall upright, the upper half of the top lid (nearest the tuck flap) will fold down over the lower half to become the front face of your header. Therefore, artwork in that upper header zone is placed upside down (rotated 180 degrees) on the flat 2D template so that when folded over at the store, it stands right-side up!
- When to add inside flood coating (4/1 or 4/4): Even with a double-folded header, as soon as shoppers buy the front row of chocolate bars or snack pouches, the inside surfaces of the left, right, and back tray walls become visible. Adding a solid interior brand color flood coat makes the inside of the tray look clean and intentional.

What are the standard perforation rules, corner offsets, and safe zones?
Use the prepress specification table below when setting up your artwork layers or reviewing your free CubitPack CAD dieline across paperboard and E-flute corrugated display cartons
| Dieline feature | 18–24 pt Paperboard spec | E-Flute Corrugated spec | Why it matters on press and at the shelf |
|---|---|---|---|
| Micro-perf cut: tie ratio | 1/8 in cut: 1/16 in tie (67% cut) | 3/16 in cut: 1/16 in tie (75% cut) | Holds closed in transit; zips cleanly by hand without frayed fibers |
| Corner perforation offset | ≥ 3/8 in (9.5 mm) from vertical crease | ≥ 1/2 in (12.7 mm) from vertical crease | Preserves vertical corner post strength during master-case stacking |
| Front thumb starter notch | 0.75 × 0.375 in half-moon cut | 1.0 × 0.5 in half-moon cut | Lets store clerks start the tear with one thumb, no box cutter needed |
| Artwork safe zone from perf | 0.1875 in (3/16 in) keep-out | 0.25 in (1/4 in) keep-out | Prevents low front lip text from being clipped along the tear line |
| Header center score rule | Double crease or 2 pt wide rule | Crushed flute double score | Allows the header panel to fold 180° flat without cracking ink |
| Outer bleed & glue flap | 0.125 in bleed · unprinted glue tab | 0.125 in bleed · unprinted glue tab | Prevents white paper slivers at cut edges; ensures strong PVA bond |
Know your size? Compare pricing across up to 3 quantities.
Request a Quote →How do micro-perforations and 3/8 inch corner offsets prevent crushed boxes?
Whether you pack snack bars in custom protein bar boxes, pouches in custom snack boxes, or sweets in custom candy boxes, almost 80% of the vertical stacking strength of a folding carton comes from its four vertical 90-degree corner creases
- Why perforations should not weaken the vertical corner post: If a coarse perforation cuts away 80% of the board right down the vertical corner crease, the display box can buckle when stacked four high inside a master shipping case. Keeping a clean 3/8 inch (9.5 mm) corner transition, or using a 67% cut / 33% tie micro-perforation rule tuned to your board caliper, keeps the corners rigid in transit.
- Continuous background color across the perforation line: If your low front display lip and upper tear-away hood share the same deep burgundy or forest green background color, run that solid background color continuously across the perforation line. That way, even if the paper fibers tear 1/32 inch above or below the steel rule, no contrasting stripe shows along the top edge of the front lip.
- Keep front lip logos 3/16 inch below the tear line: Place your brand mark, flavor name, and net weight callout in the lower two-thirds of the front display lip, keeping all lettering at least 3/16 inch (4.8 mm) below the horizontal perforation path.
- Pair heavy displays with a 1-2-3 or auto-lock bottom: Because store clerks lift the filled display box out of the master shipper by its side walls, any multipack over 1.5 lb should use a 1-2-3 snap-lock bottom or a pre-glued auto-lock bottom rather than a friction tuck bottom.
How do I get a custom display box dieline and 3D proof?
Need help calculating your tray dimensions first, or deciding between a tear-away tray and a counter display unit? Read our companion guides, how to measure for a display box and display boxes vs counter display and dispenser boxes. When you request a quote on CubitPack (from 1,000 boxes in 10–14 business days, or 4–5 day rush), our prepress specialists send you an exact vector dieline with clearly labeled header orientation arrows plus a folded 3D mockup before payment, with zero die or plate charges and free US shipping.
- Step 1: Request your free custom dieline by entering your interior tray L × W × D and unit count in the quote form below.
- Step 2: Place your artwork on the labeled ARTWORK layer (keeping DIELINE as a separate non-printing spot-color layer) and follow the header orientation arrow.
- Step 3: Approve your digital proof and 3D folded & converted mockup showing both the closed shipping state and the open retail header state.

What are the most common dieline and header setup mistakes on display boxes?
Our prepress team checks every display box file against these five structural and artwork errors before making plates
- Placing header billboard artwork right-side up on the upper half of a 180-degree double-folded lid panel, which causes the logo and headline to appear upside down once folded over at the store.
- Using a single-layer 90-degree fold-up lid on 1-sided (4/0) printed C1S paperboard without a center fold, which leaves the unprinted bare inside surface facing shoppers.
- Placing text or a horizontal border stripe right on top of the front tear-away perforation line, where small hand-tear variations clip the lettering.
- Omitting a front thumb starter notch on the tear-away hood, forcing retail store clerks to use a box cutter that slices into the individual product wrappers inside.
- Applying ink or lamination over the manufacturer's side glue flap, which prevents water-based PVA adhesive from bonding into the paperboard fibers.
Packaging for this
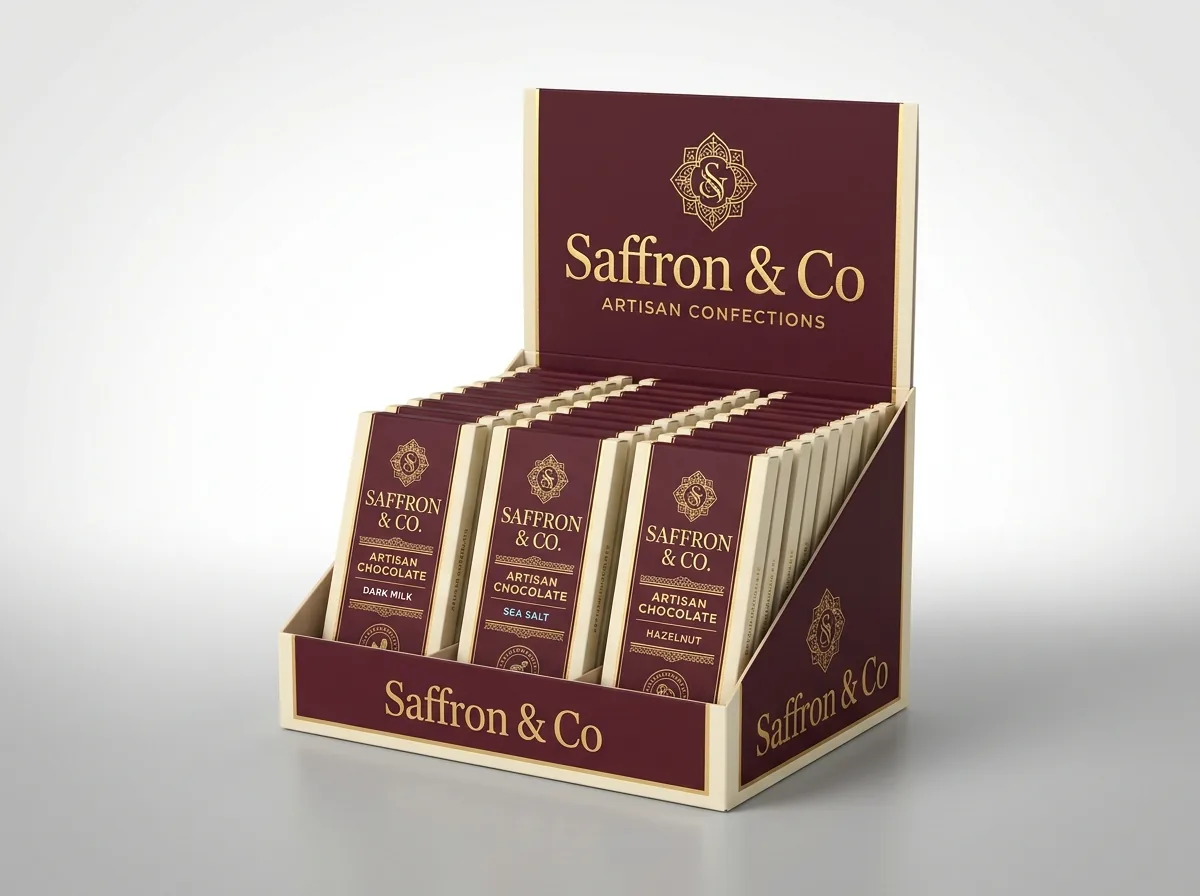
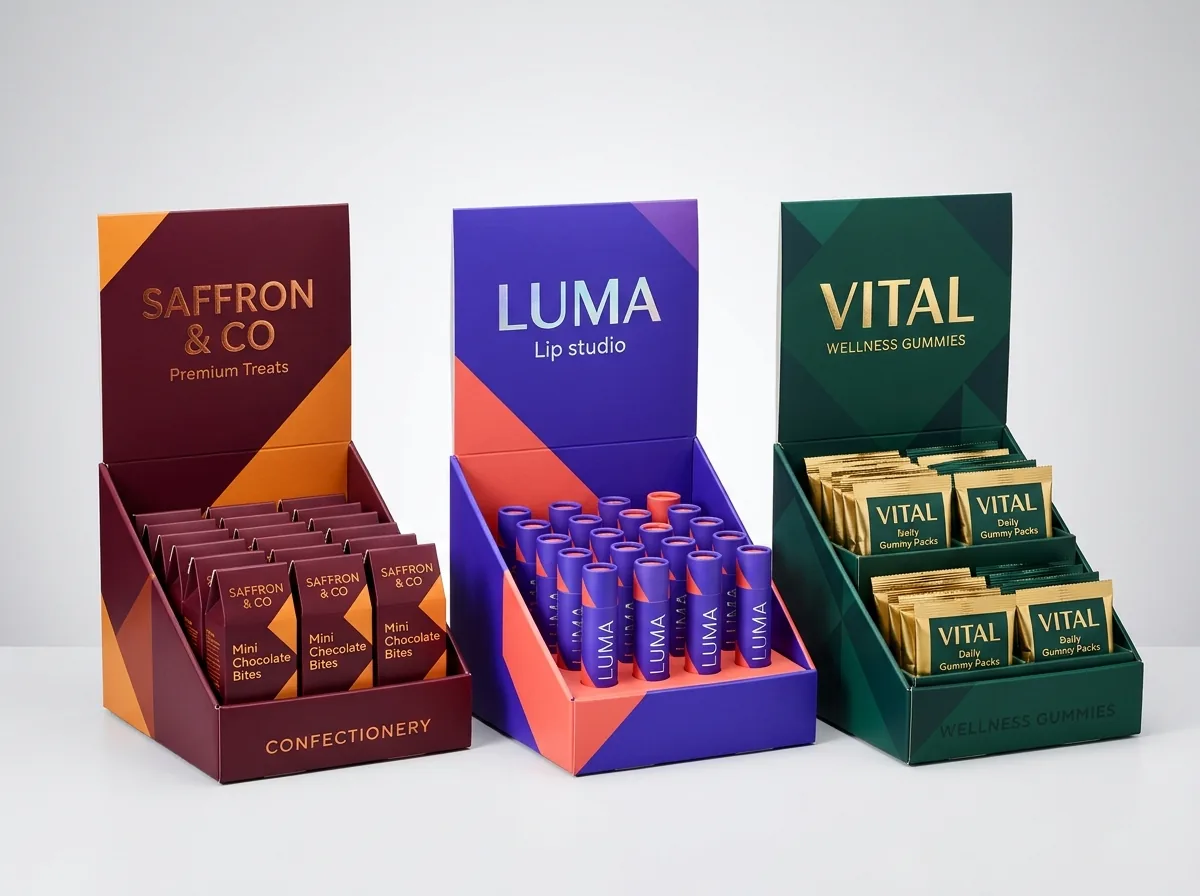
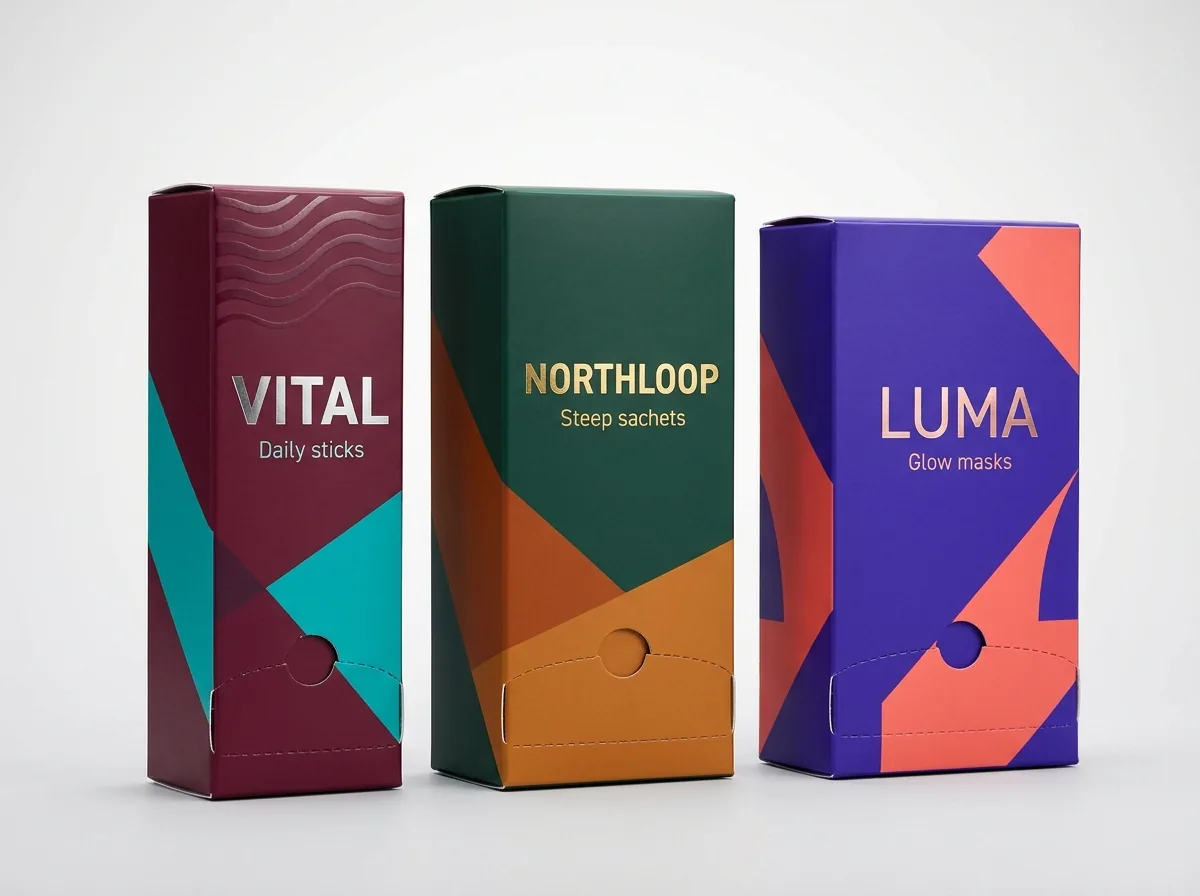
Ready to order display boxes? Compare up to 3 quantities with a free 3D mockup.
Request a Quote →Questions about display boxes
Why is the header artwork rotated 180 degrees on the flat display box dieline?
On a double-folded header display box, the top lid hinges up from the back wall and then folds 180 degrees forward and down over its horizontal center score line so the coated outside surface faces shoppers. Because that upper half folds downward over the front of the header, placing the artwork upside down on the flat sheet makes it stand right-side up when assembled.
Do I need two-sided (4/4) printing for a display box with a fold-up header?
Not for the header itself if you use our double-folded 180-degree locking header, because both the outside tray walls and the forward-facing header billboard come from the outside printed surface of the sheet (4/0 printing). However, many brands add a 1-color interior flood coat (4/1) so the inside tray walls look finished as the front rows of products sell down.
How do you make sure the perforated top doesn't pop open during shipping?
We calibrate the steel-rule cut-to-tie ratio to your board grade (1/8 inch cuts with 1/16 inch uncut fiber ties on paperboard, or 3/16 inch cuts with 1/16 inch ties on E-flute) and keep the horizontal front perforation at least 3/8 inch inboard of the vertical corner creases so the carton resists transit compression.
Can the top edge of the upright header billboard be die-cut into a custom curve or arch?
Yes. Because every order uses a custom steel-rule die with zero die charges, we can shape the top profile of the header billboard into an arch, badge crest, wave, or product silhouette.
Will your prepress team check my header orientation and perforation safe zones before printing?
Yes. Every order includes a free prepress check, a 2D proof, and a 3D mockup showing the box both closed for transit and converted with the header upright so you can visually confirm every panel before payment.
Still have a question? Ask a packaging specialist.
Request a Quote →Request your display boxes quote
Tell us your size and quantities, and one dedicated account manager prepares pricing for each tier.
- Free design & AI-to-print studio + 3D mockup
- No die or plate charges · 4–5 day rush available
- Free shipping to all 50 states
- 10% off your first order
We verified micro-perforation cut-to-tie ratios, 3/8 inch corner keep-out rules, and 180-degree double-folded header orientation conventions against Fibre Box Association (FBA) Retail Ready Packaging guidelines and Paperboard Packaging Council (PPC) prepress standards. A packaging specialist reviewed every dieline specification. Spot something wrong? Tell us and we fix it.
Sources
What changed
- October 24, 2026: First published with 1-piece tear-away dieline zones, 180-degree header artwork orientation rules, and perforation cut-to-tie table.
More guides
New packaging guides by email
Sizes, materials and design tips. Unsubscribe anytime.