
How do counter display header hinges, front lips, and insert CAD dielines work?
Short answer: A durable counter display CAD dieline folds the top lid 180 degrees over itself along a double-score channel spaced 2× board caliper and anchors two side ears into wall slots to form a rigid standing header. Pair it with a 1.25–2.25 in rollover front lip, 2:1 or 3:1 mm tear perforations, and dark interior flood printing.
On this page
- What are the 6 mechanical zones on an unfolded counter display CAD dieline
- How should you design the standing header, low front lip, and interior walls
- Which laminations and foils keep counter displays crisp for 60+ days on a counter
- What is the 5-step prepress checklist before approving your 3D CDU proof
- Common mistakes
- FAQs
Request a custom quoteFree dieline & 3D mockup
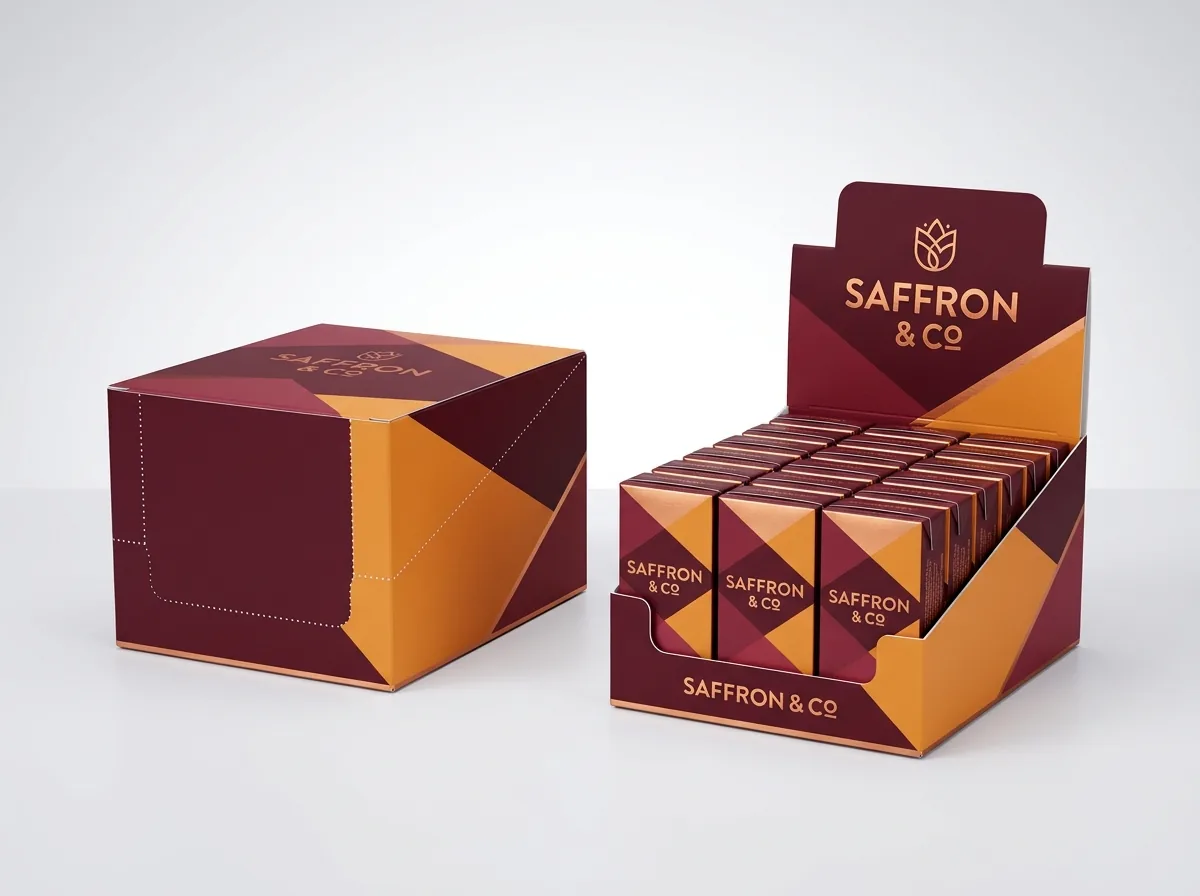
Setting up print-ready artwork for custom counter display boxes involves three mechanical transitions that ordinary rectangular folding cartons never face: a top closure panel that flips upside-down and backward 180 degrees to become an eye-level standing billboard, optional sloped tear-away perforations that discard half the front and side walls after transit, and an interior cavity plus grid or step riser that stays visible for weeks next to the cash register. If a designer places hero copy on the removable tear hood, forgets the 180-degree text rotation on the fold-back header face, or leaves a single unanchored flap standing in humid store air, the display fails on day two. CubitPack builds your precision tray-plus-insert vector CAD dieline and interactive 3D digital proof free from 1,000 units, with zero die or plate setup charges and free US shipping.
What are the 6 mechanical zones on an unfolded counter display CAD dieline?
When you open a counter display dieline in Adobe Illustrator, you will see two vector drawings: the main one-piece tray-and-header blank plus a companion insert sheet (such as a 24-hole punched collar or folded stair-step riser). Every line color corresponds to a distinct steel rule on the flatbed die-cutter: solid cut knives, dashed creasing rules, and dotted cut-tie tear perforations. Because a checkout display transforms from a closed rectangular box into an open-top stadium tray at the register, panels that touch on the flat template separate completely once opened. Checking which surfaces remain visible after setup and which panels fold 180 degrees over themselves ensures every headline lands upright and readable. Review all six CAD zones below
- Why double-score spacing stops header bow: Folding 20 pt or 24 pt board 180 degrees over a single score line pinches fibers and pushes the billboard backward at a 30-degree lean; spacing twin parallel creases by 2× board caliper lets the panel lie dead flat against the back spine without stressing laminated ink along the top fold.
- How side locking ears anchor the billboard: Two small die-cut ears on the left and right edges of the folded header tuck into precision slits at the top of the sloped side walls, locking the sign rigid against air-conditioning drafts.
- Calibrated cut-tie perforation ratios: On 18–24 pt coated SBS, a 2 mm knife cut alternating with a 1 mm paper tie (or 3:1 mm on tougher virgin kraft) lets cashiers unzip the transit hood in one smooth pull without delamination or jagged paper fibers along the sloped display wings.
| CAD dieline zone | Steel-rule mechanics | Structural purpose | Artwork & prepress rule |
|---|---|---|---|
| 180° Fold-back header | Double-score hinge + 2 side ears | Doubles board thickness & locks at 90° | Orient artwork right-side-up AFTER 180° fold! |
| Low rollover front apron | 30–40% of single unit height | Retains front row without hiding labels | Keep bold callout 6 mm clear of top fold |
| Sloped tear-away hood | 2:1 or 3:1 mm cut-to-tie perf | Protects pre-packed stock until setup | Place 3-step setup icons only; zero hero copy |
| Angled left & right wings | 25°–40° sloped side walls | Frames stock for side-approaching buyers | Align diagonal color blocks to slope angle |
| Auto-lock crash base | Pre-glued diagonal fold floor | Snaps flat onto counter in 2 seconds | Keep wholesale UPC & reorder info underneath |
| Companion grid/step CAD | Separate die-cut sheet + leg scores | Singulates tubes or elevates back rows | Flood-print in dark saturated brand color |
How should you design the standing header, low front lip, and interior walls?
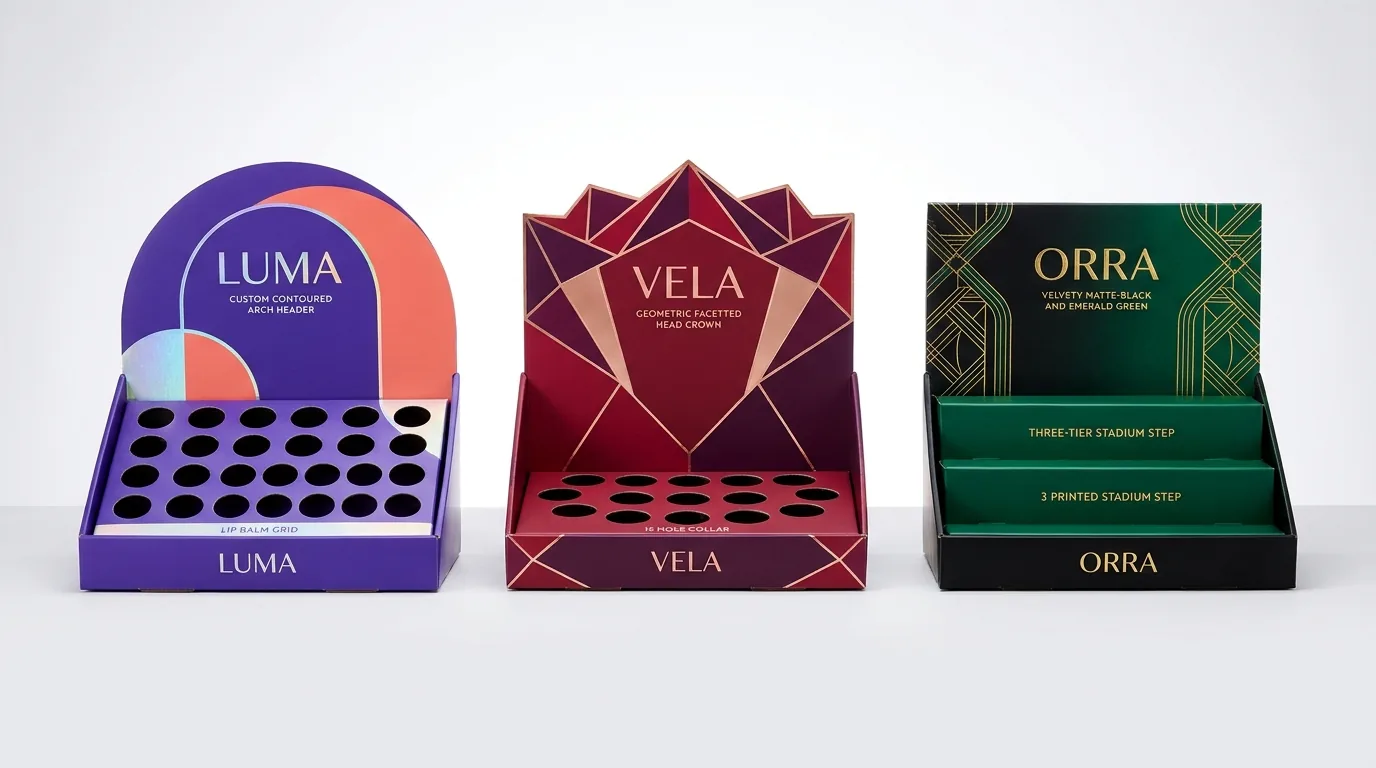
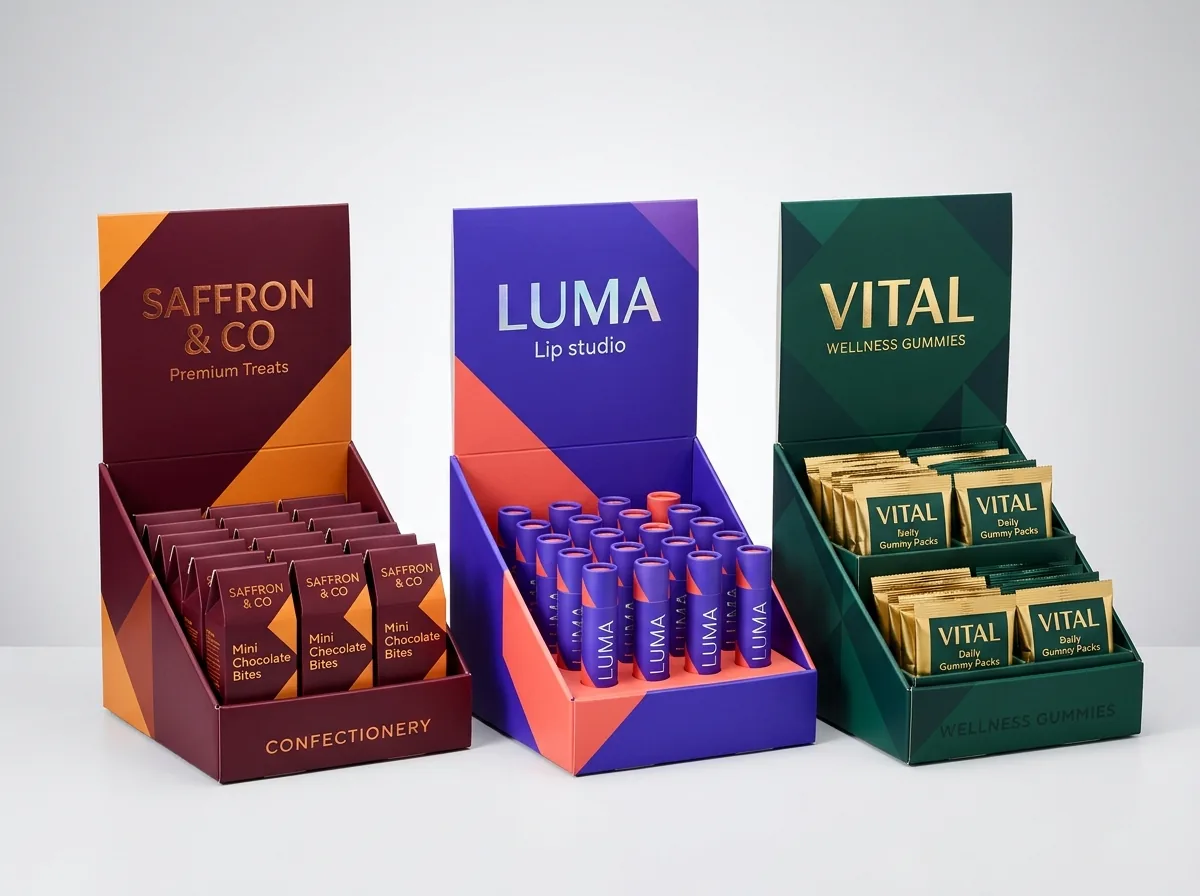
A checkout shopper views printed POS counter displays in two distinct stages: first from 6 feet back while standing in the register queue, and second from 20 inches away while tapping a credit card or waiting for a receipt. Treating a counter display like a giant multi-paragraph brochure kills impulse lift across custom candy boxes, custom gummy boxes, custom nail polish boxes, and custom lip balm boxes. Shoppers make grab-and-go checkout decisions in under four seconds, meaning high-contrast color blocking, bold geometric sans-serif type, and a crisp benefit hook outperform crowded copy every time. Assign each viewing distance its own dedicated graphic job
| Display surface | Shopper viewing distance | Winning graphic treatment | What to keep off this panel |
|---|---|---|---|
| Standing header billboard | 5 to 8 feet (queue line) | Brand wordmark + 3-to-5 word hook + metallic foil | Ingredient lists, URLs, tiny 8 pt bullets |
| Contoured header crown | Eye-catching silhouette | Die-cut arch, geometric peak, or bottle outline | Delicate thin spikes narrower than 12 mm |
| Low front retaining lip | 18 to 30 inches (at POS) | Flavor/shade bar, 'Grab one' prompt, key icon | UPC barcodes, distributor lot numbers |
| Interior back wall & grid | Visible as units sell down | Saturated flood color + subtle monogram pattern | Unprinted raw white or gray paperboard |
Which laminations and foils keep counter displays crisp for 60+ days on a counter?
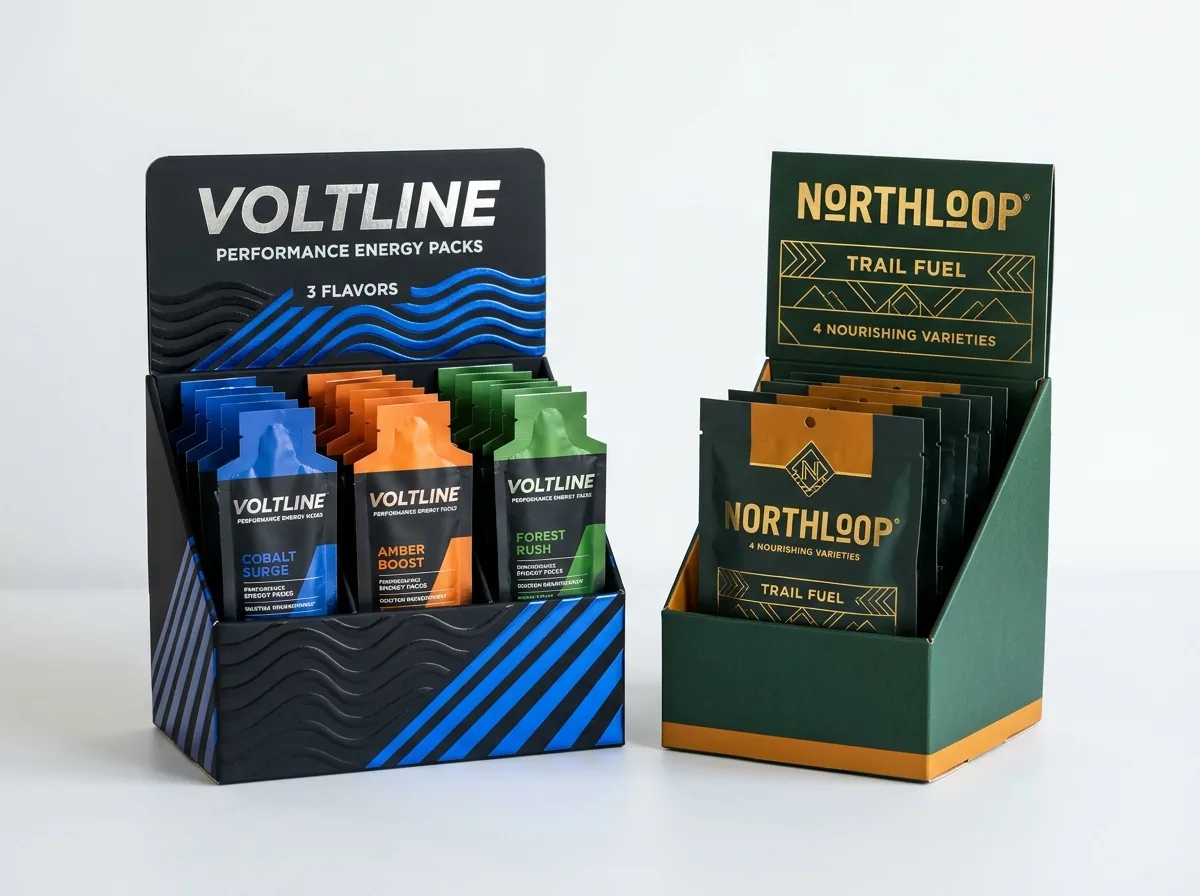
Unlike an individual folding carton that goes home with the first buyer, a counter display tray stays on a cafe espresso bar, pharmacy counter, or salon desk for four to eight weeks while dozens of hands brush past it and staff wipe down adjacent surfaces. Fluorescent and LED checkout lights also shine straight down onto the standing header twelve hours a day, testing ink richness and board stiffness continuously. Selecting protective film lamination and strategic metallic foil placement keeps your brand looking crisp down to the very last unit
- Film lamination is essential for multi-week counter life: Matte, soft-touch, or gloss BOPP film lamination shields dark saturated emerald, violet, burgundy, navy, and matte-black ink floods from moisture rings, coffee splashes, and corner scuffing.
- Place metallic foil on the upper 60% of the header: Overhead checkout downlights hit the vertical header billboard directly; stamping 24k gold, silver, rose-gold, copper, or holographic foil on the header emblem catches peripheral vision across the store.
- Use raised Spot UV to frame flavor or shade zones: When a single counter display holds three flavors or shades in separate columns (such as berry, citrus, and mint lip balms), Spot UV column markers on the front lip guide shoppers instantly.
- Keep glue laps 100% raw paperboard: Leave a clean ink-and-lamination knockout mask on the 15–18 mm side seam and auto-lock bottom glue tabs so folder-gluer cold adhesive forms a fiber-tearing bond.
- Verify 3D header rotation before press: Always inspect your interactive 3D mockup to confirm the folded header reads right-side-up from the front and locks flush behind the back row.
Know your size? Compare pricing across up to 3 quantities.
Request a Quote →What is the 5-step prepress checklist before approving your 3D CDU proof?
Walk through these five prepress checks alongside our companion guides on checkout counter display footprints, hole grids, and stadium tiers and pre-packed PDQ counter displays vs flat-ship trays and peg cartons, plus our confectionery comparison of window candy boxes vs theater boxes and counter displays. Catching inverted header copy, missing glue knockouts, or unprinted interior risers on your digital proof guarantees clean production across all 1,000+ displays, saving days of press revisions and ensuring every store cashier pops open a rigid, showroom-ready billboard
- Step 1: Request your matched tray-plus-insert vector CAD dieline from CubitPack (free with your quote) engineered to your exact unit count, board caliper, and double-score hinge allowance.
- Step 2: Separate cut lines, fold creases, cut-tie perforations, CMYK/Pantone art, interior flood print, foil masks, and Spot UV masks onto locked Adobe Illustrator layers with outlined typography.
- Step 3: Check 180-degree header artwork orientation so the standing billboard reads upright after folding forward or backward into its locked display position.
- Step 4: Extend bleed 3.5 mm (0.125 in) past all outer cuts and contoured header curves, hold logos 10 mm inside cut/perf lines, and keep glue tabs raw.
- Step 5: Review your free interactive 3D digital proof (or order our $50 sample kit credited toward your first order) before starting 10–14 business day production (4–5 day rush available) with free delivery across all 50 US states.
What dieline and artwork mistakes happen on custom counter display boxes?
Spot and eliminate these five prepress errors on your 2D dieline and 3D proof before production
- Laying out header billboard artwork upside down on the flat dieline because the designer forgot the top lid flips 180 degrees over itself during setup.
- Printing your primary brand logo or flavor headline on the perforated transit tear hood that gets thrown in the recycling bin before a single shopper sees the tray.
- Leaving the inside back wall and die-cut grid collar unprinted white so empty slots glare harshly once half the inventory sells.
- Placing a retail case barcode right on the front checkout apron instead of tucking it cleanly underneath the auto-lock bottom.
- Designing razor-thin 4 mm decorative cutouts along a contoured header crown that bend when clerks pop the display open.
Packaging for this
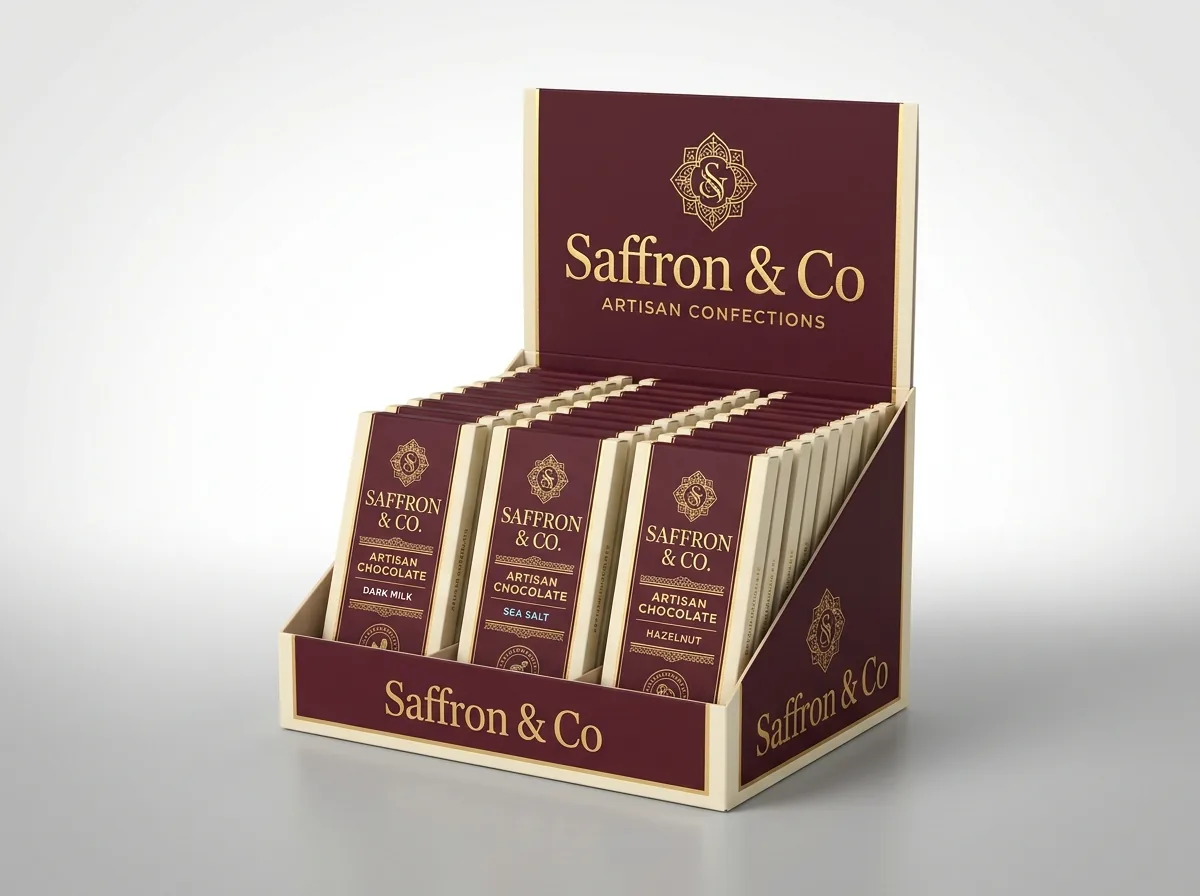
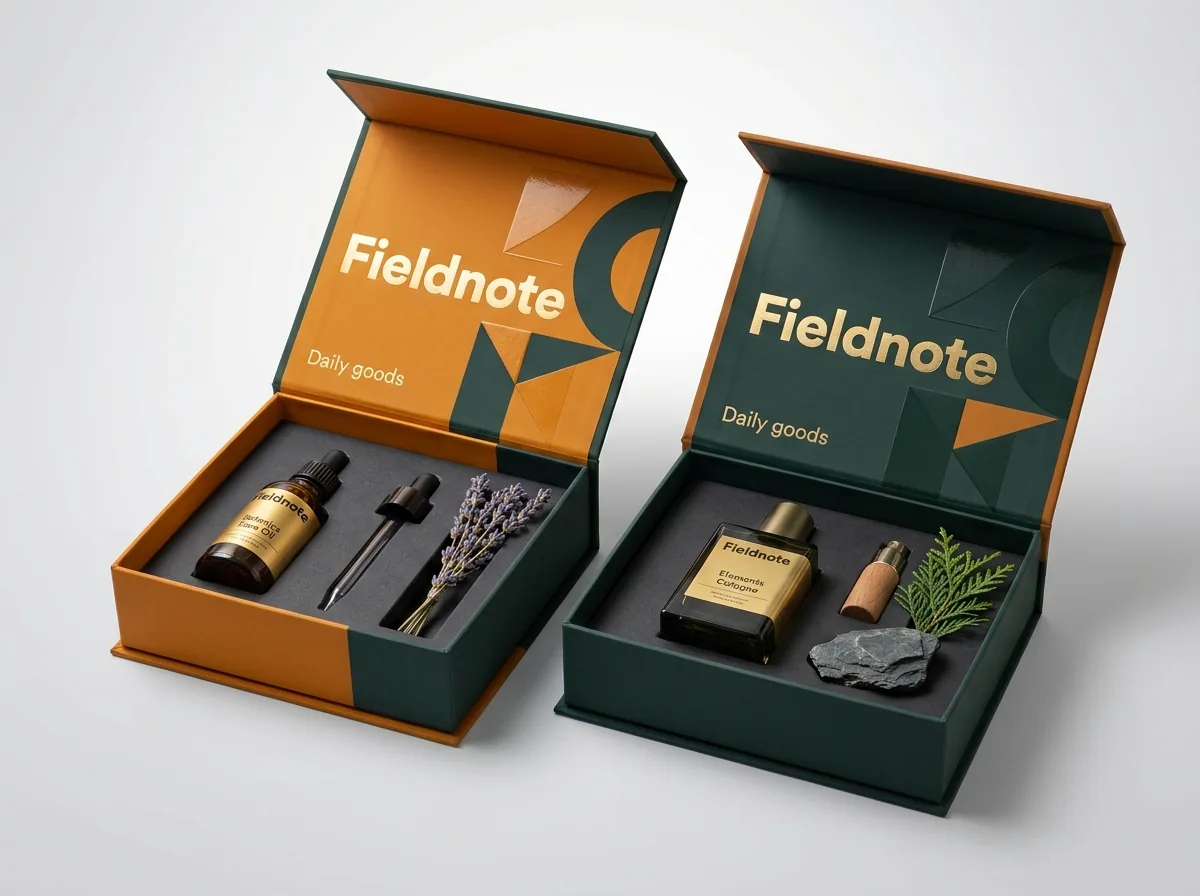
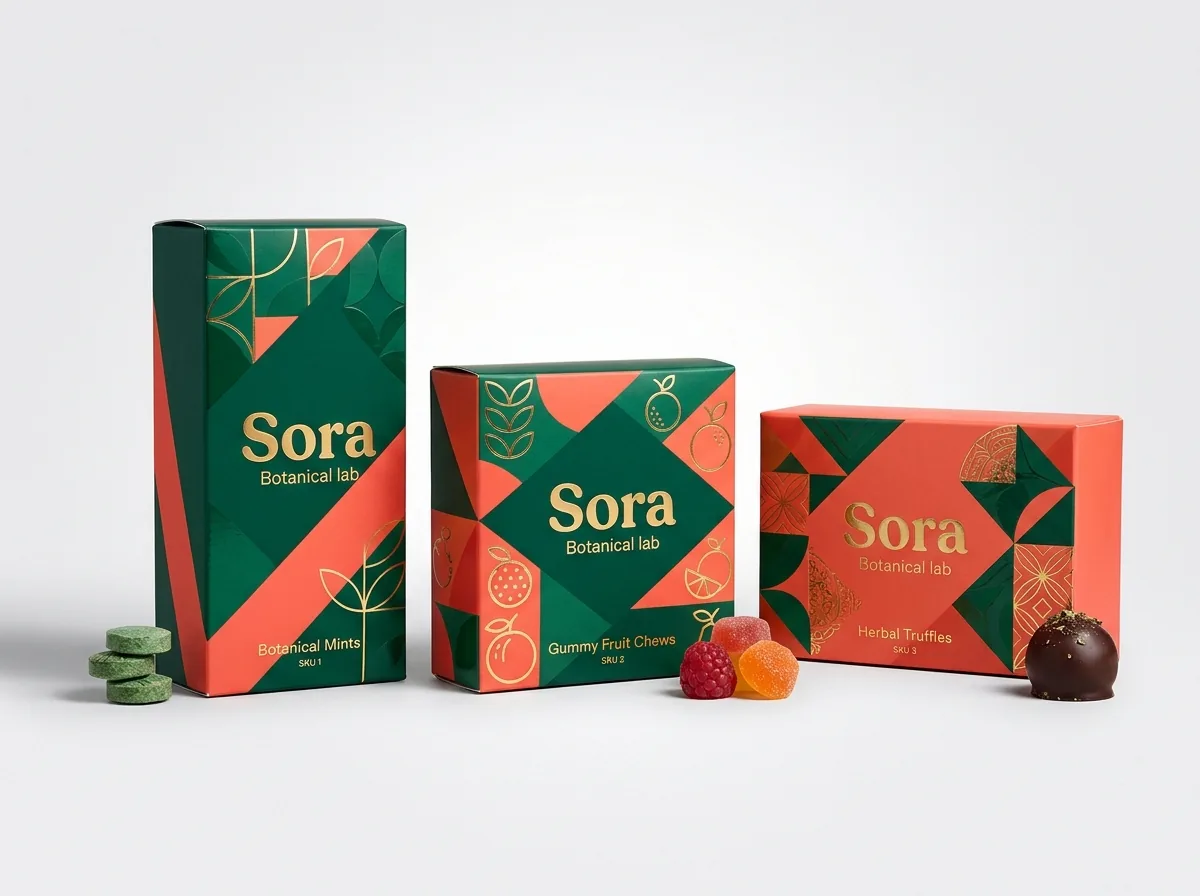
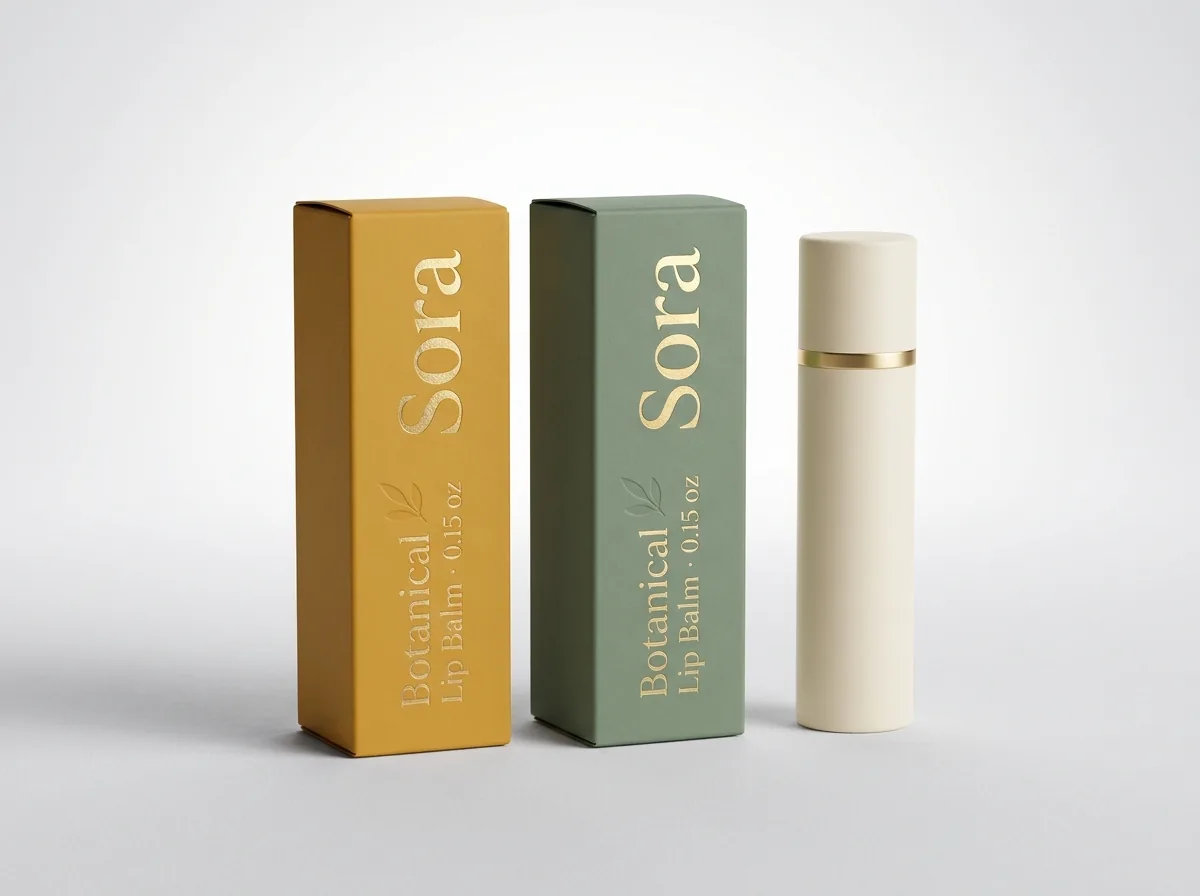
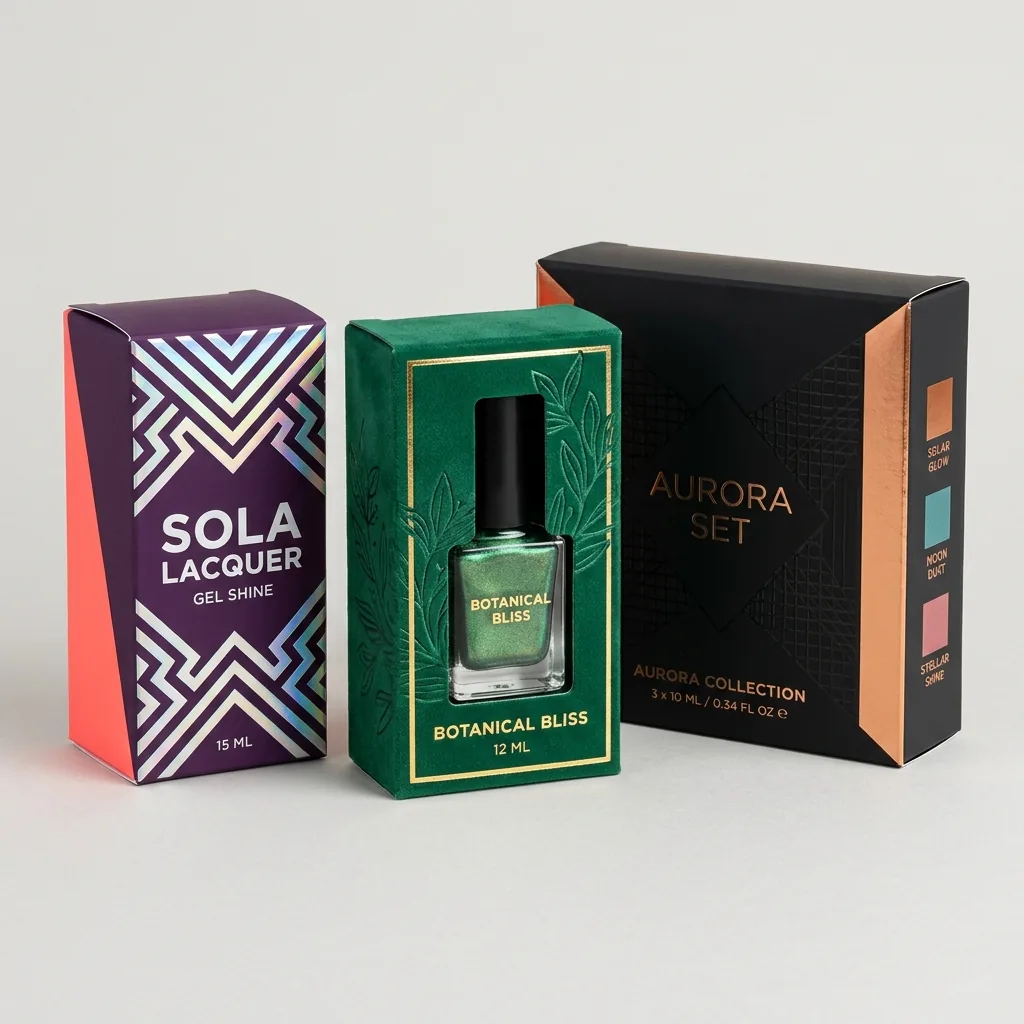
Ready to order counter display boxes? Compare up to 3 quantities with a free 3D mockup.
Request a Quote →Questions about counter display boxes
Does CubitPack supply both the counter display tray dieline and the internal grid or step insert dieline?
Yes. Every custom counter display quote includes free 2D vector CAD templates for both the outer tray-with-header and any internal die-cut hole grid, stadium step riser, or lane divider, plus an interactive 3D digital proof before payment.
Can the header top edge be die-cut into a custom curve or brand silhouette at no extra die cost?
Yes. Because every counter display box is cut on a custom steel-rule die with zero die or plate setup charges from 1,000 units, shaping the top of your standing header into an arch, badge, wave, or bottle contour adds zero tooling fees.
How do you prevent the perforated tear-away hood from leaving rough torn paper edges?
We calibrate the knife-to-tie perforation ratio (typically 2:1 mm or 3:1 mm) to your exact paperboard caliper and lamination film, and place clean thumb-start notches so the transit hood unzips smoothly along straight side creases.
Can we print inside the counter display tray and on top of the hole grid insert?
Yes. Two-sided printing (or single-side printing on the visible top deck of the separate insert sheet) lets you flood the interior cavity and grid collar in rich brand colors so the display looks polished even when nearly sold out.
What if we do not have an in-house packaging designer to lay out our CDU dieline?
Alongside free CAD templates and prepress checks on every order, CubitPack offers a complete $250 brand identity design service (+$50 per additional revision round) to craft print-ready counter display and unit carton artwork.
Still have a question? Ask a packaging specialist.
Request a Quote →Request your counter display boxes quote
Tell us your size and quantities, and one dedicated account manager prepares pricing for each tier.
- Free design & AI-to-print studio + 3D mockup
- No die or plate charges · 4–5 day rush available
- Free shipping to all 50 states
- 10% off your first order
We verified 180-degree double-score header hinge allowances, side locking ear tolerances, 2:1 and 3:1 mm cut-tie tear perforations, rollover front apron proportions, and checkout viewing-distance typography against ECMA Folding Carton Design Codes, Paperboard Packaging Council (PPC) prepress manuals, and TAPPI creasing standards. Spot something wrong? Tell us and we fix it.
Sources
What changed
- November 6, 2026: First published with 6-zone CDU CAD dieline table, 6-ft vs 2-ft impulse visual hierarchy map, and 5-step prepress checklist.
More guides
New packaging guides by email
Sizes, materials and design tips. Unsubscribe anytime.