
How do you size checkout counter display footprints, hole grids, and stadium tiers?
Short answer: Keep custom counter display boxes between 4.5 and 9.5 inches wide, 5 to 8.5 inches deep, and under 16 inches tall (strictly below the 20-inch POS cashier sightline rule). Add +2 to +3 mm of finger-pick clearance per row, punch tube holes +1.2 mm over tube diameter, and step tiers up 0.85–1.25 inches.
On this page
- What checkout counter footprint sizes earn register placement by product
- How do you engineer die-cut hole grids versus 2-tier and 3-tier stadium steps
- When should you choose 18–20 pt card, 24 pt SBS, or E-flute corrugated board
- What is the 4-step bench test before ordering 1,000 counter display boxes
- Common mistakes
- FAQs
Request a custom quoteFree dieline & 3D mockup
Designing custom counter display boxes requires balancing two competing retail realities: packing enough sellable units to justify shelf restocking while keeping the exterior footprint compact enough that convenience stores, pharmacies, cafes, and salons gladly place the tray right beside their credit-card terminal. According to Shop! Association (POPAI) checkout ergonomics, trays wider than 15 inches or taller than 20 inches routinely get banished from the cash wrap because they crowd payment scanners or block cashier-to-shopper eye contact. At the same time, slim tubes, pens, and pouches domino over as soon as the first three units sell unless stabilized by a precision die-cut hole grid or stadium step riser. CubitPack engineers your tray and insert CAD dielines free from 1,000 boxes, charges zero die or plate setup fees, and ships flat bundles free across all 50 US states.
What checkout counter footprint sizes earn register placement by product?
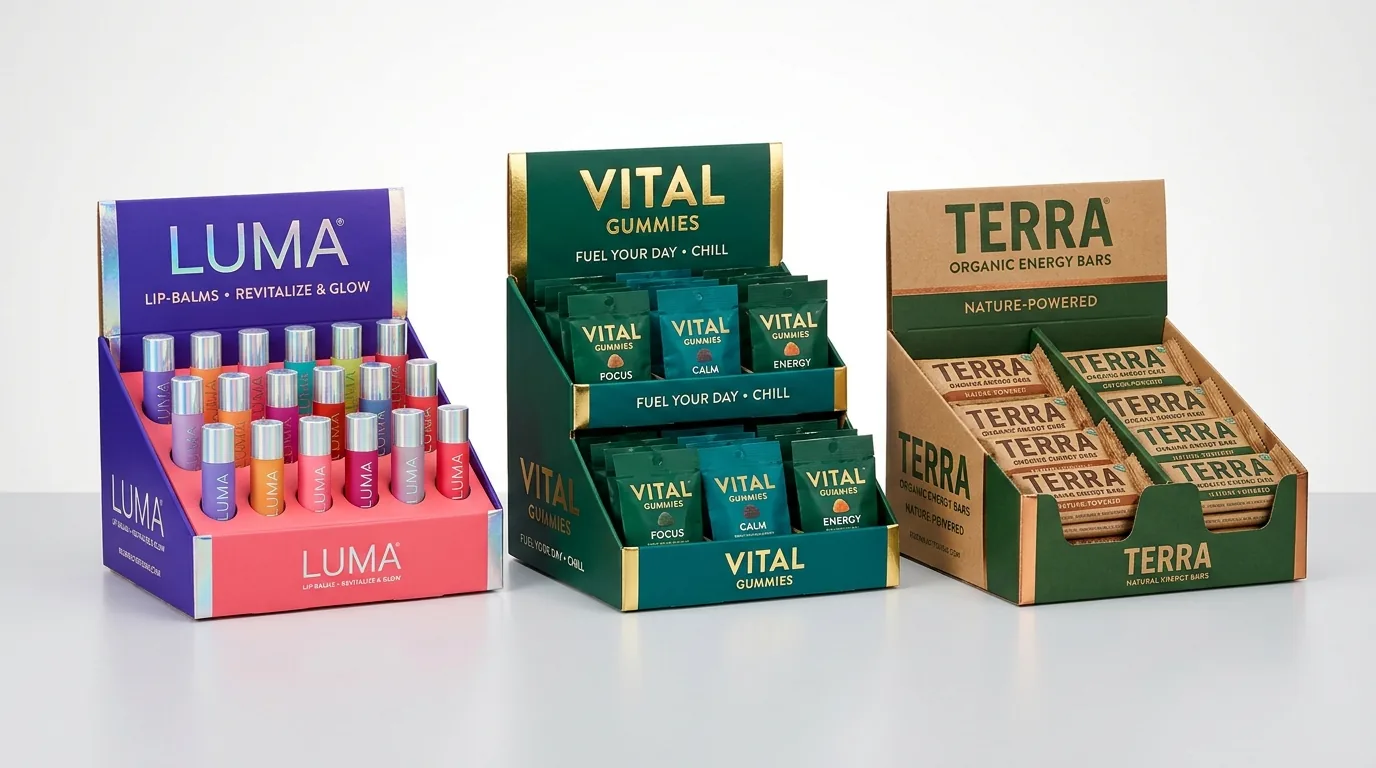
Retailers guard the 18-inch circle around the POS terminal more strictly than any other square foot in the store. Instead of sizing a counter tray around a standard 24-unit master shipping case, start from the store counter backward: aim for 3 to 6 narrow front facings and only 2 to 4 rows deep so the tray maximizes brand facings per square inch without jutting into customer tap-to-pay space. Keeping depth compact also prevents back-row expiration dates from getting buried when store staff top off front slots during busy morning shifts. When multiplying individual unit dimensions to find interior tray width and depth, add +2 to +3 mm (+0.10 in) per row for finger-pick clearance plus the board caliper of any internal divider walls. Use the reference dimensions below to plan proven cash-wrap footprints
- Respect the 15-inch width and 12-inch depth ceiling: Independent cafes and boutique salons rarely spare more than 9 inches of counter width; keeping width between 5.5 and 8.5 inches doubles real-world register placement rates.
- Stay below the 20-inch cashier sightline rule: Combined tray-plus-header height between 8.5 and 15 inches catches the shopper's eye at chest-to-counter angle without blocking security cameras or cashier greetings.
- Size the front apron at 30% to 40% of item height: A 4-inch-tall gummy pouch or mini carton pairs cleanly with a 1.5-inch front retaining lip so the entire front brand logo remains readable.
| Impulse product | Pack count & matrix | Tray W × D × Total H (with header) | Internal organizer | Recommended stock |
|---|---|---|---|---|
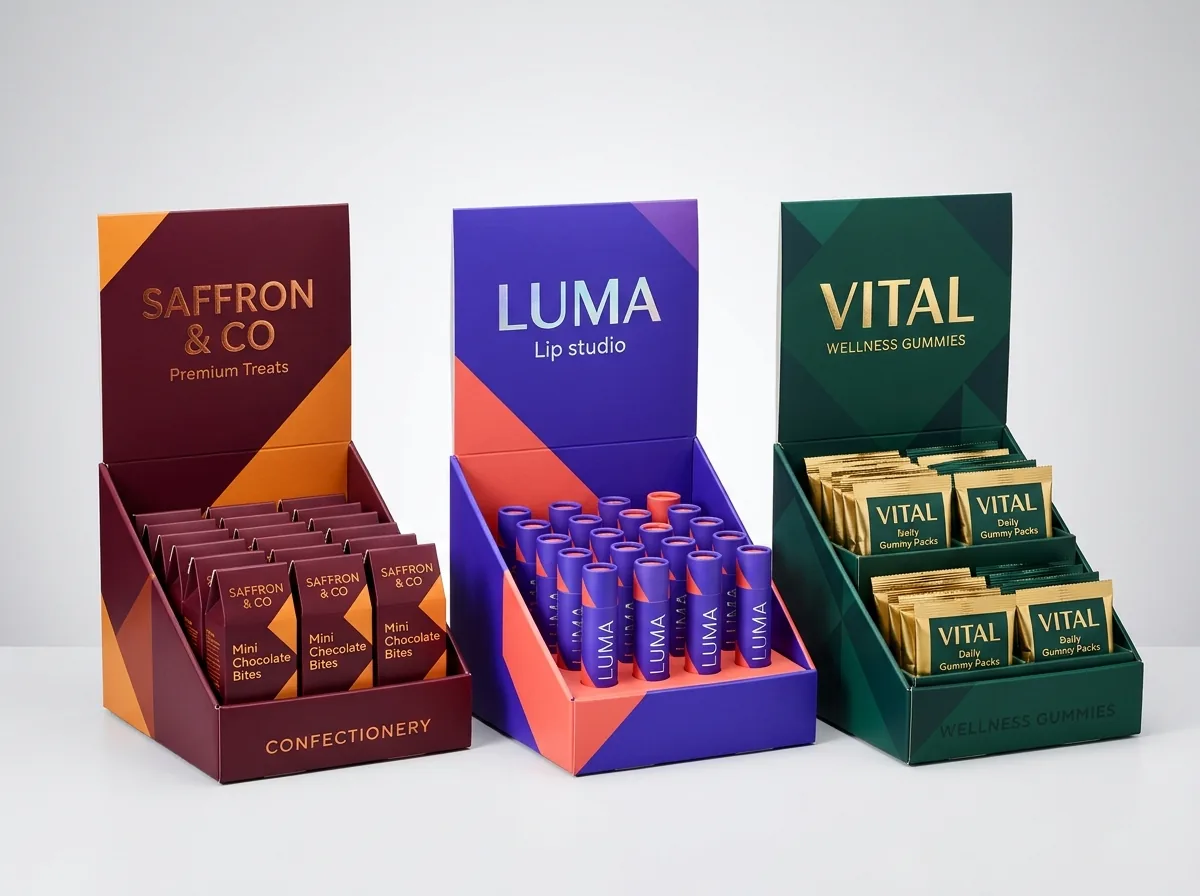
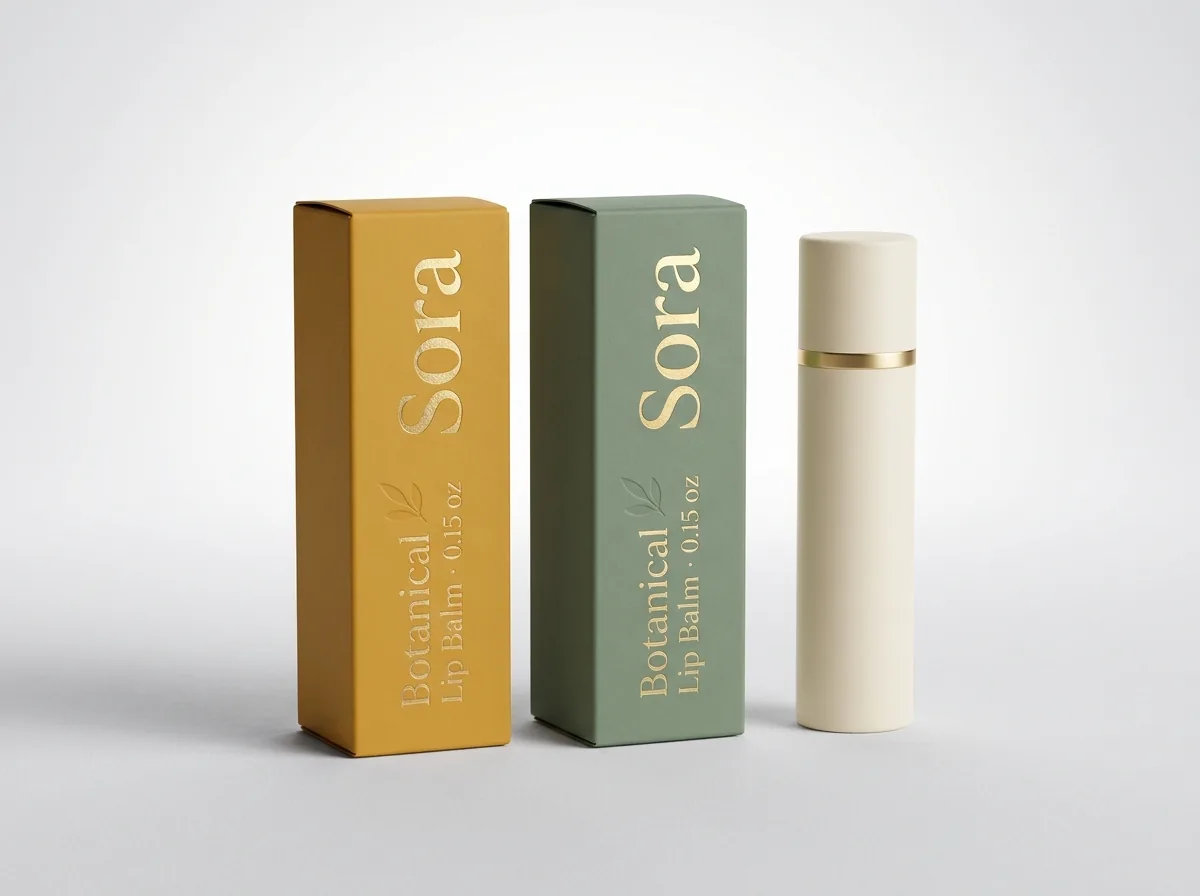
| Lip balm & serum tubes | 24 units (6 W × 4 D) | 6.25 × 4.75 × 8.5 in | 24-hole round grid collar | 18–20 pt SBS / kraft |
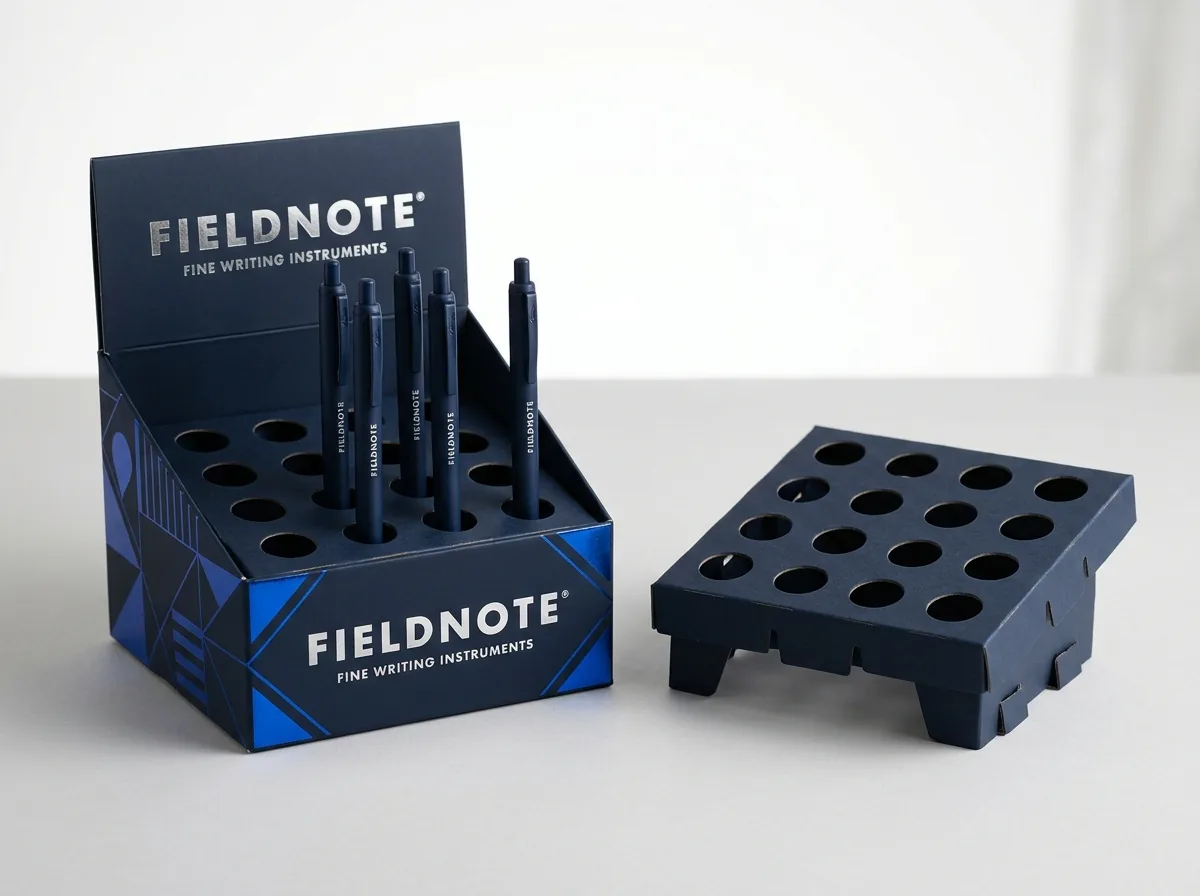
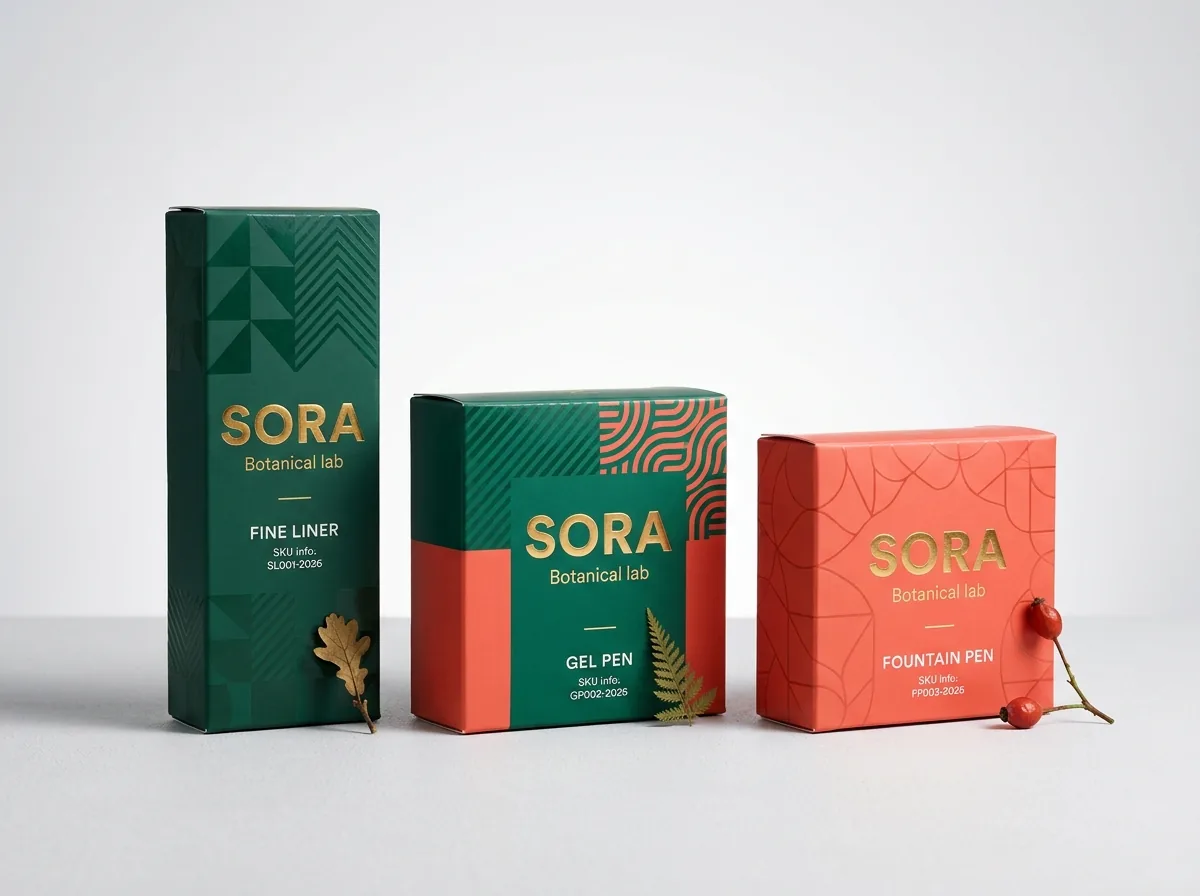
| Rollerball & gel pens | 18 units (6 W × 3 D) | 5.75 × 4.25 × 10.5 in | 18-hole elevated collar | 20 pt SBS / kraft |
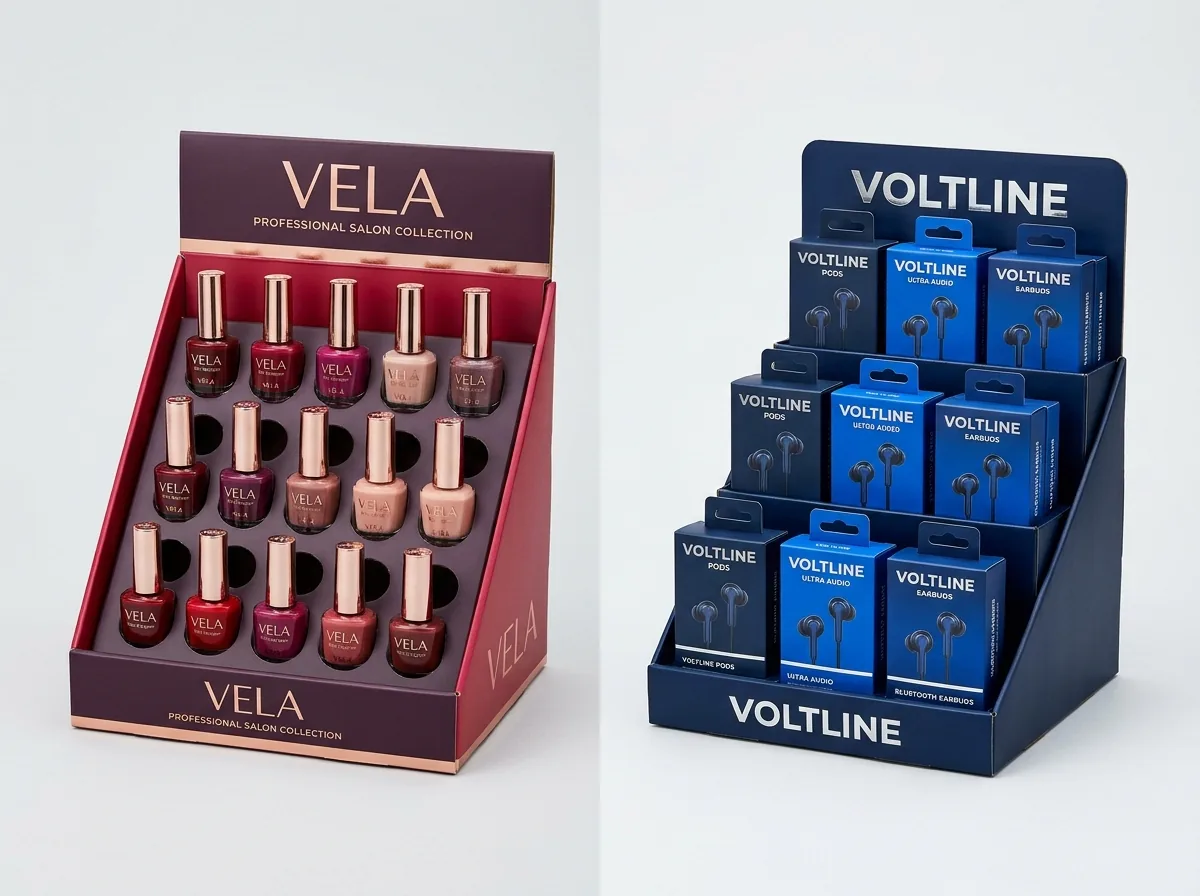
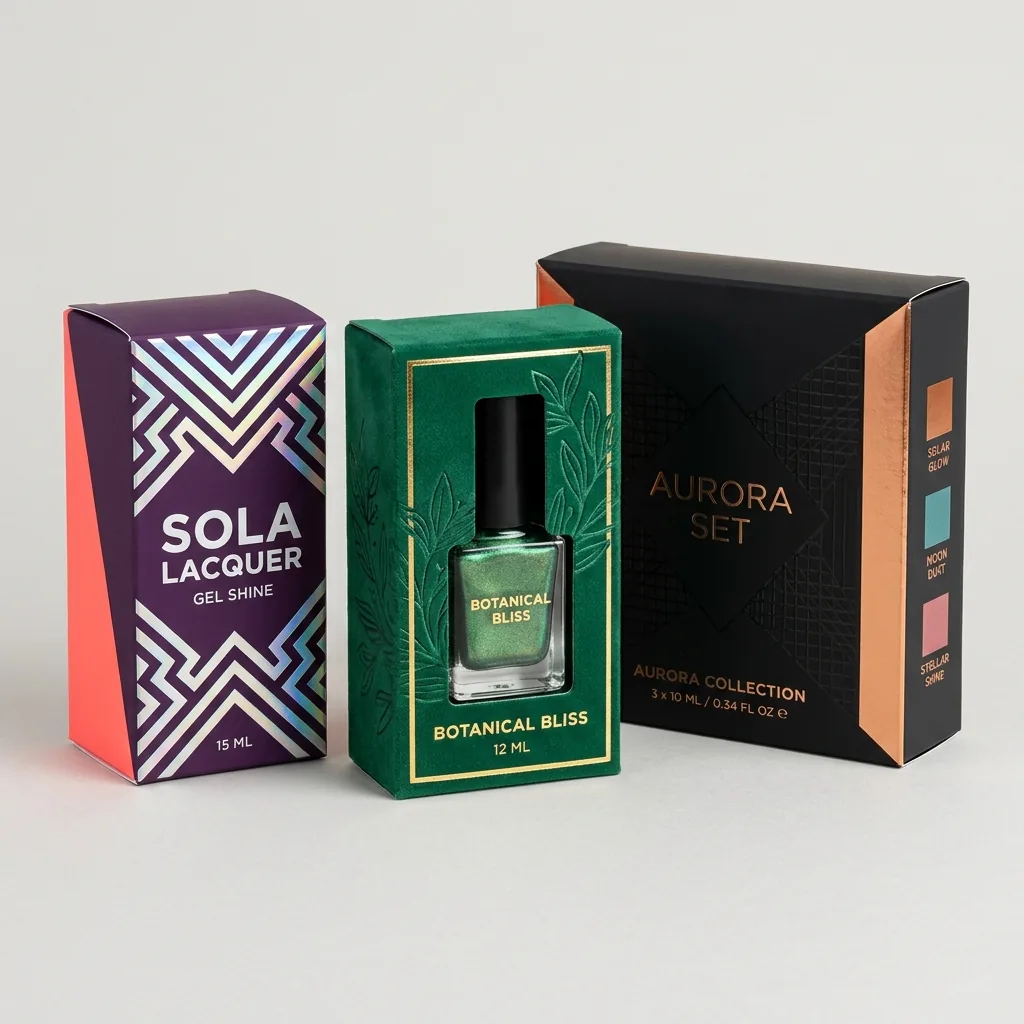
| Nail polish & tinctures | 15 units (5 W × 3 D) | 7.50 × 5.25 × 9.5 in | 15-hole bottle plate | 24 pt SBS or E-flute |
| Candy & gummy cartons | 12 units (4 W × 3 D) | 7.00 × 6.50 × 11.0 in | 2-tier stadium step riser | 20–24 pt SBS / kraft |
| Protein & snack bars | 12 bars (2 W × 6 D) | 6.50 × 7.50 × 10.5 in | Center vertical lane wall | 20–24 pt kraft / SBS |
| Tea minis & earbuds | 9 cartons (3 W × 3 D) | 8.25 × 7.50 × 12.5 in | 3-tier stadium step riser | 24 pt laminated SBS |
How do you engineer die-cut hole grids versus 2-tier and 3-tier stadium steps?
A counter display looks sharp on day one when packed 100% tight, yet the real structural test arrives when 14 out of 24 units have sold. Without internal singulation, cylindrical tubes roll diagonally across the tray floor and flexible stand-up pouches slump forward behind the front lip, making the assortment look messy and picked over to afternoon shoppers. Choosing between a punched aperture platform and a folded stair-step riser depends on whether your individual unit has a narrow base that tips easily or a broader base that simply needs rear-row elevation so shoppers can read flavor titles on the back row without leaning over the counter. Review the engineering tolerances for each organizer style below
| Organizer structure | Ideal unit geometry | CAD clearance & bridge math | Anti-tip advantage |
|---|---|---|---|
| Die-cut round hole grid | Lip balms, pens, mascara, droppers, nail polish | Hole ID = Tube OD + 1.2 mm; ≥ 8–10 mm bridge between holes | Every single cylinder stands vertical even when 1 unit remains |
| 2-tier stadium step riser | Candy boxes, gummy packs, soap bars (2–3 rows) | Rear step rises +1.0 to +1.25 in above front floor | Prevents back row from disappearing behind front row |
| 3-tier stadium step riser | Mini tea cubes, earbuds, charm boxes (3 rows) | Two progressive +0.85 to +1.1 in stair steps | Creates boutique amphitheater presentation on deeper counters |
| Vertical lane divider | Wrapped snack bars, flat sachets, seed packets | Full-depth center wall slotted into front & back walls | Stops narrow wrapped bars from twisting sideways |
When should you choose 18–20 pt card, 24 pt SBS, or E-flute corrugated board?
Because shoppers touch printed checkout counter displays at close range while paying, board stiffness and edge cleanliness directly influence perceived product quality. A flimsy sidewall that bows outward when twelve bars press against it signals bargain-bin quality, whereas crisp 90-degree corners and a taut standing billboard frame your brand like a dedicated store fixture. You also want to account for counter wipe-down moisture in cafes and salons, where spilled iced drinks or sanitizing sprays touch the bottom edge of the tray daily. Across custom lip balm boxes, custom pen boxes, custom nail polish boxes, custom gummy boxes, and custom snack boxes, match caliper thickness to total loaded tray weight and transit workflow
- 18 pt – 20 pt White SBS or Natural Kraft (under 1.5 lb total load): Ideal for 12-to-24 count lip balms, stationery pens, tea sachets, and lightweight confections that ship flat and assemble at store level with razor-sharp folded edges.
- 24 pt Heavy SBS or Laminated Kraft (1.5 to 3.5 lb total load): Adds noticeably firmer sidewall snap and header rigidity for 2-tier and 3-tier stepped displays holding boxed gummies, chocolate bars, or pocket earbuds.
- Printed 1.5 mm E-Flute Micro-Corrugated (3.5 to 8 lb or pre-packed parcel transit): Recommended when co-packing 15+ glass nail polish bottles, tincture droppers, or dense protein bars that travel pre-filled through UPS or FedEx inside master shippers.
- Flood-print insert platforms to match the outer tray: Printing your die-cut hole grid or stadium steps in deep violet, emerald, burgundy, or matte black hides empty slots gracefully as stock sells down.
- Zero extra die setup fees on matching inserts: CubitPack cuts both the outer CDU tray and its custom grid or step insert starting at 1,000 sets with zero steel-rule die charges.
Know your size? Compare pricing across up to 3 quantities.
Request a Quote →What is the 4-step bench test before ordering 1,000 counter display boxes?
Run this four-step check alongside our companion guides on pre-packed PDQ counter displays vs flat-ship trays and peg cartons and counter display header hinges, front lips, and insert dielines, plus our cosmetic comparison of single lip balm boxes vs counter display boxes. Testing physical unit spacing and finger reach with your real packaged tubes, dropper vials, or stand-up pouches before press prevents overcrowded holes or tippy rear rows. Even a three-minute desk mock-up using a ruler and twelve actual units reveals whether thumbs and index fingers can pinch a front-row bottle cleanly without bumping adjacent caps or catching on the front retaining lip
- Step 1: Arrange your target unit count (12, 15, 18, or 24 pieces) on a desk in a shallow wide grid (such as 5 × 3 or 6 × 4) so total width stays under 9.5 inches and depth stays under 8.5 inches.
- Step 2: Leave 8 to 10 mm of breathing space between cylindrical tubes for a die-cut hole bridge, or add +2.5 mm per row for rectangular mini cartons and pouches.
- Step 3: Weigh the full set of units on a postal scale to pick 18–20 pt card (under 1.5 lb), 24 pt heavy card (up to 3.5 lb), or E-flute board (glass bottles and pre-packed parcel shipments).
- Step 4: Submit your single-unit dimensions and pack count in CubitPack's quote form (from 1,000 displays); prepress builds your free tray + insert vector CAD dieline and 3D proof before payment, with an optional $50 sample kit credited toward your first order.
What sizing and insert mistakes ruin checkout counter displays?
Check your dimensions against these five frequent CDU sizing errors before approving your CAD template
- Designing a 16-inch-wide or 22-inch-tall display that store managers reject from the checkout zone because it crowds the payment terminal or blocks cashier sightlines.
- Punching lip-balm or pen holes at the exact 0.0 mm outer diameter of the tube without a +1.2 mm slip clearance, causing labels to scuff when shoppers pull units out.
- Leaving paperboard bridges narrower than 6 mm between adjacent grid holes so the collar platform tears or sags under bottle weight.
- Setting front-to-back tray depth deeper than 11 inches with a flat floor so back-row pouches disappear into shadow.
- Using thin 14 pt carton stock on a 24-unit glass bottle counter display instead of stepping up to 24 pt card or E-flute.
Packaging for this

Ready to order counter display boxes? Compare up to 3 quantities with a free 3D mockup.
Request a Quote →Questions about counter display boxes
What is the maximum height allowed for a checkout counter display box?
Major retail and convenience chains enforce a 20-inch maximum sightline ceiling on checkout counters so cashiers maintain clear visual contact with shoppers. Keeping your tray plus standing header between 9 and 15 inches tall achieves ideal eye-level impact without violating store rules.
How much clearance should a die-cut grid hole add around a tube or bottle?
Add 1.0 to 1.5 mm (about 0.04 to 0.06 inches) over the maximum outer diameter of your tube, cap, or shrink band. That slight gap lets customers lift a lip balm, pen, or nail polish bottle smoothly with two fingers without lifting the entire display tray.
Do I need to calculate the insert dieline myself before requesting a quote?
No. Simply share the length, width, height (or diameter) of one individual product plus how many units you want each counter display to hold. CubitPack's structural specialists engineer both the outer CDU tray and the internal hole grid or stadium step riser free of charge.
Are there extra tooling or die fees when adding a 24-hole grid or 3-tier step riser?
No. CubitPack charges zero die or plate setup fees on custom counter display boxes starting at 1,000 units, including matched die-cut hole collars, stepped stadium risers, and center lane dividers.
Can I test paperboard calipers in hand before approving a 1,000-unit run?
Yes. Order CubitPack's $50 material & finish sample kit (credited toward your first production order) to compare paperboard weights, kraft vs white SBS, soft-touch lamination, Spot UV, and metallic foils in person.
Still have a question? Ask a packaging specialist.
Request a Quote →Request your counter display boxes quote
Tell us your size and quantities, and one dedicated account manager prepares pricing for each tier.
- Free design & AI-to-print studio + 3D mockup
- No die or plate charges · 4–5 day rush available
- Free shipping to all 50 states
- 10% off your first order
We verified POS cash-wrap width/depth/sightline constraints, die-cut circular aperture clearances, 8–10 mm bridge minimums, stadium riser elevations, and 18–24 pt paperboard stiffness against Shop! Association (POPAI) retail checkout standards, ECMA Folding Carton Design Codes, and Paperboard Packaging Council (PPC) guidelines. Spot something wrong? Tell us and we fix it.
Sources
What changed
- November 6, 2026: First published with 6-product checkout footprint table, hole-grid vs stadium-step tolerance chart, and 18–24 pt board selection guide.
More guides
New packaging guides by email
Sizes, materials and design tips. Unsubscribe anytime.