
What affects the cost and multi-cavity layout of custom box inserts?
Short answer: The cost of custom box inserts is driven by four factors: material family (folded card vs multi-layer EVA or EPE foam), outer tray dimensions and depth, cavity count (1 to 13+ wells), and total order quantity. Smart cavity layout also shrinks your outer box and shipping dimensional weight.
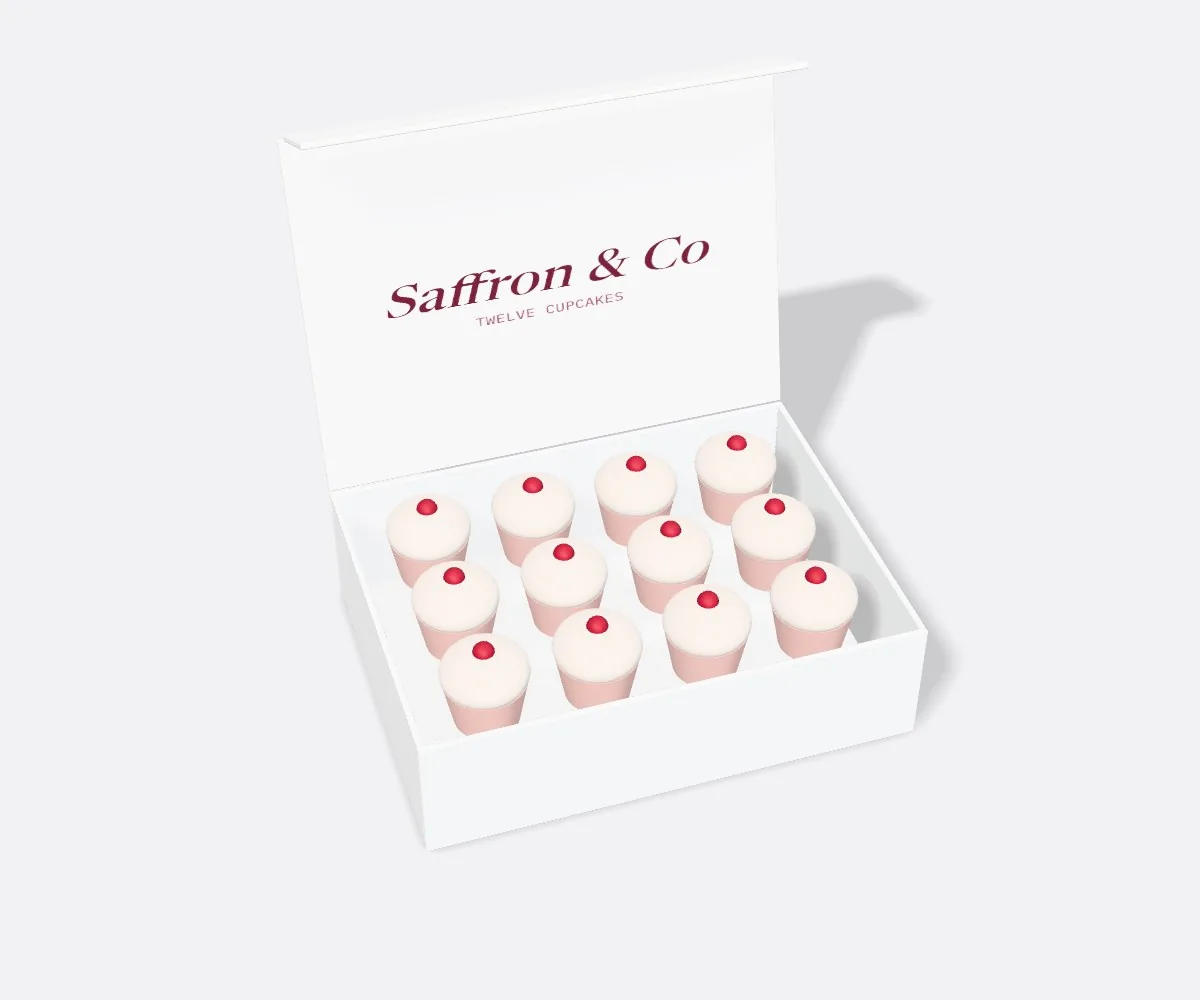
On this page
- What are the main factors that drive custom box insert pricing
- How does laying items flat vs standing them upright change total cost
- How do double-decker stacked inserts shrink your outer box footprint
- How can I use printed card inserts to replace separate instruction booklets
- How do I design one universal insert that fits multiple SKU variants
- Common mistakes
- FAQs
Request a custom quoteFree dieline & 3D mockup
When budgeting for custom box inserts, smart structural layout saves money in two places at once: on the insert itself, and on the outer box and parcel postage required to ship it. Because CubitPack never charges die or printing plate fees and includes free structural engineering and free 50-state shipping, your unit cost comes down to raw material volume, converting steps, printing finishes and total run size. A single-sheet folded paperboard or corrugated riser that ships flat uses far less material and warehouse space than a 2.5 inch thick block of multi-layer laminated EVA foam. Even more important, rotating how items sit in the tray (or stacking cables and booklets underneath a two-tier platform) can trim 2 to 3 inches off your outer box length and width, lowering both your box quote and your carrier dimensional weight tier.
What are the main factors that drive custom box insert pricing?
Every quote for custom die-cut packaging inserts breaks down into four mechanical variables: the base substrate, the three-dimensional volume of the tray, how many individual pockets or depth layers must be cut and assembled, and whether the top deck is printed or laminated. Unlike stock packaging houses that add a separate steel-rule die charge every time you add a cavity or adjust a bottle cutout, CubitPack includes custom dieline engineering and tooling at zero extra charge. Use the table below to see how each specification choice influences unit cost and where you can simplify a design without sacrificing transit safety. Notice how press setup spreads across the production run: stepping up from a small launch tier to the next quantity break reduces the cost per insert significantly, especially on printed paperboard and card-topped foam constructions.
| Cost driver | Most economical spec | Higher-spec luxury option | How to optimize your quote |
|---|---|---|---|
| Base material | Folded paperboard or E-flute corrugated card | High-density EVA foam or paper-topped foam | Use folded card for mailers; save EVA for rigid boxes |
| Tray depth & layers | Single-sheet folded riser (ships flat) | Multi-layer laminated stepped foam block | Step depths only where item heights differ by >0.5 in |
| Cavity count | 1 to 4 cavities with clean geometric outlines | 5-12 or 13+ contoured cavities (advent/PR grids) | Group small accessories into one shared well |
| Printing & finish | Unprinted kraft/white card or stock black/white foam | Flood Pantone + soft-touch + metallic foil stamping | Print 1 Pantone or match your outer box press run |
| Order quantity | Higher quantity tiers (1,000 to 2,500+ units) | Smaller initial launch runs (250 to 500 units) | Share one insert across color/scent variants |
How does laying items flat vs standing them upright change total cost?
Before our CAD team draws a single cut line, we look at whether your products should lie flat on their backs (billboard style) or stand upright on their bases. In e-commerce subscription mailers, PR kits and cosmetic sets, laying bottles and tubes flat facing upward is the gold standard: as soon as the customer opens the lid, every front label is readable at once, and the box stays shallow (typically 2 to 3 inches deep) so it mails easily. However, laying four wide jars flat in a single row can create a wide outer footprint. For heavy 9 oz candle tumblers, 12 oz beverage bottles or gourmet sauce sets, standing the containers upright inside an interlocking partition grid or a bottom corrugated cradle lets you use a much narrower, cube-shaped shipping box. Try both arrangements in the planning stage: a 2 × 2 grid almost always uses less perimeter board and survives corner drops better than a long 1 × 4 single row.
How do double-decker stacked inserts shrink your outer box footprint?
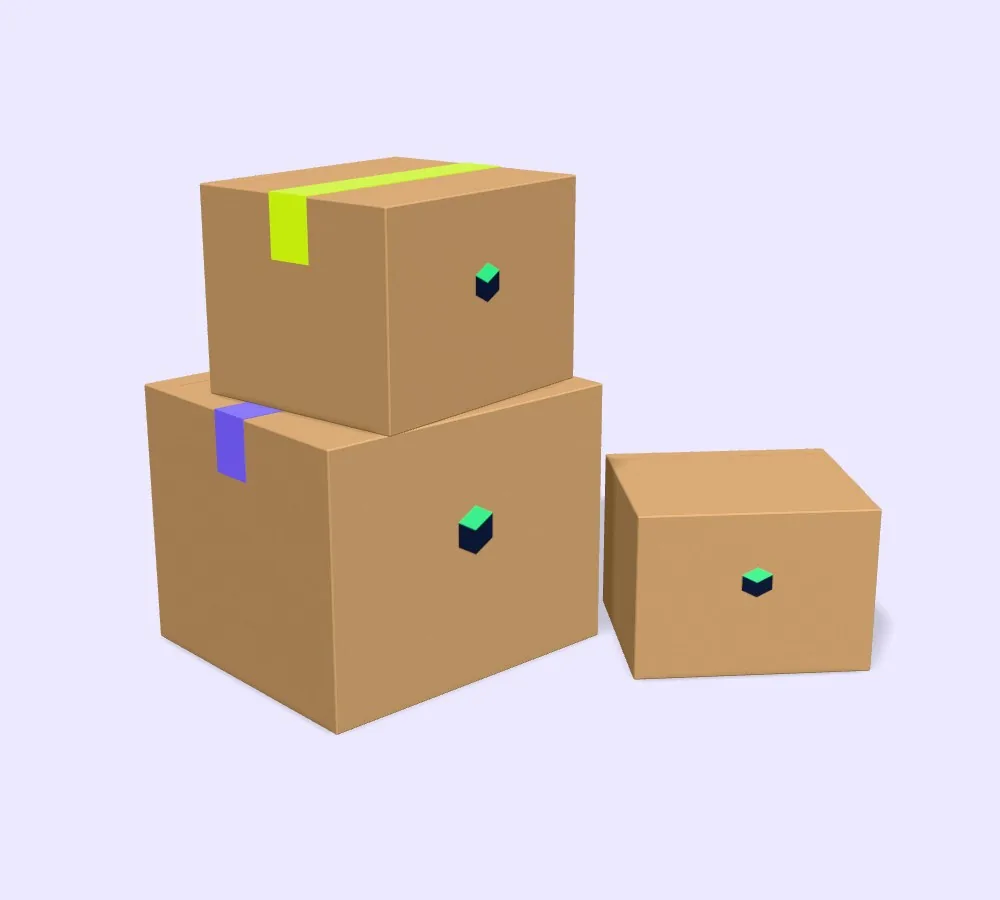
One of the smartest ways to cut both box and insert costs on multi-piece electronics, medical kits and skincare device sets is switching from a wide single-layer tray to a compact two-tier (double-decker) layout. Suppose your kit includes a main facial toning device, a glass conductive gel bottle, a USB-C charging cord, a wall adapter and an instruction manual. Putting all five items side by side on one flat plane forces you into a sprawling 12 × 10 inch box. Instead, we design a compact 7 × 6 inch upper insert tray that showcases only the hero device and gel bottle on top, with a hidden accessory well underneath the tray floor holding the charging cable, adapter and booklet. A small satin ribbon pull tab or die-cut finger notch on the side of the upper tray lets the customer lift the top stage out effortlessly. You get a cleaner, clutter-free unboxing moment while cutting the outer box area nearly in half. Lowering your outer mailer or rigid box dimensions by even two inches on length and width also reduces carrier dimensional weight charges on every single parcel you ship nationwide, often saving more on fulfillment postage than the entire cost of the insert tray itself.
Know your size? Compare pricing across up to 3 quantities.
Request a Quote →How can I use printed card inserts to replace separate instruction booklets?
When you choose custom cardboard inserts or laminate a printed card top-sheet onto custom eva foam inserts, the flat deck around your cavities becomes high-visibility graphic space. Many skincare, supplement and onboarding kit brands print step-by-step usage numbers ('Step 1: Cleanse · Step 2: Treat · Step 3: Moisturize'), dosage icons and QR codes directly beside each cutout. Printing those onboarding cues right on the insert deck eliminates the cost of printing and hand-packing a separate instruction leaflet, and ensures the guide never gets lost or tossed out with the shipping wrapper. You can also coordinate the insert deck with inside-lid printing on your mailer box so the lid carries the brand headline while the insert platform labels each bottle below. For gift and apparel bundles, laying a sheet of custom tissue paper or custom insert cards cleanly over the top of the tray adds a second reveal layer before the customer lifts out the products.
How do I design one universal insert that fits multiple SKU variants?
If your brand sells three different starter kits or seasonal gift bundles, ordering three completely separate insert sizes splits your quantity into smaller runs. Whenever possible, ask our design team to design a universal cavity silhouette that accommodates multiple SKUs across your line without requiring separate cutting layouts. For example, if you sell both a 30 ml dropper bottle and a 50 ml pump bottle that share the same base diameter but differ by 0.75 inches in height, a single neck-lock paperboard cavity with an extended head slot can hold either bottle securely without rattling. Similarly, if you offer four seasonal candle scents or three skincare routine tiers that use the same jar and tube containers, keeping an neutral flood Pantone color or unprinted kraft finish on the insert lets one master insert serve every SKU. Consolidating three kit variants into one universal insert lets you order the combined total quantity together, unlocking a lower price per unit across your entire catalog.
- Arrange 4+ items in a compact 2 × 2 or staggered grid rather than a long 1 × 4 strip to shrink outer box dimensions.
- Hide charging cables, spatulas, droppers and manuals underneath the main presentation tray to cut surface area in half.
- Print step numbers, dosage icons and QR codes directly on the card deck to skip separate instruction sheets.
- Design universal neck-lock cutouts and shared Pantone decks so one master insert fits multiple flavor, scent or bottle variants.
What layout mistakes drive up the cost of custom box inserts?
Most overspending on box inserts comes from sprawling single-layer layouts that force the outer box into a larger dimensional tier. Watch out for these five mistakes
- Giving cheap charging cords and plastic spatulas their own top-level foam cutouts right next to the hero product, which doubles the tray area.
- Arranging four or five bottles in a single long horizontal row instead of a compact two-row or staggered layout.
- Ordering separate insert dielines for every scent or shade variant when all bottles share the exact same container dimensions.
- Specifying 2-inch thick solid foam for lightweight folding cartons where a flat-folding printed paperboard riser would protect the item at a fraction of the cost.
- Leaving wide empty margins around a single small product instead of downsizing the outer box to fit the item.
Packaging for this
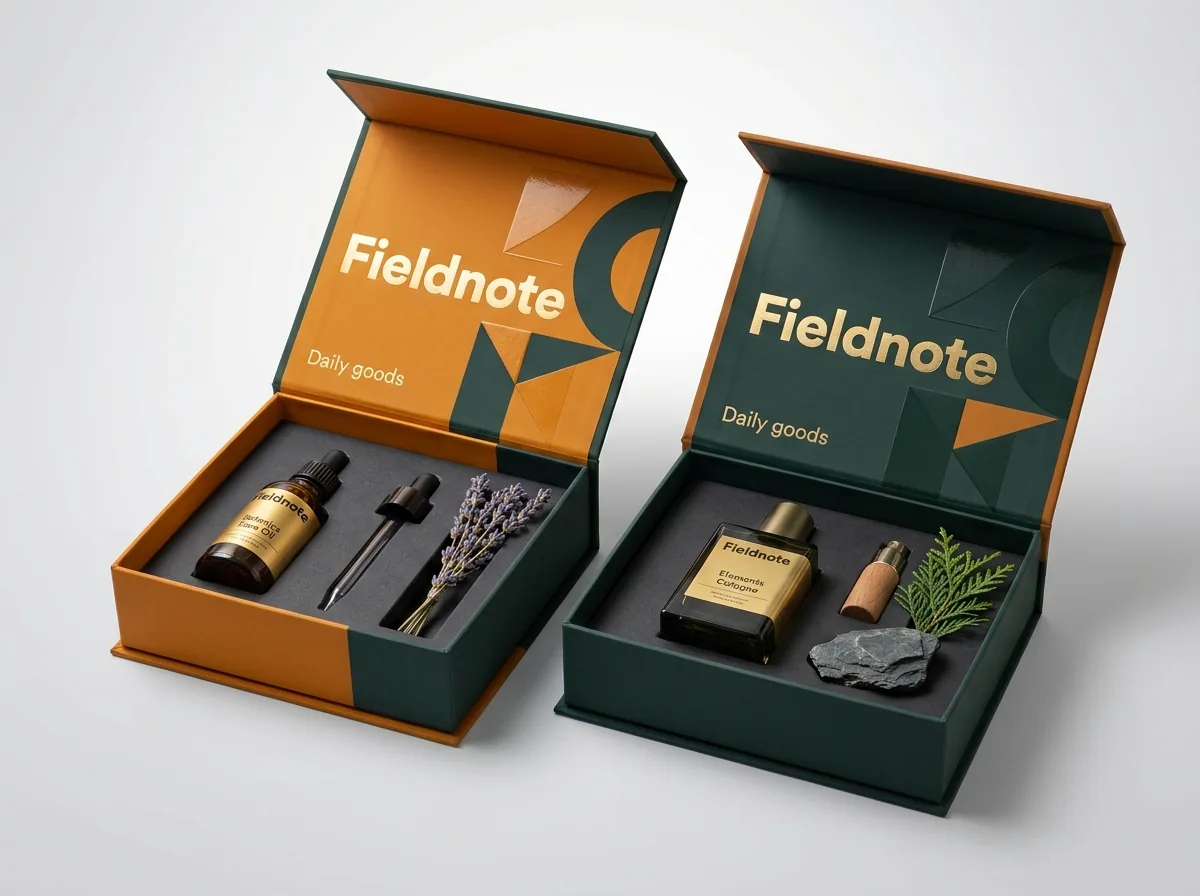
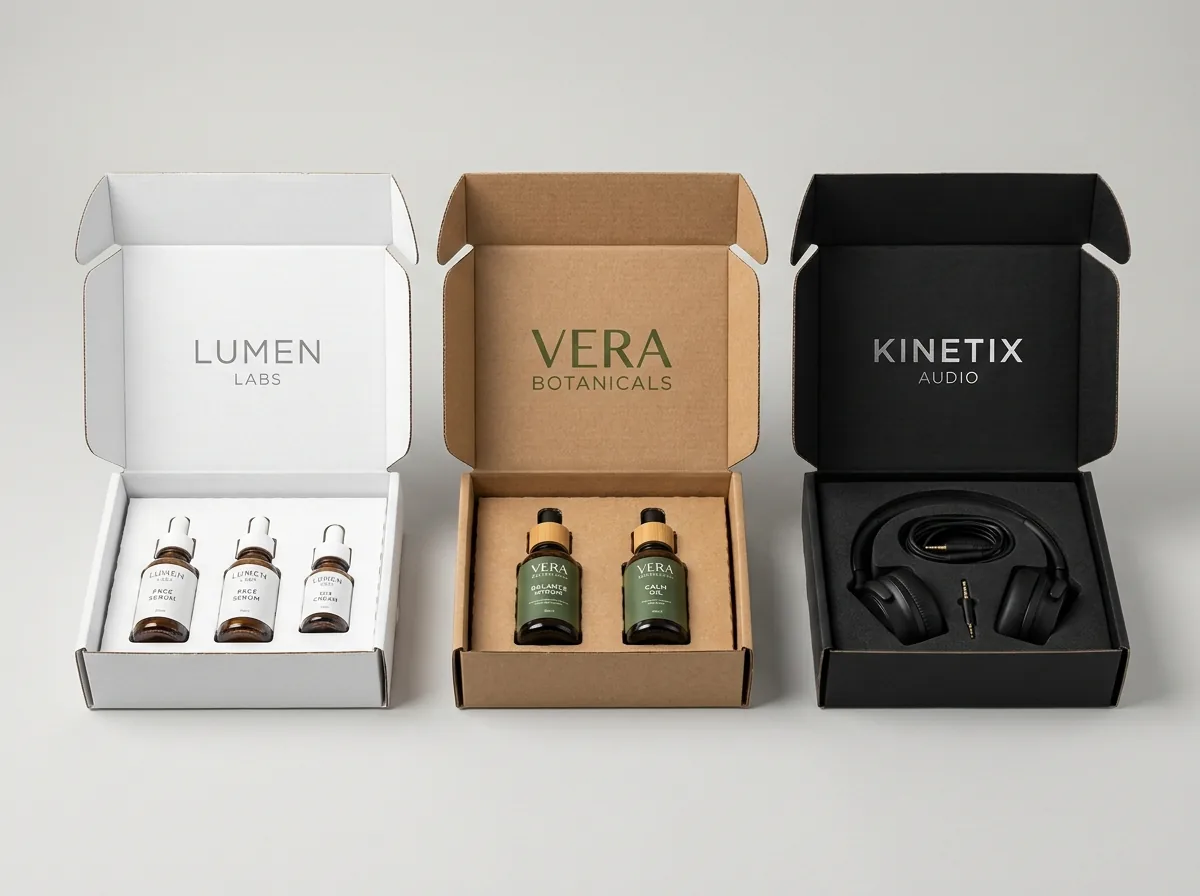

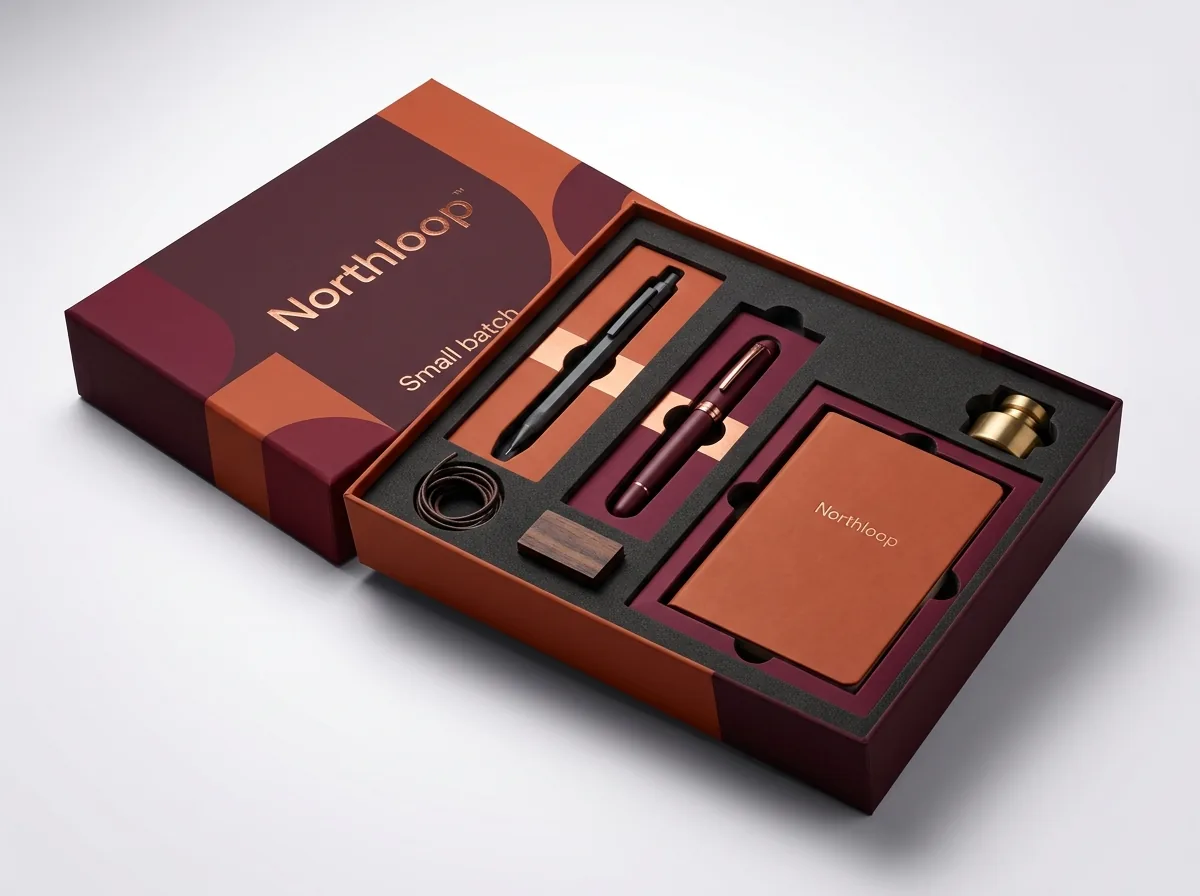
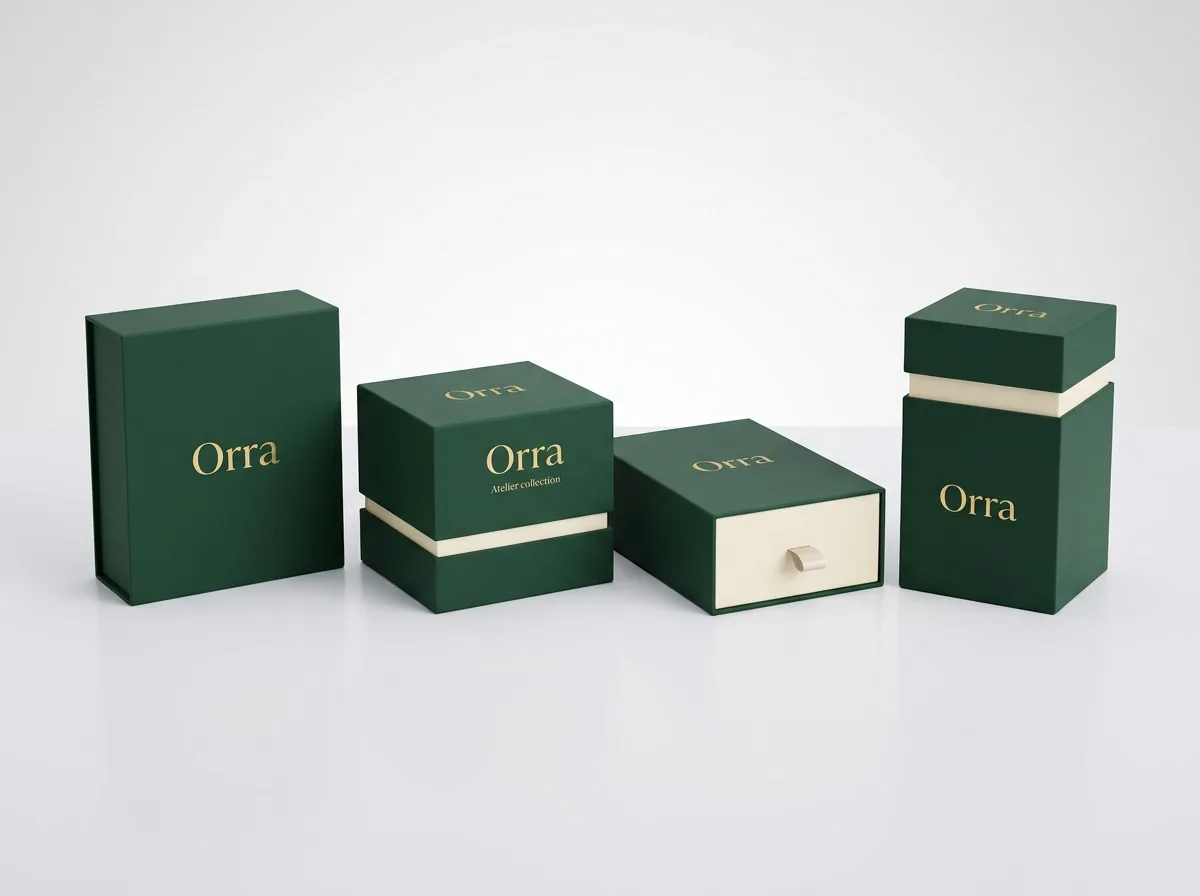
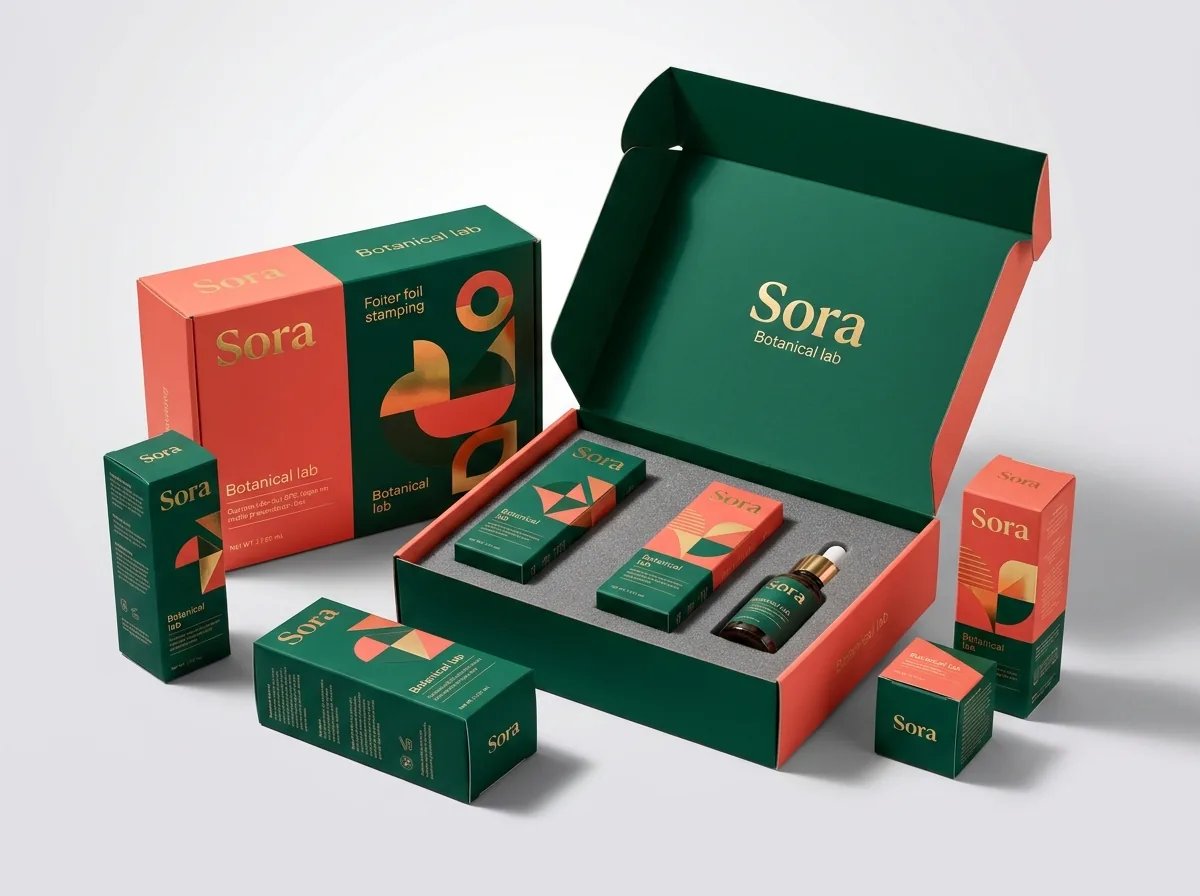
Ready to order box inserts? Compare up to 3 quantities with a free 3D mockup.
Request a Quote →Questions about box inserts
Does adding more cavities increase the cutting die fee on my order?
No. CubitPack never charges die or plate fees. Whether your insert has one cavity or twelve cavities, there is no tooling surcharge; cavity count only affects the cutting time and structural complexity of the tray itself.
Is it cheaper to order my custom boxes and custom inserts at the same time?
Yes. Ordering your outer boxes and inserts together lets our design team match both dielines on the first pass, coordinates your Pantone ink runs across both pieces, and ships everything together with free 50-state delivery.
How many quantity tiers can I compare in a single box insert quote?
In Step 1 of the quote form, you can enter up to three quantities (such as 250, 500 and 1,000, or 1,000, 2,500 and 5,000). We send back a clear price for each tier so you can see where the unit cost drops.
Can I print the inside of my mailer box and the card insert in the same color?
Yes. Our Pantone color match is guaranteed across your outer box, inside lid and paperboard or corrugated insert. If a printed Pantone shade is clearly off from your approved spec, we reprint it.
What if I only have an AI concept image of how I want my kit layout to look?
Upload your AI image or rough sketch in Step 2 of the quote form along with your product dimensions. Our structural designers will convert your concept into a real, manufacturable CAD dieline and show you a 3D mockup for free.
Do you offer kitting and assembly if we do not want to fold inserts in-house?
Yes. We offer warehousing, fulfillment, kitting and assembly through partner warehouses, quoted per customer. We can fold your inserts, place them inside your boxes and pack your products ready to ship.
Still have a question? Ask a packaging specialist.
Request a Quote →Request your box inserts quote
Tell us your size and quantities, and one dedicated account manager prepares pricing for each tier.
- Free design & AI-to-print studio + 3D mockup
- No die or plate charges · 4–5 day rush available
- Free shipping to all 50 states
- 10% off your first order
The layout and cost-optimization guidelines in this post come from CubitPack's decided offers (no die or plate charges, free structural design, free US shipping) and standard CAD sheet-yield engineering, checked by a packaging specialist. Spot something wrong? Tell us and we will fix it.
Sources
What changed
- October 22, 2026: First published.
- October 22, 2026: Updated specifications, terminology, and verified source links.
More guides
New packaging guides by email
Sizes, materials and design tips. Unsubscribe anytime.