
How do I prepare custom label artwork, bleed and cut lines?
Short answer: Set your file to 100% actual size in CMYK or Pantone, extend background colors ⅛ inch (0.125 in) past the cut line for bleed, keep text at least ⅛ inch inside the cut line, and outline all fonts. Don't have a print-ready file? CubitPack sets up your dieline and bleed for free.
On this page
- What are bleed, cut line and safe zone on a label
- What is the print-ready checklist for custom label files
- How do I set up artwork for clear labels, foil labels and foil stamping
- Should I use CMYK or Pantone colors so my labels match my boxes
- Can I print an AI-generated design or Canva file on a custom label
- How do I format barcodes, QR codes and ingredient text on a label
- Common mistakes
- FAQs
Request a custom quoteFree dieline & 3D mockup
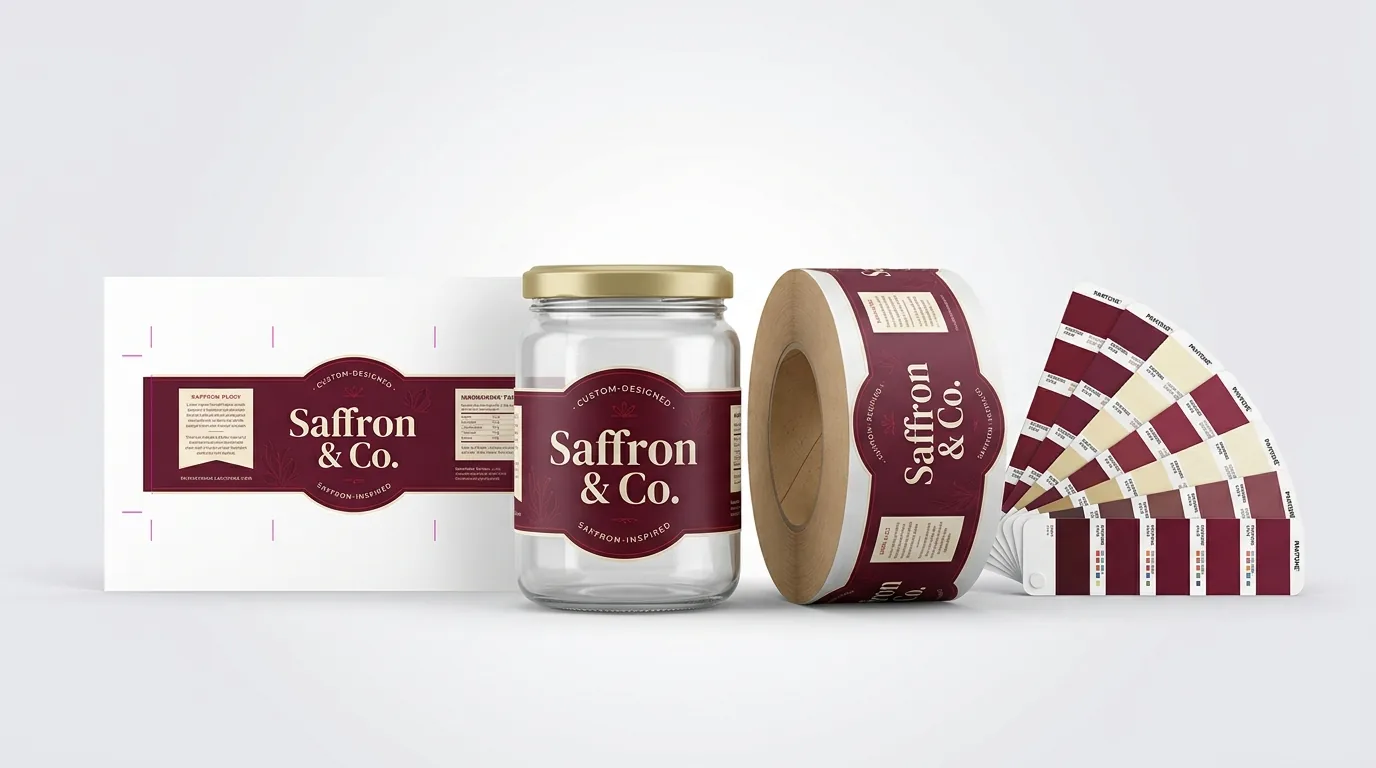
Preparing artwork for custom labels comes down to three boundary lines and clean vector text. First, the cut line (or dieline) marks the exact finished width × height or custom shape of your label. Second, the bleed line sits ⅛ inch (0.125 in) outside the cut line: any background color, pattern or photo that touches the edge of your label must extend all the way to the bleed line so no white paper sliver shows if the cutting blade shifts by a hair. Third, the safe zone sits ⅛ inch inside the cut line: keep every logo, ingredient line, border and barcode inside this margin so nothing gets clipped. Export vector files (AI, PDF or EPS) with fonts converted to outlines and raster photos at 300 DPI. If you only have a Canva export, a PNG logo or an AI-generated image, our designers prep the file and show a 3D mockup for free.
What are bleed, cut line and safe zone on a label?
Even precision rotary and laser die-cutters have a tiny mechanical tolerance as the label web moves through the press. If you stop your dark green or burgundy background right at the 3 × 4 inch cut line, a movement of even 1/32 of an inch leaves an unprinted white hairline along one edge of the finished label. Extending your background ⅛ inch (0.125 in) past the cut line on every side solves that completely: for a 3 × 4 inch label, your full bleed background measures 3.25 × 4.25 inches. Just as important, pull all text, ingredient lists and thin frame borders at least ⅛ inch inside the cut line (a 2.75 × 3.75 inch safe area on a 3 × 4 inch label) so your border looks even all the way around when you order custom printed labels.
- Cut line (dieline): the exact finished size and shape of the label, placed on its own named vector layer.
- Bleed (+⅛ inch / 0.125 in outside the cut line): extend background colors, patterns and edge-to-edge photos here.
- Safe zone (−⅛ inch / 0.125 in inside the cut line): keep all logos, text, barcodes and borders inside this box.
- Rounded corners: a 1/16 inch or ⅛ inch corner radius on rectangles prevents sharp corners from catching and lifting.
What is the print-ready checklist for custom label files?
Before you upload your artwork in Step 2 of the quote form, run through these six checkpoints. If you are missing any of them, do not worry: every CubitPack order includes a free artwork check, free dieline setup and a digital proof before you pay. Setting up your document canvas at 100% print size from the very beginning prevents fuzzy edges and layout shifts later. In Adobe Illustrator, InDesign or Affinity Designer, set your artboard to the exact finished width and height in inches, then add a 0.125 inch document bleed on top, bottom, left and right. Place your artwork on one layer and your vector cut line on a separate layer named Dieline so the cutting blade path never prints on the finished label.
| Item | Recommended spec | What happens if skipped |
|---|---|---|
| File format | PDF, AI or EPS (high-res PNG/PSD also accepted) | Low-res JPEGs look blurry on small text |
| Dimensions | 100% actual print size (W × H in inches) + ⅛ in bleed | Scaling up a tiny canvas softens edges |
| Resolution | At least 300 DPI at 100% print size for photos | 72 DPI web graphics print pixelated |
| Color mode | CMYK or Pantone (PMS) spot color codes | Neon RGB screen colors shift when converted |
| Typography | Fonts converted to outlines; body text ≥ 6 pt | Missing fonts substitute; tiny text fills in |
| Barcodes & QR codes | 100% black ink on a white or light background | Low-contrast or glossy colored codes fail scanners |
How do I set up artwork for clear labels, foil labels and foil stamping?
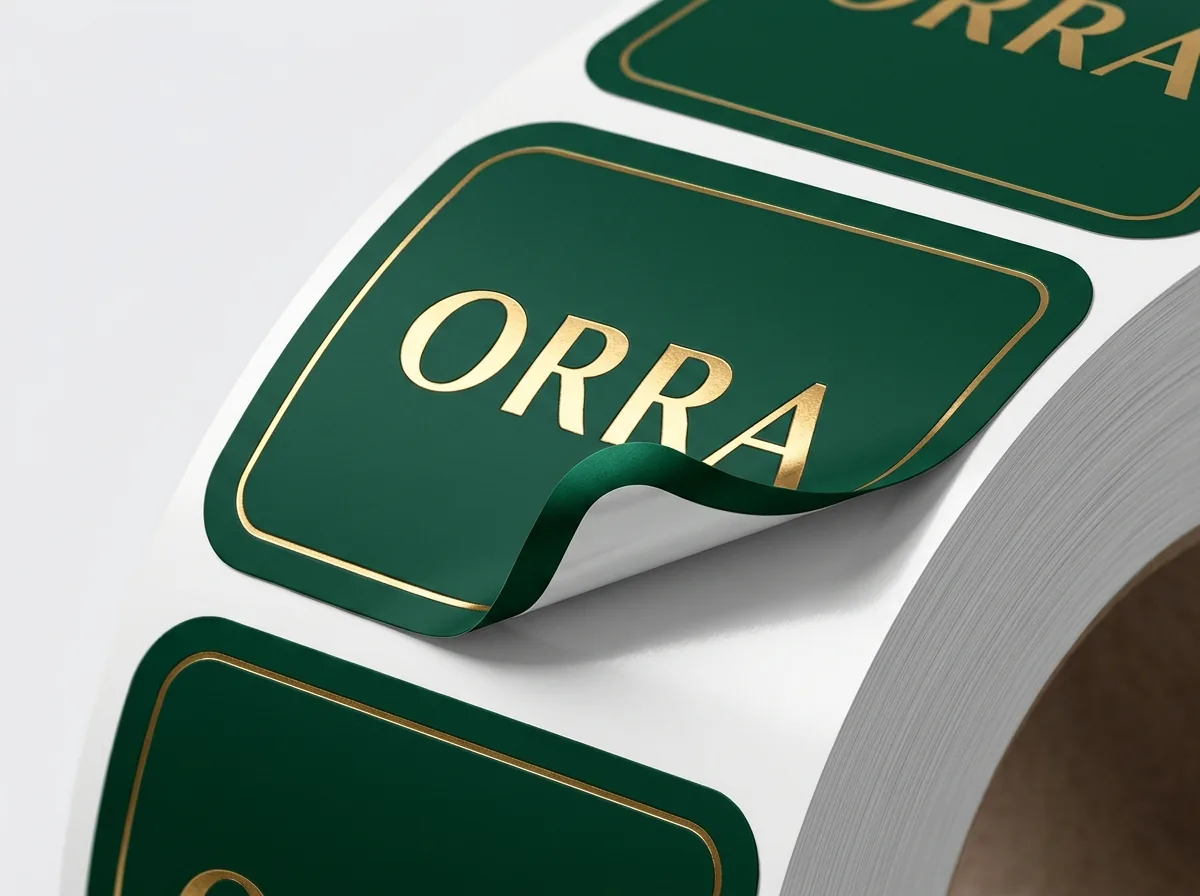
Standard CMYK printing inks are slightly translucent because they are designed to sit on top of bright white paper or white film. When you print CMYK directly onto custom clear labels or metallic custom foil labels without a base layer, the glass jar, dark liquid or metallic sheen shows through the ink and makes colors look stained-glass or muted. To keep your logo and text solid, we print an opaque white ink underbase directly beneath the parts of your artwork that need to stay bright, while leaving the rest of the label transparent or metallic. For hot foil stamping or spot UV, simply put the elements you want foiled or glossed on a separate solid 100% vector layer, or tell us in the notes which logo or border should receive the finish.
Know your size? Compare pricing across up to 3 quantities.
Request a Quote →Should I use CMYK or Pantone colors so my labels match my boxes?
Full-color CMYK blends cyan, magenta, yellow and black dots to reproduce photographs, gradients and multi-color illustrations. Pantone (PMS) uses pre-mixed solid inks from a universal color book so a signature brand color prints identically every time. If you order both custom labels and custom product boxes from CubitPack, giving us your Pantone code lets us lock the exact same shade across your jar label, lid sticker and outer carton. Our Pantone match is guaranteed: if a Pantone color is clearly off from the approved spec, we reprint it. Keep in mind that computer monitors and phone screens display colors using backlit RGB light, which can make neon greens, electric blues and bright oranges look more luminous on screen than ink on paper. Converting your file to CMYK or picking a Pantone swatch early in the design process shows you an honest preview of how the ink will look on matte, gloss or kraft label stock.
Can I print an AI-generated design or Canva file on a custom label?
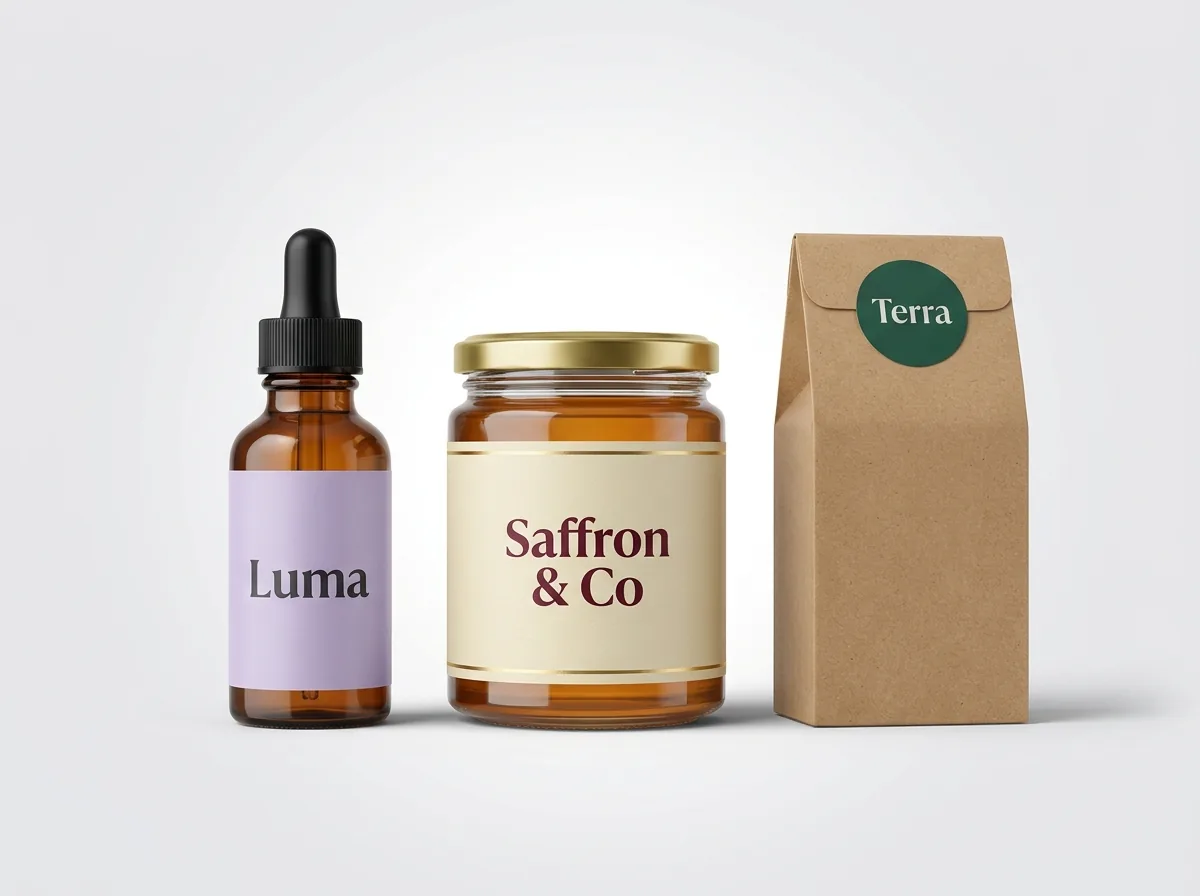
Yes. Many founders generate label illustrations in Midjourney, ChatGPT or Canva, only to find that the file is a 72 DPI square RGB image with no bleed, no vector cut line and slightly warped small text. With CubitPack's print your AI design offer, you can upload your raw AI image or Canva link directly in the quote form. Our packaging designers clean up the file, rebuild sharp vector typography, add the ⅛ inch bleed and custom dieline, and send back a print-ready digital proof and 3D mockup on your container for free. If you are exporting from Canva yourself, download your design as 'PDF Print' with 'Crop marks and bleed' checked, and select CMYK color if you have Canva Pro. Even if you only have a standard PNG export, upload the highest-resolution version you have along with the font names you used, and our prepress team will handle the conversion at no extra charge.
How do I format barcodes, QR codes and ingredient text on a label?
Small jars, dropper bottles and lip balm tubes pack a lot of required information into a tight space. To keep ingredient lists, net weight statements and warnings sharp on press, set dark text on a light background at 5.5 pt to 6 pt or larger, and set light text reversed out of a dark background at 6.5 pt to 7 pt or larger. Further, make sure black body text is set to 100% pure black (K=100 in CMYK) rather than a four-color rich black mix, so tiny letters stay razor-sharp. For retail UPC barcodes and QR codes, contrast and quiet zones determine whether a checkout scanner reads the code on the first beep. Always print barcode bars in 100% black (or a very dark navy, forest green or espresso brown) on a solid white rectangle, and leave at least ⅛ inch of blank white margin on the left and right sides of the bars. On narrow cylindrical bottles under 2 inches in diameter, rotate the barcode into a ladder orientation (bars stacked vertically like rungs on a ladder) so the curve of the bottle never distorts the spacing between bars.
- Set small dark ingredient text to 100% K (black only) at 5.5 pt to 6 pt minimum.
- Set reversed white text on dark backgrounds to 6.5 pt to 7 pt minimum with a medium stroke weight.
- Place UPC barcodes on a solid white box with at least ⅛ inch of quiet margin on both sides.
- Rotate barcodes into a vertical ladder position on narrow bottles so the cylinder curve does not bend the scan line.
What are the most common label artwork mistakes?
Our prepress team checks every file before printing, and these five issues are the ones we fix most often
- Stopping background color at the cut line instead of extending it ⅛ inch into the bleed area.
- Forgetting a white ink underbase layer on clear or metallic foil labels, which makes light colors disappear against dark bottles.
- Flattening the cut line into the artwork layer so the red or magenta dieline would print on the label if not removed.
- Leaving fonts live instead of outlining them (Create Outlines in Illustrator), causing font substitutions when opened.
- Printing barcodes in light pastel ink or red ink, which infrared retail barcode scanners cannot read.
Find your label size
Suggested label size: 9⅛ × 2¾ in (width × height)
A typical starting point. Your account manager confirms the size on the proof.
Quote this size →Packaging for this
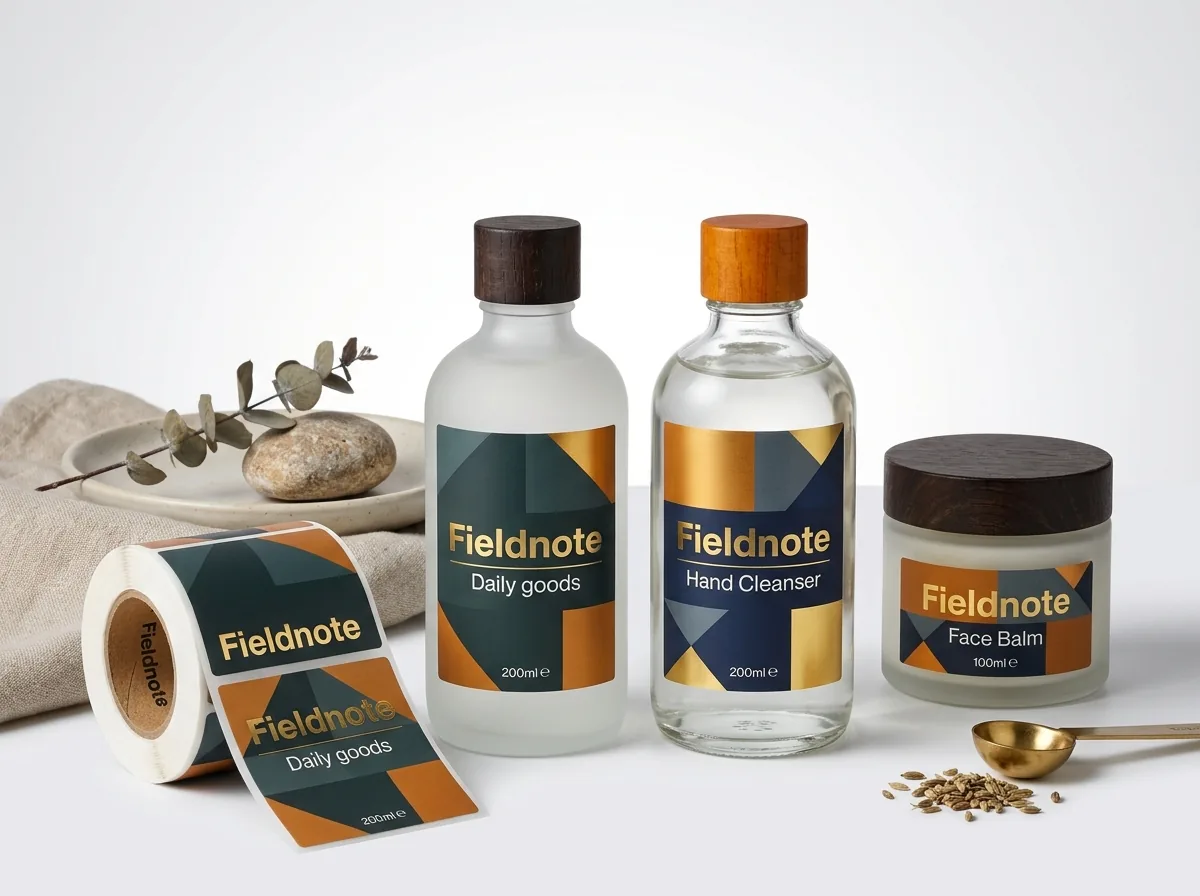
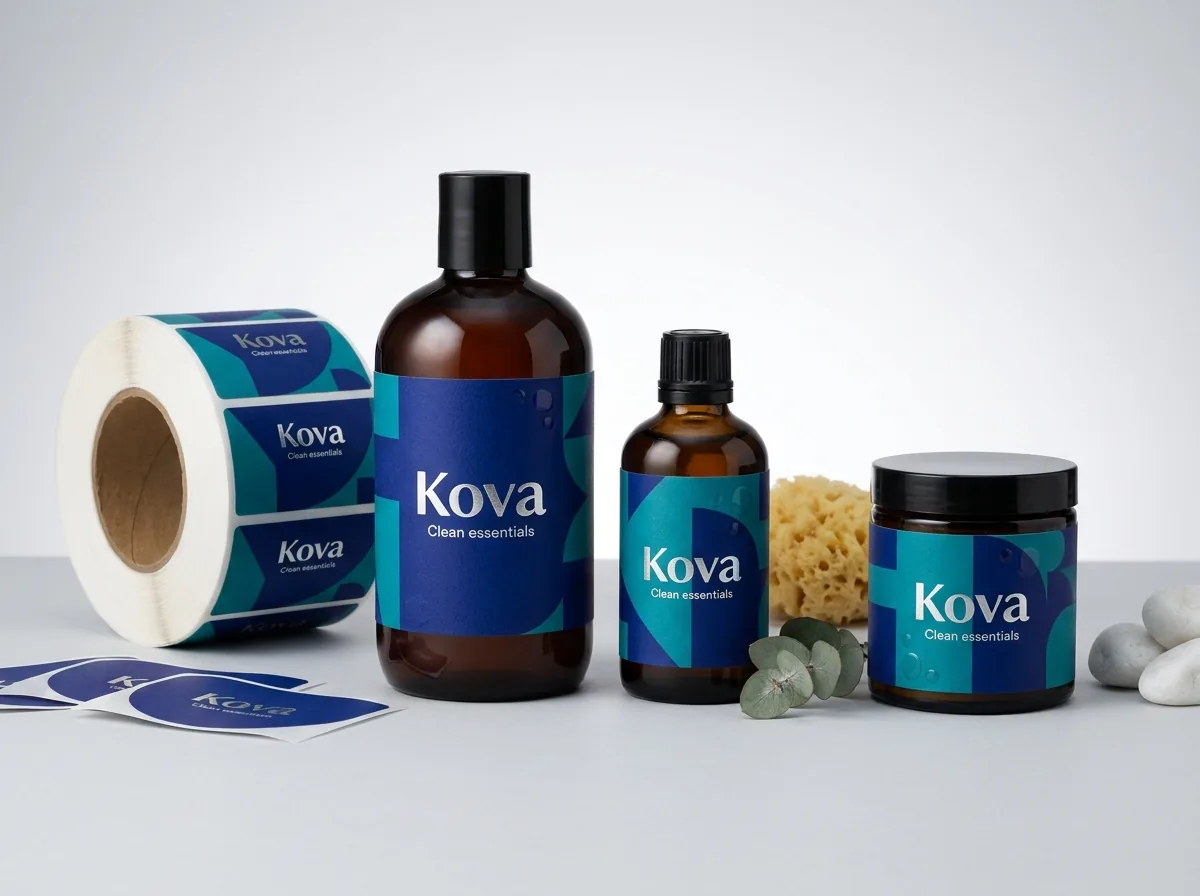
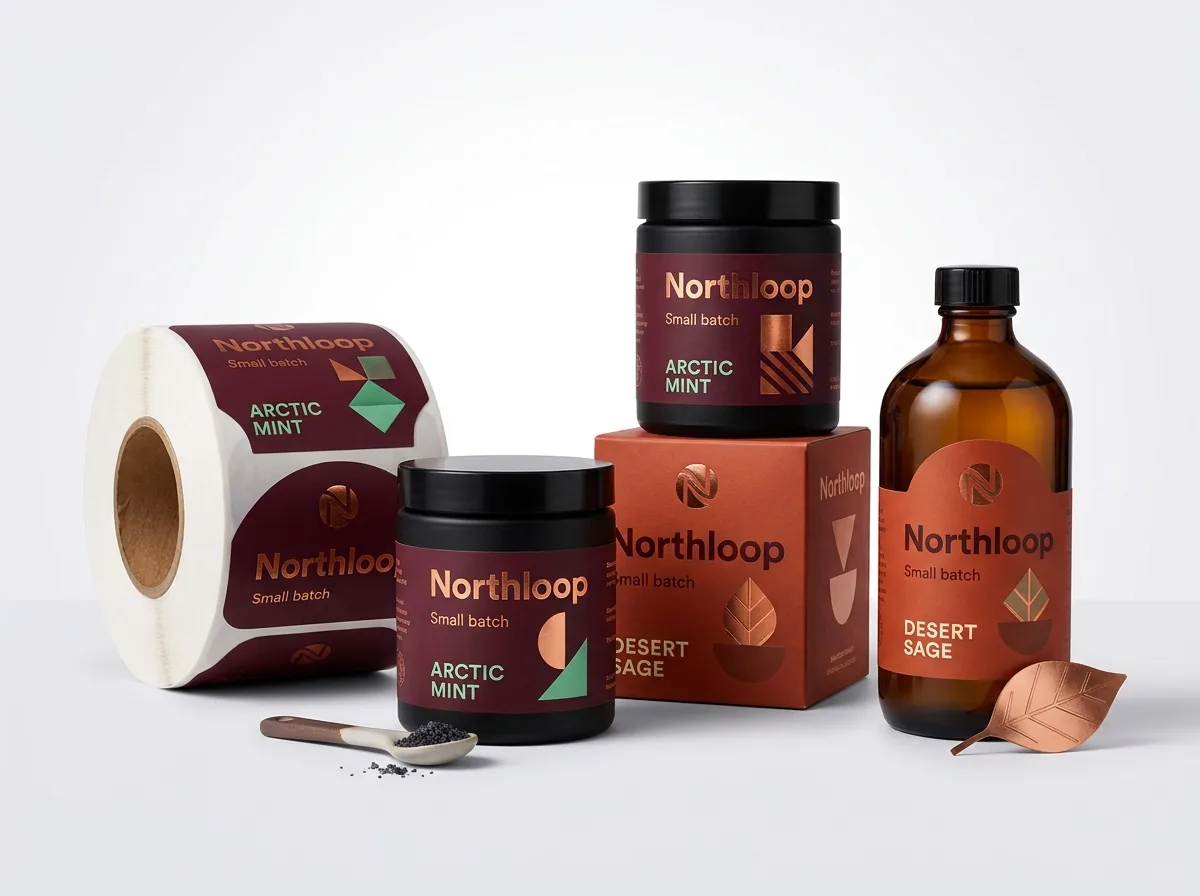
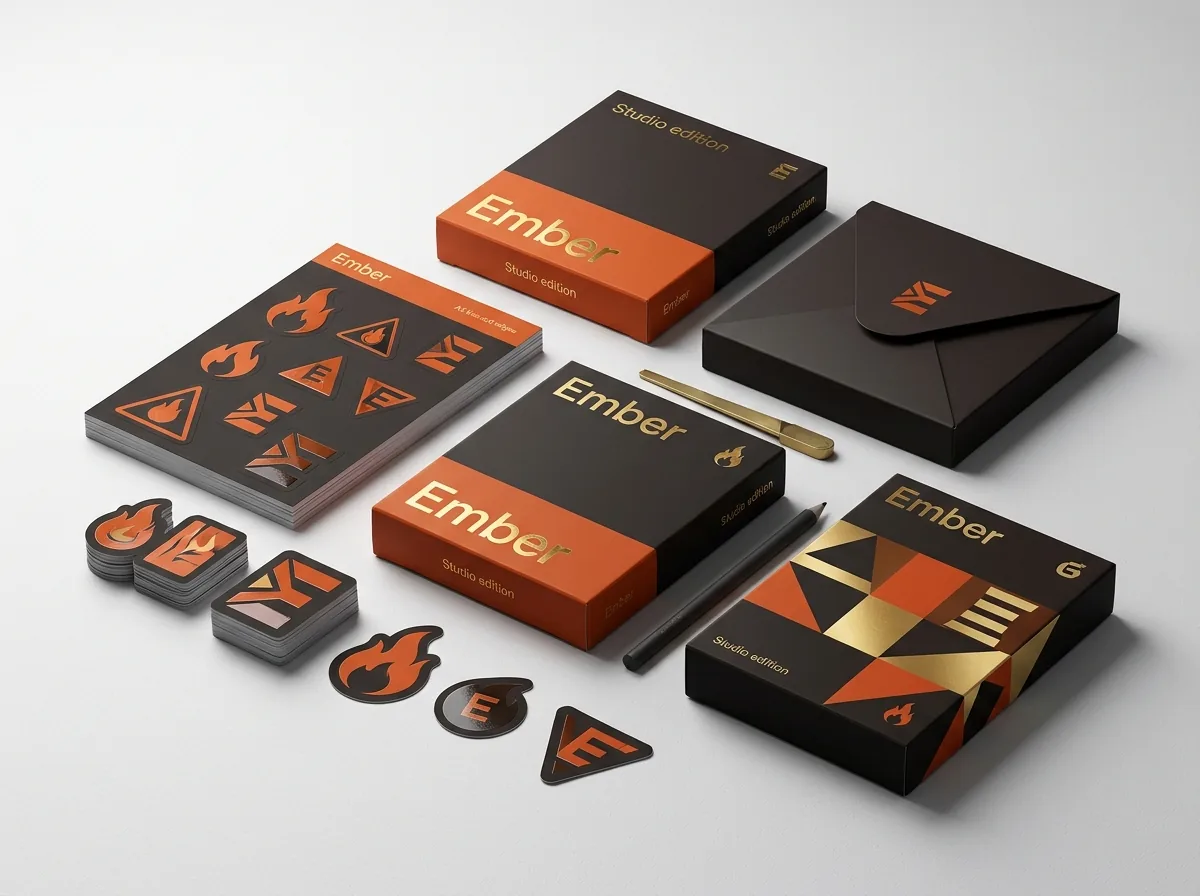
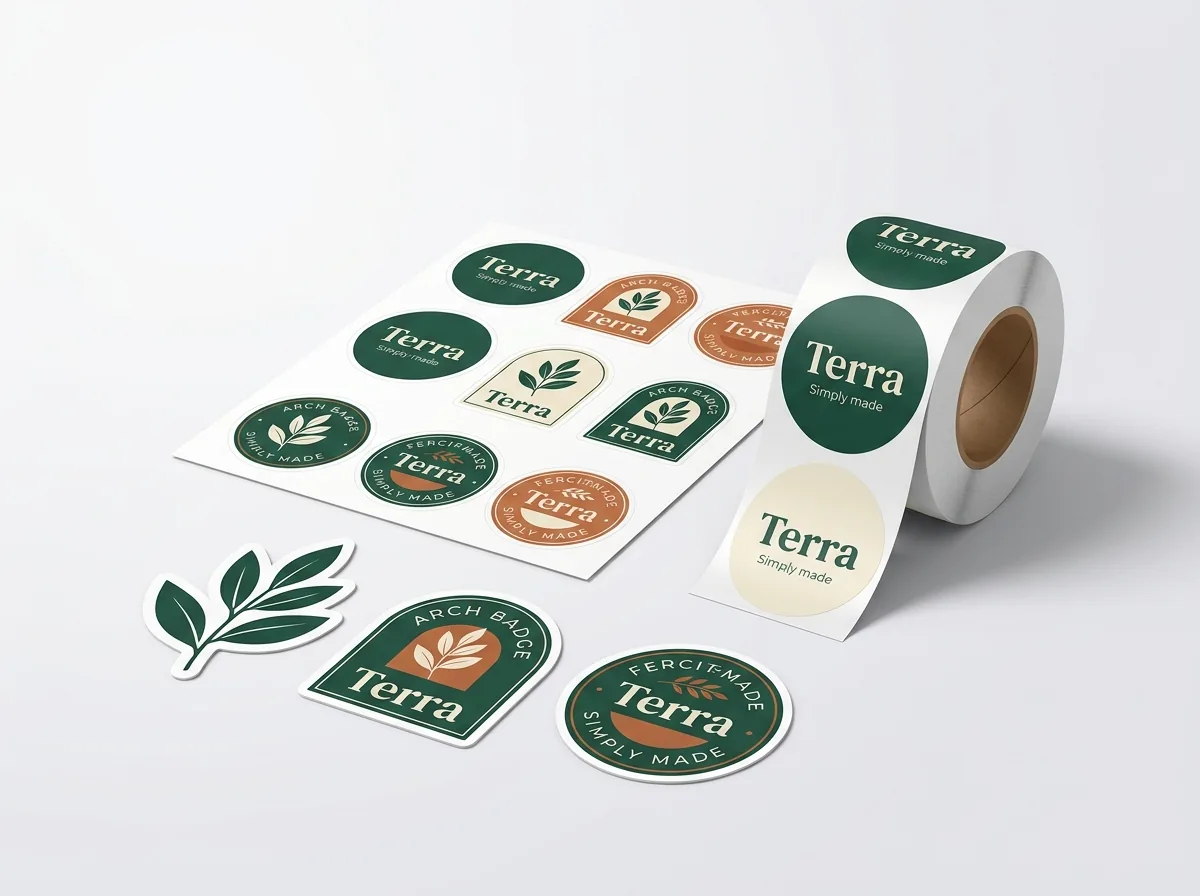
Ready to order labels? Compare up to 3 quantities with a free 3D mockup.
Request a Quote →Questions about labels
What if I only have a PNG logo and no design software?
Select 'Free design help' in Step 2 of the quote form, upload your logo, and tell us the background color and text you want. Our designers lay out the label, add the bleed and cut line, and send you a digital proof and 3D mockup for free.
How do I draw a custom shape cut line for die-cut labels?
In Adobe Illustrator, draw a closed vector path around your artwork, offset by at least ⅛ inch so there is a clean border, and place it on a separate layer named 'Cut Line' or 'Dieline'. If you do not have Illustrator, we draw the custom cut line for free.
What is the smallest font size that prints clearly on a label?
Keep dark text on a light background at 5.5 pt to 6 pt or larger, and keep light or white text reversed out of a dark background at 6.5 pt to 7 pt or larger. That keeps ingredient lists crisp and readable.
Will I see how my artwork looks on my jar or bottle before paying?
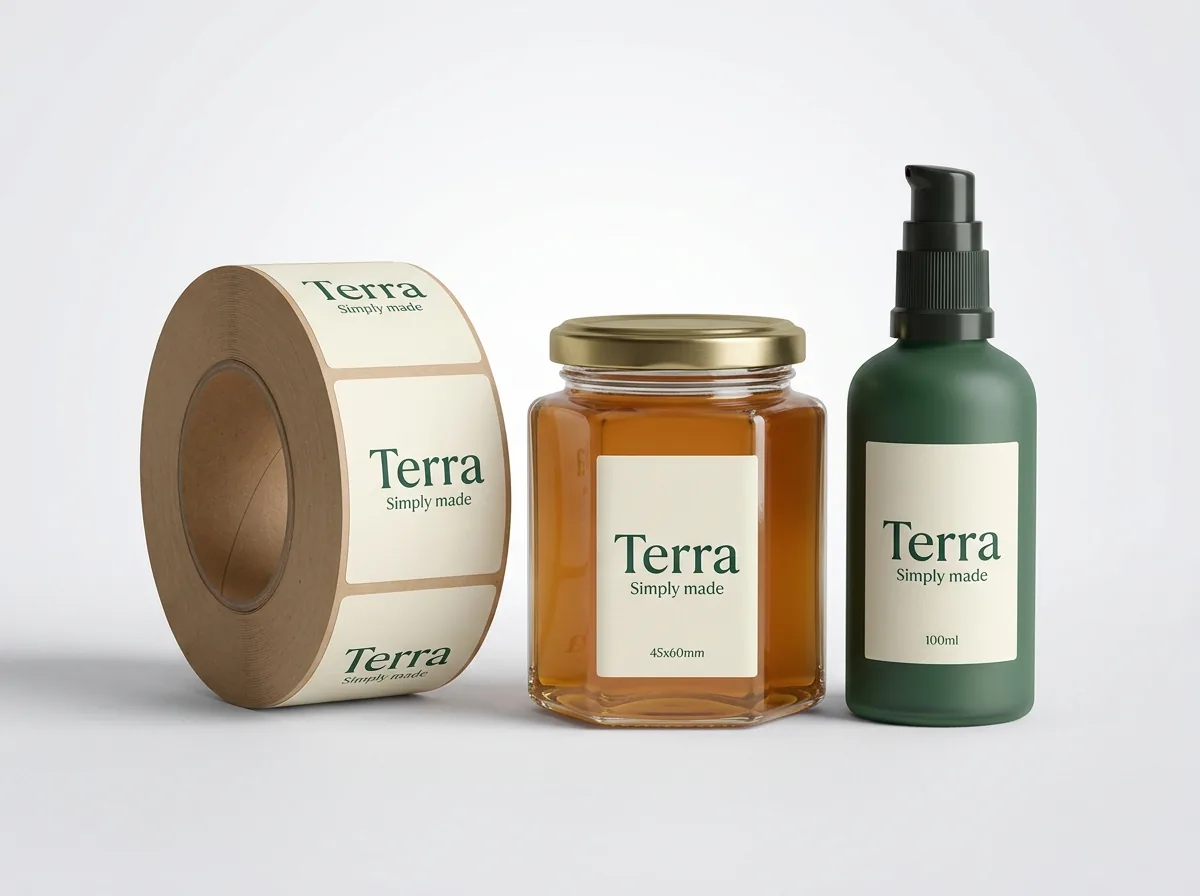
Yes. Every order includes a free 2D digital proof showing the exact cut line, bleed and dimensions, plus a 3D mockup of the label on your container before you pay. Production never starts until you approve the proof.
Can I order a physical printed sample to check my colors first?
Yes. You can order our $50 sample kit (credited to your first order) to feel our stocks and finishes in person, or request a paid printed sample of your own artwork, which is also credited toward your full order.
Who is responsible for spelling or barcode numbers on the proof?
Our team checks resolution, bleed, cut lines and layout, while you check and approve all spelling, ingredient wording, weights and barcode numbers on the digital proof. Once a proof is approved, it goes straight to press.
Still have a question? Ask a packaging specialist.
Request a Quote →Request your labels quote
Tell us your size and quantities, and one dedicated account manager prepares pricing for each tier.
- Free design & AI-to-print studio + 3D mockup
- No die or plate charges · 4–5 day rush available
- Free shipping to all 50 states
- 10% off your first order
This prepress guide combines industry-standard label printing tolerances (⅛ inch bleed and safe margin, 300 DPI resolution, white ink underbase on clear and foil stocks) with CubitPack's decided design services. Checked by a packaging specialist. Spot something wrong? Tell us and we will fix it.
Sources
What changed
- October 22, 2026: First published.
- October 22, 2026: Updated specifications, terminology, and verified source links.
More guides
New packaging guides by email
Sizes, materials and design tips. Unsubscribe anytime.