
How do I design custom stickers with clean cut lines and borders?
Short answer: Give your artwork a smooth ⅛ inch (0.125 in) offset border or extend background colors ⅛ inch past the cut line for full bleed. Round off sharp inner corners so the vinyl never tears when peeled, and upload any vector or 300 DPI file when ordering custom stickers.
On this page
- Should I design my sticker with an offset border or a full-bleed edge
- How do I draw a smooth contour cut line that peels without tearing
- How do I set up artwork for clear stickers and metallic foil stickers
- What file format, resolution and color mode produce the sharpest print
- Can I turn an AI-generated mascot or illustration into a custom sticker
- Common mistakes
- FAQs
Request a custom quoteFree dieline & 3D mockup
A great-looking custom sticker depends on two lines: the edge of your printed artwork and the vector path the blade or laser follows to cut it out. You can design that relationship in two ways. First, you can add a clean ⅛ inch (0.125 in) solid white or colored offset border around your illustration, which unites separate words and icons into one smooth contour shape and hides minor blade shifts. Second, you can run your background color or pattern all the way to the cut edge (called full bleed) by extending the background ⅛ inch outside the cut line and keeping text ⅛ inch inside. Either way, rounding sharp inward corners prevents the sticker from snagging when peeled. If you do not use Adobe Illustrator, CubitPack's prepress team draws the cut line, adds bleed and sends a 3D mockup for free.
Should I design my sticker with an offset border or a full-bleed edge?
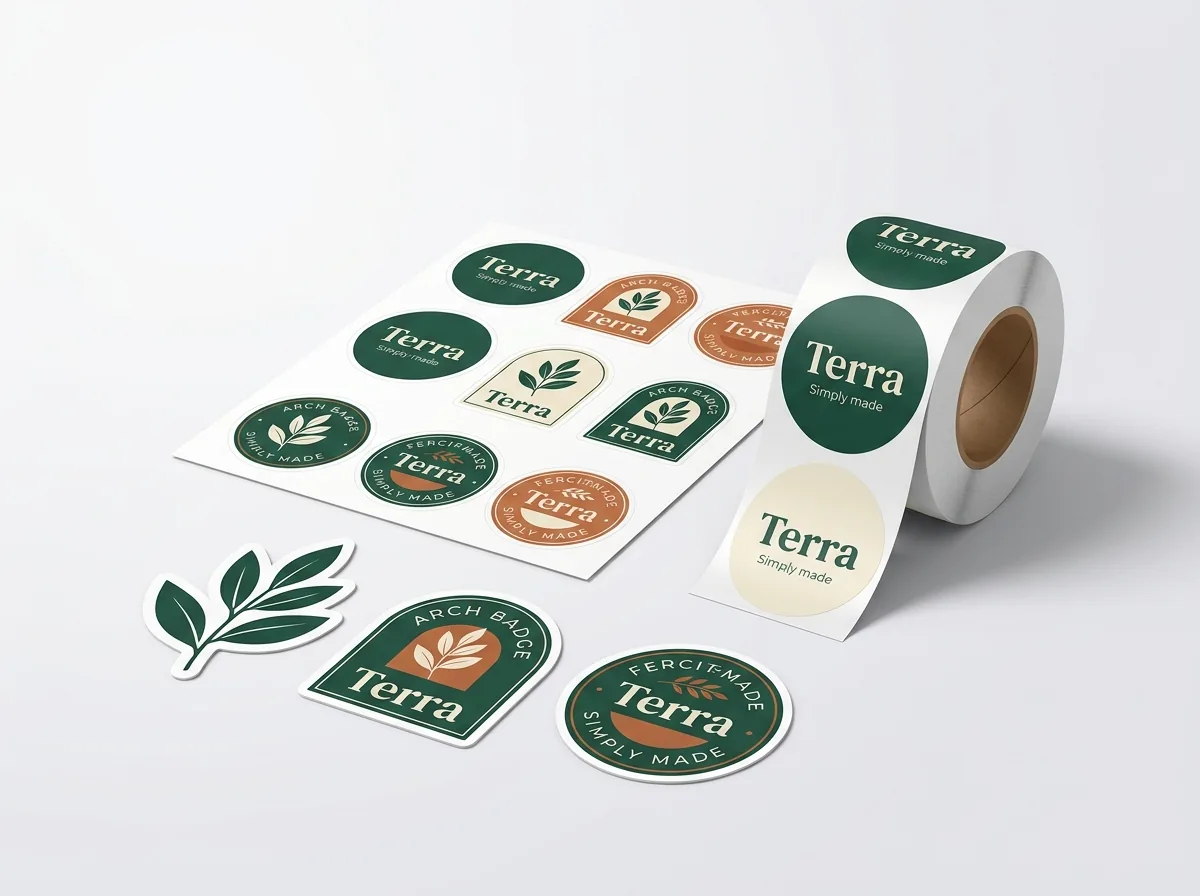
Most contour custom die-cut stickers use a visible offset border, usually white, cream or a dark brand color, that traces the silhouette of the illustration about ⅛ inch outside the ink. That border makes the artwork pop on any surface color, whether your customer sticks it onto a silver laptop, a black hydro bottle or a brown kraft box. It also bridges gaps between separate letters or floating sparkles so the whole sticker stays in one connected piece. Full-bleed stickers skip the outer border so the background color or photo runs right off the edge of the cut line. Full bleed is popular on circles, squares, rectangles and ovals, as well as bold colored badges. To print a full-bleed custom sticker without a tiny sliver of unprinted stock showing on one side, extend your background color or pattern a full ⅛ inch past the cut line on every side.
| Design spec | Offset-border sticker | Full-bleed sticker |
|---|---|---|
| Outer edge look | Clean ⅛ in white or colored margin around the art | Color or photo prints all the way to the cut edge |
| How to set up the file | Place cut line ⅛ in (0.125 in) outside artwork edge | Extend background art ⅛ in outside the cut line |
| Safe zone for text & logos | Already ⅛ in inside the cut line by default | Keep all text and borders ⅛ in inside the cut line |
| Best shapes | Custom mascot contours, script logos, hand-drawn icons | Circles, squares, rectangles, ovals, solid color badges |
| Visibility on dark or busy surfaces | High; the border frames the art against any background | Depends on contrast between your background ink and the surface |
How do I draw a smooth contour cut line that peels without tearing?
When a customer peels a sticker off its backing paper, tension concentrates at every inward corner along the cut path. If your dieline has a deep, narrow canyon or a sharp V-shaped notch pointing inward between two letters, the vinyl or paper can catch at the tip of the V and rip across the artwork. The fix is simple: smooth out deep valleys and give every inner and outer corner a gentle curve (at least a 1/16 inch or 1.5 mm radius). In Adobe Illustrator, the fastest way to build a clean contour path is to duplicate your artwork, merge it with Pathfinder Unite, apply Object > Path > Offset Path at 0.125 in with Joins set to Round, and then simplify stray anchor points. If you do not have vector software, just upload your PNG or PDF and our prepress designers will build the smoothed contour path for you.
- Set offset Joins to Round: rounded joins automatically eliminate brittle needle points on outer corners.
- Fill in deep canyons: bridge narrow gaps between words or character limbs so the outline flows smoothly.
- Connect floating islands: make sure dots on i's, exclamation marks and stars sit inside the main contour border.
- Avoid interior punch-outs: never put cut holes inside the middle of a sticker (like the center of an O).
How do I set up artwork for clear stickers and metallic foil stickers?
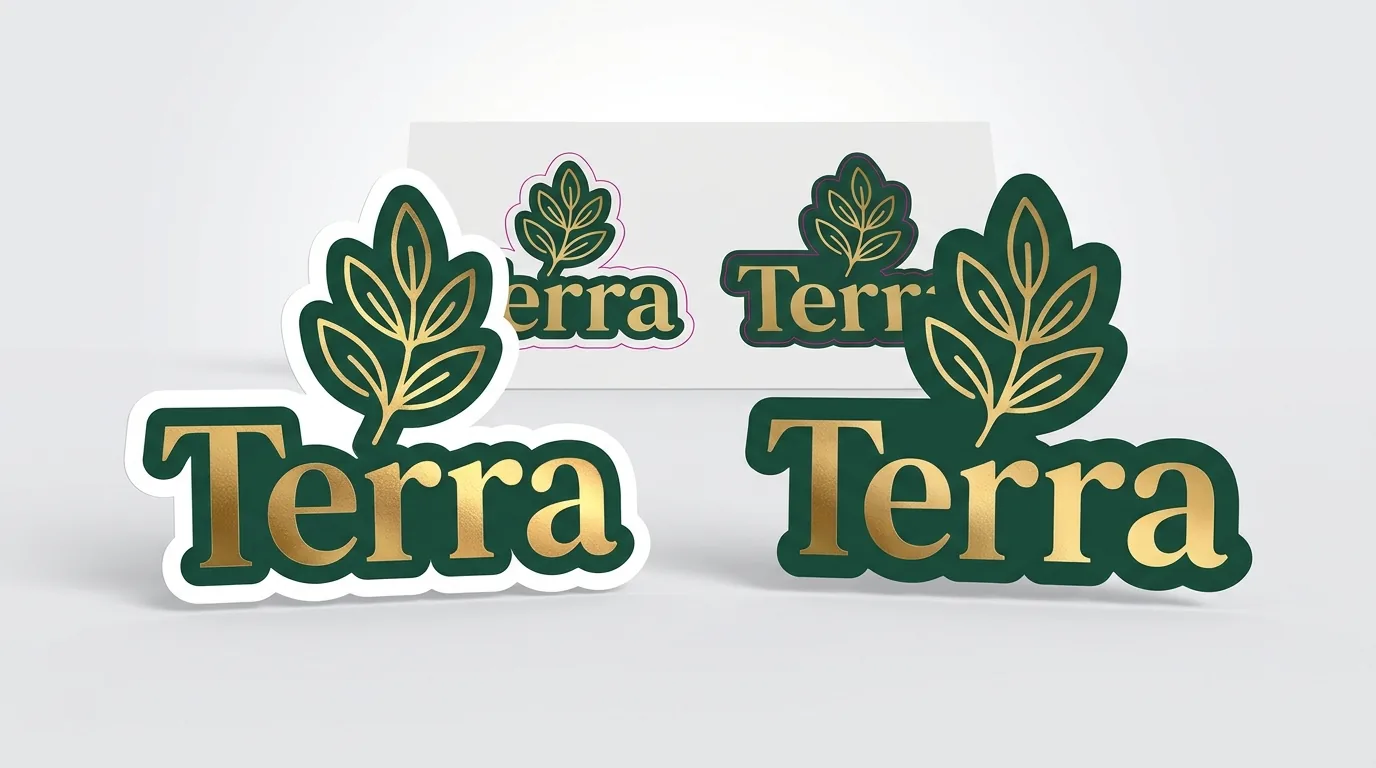
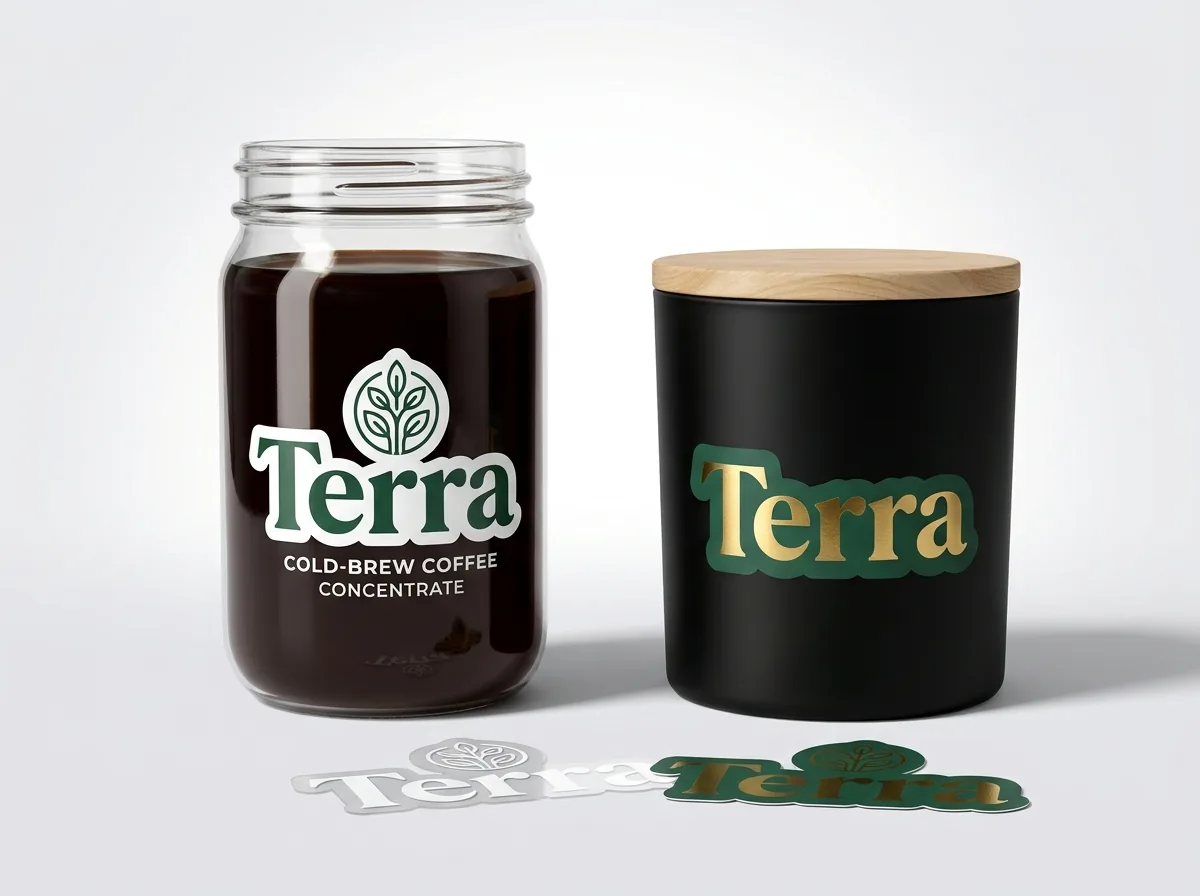
Standard CMYK printing inks are slightly translucent because they are designed to sit on top of bright white stock. When you print CMYK directly onto custom clear labels or custom foil labels, the transparent film or shiny metal shows through the ink. On foil stock, that creates a rich anodized metallic tint; on clear stock, unbacked colors look like stained glass and can disappear when stuck onto a dark bottle or tinted window. To make specific parts of your logo solid and opaque on clear or foil material, we print a layer of opaque white ink directly underneath your colored artwork. Keep a tiny choke on the white layer so it does not peek out from behind your colors, and tell your account manager which areas should stay transparent or metallic and which areas should be backed with solid white. Combining selective white ink with unbacked metallic areas lets you create multi-toned gold and silver effects on a single foil sticker without paying for separate hot-stamping dies, and our prepress team checks the white layer alignment on your digital proof.
Know your size? Compare pricing across up to 3 quantities.
Request a Quote →What file format, resolution and color mode produce the sharpest print?
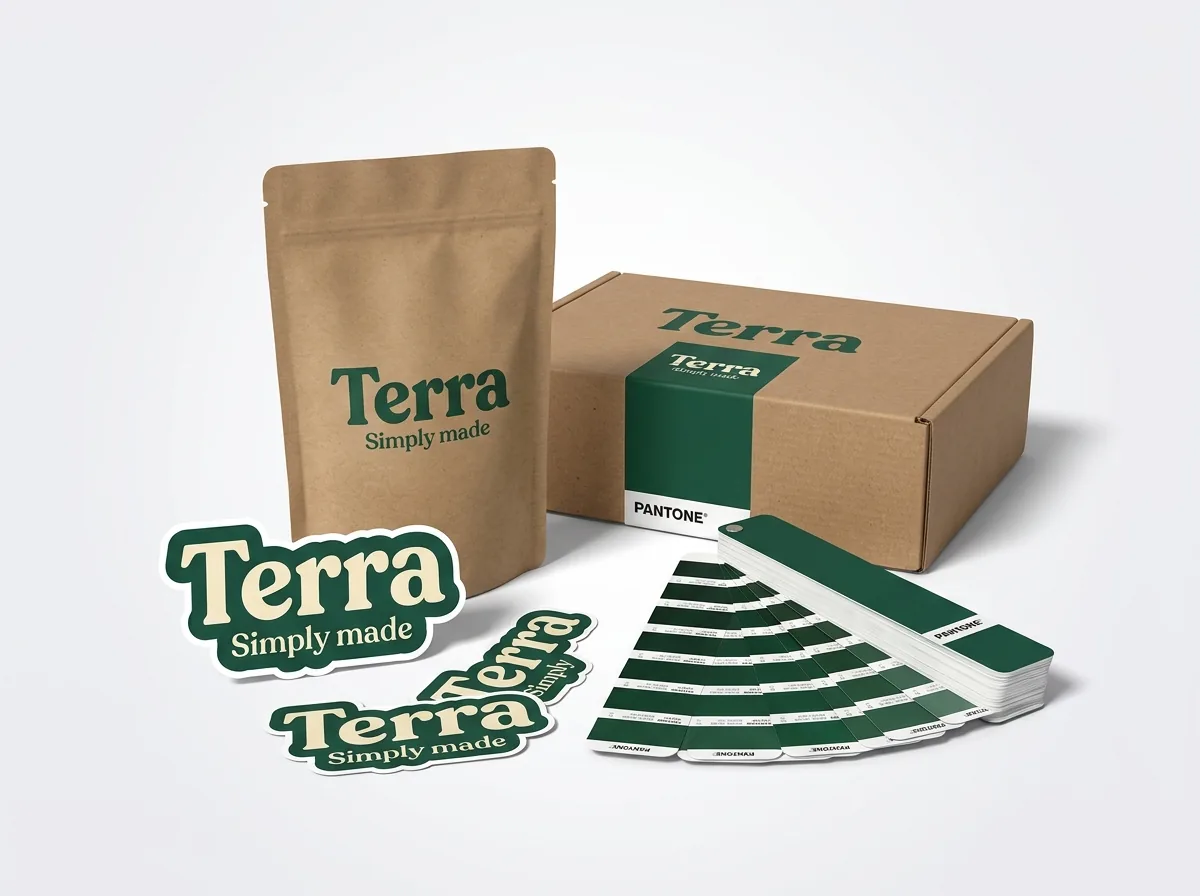
Vector files (AI, EPS, print-ready PDF or SVG) with fonts converted to outlines give the crispest edges at any sticker size because mathematical curves never pixelate. If your sticker is an illustration painted in Procreate or Photoshop, export a high-resolution PNG, TIFF or PSD at 300 DPI (dots per inch) or higher at 100% of your final print dimensions. Starting with a 72 DPI web logo and stretching it up to 3 × 3 inches will leave fuzzy, stair-stepped edges. Design in CMYK color mode rather than RGB so neon screen blues and greens do not shift when converted to physical press inks. If your brand uses a signature shade that must match your custom mailer boxes or pouches exactly, give us your Pantone (PMS) code: CubitPack guarantees Pantone color matching on your run.
Can I turn an AI-generated mascot or illustration into a custom sticker?
Yes. Many brands generate character mascots, badges and seasonal art in Midjourney, DALL-E or Canva and want them turned into die-cut stickers. AI generators output flat raster squares (usually 1024 × 1024 pixels) with a solid background and no vector cut path. Instead of trying to trace the outline by hand in an online editor, select AI image on Step 2 of the quote form and upload your file. Our prepress team removes the background square, upscales the resolution for clean 300 DPI printing, draws a smooth ⅛ inch offset contour cut line around the character, and sends you a digital proof and 3D mockup before you pay. If any small lettering in the AI image looks garbled or soft, our designers can also reset the typography in crisp vector fonts so every word reads clearly. See our print your AI design page for more details on how we prep AI artwork for packaging.
- Background removal: we strip out the flat square background so your character or emblem stands alone.
- Resolution upscaling: we bring 1024 px AI exports up to crisp 300 DPI print resolution at your chosen size.
- Smooth offset dieline: our team traces a continuous ⅛ inch contour cut path with rounded peel-friendly corners.
- Typography cleanup: we replace blurry AI-generated text with sharp vector lettering before sending your proof.
What are the most common custom sticker artwork mistakes?
Our prepress team checks every file for free before printing, and these five file issues are the ones we fix most often
- Leaving disconnected letters or floating stars outside the main cut path, which causes them to fall away when peeled.
- Using sharp inward V-angles on a contour dieline where the sticker face can snag and tear during peeling.
- Stopping a full-bleed background right on the cut line instead of extending it ⅛ inch past the trim edge.
- Flattening a homemade cut line onto the same layer as the printed artwork so the red or magenta line would print on the sticker.
- Forgetting to specify which elements need a white ink underbase when ordering clear or metallic foil stickers.
Find your label size
Suggested label size: 9⅛ × 2¾ in (width × height)
A typical starting point. Your account manager confirms the size on the proof.
Quote this size →Packaging for this
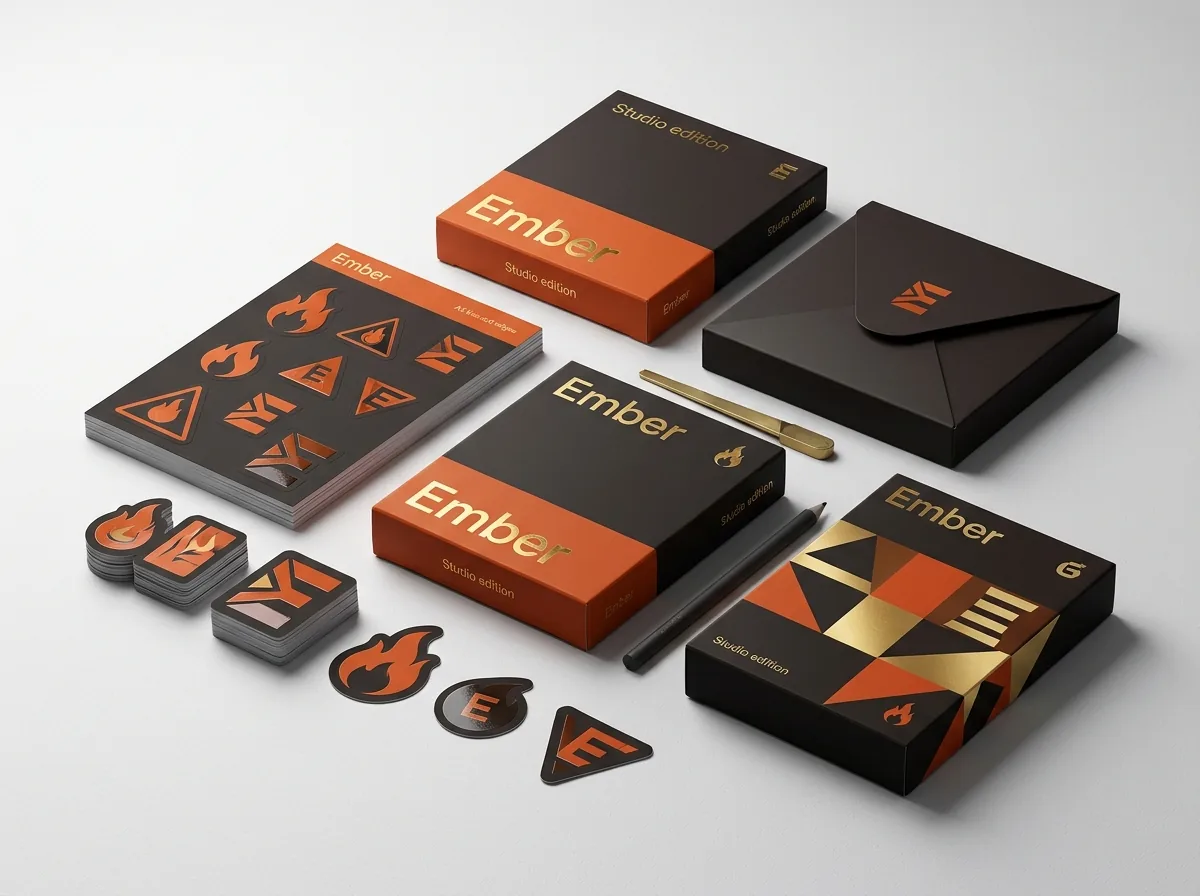
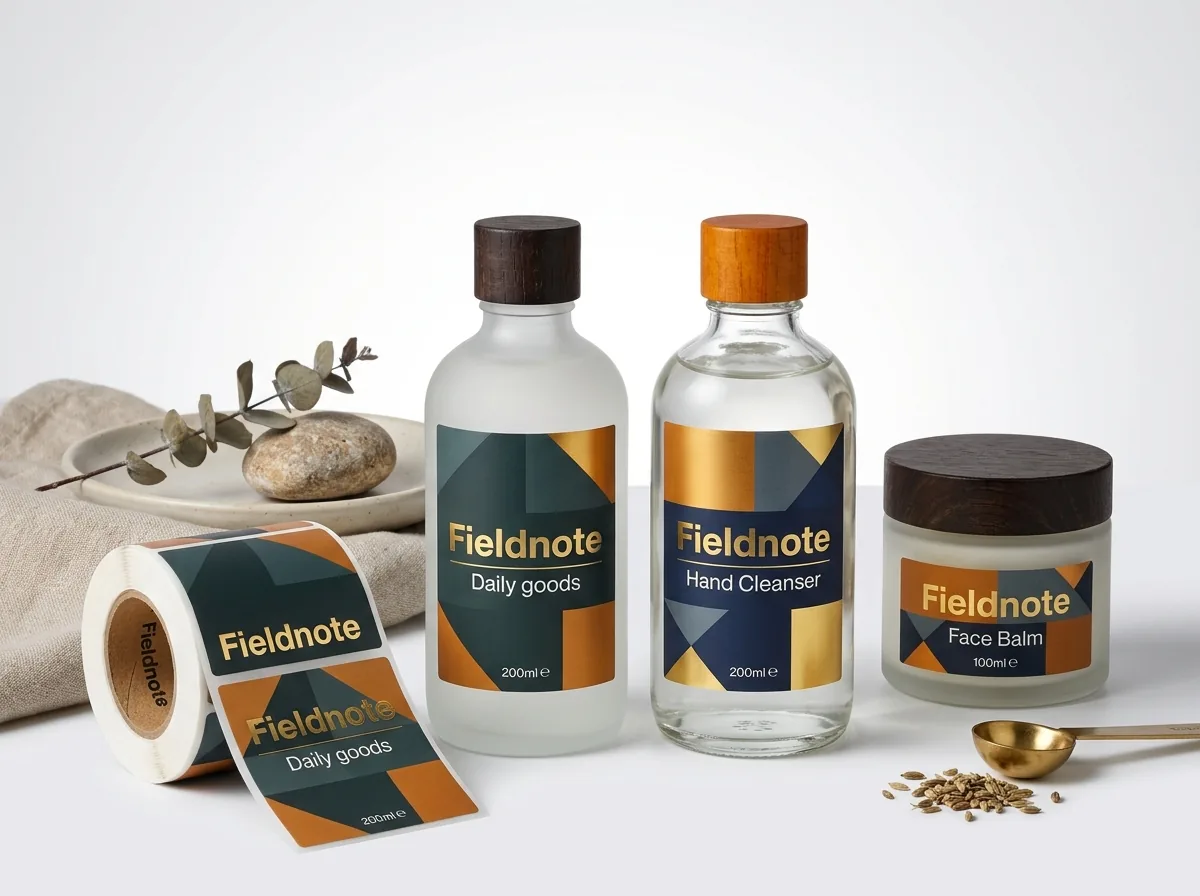
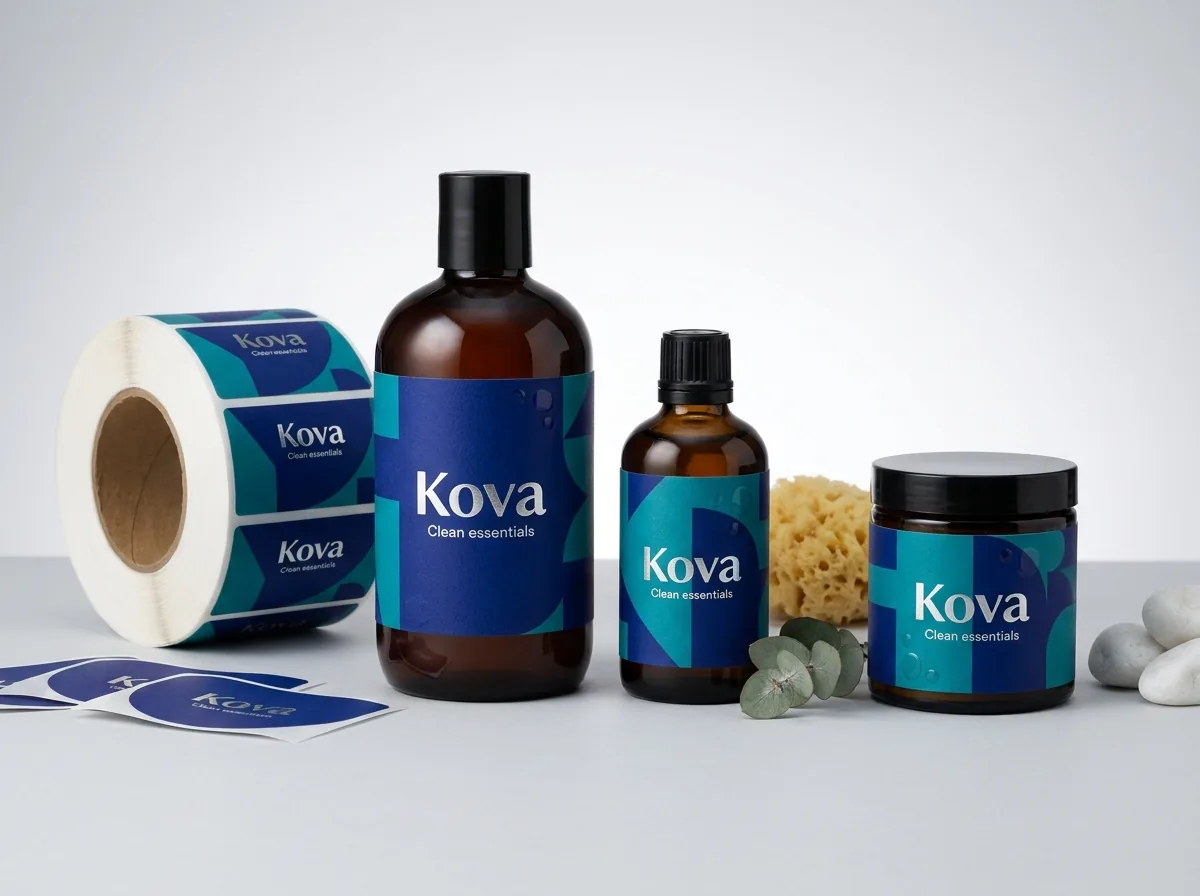
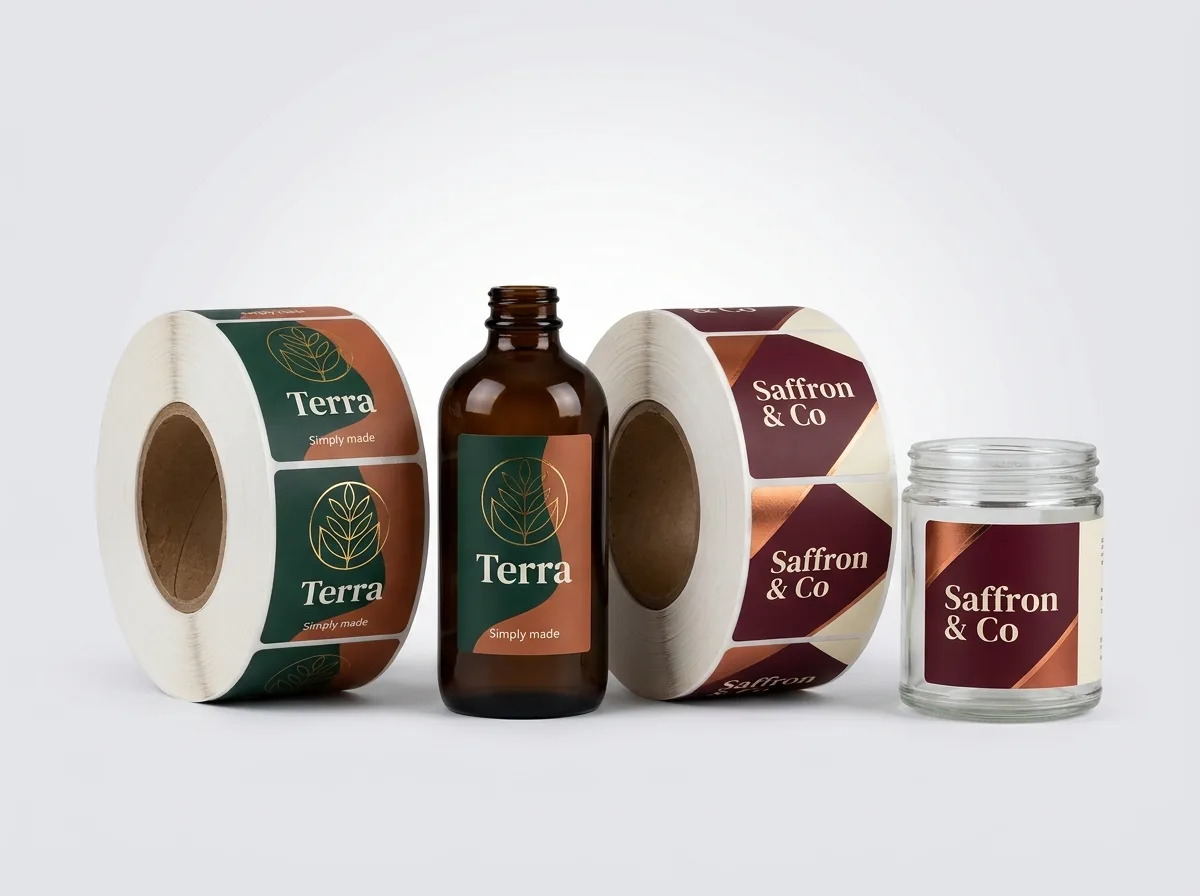
Ready to order stickers? Compare up to 3 quantities with a free 3D mockup.
Request a Quote →Questions about stickers
How wide should the white border be on a die-cut sticker?
A ⅛ inch (0.125 in) offset border is the standard for 2 inch to 4 inch die-cut stickers. It is wide enough to absorb tiny blade tolerances and unite separate elements without looking heavy. On mini 1 inch stickers, a 1/16 inch border works well.
Do I have to create my own cut line before uploading my file?
No. Upload your PNG, PDF, PSD or AI file as-is, and our prepress designers will trace a smooth contour cut line around your design for free. You see the exact cut path overlaid on your artwork on the digital proof before paying.
Why can't a die-cut sticker have holes cut out of the middle?
Interior punch-out holes (such as cutting out the center of a letter O or a donut) trap tiny bits of waste material that have to be weeded by hand and cause the sticker to stretch or tear when peeled. Keep the cut line as one outer perimeter.
Can I print a colored border instead of a white border on a contour sticker?
Yes. Simply extend your border color ⅛ inch past the cut line as a full bleed so the blade cuts right through the colored band. That gives you a solid black, forest green, pastel or metallic contour border with no white edge.
What is the minimum font size and line thickness for custom stickers?
Keep dark text on a light background at 5 pt or larger, and light text reversed out of a dark background at 6 pt or larger. Fine decorative lines and strokes should be at least 0.5 pt thick so they print cleanly.
Can I get a printed sample of my sticker design before ordering 500+?
Every order includes a free digital proof and a 3D mockup before payment. If you want to hold your exact design in your hands first, we offer a paid printed sample whose cost is credited toward your full production order, plus a $50 stock sample kit.
Still have a question? Ask a packaging specialist.
Request a Quote →Request your stickers quote
Tell us your size and quantities, and one dedicated account manager prepares pricing for each tier.
- Free design & AI-to-print studio + 3D mockup
- No die or plate charges · 4–5 day rush available
- Free shipping to all 50 states
- 10% off your first order
This prepress guide reflects standard ⅛ inch bleed, safe-zone and contour radius tolerances used on commercial label and sticker presses, checked by a CubitPack packaging specialist. Spot something wrong? Tell us and we will fix it.
Sources
What changed
- October 22, 2026: First published.
- October 22, 2026: Updated specifications, terminology, and verified source links.
More guides
New packaging guides by email
Sizes, materials and design tips. Unsubscribe anytime.