
White border vs full-bleed die-cut stickers: which looks better?
Short answer: Pick a ⅛ inch white offset border on custom die-cut stickers when your design has multi-word script text, floating icons or dark colors that need contrast on dark laptops and tinted glass. Pick a full-bleed borderless edge when your design is a self-contained shield, crest, badge or colored geometric tile.
On this page
- How do white-border, full-bleed and clear-border die-cut stickers compare
- Why do most contour die-cut stickers use a ⅛ inch white offset border
- When does a full-bleed borderless or colored border look cleaner
- How do clear borders and metallic foil borders work on die-cut stickers
- Which border style works best when sealing boxes, tissue paper and pouches
- Common mistakes
- FAQs
Request a custom quoteFree dieline & 3D mockup
Choosing between a white offset border and a full-bleed borderless edge changes both how your die-cut sticker looks on a customer's gear and how the cutting blade navigates your artwork. A ⅛ inch white offset border wraps a uniform white halo around your illustration or lettering, guaranteeing that dark navy, black or forest green graphics stay legible whether they are stuck onto a charcoal laptop lid, a tinted car window or a matte black water bottle. The white border also bridges separate words and floating stars into a single sturdy contour that peels cleanly in one piece. A full-bleed borderless die-cut extends your background ink ⅛ inch past the cut line so color runs flush to the physical edge with zero white outline. Both styles cost the exact same with no die charges at CubitPack, and we can show you both options on your free proof.
How do white-border, full-bleed and clear-border die-cut stickers compare?
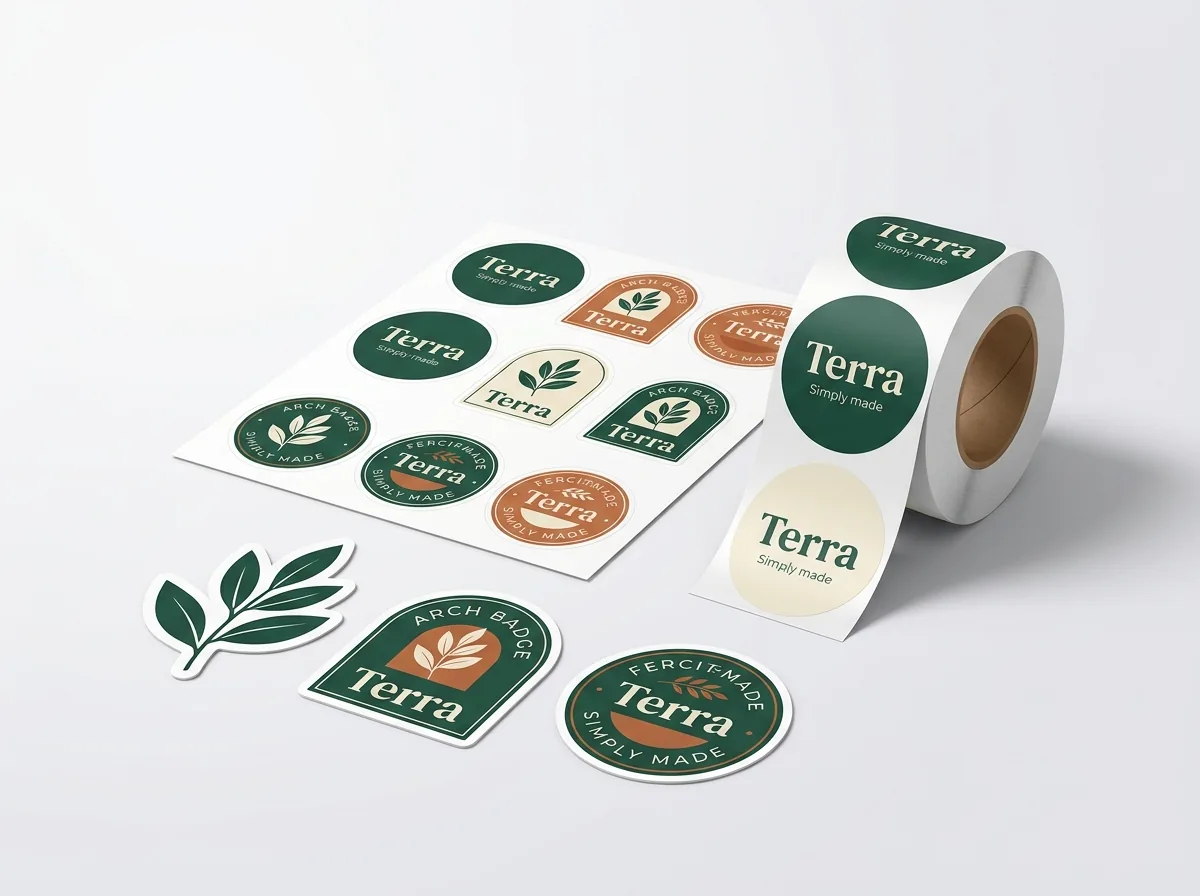
When you order through-cut contour stickers, the perimeter edge is the first thing people notice. You actually have four distinct edge treatments to choose from at the exact same price (starting at 500 stickers in 10-14 business days, or 4-5 days with rush): a classic 0.125 in white offset border, a 0.125 in colored offset border, a full-bleed borderless cut right on the artwork boundary, or a transparent border on clear stock. Use the comparison table below to see how each border treatment behaves on 2 × 2 in, 3 × 3 in and 4 × 4 in decals against dark surfaces, light surfaces and textured packaging, and how much 300 DPI bleed each option requires in prepress.
| Border style | How the perimeter is printed & cut | Best artwork & target surface |
|---|---|---|
| ⅛ in white offset border | Unprinted white vinyl/paper margin follows the contour outside the ink | Mascots, script lettering, dark logos; pops on black laptops and tinted glass |
| ⅛ in colored offset border | Solid Pantone or CMYK halo extends ⅛ in past the cut path | Streetwear badges, retro crests, white lettering that needs a dark outline |
| Full-bleed borderless edge | Cut path sits directly on the outer edge of a solid shield or shape (+⅛ in bleed) | Shields, state outlines, geometric emblems, solid colored brand tiles |
| Clear contour border | Transparent stock cut ⅛ in outside opaque white-backed ink | Glass jars, windows, mirrors, stainless steel tumblers where white looks boxy |
| Metallic foil border | Gold or silver stock framing the contour around printed ink | Anniversary seals, VIP merch drops, award emblems, dark gift boxes |
Why do most contour die-cut stickers use a ⅛ inch white offset border?
Look at any laptop lid or insulated water bottle covered in brand decals and you will notice that roughly eight out of ten contour stickers have a crisp ⅛ inch white border around the artwork. That white frame is not an accident or a printing limitation; designers choose it for three practical reasons. First, you never control the color of the surface your customer sticks your decal onto. If your logo uses dark charcoal, navy, burgundy or forest green ink and has no white border, it disappears the moment someone sticks it onto a space-gray laptop, a black hydro flask or a tinted rear windshield. A ⅛ inch white halo creates instant figure-ground contrast on any surface. Second, the white border acts as a physical bridge that connects separate words, punctuation marks and thin character limbs into one unified silhouette. Third, because the blade cuts through unprinted white stock outside the ink, you never have to worry about extending complex multi-color illustration details into a bleed zone.
When does a full-bleed borderless or colored border look cleaner?
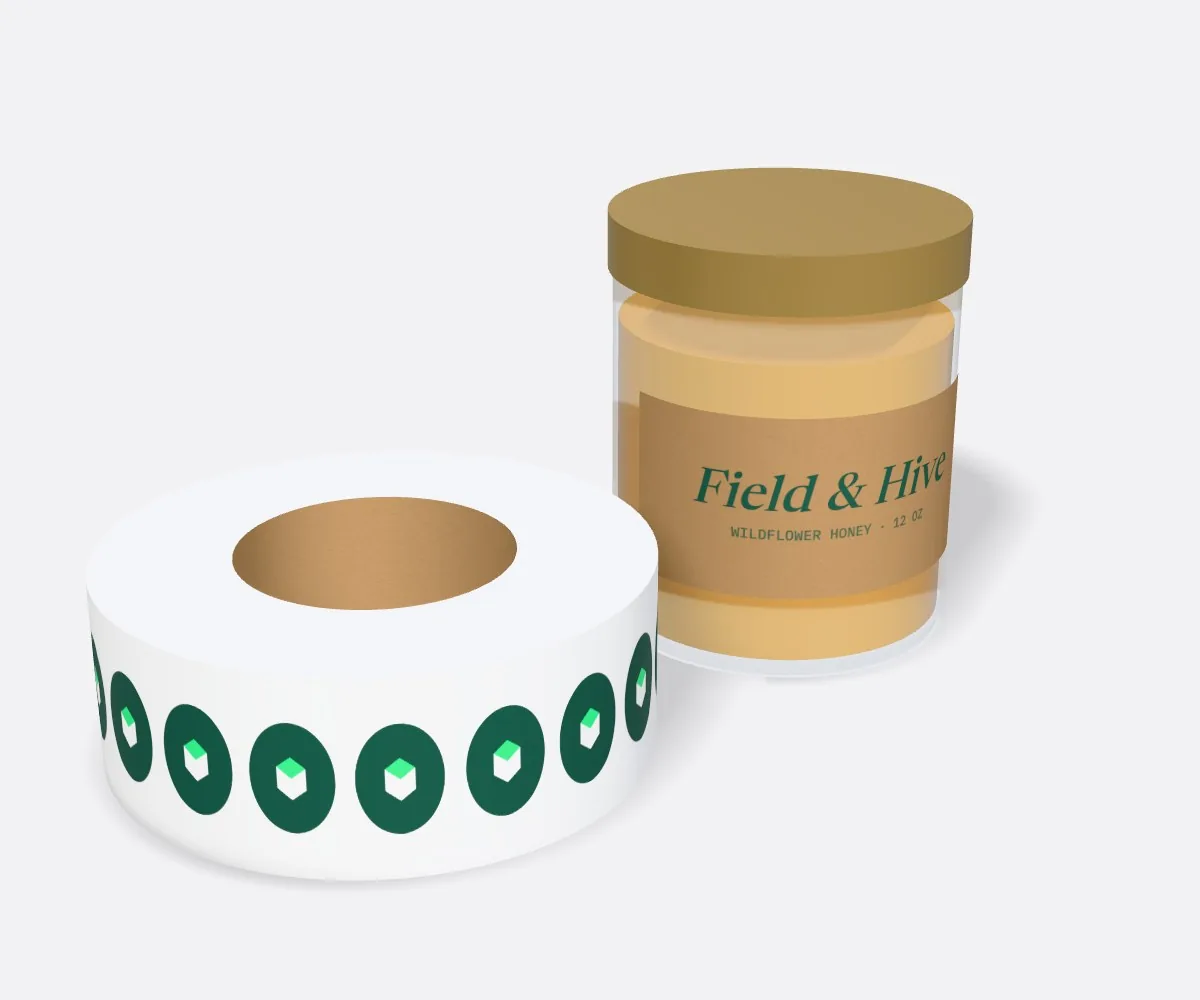
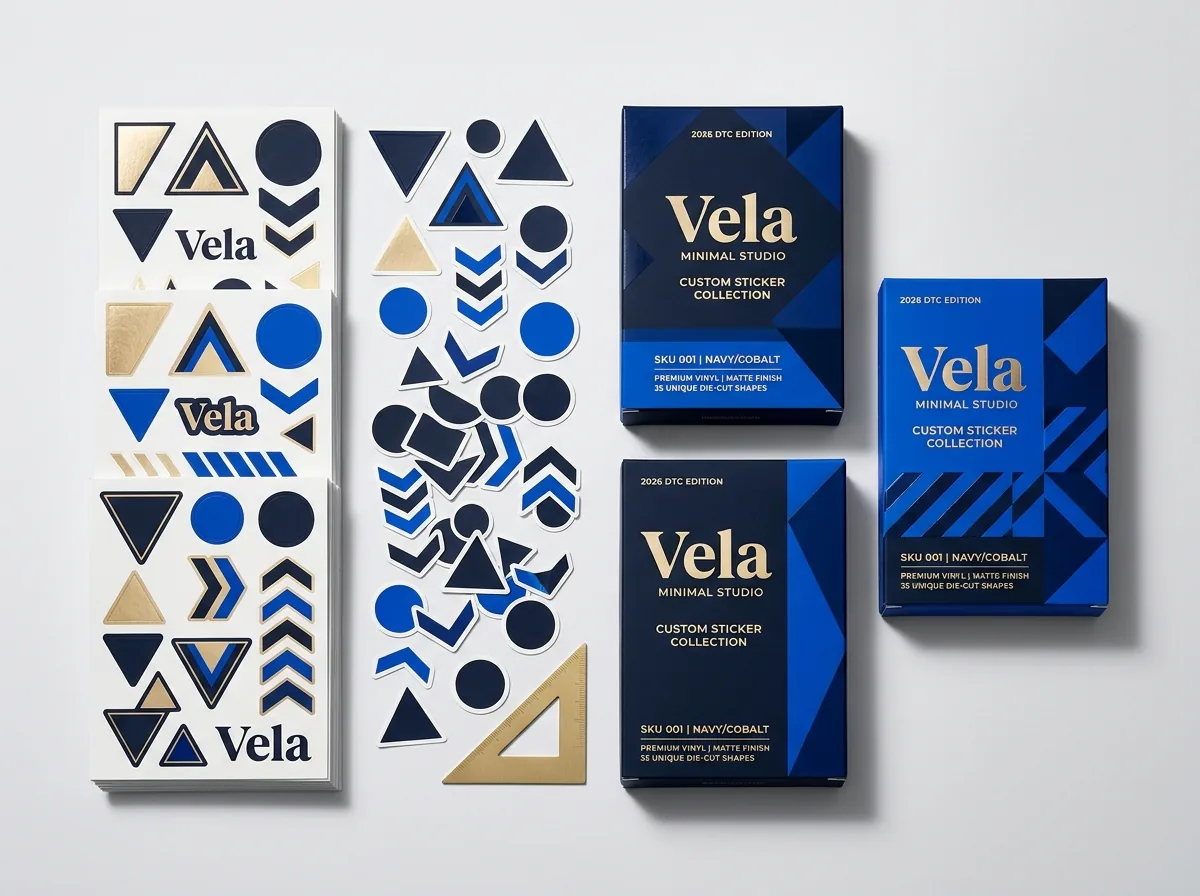
Full-bleed borderless cutting shines when your artwork is already enclosed inside a strong outer shape, such as a brewery shield, a highway route sign, a circular crest, a state outline or a solid colored badge. When a design already has a bold colored frame or solid background fill, adding an extra white ring outside it can feel redundant. To print a borderless die-cut sticker without any white sliver showing along the cut edge, your background color or illustration must extend ⅛ inch (0.125 in) outward past the vector cut line on all sides. When the blade slices through that extended ink zone, the color runs 100% flush to the edge of the vinyl and liner. This same full-bleed technique is also how you create a colored offset border around a mascot or wordmark: instead of leaving the ⅛ inch offset halo white, flood it with your brand's signature purple, forest green or neon yellow and carry that color ⅛ inch past the cut path.
- Solid shields and crests: cut directly along the outer colored shield border with ⅛ inch of ink bleed outside.
- White typography logos: wrap white lettering in a dark navy, black or forest green offset border that bleeds past the cut.
- Color-matched box seals: print a full-bleed Pantone contour that matches the exact ink on your mailer boxes.
- Dark luxury badges: pair a full-bleed matte black contour with hot gold foil stamping in the center.
Know your size? Compare pricing across up to 3 quantities.
Request a Quote →How do clear borders and metallic foil borders work on die-cut stickers?
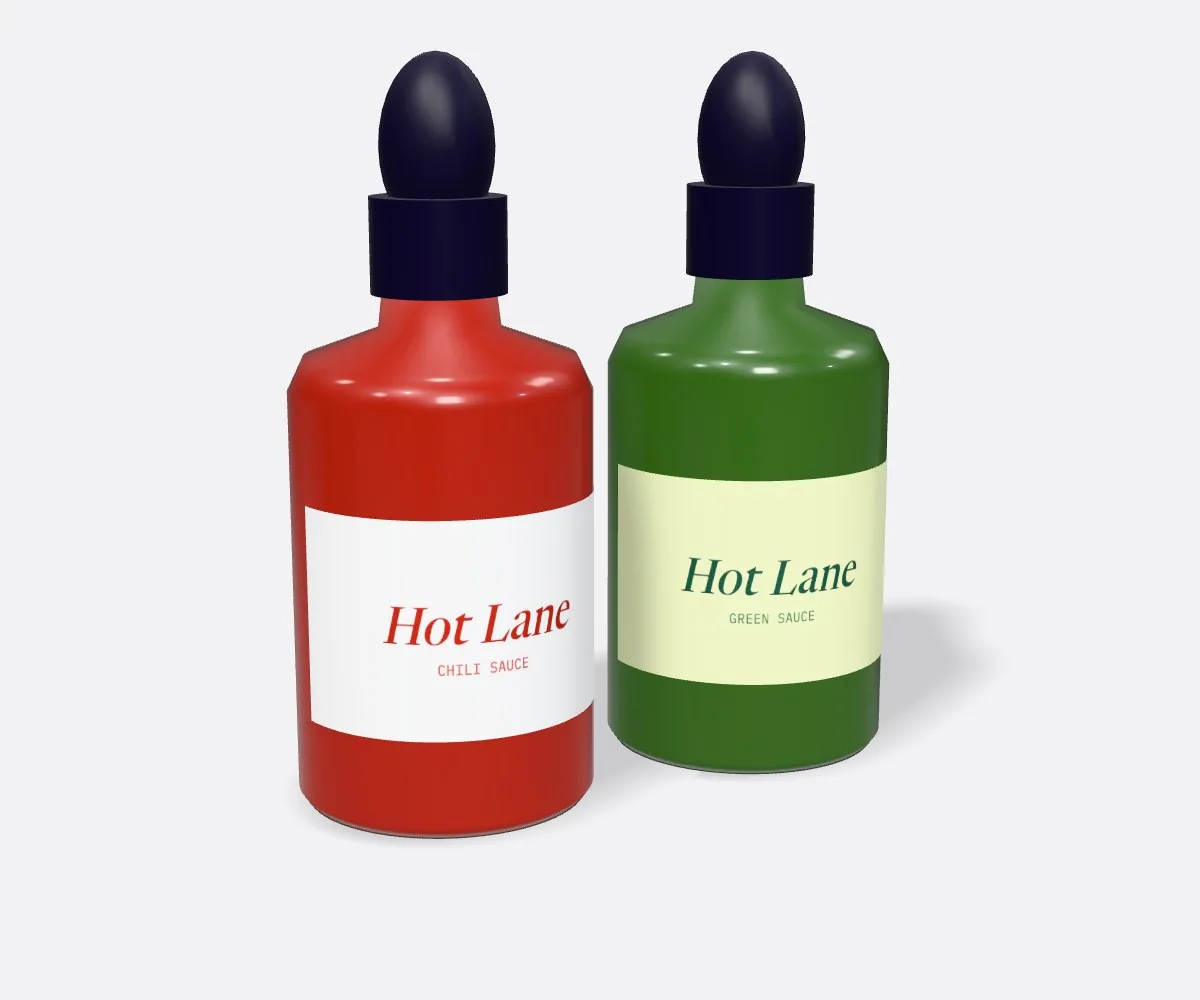
What if your logo has intricate script lettering that needs a connecting bridge, but you hate the look of a solid white bubble around the words? The solution is printing your contour sticker on custom clear labels stock. We print a solid layer of opaque white ink directly behind your lettering and CMYK colors, then cut the transparent film in a smooth ⅛ inch contour around the outside. Once the sticker is applied to a glass jar, tumbler or laptop lid, the ⅛ inch connecting bridge is practically invisible while your logo stays bright and opaque. For limited-edition drops, holiday gift sets and VIP club packs, you can also flip the border into a reflective accent by printing on custom foil labels stock or adding hot foil stamping. Leaving a ⅛ inch rim of exposed gold or silver foil around a matte dark ink center gives the decal the look of an enameled metal pin.
Which border style works best when sealing boxes, tissue paper and pouches?
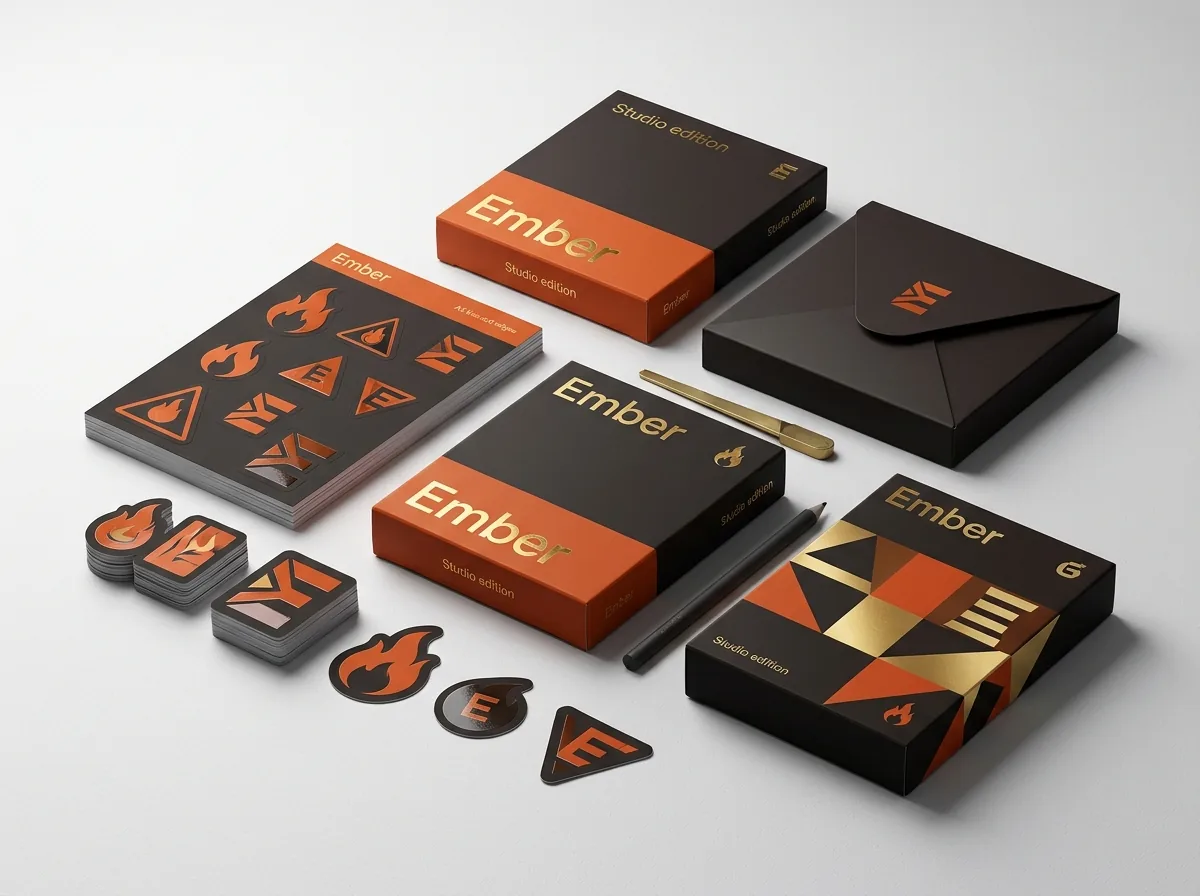
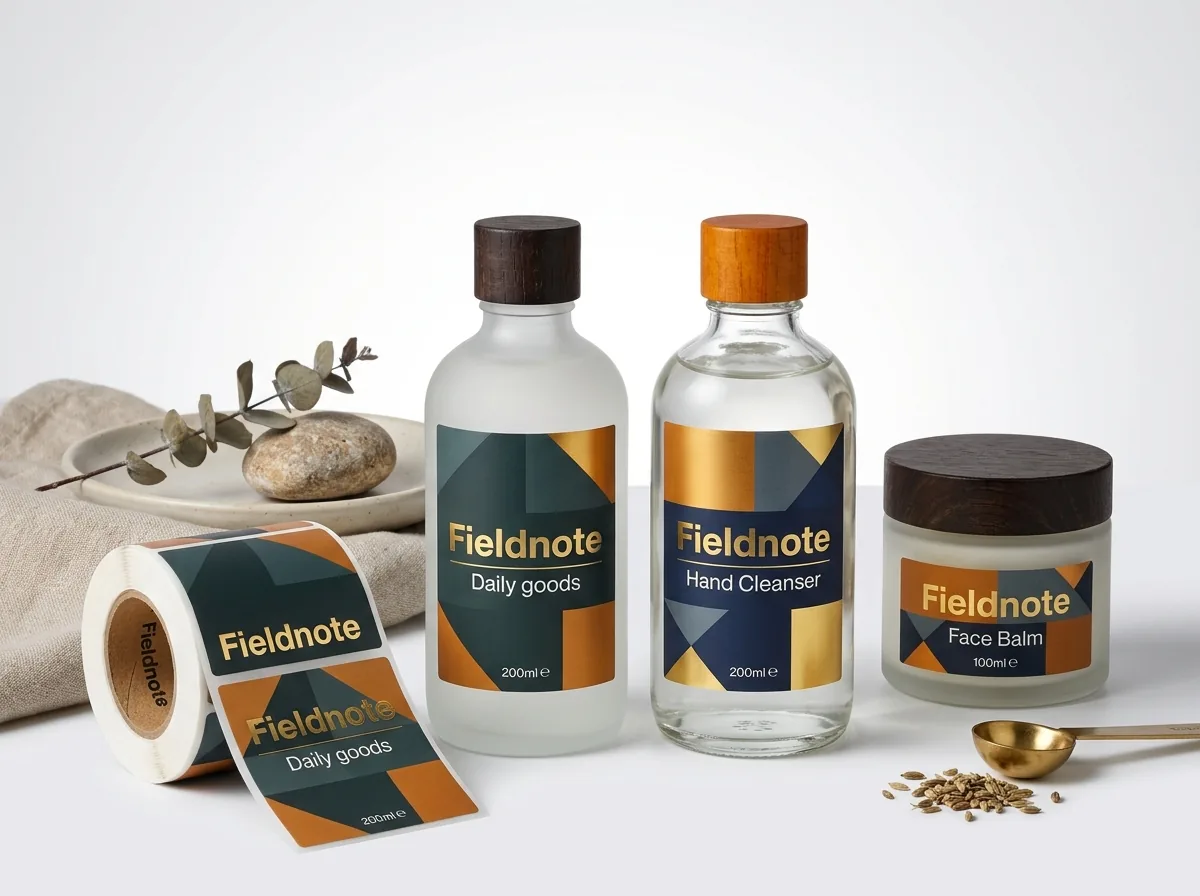
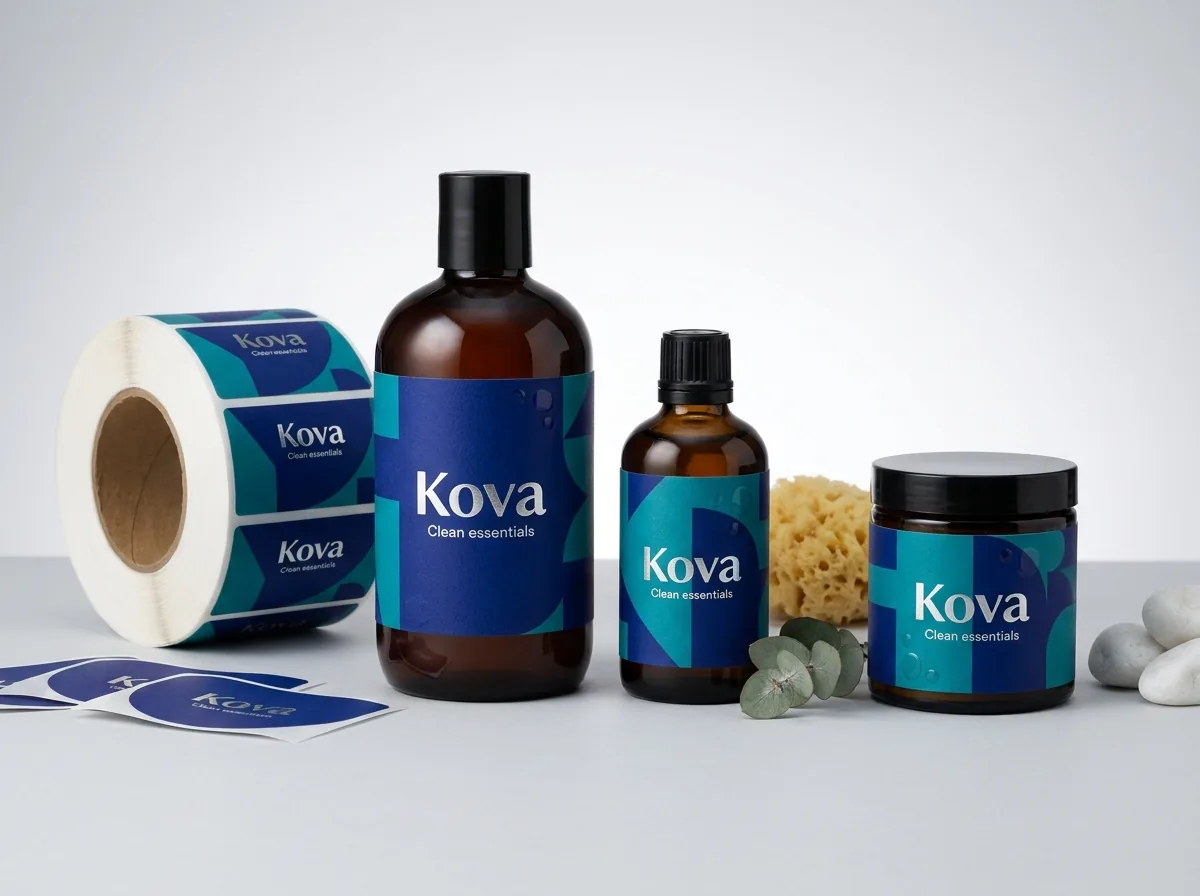
If you use contour stickers to seal folded tissue paper, close custom mailer boxes or brand blank stand-up pouches, match the border style to the background material of the package. On natural brown kraft boxes and kraft coffee bags, a full-bleed dark green, black or burgundy die-cut badge looks clean and intentional, whereas a bright white border creates a high-contrast pop. On patterned custom tissue paper or colorful printed cartons, a ⅛ inch white or cream offset border separates the sticker from the busy pattern underneath so your logo stays crisp. When sealing matte black gift boxes or dark mylar bags, a full-bleed matte black die-cut sticker accented with gold or silver foil stamping blends right into the container wall so only the metallic emblem catches the light. If you cannot decide between a white border and a full-bleed colored border, ask our design team in the quote notes and we will show both versions side by side on your free digital proof.
- Natural brown kraft boxes and bags: use a full-bleed dark Pantone border for an earthy badge, or a cream offset border for vintage contrast.
- Patterned tissue paper and colorful mailers: use a ⅛ inch white offset border to create a calm visual frame around your logo.
- Matte black boxes and pouches: use a full-bleed black contour with spot UV or metallic foil stamping for a tone-on-tone seal.
- Clear glass jars and frosted bottles: use a transparent clear contour border so the product color shows right up to the lettering.
What are the most common border and bleed mistakes on die-cut stickers?
Border issues almost always come down to missing bleed on colored edges or low contrast on dark surfaces. Watch out for these five mistakes
- Requesting a full-bleed colored edge without extending the background color ⅛ inch past the cut line, which can leave a thin white sliver on one side.
- Printing a dark black or navy script logo with a clear or zero border, making it invisible when customers stick it on a dark laptop or tinted car window.
- Making a white offset border thinner than 1/16 inch (0.0625 in), where a normal blade tolerance shift looks noticeably uneven.
- Adding a heavy white border around a rectangular or circular badge that already has its own thick printed frame.
- Placing small text inside the ⅛ inch offset border ring where the cutting blade runs.
Find your label size
Suggested label size: 9⅛ × 2¾ in (width × height)
A typical starting point. Your account manager confirms the size on the proof.
Quote this size →Packaging for this
Ready to order die cut stickers? Compare up to 3 quantities with a free 3D mockup.
Request a Quote →Questions about die cut stickers
Does a full-bleed die-cut sticker cost more than one with a white border?
No. At CubitPack, white offset borders, colored offset borders and full-bleed borderless edges all cost the exact same price per square inch and carry zero die or plate charges.
How wide is a standard white border on a 3 × 3 inch die-cut sticker?
The standard offset border width is ⅛ inch (0.125 inches) on all sides. It is wide enough to look balanced and absorb minor cutting tolerances while keeping your central illustration large.
Can you add a white or colored border for me if my file only has a transparent PNG?
Yes. Simply upload your transparent PNG, PDF or AI file and write whether you want a white border, a specific Pantone colored border or a full-bleed cut in the quote notes. Our designers add it for free.
Why do I need ⅛ inch of extra ink outside the cut line on a full-bleed sticker?
High-speed cutting blades have a tiny mechanical tolerance. Extending your background color ⅛ inch past the cut path (called bleed) guarantees that the blade slices through solid ink with no unprinted white edge.
Can I see both a white-border proof and a full-bleed proof before I pay?
Yes. Ask your account manager when you submit your quote and our prepress team will show you both border treatments on your free digital proof and 3D mockup before you approve and pay.
Which finish pairs best with full-bleed dark die-cut stickers?
A matte finish gives dark navy, charcoal and forest green full-bleed stickers a rich, velvety look without glare, while a gloss finish deepens black ink and makes bright colors look wet and vibrant.
Still have a question? Ask a packaging specialist.
Request a Quote →Request your die cut stickers quote
Tell us your size and quantities, and one dedicated account manager prepares pricing for each tier.
- Free design & AI-to-print studio + 3D mockup
- No die or plate charges · 4–5 day rush available
- Free shipping to all 50 states
- 10% off your first order
The border width standards (⅛ inch offset) and full-bleed tolerances (+⅛ inch past cut) in this guide come from CubitPack's prepress guidelines and were checked by a packaging specialist. Spot something wrong? Tell us and we will fix it.
Sources
What changed
- October 22, 2026: First published.
- October 22, 2026: Updated specifications, terminology, and verified source links.
More guides
New packaging guides by email
Sizes, materials and design tips. Unsubscribe anytime.