
How do I draw a smooth contour cut line for custom die-cut stickers?
Short answer: To draw a smooth contour cut line for custom die-cut stickers, offset your artwork silhouette outward by ⅛ inch using Round Joins, unite any floating letters or dots into one shared path, and round inward corners to at least 1/16 inch. Or upload your graphic and we draw the dieline for free.
On this page
- How do I create a ⅛ inch offset cut path with Round Joins
- How do I connect floating letters, dots and stars into one sticker
- What are the contour geometry tolerances for clean cutting and peeling
- How do I prepare a PNG, Procreate drawing or AI image for contour cutting
- How does the cut line change when my die-cut sticker has full bleed
- Common mistakes
- FAQs
Request a custom quoteFree dieline & 3D mockup
A great contour cut line follows the personality of your illustration while eliminating sharp angles and fragile bridges that could tear when a customer peels the sticker. In vector design software like Adobe Illustrator, start by duplicating your artwork silhouette onto a separate layer named CutLine, uniting all overlapping shapes with Pathfinder, and applying an Offset Path of 0.125 inches (⅛ inch) with Joins set to Round. Round Joins automatically turn needle-sharp star points into smooth curves that never dog-ear on water bottles or laptop lids. Next, inspect any inward valleys where the path cuts toward the center of the sticker and widen tight V-notches to at least a 1/16 inch radius so the vinyl cannot rip along a crease. If you only have a PNG, PDF or AI-generated image, simply upload it as-is and CubitPack's prepress team draws the contour dieline and 3D mockup for free.
How do I create a ⅛ inch offset cut path with Round Joins?
When a high-speed blade or laser cuts through both the adhesive face stock and the paper backing liner to create through-cut contour stickers, every anchor point on your vector dieline guides the physical tool. If your path has thousands of jagged auto-traced points or sharp mitered corners, the blade has to stutter and pivot, leaving rough edges that catch on fingers and backpacks. Follow the five steps below in Adobe Illustrator (or the equivalent tools in Affinity Designer, Inkscape or Procreate/Photoshop + Illustrator) to build a clean, single-compound contour path on its own non-printing spot-color layer.
- Step 1 · Duplicate and weld the silhouette: copy your artwork to a new layer, convert strokes and text to outlines, and click Pathfinder > Unite so the silhouette is one solid shape.
- Step 2 · Apply Offset Path (0.125 in, Round Joins): go to Object > Path > Offset Path, enter 0.125 in (⅛ in), and change Joins from Miter to Round.
- Step 3 · Delete inner donut holes: release compound paths and remove any tiny enclosed interior cutout holes inside letters like O, A or B.
- Step 4 · Round tight inward valleys: select inward-pointing anchor points and drag the Live Corners widget to at least 0.0625 in (1/16 in).
- Step 5 · Set to a 1 pt spot-color stroke: remove the fill, apply a 100% magenta spot-color stroke named CutLine, and turn on Overprint Stroke.
How do I connect floating letters, dots and stars into one sticker?
One of the most common surprises for first-time sticker designers happens when a logo has disconnected elements, such as the floating dot above a lowercase i, a separate 'Est. 2024' tagline below a crest, or decorative stars sparkling around a character. Because a through-cut die-cut sticker has no surrounding transfer tape or sheet matrix, any shape enclosed in its own separate cut loop would fall away as a tiny loose scrap on the cutting table. To keep every word, dot and star attached to the main sticker, expand your offset path slightly until the bridges overlap, unite them with Pathfinder, and then offset inward if needed to create a smooth 'cloud' or 'peanut' bridge between the elements. Make sure any connecting neck between two heavy shapes is at least ¼ inch (0.25 in) wide so the sticker does not flop or stretch like a hinge when a customer peels it off the liner.
What are the contour geometry tolerances for clean cutting and peeling?
Use the engineering table below to check your cut line before exporting your print PDF. Every rule in this table is designed to prevent two real-world issues: inward tears when a customer bends the backing paper to peel the sticker, and dog-eared tips that lift up after a week on a water bottle or laptop. If your artwork has ultra-fine tendrils or delicate calligraphy tails that cannot be widened to ¼ inch, consider ordering custom sticker sheets or kiss-cut singles on a square backing card from our custom stickers page, where the wider uncut liner supports fragile tips until the moment of application.
| Contour feature | Recommended tolerance | What happens if it is too tight |
|---|---|---|
| Offset border width | 0.125 in (⅛ in) standard | Borders under 1/16 in look lopsided if the blade shifts by 0.5 mm |
| Outward corner radius | 0.0625 in (1/16 in) minimum | Needle-sharp outward points catch on fabrics and peel up on bottles |
| Inward valley radius | 0.0625 in to 0.125 in curve | Sharp inward V-notches act like a tear notch and rip the vinyl when peeling |
| Connecting bridge neck | 0.25 in (¼ in) minimum width | Narrow necks under ¼ in stretch or fold over while peeling the liner |
| Interior cutout holes | Avoid (fill with background color) | Internal holes require manual weeding and weaken the sticker structure |
| Anchor point count | Smooth Bezier curves (Object > Simplify) | Hundreds of jagged auto-trace nodes cause rough,ratcheted cut edges |
Know your size? Compare pricing across up to 3 quantities.
Request a Quote →How do I prepare a PNG, Procreate drawing or AI image for contour cutting?
What if you painted your mascot in Procreate on an iPad, exported a logo from Canva, or generated an illustration with Midjourney or Gemini, and you do not have a vector path? You have two easy paths forward. First, you can simply upload your high-resolution PNG, PSD or PDF (at 300 DPI or higher at print size) directly into Step 3 of our quote form and skip drawing the cut line altogether. Our prepress designers trace the silhouette, smooth out all inward valleys, add your choice of a ⅛ inch white border or full-bleed extension, and send you a digital proof and 3D mockup for free. Second, if you want to trace a raster PNG yourself in Illustrator, place the transparent PNG on your artboard, run Image Trace set to Silhouette (Threshold 254) on a duplicate copy, Expand the trace, and apply the 0.125 inch Round-Join Offset Path.
- Export with a transparent background: save Procreate or Photoshop art as a 300 DPI PNG with transparency so the silhouette edge is crisp.
- Erase stray floating pixels: clean up faint brush specks outside the main character so an auto-trace does not create tiny bump outs.
- Let CubitPack trace it for free: upload your file as-is and review the magenta cut path on your free digital proof.
How does the cut line change when my die-cut sticker has full bleed?
When you design a white-border sticker, your cut path sits ⅛ inch (0.125 in) outside your printed artwork. When you design a full-bleed colored die-cut sticker, that relationship flips: your cut path sits right on the finished edge of your design, and your background color extends ⅛ inch outward past the cut path. Keep all text, inner borders and character faces at least ⅛ inch inside the cut path (the safe zone), and pull only the background color or pattern ⅛ inch outside the cut path. That gives you a total ¼ inch (0.25 in) buffer zone across the blade line, matching the exact same prepress standard we use on custom roll labels and custom labels. When exporting your final PDF from Illustrator, leave your CutLine layer visible on top of the ⅛ inch bleed extension so our prepress team and your digital proof show the exact trim boundary.
- Safe zone (−0.125 in): keep all typography, logos and inner keylines at least ⅛ inch inside the CutLine path so nothing clips.
- CutLine path (0.00 in): place the 1 pt spot-color stroke along the exact finished outer silhouette of the sticker.
- Bleed extension (+0.125 in): pull background colors, gradients and patterns ⅛ inch outward past the CutLine path on all sides.
- Digital proof check: review both the safe margin and outer cut path on your free CubitPack proof before approving production.
What are the most common contour cut-line mistakes?
Check your vector path at 400% zoom in Outline view before saving your file to catch these five classic dieline errors
- Using Miter Joins instead of Round Joins on an offset path, which shoots long spiky points off sharp corners.
- Leaving enclosed donut holes inside letters or between a character's arms and body instead of filling them with the border color.
- Drawing a double or overlapping stroke on the CutLine layer, which tells the cutter to slice the same path twice.
- Leaving a 1/16 inch hair-thin bridge connecting a tagline to the main logo, causing the tagline to bend and tear during peeling.
- Exporting the magenta cut line as a flattened raster pixel layer instead of a live vector path.
Find your label size
Suggested label size: 9⅛ × 2¾ in (width × height)
A typical starting point. Your account manager confirms the size on the proof.
Quote this size →Packaging for this
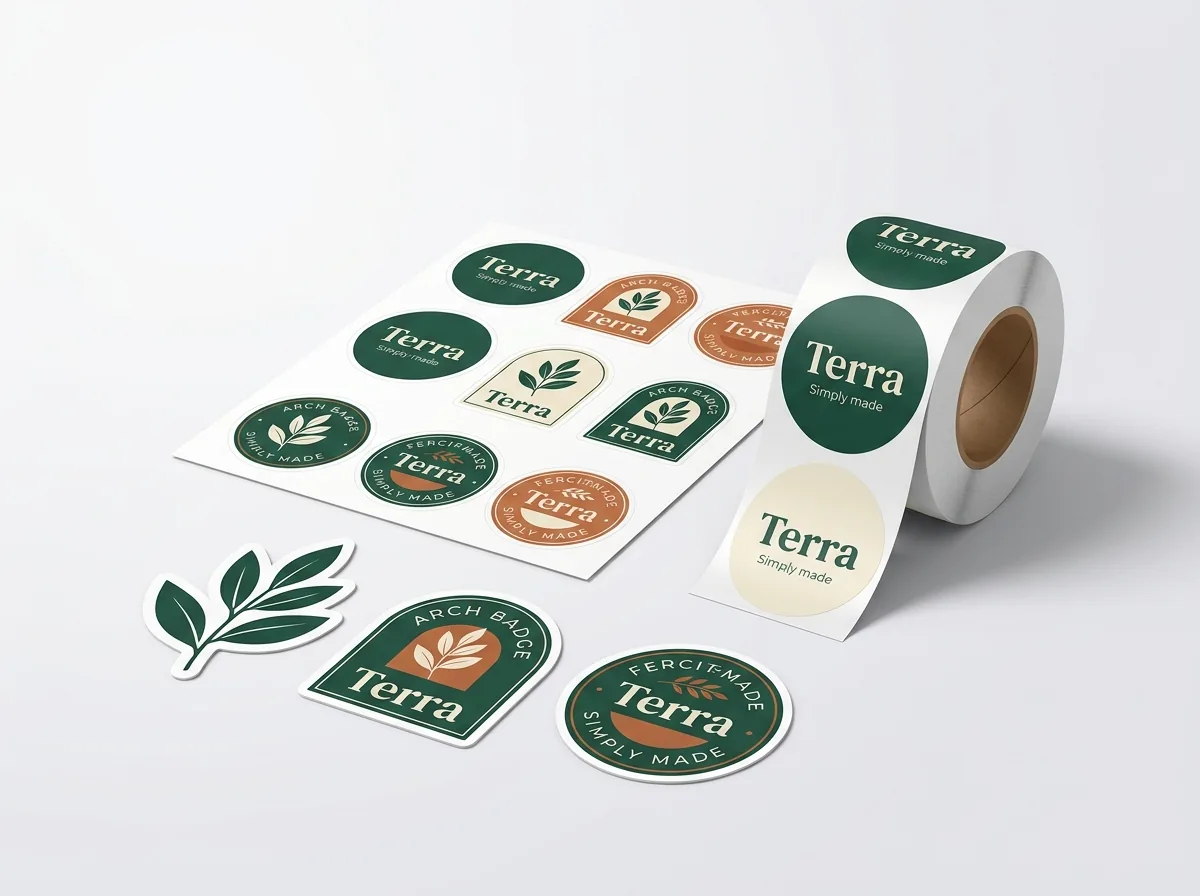
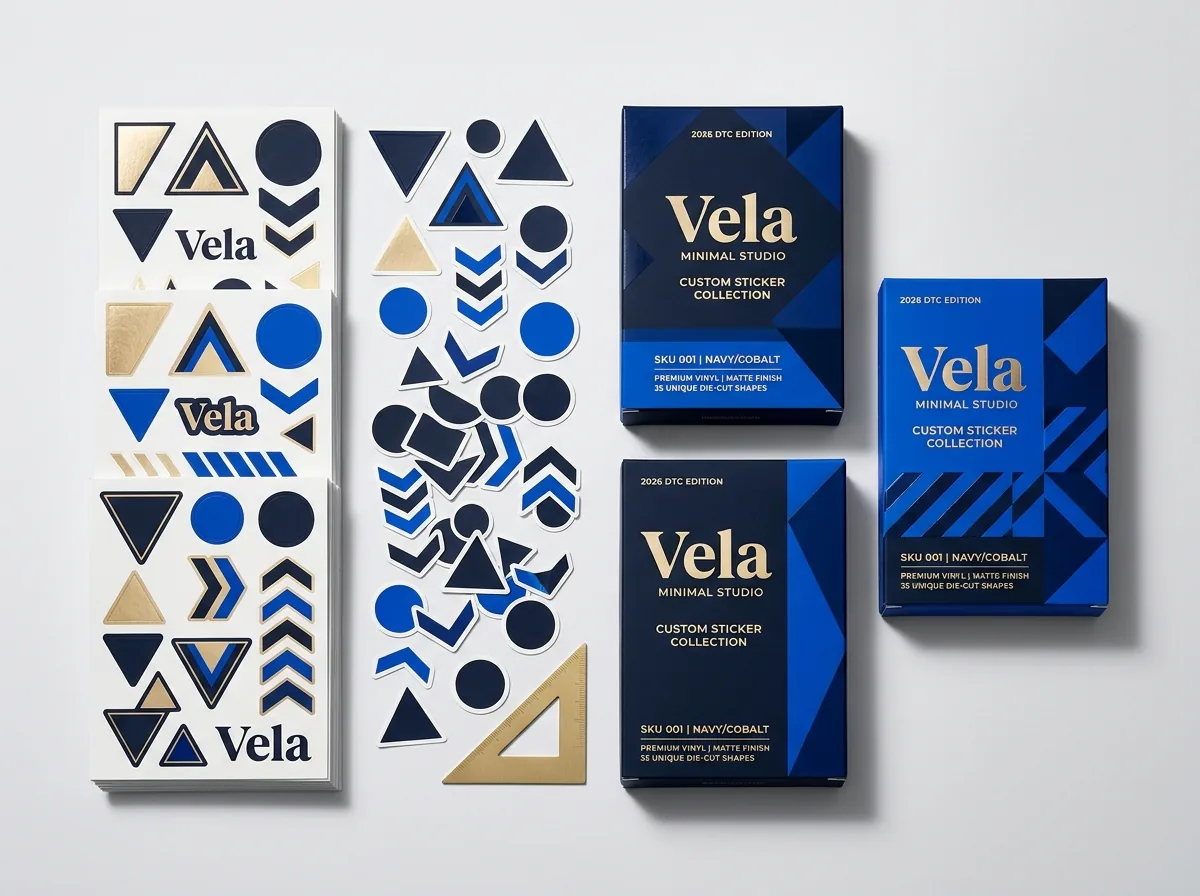
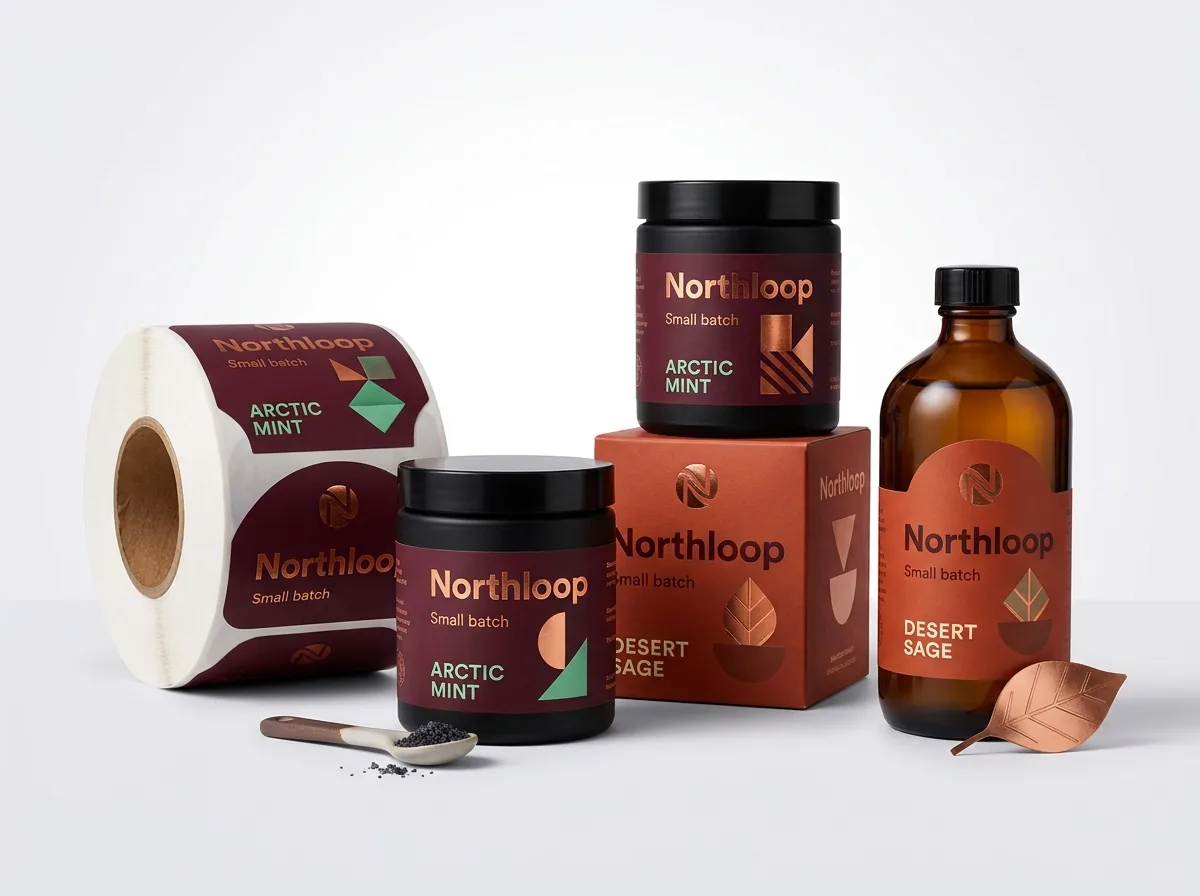
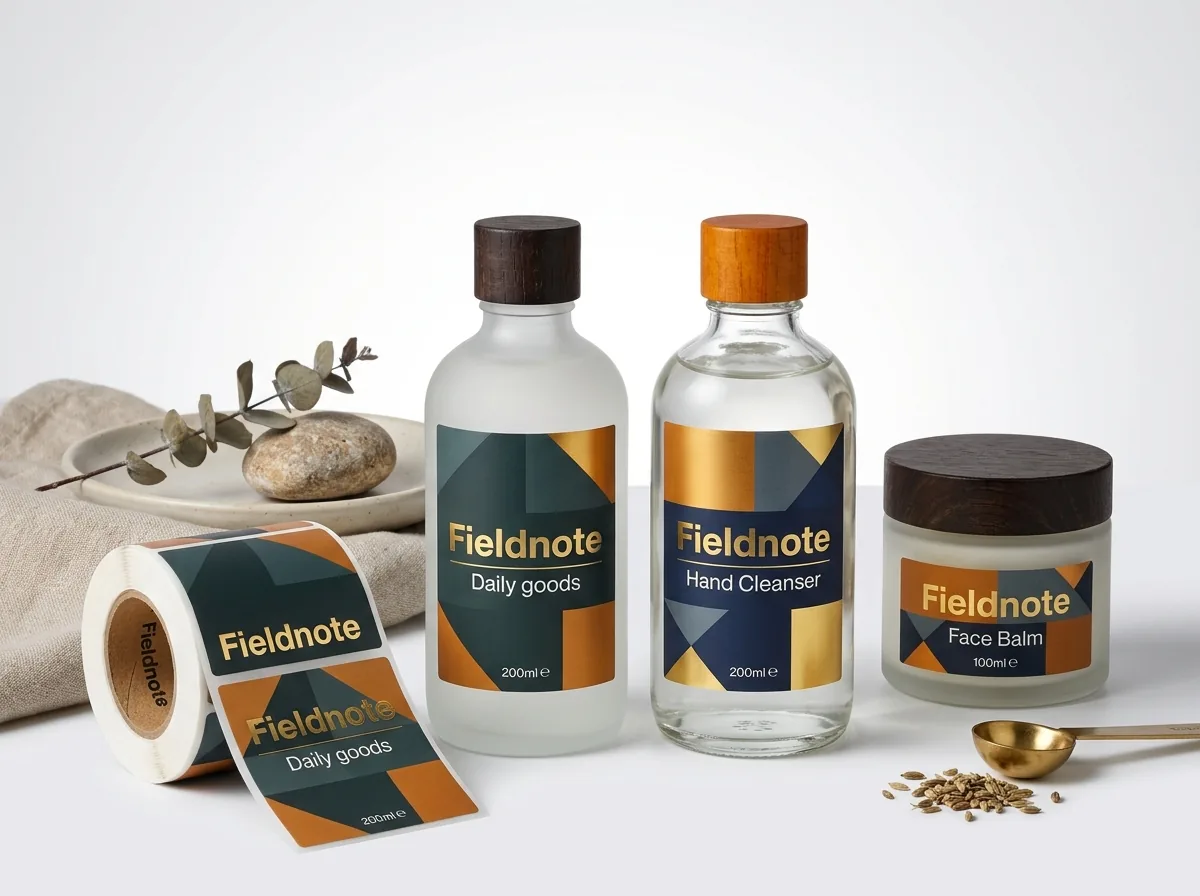
Ready to order die cut stickers? Compare up to 3 quantities with a free 3D mockup.
Request a Quote →Questions about die cut stickers
Do I need to draw a contour cut line before I upload my sticker file?
No. You can upload any PNG, PDF, PSD or AI file without a dieline. Our prepress team traces a smooth, peel-friendly contour cut line around your artwork for free and shows it on your digital proof before you pay.
Why should I delete interior cutout holes inside my sticker contour?
Interior holes (like the open space between a character's legs or inside a letter O) weaken the sticker and trap tiny scraps of backing paper. Filling interior spaces with your white or colored border makes the sticker stronger and much easier to peel.
What color and stroke weight should I use for my CutLine layer?
Use a 1 pt (or 0.5 pt) solid vector stroke set to a 100% magenta spot color named CutLine on its own top layer, with Overprint Stroke enabled so it never knocks out the artwork underneath.
Why do sharp inward V-angles tear when peeling a die-cut sticker?
When you bend a sticker to peel it from the liner, pulling tension concentrates at the deepest point of any sharp inward V-notch, just like the tear notch on a snack pouch. Rounding inward valleys to at least a 1/16 inch radius spreads the tension evenly.
How thick should the bridge be when connecting two separate words?
Keep any connecting neck or bridge between words or icons at least ¼ inch (0.25 in) wide. A bridge narrower than ¼ inch acts like a weak hinge and can crease while the sticker is in a handout bowl or shipping box.
Do complex contour paths with many curves cost extra to cut?
No. CubitPack never charges die or setup fees. Whether your contour is a simple rounded badge or a detailed character silhouette, you pay the exact same price based on outer width × height.
Still have a question? Ask a packaging specialist.
Request a Quote →Request your die cut stickers quote
Tell us your size and quantities, and one dedicated account manager prepares pricing for each tier.
- Free design & AI-to-print studio + 3D mockup
- No die or plate charges · 4–5 day rush available
- Free shipping to all 50 states
- 10% off your first order
The vector offset, Round Join, 1/16 inch corner radius and ¼ inch bridge tolerances in this guide come from CubitPack's prepress cutter specifications and were verified by a packaging specialist. Spot something wrong? Tell us and we will fix it.
Sources
What changed
- October 22, 2026: First published.
- October 22, 2026: Updated specifications, terminology, and verified source links.
More guides
New packaging guides by email
Sizes, materials and design tips. Unsubscribe anytime.