
How do I set up custom sticker sheet artwork and kiss-cut lines?
Short answer: Set up custom sticker sheets with two separate vector cut layers: one outer through-cut rectangle for the flat card, and inner kiss-cut paths for each peel-off sticker. Extend artwork bleed ⅛ inch past every kiss cut and leave ¼ inch between cuts, or upload your graphics and we set up the dielines for free.
On this page
- How do I organize artwork, kiss-cut paths and the outer trim line in my file
- How does ⅛ inch bleed work when stickers sit inside a printed background card
- What are the exact prepress specs for custom sticker sheets
- How do I draw smooth kiss-cut contours that peel without tearing
- What if I only have separate PNGs or AI-generated art instead of a sheet layout
- Common mistakes
- FAQs
Request a custom quoteFree dieline & 3D mockup
Preparing print-ready artwork for a custom sticker sheet is simple once you separate the print layer from the two cutting layers. Your bottom layer holds all visible CMYK or Pantone artwork at 300 DPI or in vector paths, including the individual sticker illustrations, the top header banner and any full-bleed background pattern across the card. Above the artwork sit two distinct vector stroke layers set to spot colors: an outer through-cut trim line that slices all the way through the card and liner, and inner kiss-cut paths that slice only through the top adhesive sticker stock. Every inner kiss-cut path needs at least ¼ inch of uncut spacing from neighboring cuts and from the outer card edge, plus ⅛ inch of artwork bleed extending across each cut path. If you do not use vector software, send your separate PNG or AI graphics and CubitPack builds the entire sheet layout and 3D mockup for free.
How do I organize artwork, kiss-cut paths and the outer trim line in my file?
Unlike a single sticker that only has one cut line, a sticker sheet requires the cutter to perform two different actions on the same card: shallow kiss cuts inside the page and a full through cut around the outer perimeter. In Adobe Illustrator, Affinity Designer or CorelDRAW, organize your document into three clearly named layers so our prepress RIP software reads each instruction without touching your printable artwork. Keep all printable graphics on the bottom layer named Artwork. Place all inner peel-off sticker outlines on a middle layer named Kiss-Cut using a 1 pt vector stroke in a 100% magenta spot color. Place the outer rectangular or shaped card perimeter on a top layer named Through-Cut (or Trim) using a 1 pt vector stroke in 100% cyan. When you order printed kiss-cut sticker sheets, our prepress team verifies these layers and sends a clear digital proof before you pay.
- Layer 1 · Artwork (bottom): all CMYK or Pantone illustrations, background card patterns, header logos and bleed.
- Layer 2 · Kiss-Cut (middle): 1 pt spot-color vector paths showing where the blade slices only the top sticker layer.
- Layer 3 · Through-Cut (top): 1 pt spot-color vector path showing the outer perimeter of the flat backing card.
- Outline all typography: convert every font on the header bar and inside stickers to vector outlines so no fonts substitute.
- Embed high-res rasters: keep painted or photographic elements at 300 DPI or higher at 100% print scale.
How does ⅛ inch bleed work when stickers sit inside a printed background card?
Bleed on a sticker sheet works in two places at once: around the outer edge of the card, and across every inner kiss-cut path. For the outer card edge, extend your background color or pattern ⅛ inch (0.125 in) outside the Through-Cut trim rectangle on all four sides. That outer bleed prevents unprinted white slivers if the sheet guillotine shifts by a hair. For the inner kiss-cut stickers, you have two clean design options. First, if each sticker has a white or solid-color offset border around the illustration, extend that border color ⅛ inch outside the Kiss-Cut line into the surrounding matrix, or let the printed background matrix start right at the outer edge of the ⅛ inch bleed ring. Second, if your sticker illustration blends continuously into the background card scene, simply let the illustration run uninterrupted across the Kiss-Cut path. Either way, keep important lettering and logos at least ⅛ inch inside the Kiss-Cut path.
What are the exact prepress specs for custom sticker sheets?
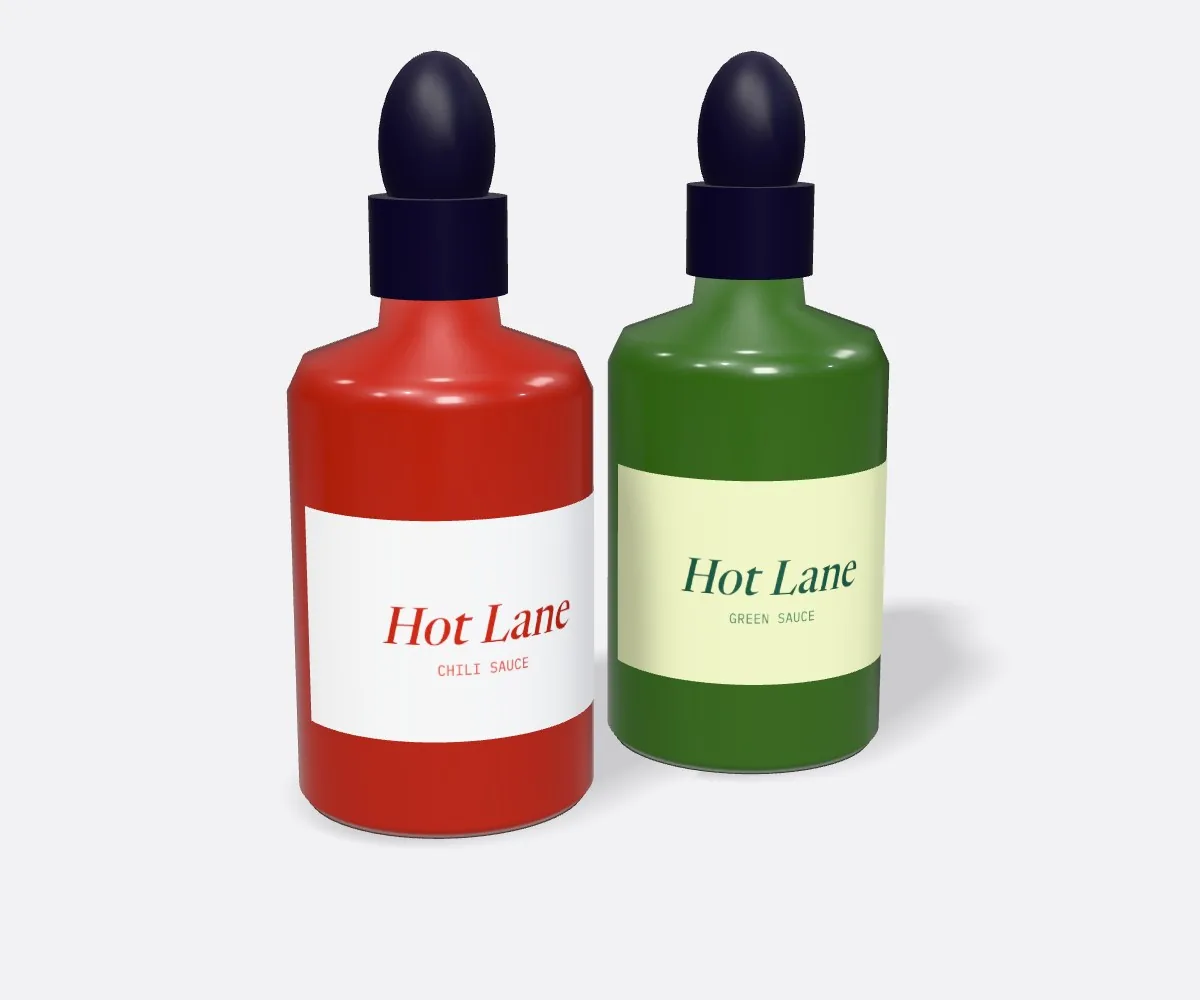
Before saving your PDF or AI file, run through the tolerances in the table below. Following these numbers guarantees that your inner contours peel cleanly without snagging, your surrounding matrix stays flat and intact, and your smallest ingredient or social media text prints sharp. If you are also preparing files for individual handouts or container wraps, you can compare these multi-up sheet rules with our single-piece guides for custom die-cut stickers and custom roll labels. Notice that the ¼ inch spacing rule between kiss cuts is unique to sheets because the matrix web has to bridge between multiple shapes across a wide card.
| Prepress element | Required specification | Why it matters on a sticker sheet |
|---|---|---|
| Outer card bleed | 0.125 in (⅛ in) outside Through-Cut line | Prevents unprinted white paper edges along the outer card trim |
| Inner sticker bleed | 0.125 in (⅛ in) past each Kiss-Cut path | Stops background color from showing on the edge of a peeled sticker |
| Safe zone inside cuts | 0.125 in (⅛ in) inside every cut path | Protects text, logos and borders from being clipped by blade tolerance |
| Gap between kiss cuts | 0.25 in (¼ in) minimum uncut bridge | Keeps the surrounding background matrix from tearing during cutting or peeling |
| Outer frame margin | 0.25 in (¼ in) from Kiss-Cut to card edge | Gives the outer sheet border enough strength to stay flat in mailers |
| Minimum corner radius | 0.0625 in (1/16 in) rounded corners | Prevents sharp inward V-corners from catching and ripping the vinyl or paper |
| Resolution & color mode | 300+ DPI at 100% size; CMYK or Pantone | Ensures crisp micro text and guaranteed Pantone matching across packaging |
Know your size? Compare pricing across up to 3 quantities.
Request a Quote →How do I draw smooth kiss-cut contours that peel without tearing?
When customers peel a sticker off a flat card, they bend the backing sheet slightly and lift one edge of the sticker upward. If your kiss-cut path has deep, narrow canyons, needle-sharp star points or disconnected floating islands (like the dot on an i or a separate trademark symbol), the blade has to pivot sharply and the thin vinyl bridge can catch or tear as the customer pulls. To make every sticker on the sheet peel effortlessly in one piece, unite all parts of a multi-word slogan or mascot inside one continuous offset bubble path using Adobe Illustrator's Offset Path tool (set to 0.125 in with Round Joins). Rounding the peaks and valleys of the cut path lets the blade glide smoothly around the perimeter and ensures the sticker lifts off the release liner cleanly on the first try.
- Use Round Joins on offset paths: eliminates needle-sharp points that dog-ear or lift on laptops and bottles.
- Unite floating letters and icons: wrap script words and floating accents inside one shared ⅛ inch offset contour.
- Avoid narrow necks under ¼ inch wide: thicken the border bridge between connected elements so the sticker does not stretch.
- Keep anchor points clean: simplify jagged auto-traced paths down to smooth Bezier curves.
What if I only have separate PNGs or AI-generated art instead of a sheet layout?
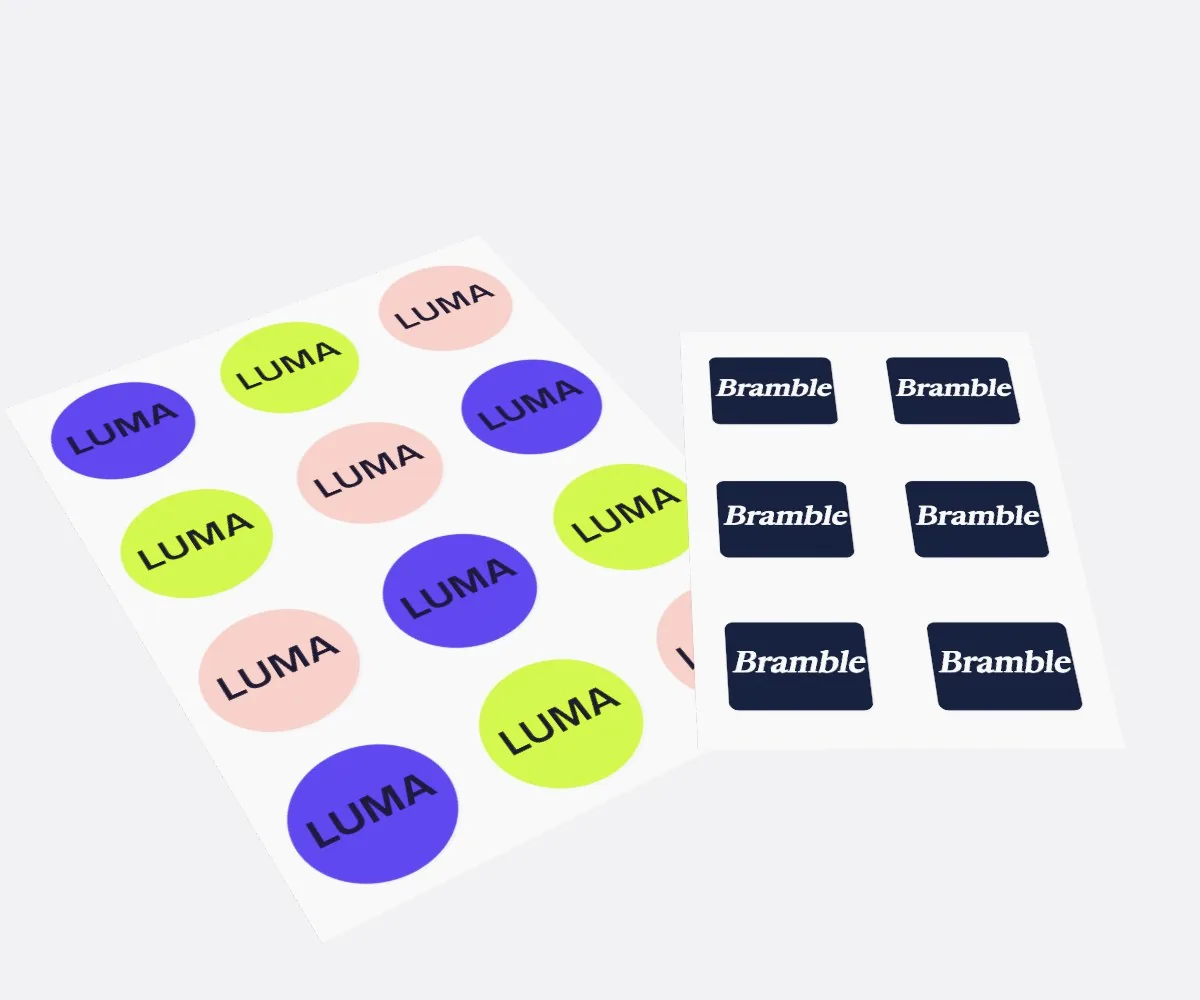
You do not need Adobe Illustrator or prepress training to order custom sticker sheets from CubitPack. More than half of the brands we work with simply upload a folder of five or six separate PNG, PDF or PSD graphics (or AI-generated illustrations) and tell us the outer sheet size they want, such as a 4 × 6 inch postcard sheet or a 5 × 7 inch merch pack. Our in-house design team arranges your graphics onto the card at no charge, adds your brand logo and social handle to the top header bar, traces smooth ⅛ inch offset kiss-cut paths around every piece, verifies the ¼ inch matrix bridges, and sends you a full digital proof and 3D mockup before you pay a cent. If you also need matching custom mailer boxes or custom labels, we align the Pantone colors across your entire packaging line at the same time.
- Upload separate graphics: attach your individual PNG, PDF, PSD or AI files in Step 3 of the quote form.
- Describe your layout in the notes: tell us your desired card size (like 4 × 6 in) and any header text or background color.
- Approve your free proof: review the exact magenta kiss-cut lines and 3D mockup before paying.
What are the most common sticker sheet artwork mistakes?
A two-minute prepress check prevents almost every proof revision on multi-sticker sheets. Watch out for these five file setup errors
- Flattening the magenta kiss-cut guide lines into the printable artwork layer, which would cause the colored guide lines to print on the stickers.
- Leaving sharp 90-degree inward notches or disconnected floating letters in a contour cut path instead of uniting them with a rounded offset border.
- Placing two kiss-cut paths only 1/16 inch apart, leaving a fragile strip of matrix that snaps during high-speed cutting.
- Submitting RGB screen screenshots at 72 DPI instead of 300 DPI CMYK or vector files.
- Forgetting to extend the background card pattern ⅛ inch past the outer Through-Cut trim rectangle.
Find your label size
Suggested label size: 9⅛ × 2¾ in (width × height)
A typical starting point. Your account manager confirms the size on the proof.
Quote this size →Packaging for this
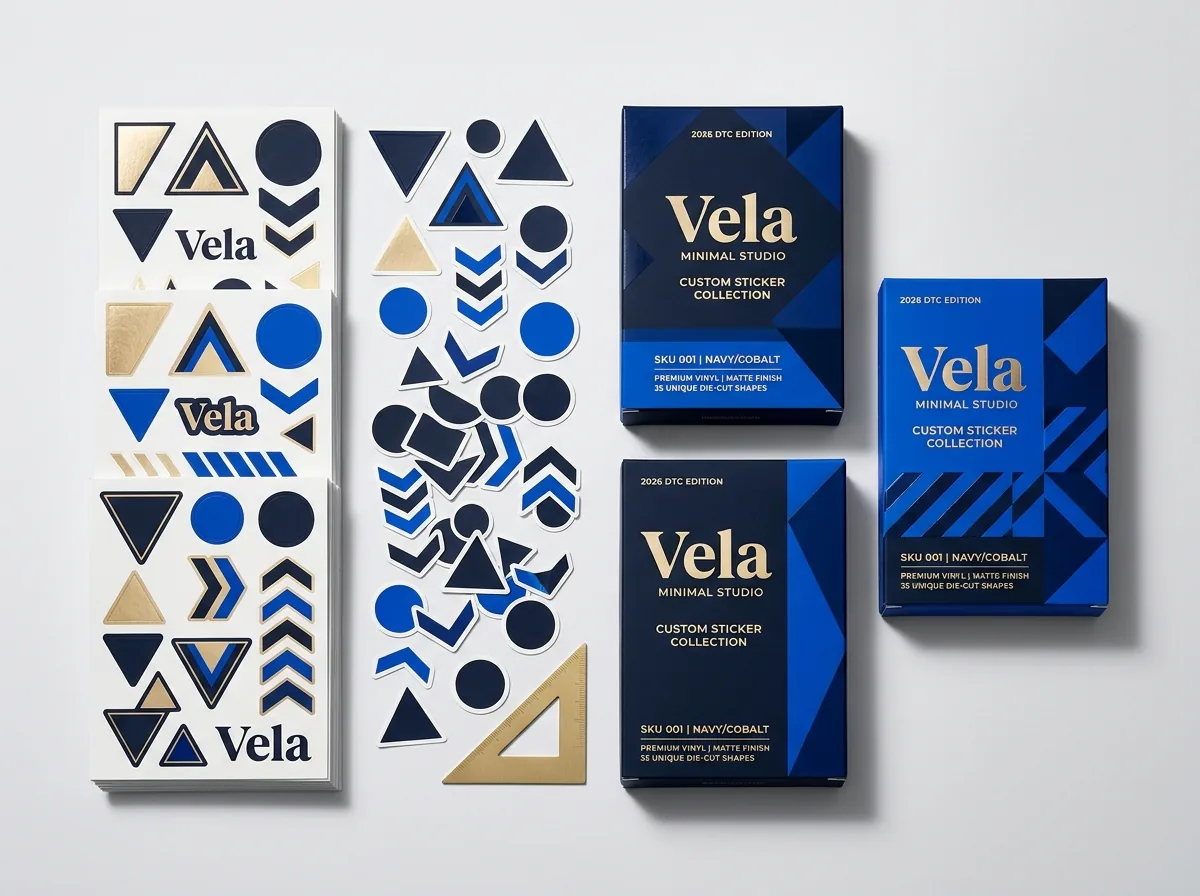
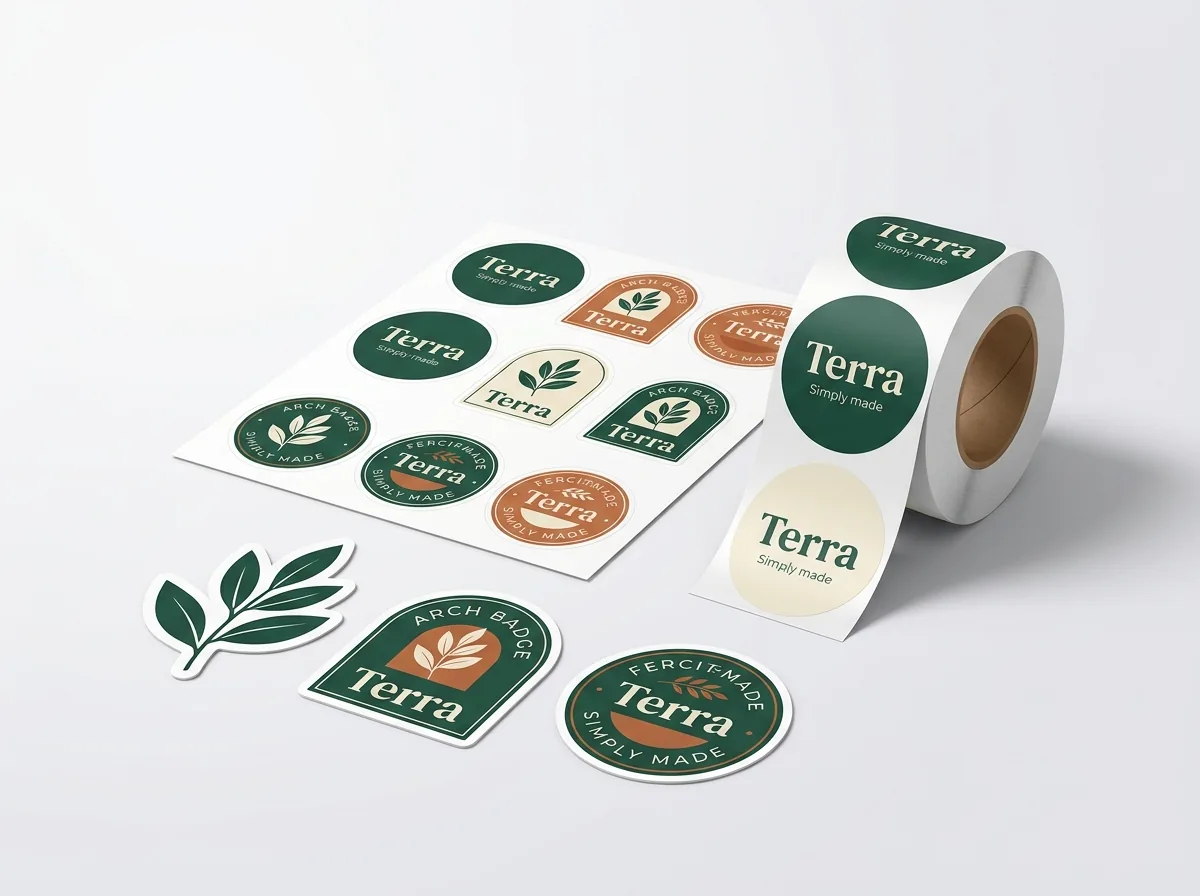
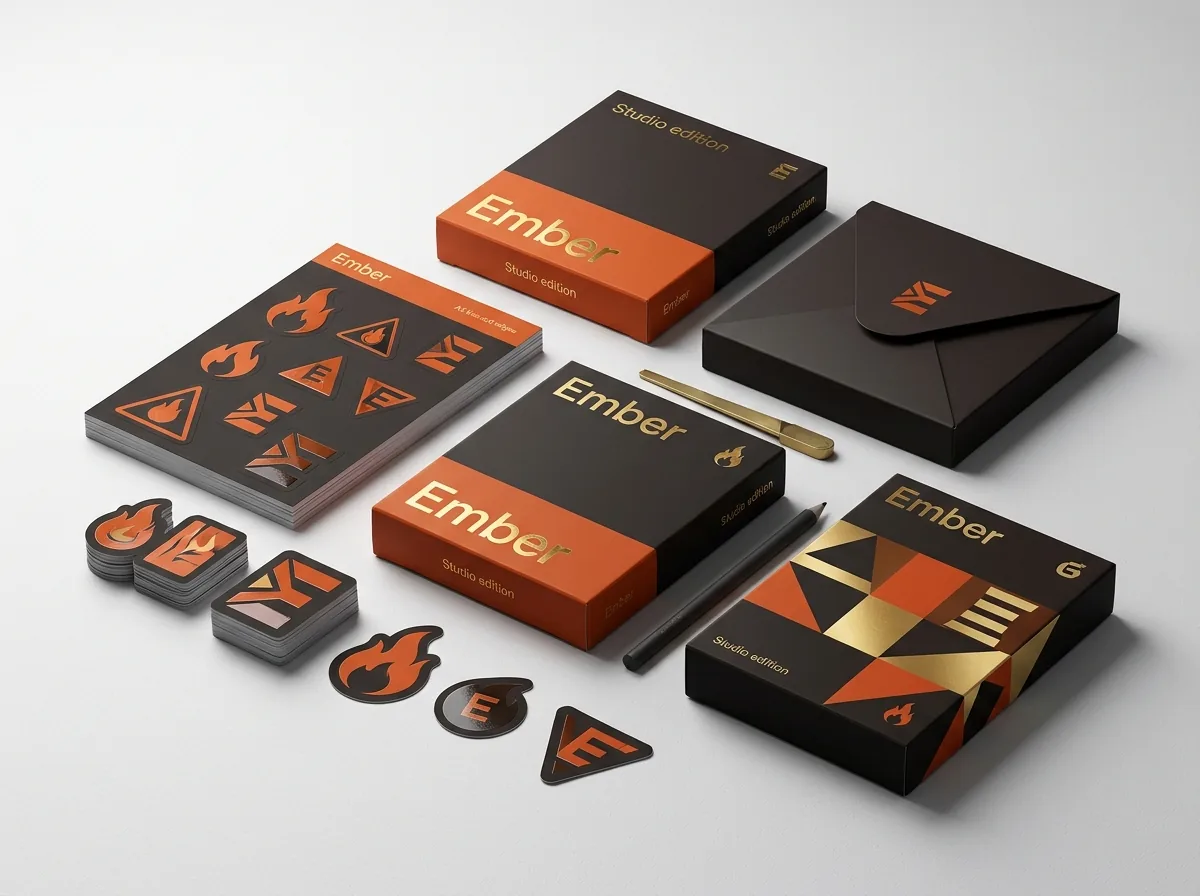
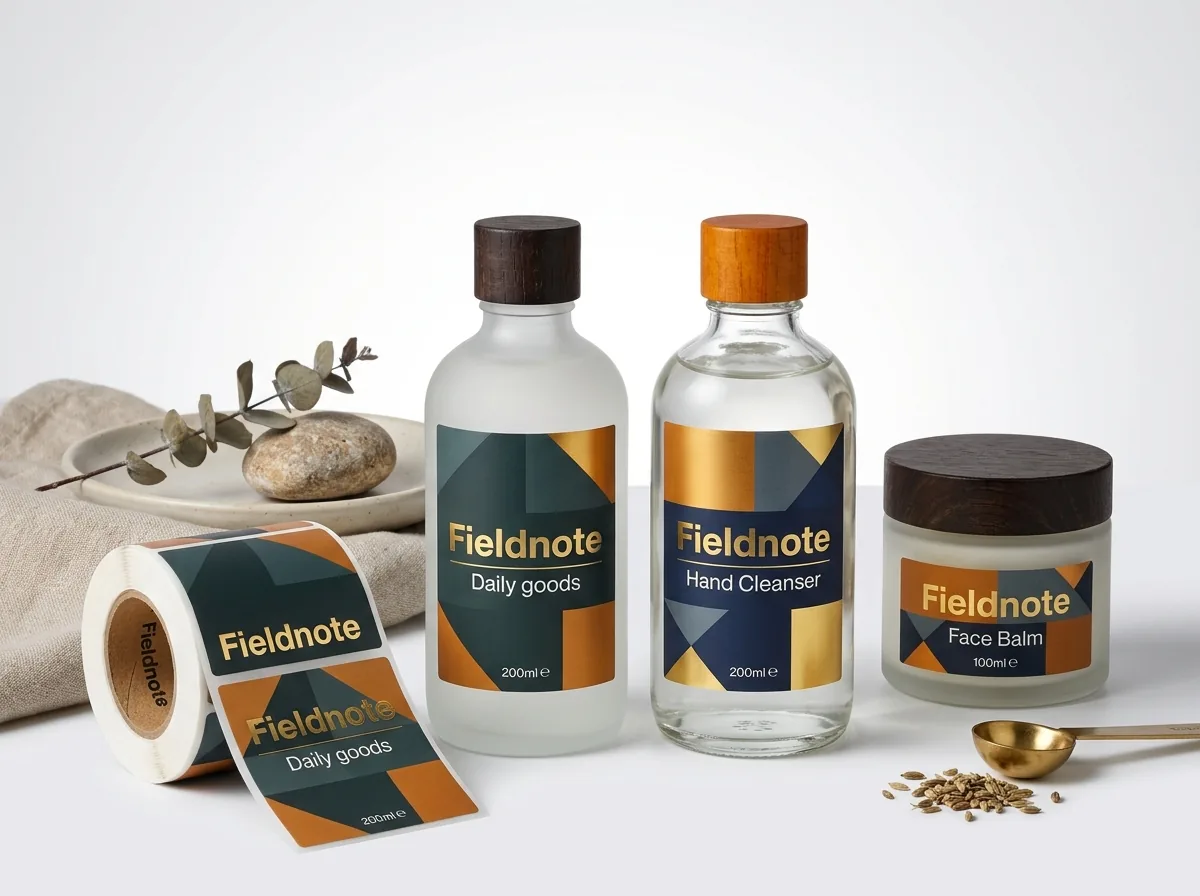
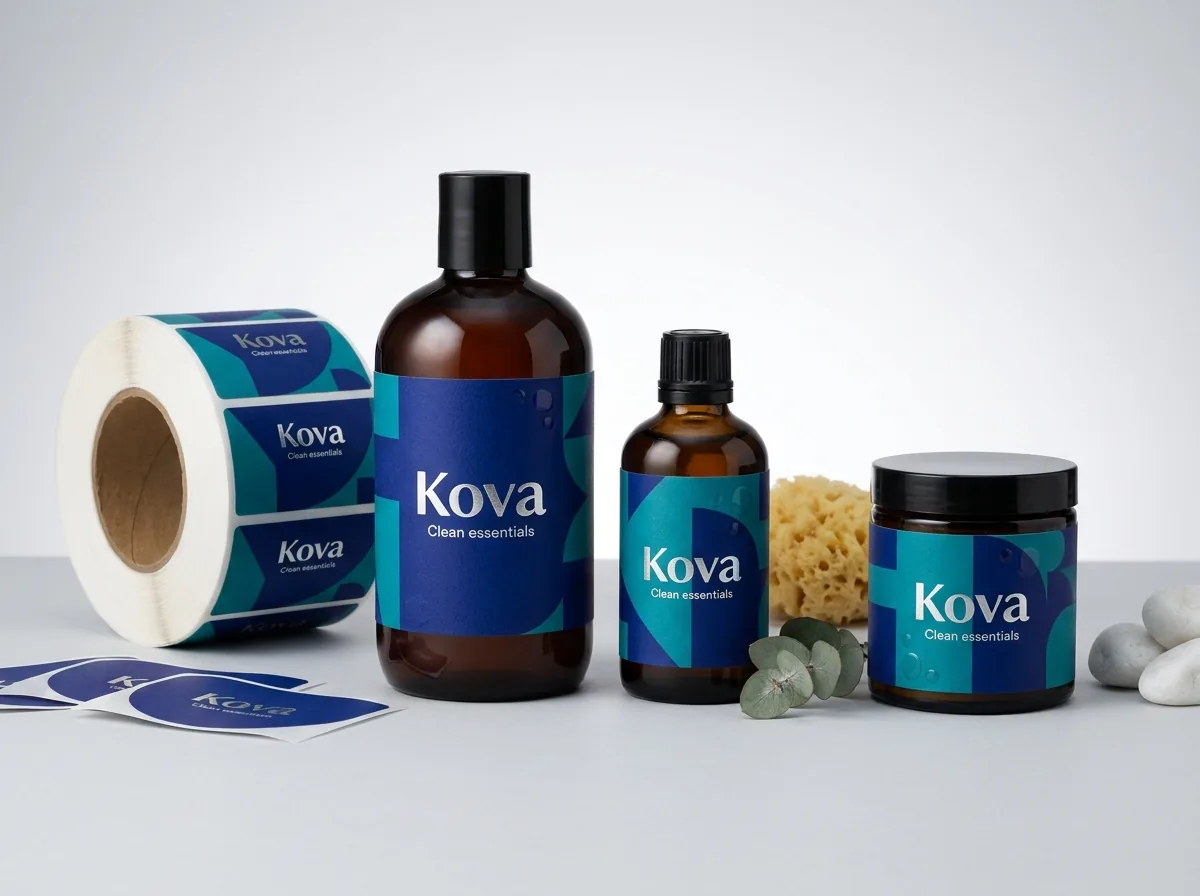
Ready to order sticker sheets? Compare up to 3 quantities with a free 3D mockup.
Request a Quote →Questions about sticker sheets
Do I have to draw the kiss-cut lines myself before requesting a quote?
No. You can upload your individual sticker graphics as PNG, PDF, AI or PSD files and tell us your desired sheet size in the quote notes. Our prepress designers will arrange the sheet, draw all kiss-cut paths and send a free digital proof and 3D mockup.
What file format is best if I build my own sticker sheet layout?
Save your layout as a vector PDF, Adobe Illustrator (.ai) or EPS file with all fonts converted to outlines, embedded images at 300 DPI or higher in CMYK or Pantone, and your Kiss-Cut and Through-Cut paths on separate named layers.
How do I print white ink on clear or metallic foil sticker sheets?
When printing on clear or metallic foil stock, we print an opaque white ink underbase beneath your CMYK colors so they stay solid rather than translucent. You can mark a White Ink spot layer in your file, or ask our prepress team to set up the white backup for free.
Can I use AI-generated illustrations on a custom sticker sheet?
Yes. Send us your Midjourney, DALL-E or Gemini illustrations and our designers will upscale the resolution if needed, clean up background edges, add smooth contour kiss-cut borders and convert colors to print-ready CMYK at no extra cost.
Will the kiss-cut guide lines show on my printed sticker sheet?
Never. The Kiss-Cut and Through-Cut vector paths are non-printing instructions that guide the cutting blade. On your digital proof we show them as colored overlay lines so you can check the exact cut position before approving production.
Can I print instructions or a batch code on the back of the sticker sheet liner?
Tell your account manager in the quote notes if you want back-side liner printing for instructions, barcodes or batch numbering and we will confirm availability for your chosen stock.
Still have a question? Ask a packaging specialist.
Request a Quote →Request your sticker sheets quote
Tell us your size and quantities, and one dedicated account manager prepares pricing for each tier.
- Free design & AI-to-print studio + 3D mockup
- No die or plate charges · 4–5 day rush available
- Free shipping to all 50 states
- 10% off your first order
The bleed, safe-zone, ¼ inch bridge and two-layer cut specifications in this guide reflect CubitPack's prepress checklist and were verified by a packaging specialist. Spot something wrong? Tell us and we will fix it.
Sources
What changed
- October 22, 2026: First published.
- October 22, 2026: Updated specifications, terminology, and verified source links.
More guides
New packaging guides by email
Sizes, materials and design tips. Unsubscribe anytime.