
What size custom label do I need?
Short answer: Measure the flat panel or the straight vertical wall of your container before it curves. For round jars and bottles, a full wrap width is π (3.14) × diameter minus ¼ inch, and a front label is about one-third of the circumference. Common sizes are 2 in circles for lids and 3 × 4 in rectangles for pouches.
On this page
- How do I measure a jar, bottle or pouch for a label
- What are the most common custom label sizes by container
- How do I size labels for round jars, droppers and bottles
- What size label fits stand-up pouches, coffee bags and boxes
- Full wrap vs front-and-back labels: which is easier to apply
- How do I size labels for tapered jars, lids and tamper seals
- Common mistakes
- FAQs
Request a custom quoteFree dieline & 3D mockup
The right label size comes from the flat or straight area of your container, not its total height or width. On round jars, bottles and cans, measure only the straight vertical wall between the top shoulder curve and the bottom base curve, then subtract ¼ inch so the label never rides onto a curve and wrinkles. To find the width of a full-wrap label, multiply the container's diameter by π (3.14) and subtract ¼ inch so the two ends meet cleanly without overlapping. If you only want a front panel, use about one-third of the circumference so shoppers can read the brand name in one glance without turning the bottle. On flat stand-up pouches and boxes, measure the flat face inside any heat seals or creases and subtract ½ inch on both width and height. When you order custom labels from CubitPack, every size is cut to order with no die charge.
How do I measure a jar, bottle or pouch for a label?
Always measure the physical container sitting on your table rather than relying on the nominal volume printed on a supplier catalog. Two 8 oz glass jars from different glassmakers often have different diameters and different shoulder curves. Use a flat ruler to measure the straight vertical wall and the diameter across the bottom, or wrap a flexible sewing tape around the cylinder to read the circumference directly. Once you have those two numbers, write your label dimensions as width × height in inches. Width is the horizontal measurement from left to right as you look at the container, and height is the vertical measurement from top to bottom. When you request a quote for custom printed labels, entering width × height in inches lets our prepress team check the fit and build your 3D mockup right away.
- Find the straight wall: place a flat ruler against the side of the jar or bottle and measure only where the ruler touches flat.
- Subtract ¼ inch from the straight wall height so you have ⅛ inch of breathing room at the top and bottom.
- Measure the diameter across the base (or wrap a flexible tape around the body for the circumference).
- Calculate full-wrap width: multiply diameter by 3.14 (π) and subtract ¼ inch so the ends do not overlap.
- Calculate front-only width: divide the circumference by 3 so the whole front panel is readable at once.
What are the most common custom label sizes by container?
While every CubitPack order is cut to your exact width × height with no die fees, most jars, dropper bottles, pouches and shipping boxes fall into a few proven starting sizes. Use the table below to benchmark your layout before measuring your own container. If your container has a recessed label panel, measure inside the recess ridge and subtract ⅛ inch on all sides. Notice how the same container often works with two very different widths: a short front-only width that shows off the product inside the glass, or a longer full-wrap width that carries your barcode, nutrition panel and directions in one piece. When comparing sizes in the table, remember that the first number is always horizontal width around the container and the second number is vertical height from top to bottom.
| Container or use | Typical label size (W × H) | Usual layout & shape |
|---|---|---|
| Lip balm tube (0.15 oz) | 1.75 × 2.125 in | Full wrap rectangle |
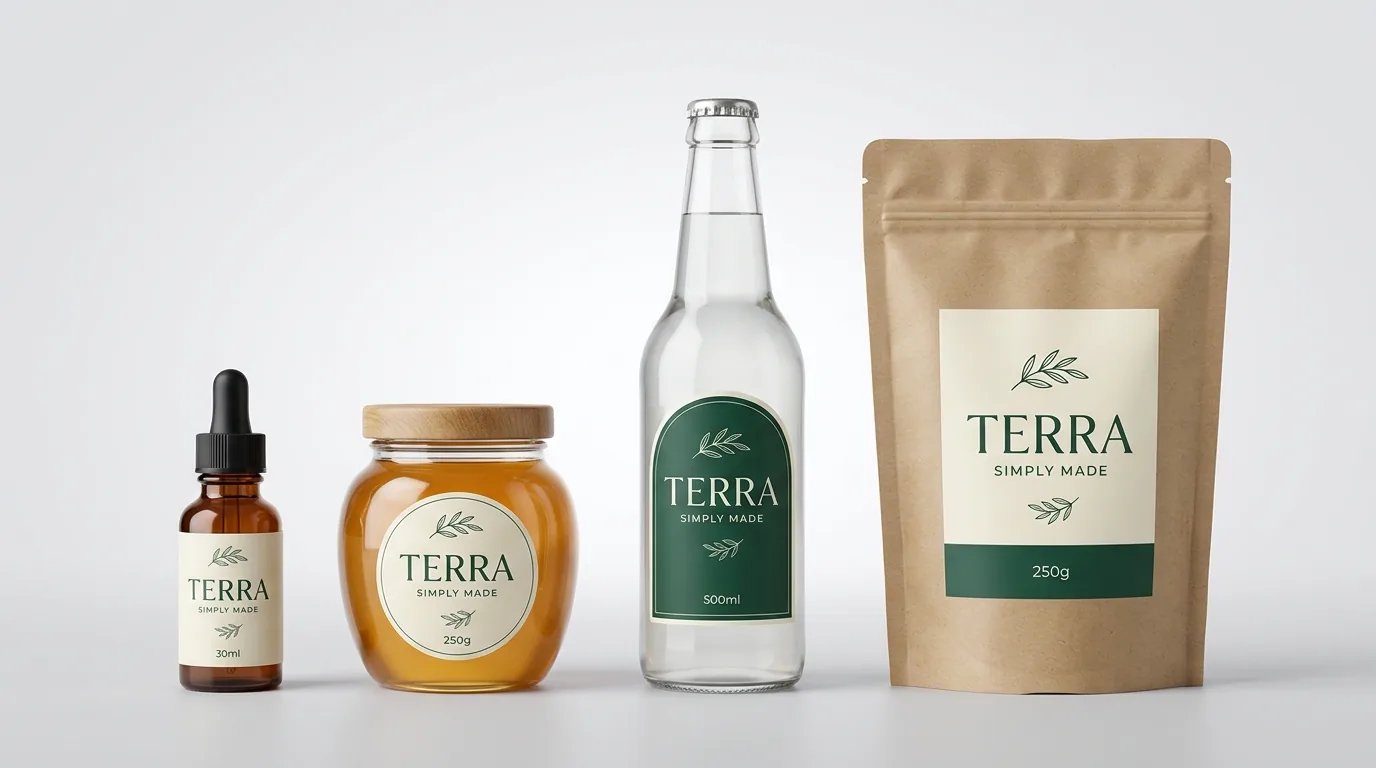
| 1 oz (30 ml) dropper bottle | 1.75 × 3.75 in | Full wrap rectangle |
| Jar lids, candle covers, tissue seals | 1.5 in or 2 in diameter | Circle |
| 4 oz jar or spice bottle | 2 × 2.5 in (front) or 2 × 6 in (wrap) | Rectangle or oval |
| 8 oz mason jar or sauce bottle | 2.5 × 3 in (front) or 2.5 × 7.5 in (wrap) | Rectangle or oval |
| 9 oz straight-sided candle tumbler | 2.75 × 2.75 in or 3 × 3 in | Square or circle front |
| 12 oz beer or soda bottle / can | 3.5 × 4 in or 3 × 7.75 in | Rectangle wrap |
| 12 oz coffee bag or stand-up pouch | 3 × 4 in | Front and back rectangles |
| Mailer boxes and shipping cartons | 4 × 6 in or 3 × 5 in | Rectangle or custom shape |
How do I size labels for round jars, droppers and bottles?
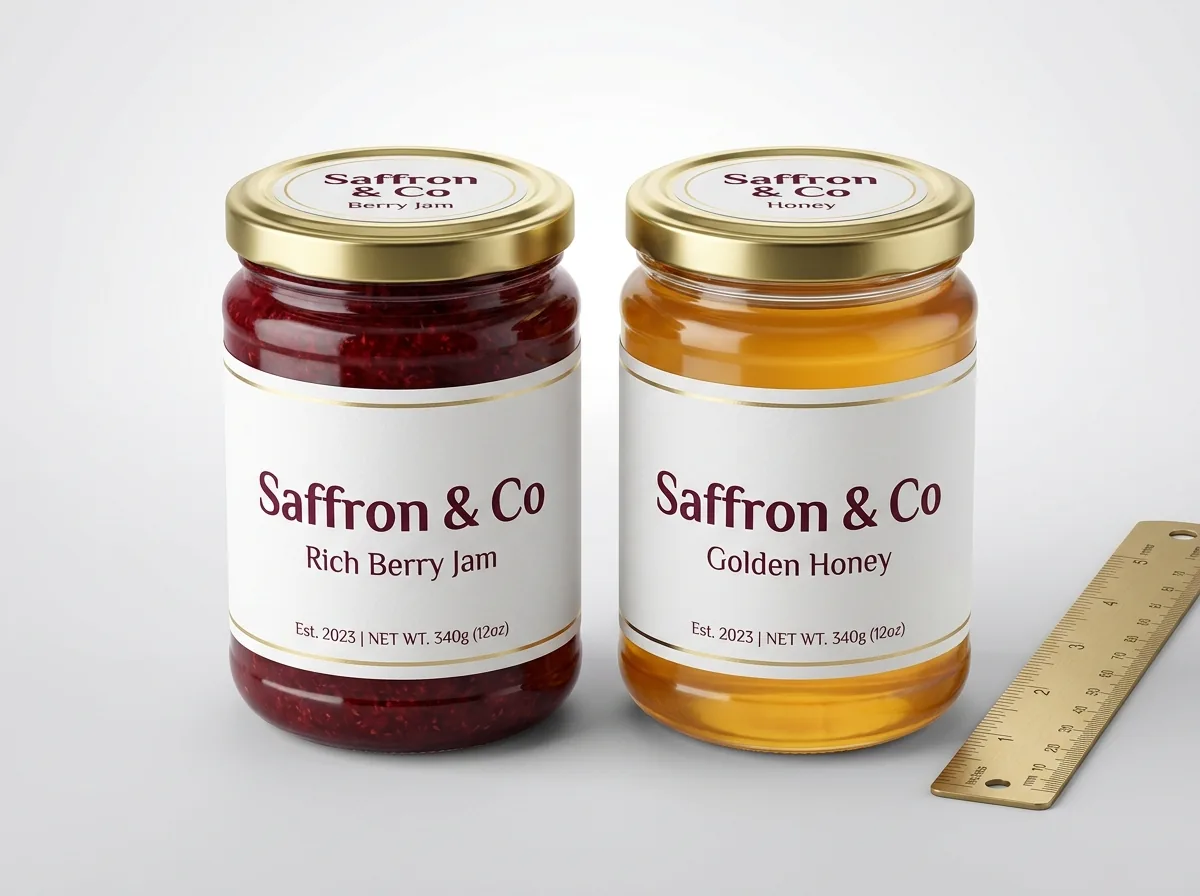
Round containers give you three layout choices: a full wrap, a front-and-back pair, or a single front label paired with a round lid sticker. A full wrap gives you the most room for ingredient lists, nutrition facts, directions and barcodes on a single piece, which is why it is standard on 1 oz dropper bottles, lip balm tubes and spice jars. On wider glass jars for honey, jam or candles, many brands prefer a front-only rectangle or oval so the color of the food or wax shows around the sides, then add a 1.5 inch or 2 inch circle on the lid. If you are sizing glass jars specifically, see our dedicated custom jar labels and custom bottle labels pages for container-specific calculators and layouts.
Know your size? Compare pricing across up to 3 quantities.
Request a Quote →What size label fits stand-up pouches, coffee bags and boxes?
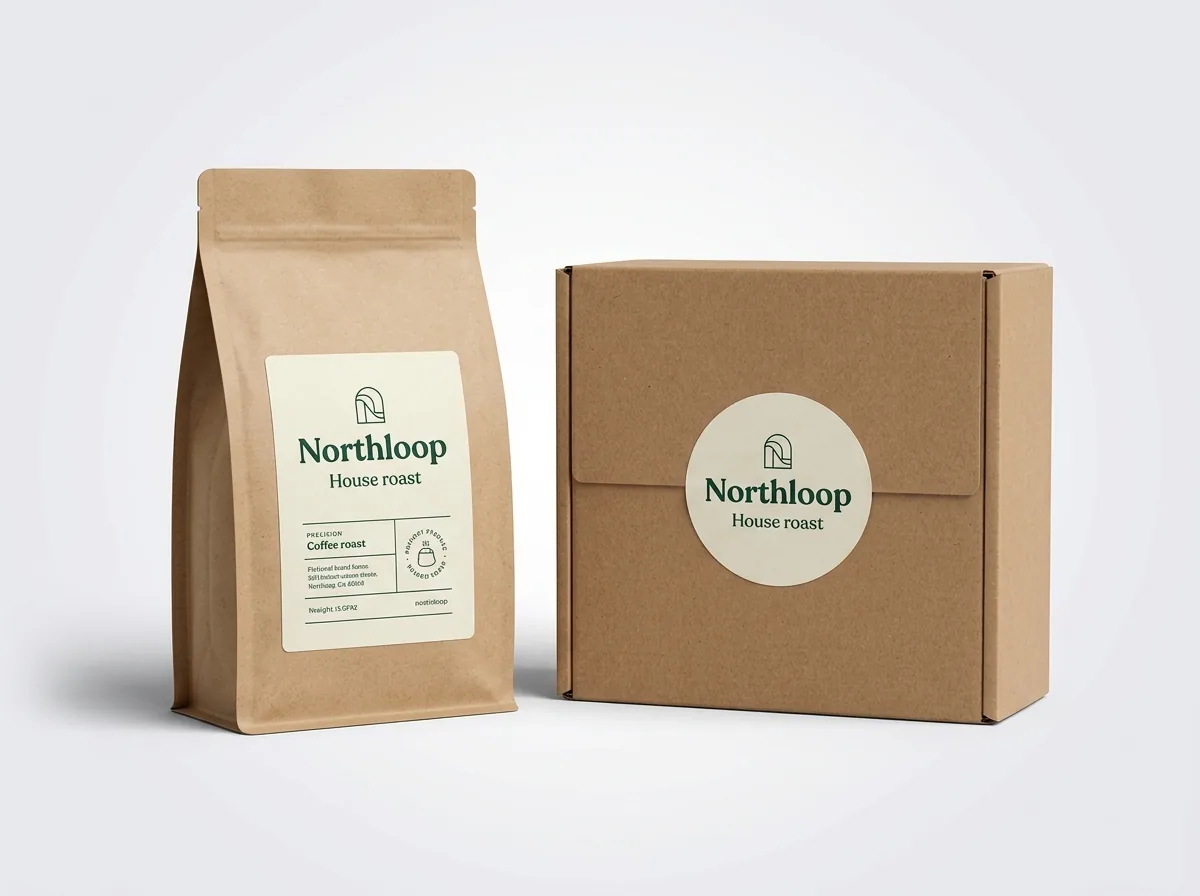
Flexible pouches and cardboard boxes have flat faces, but they also have heat-sealed edges, zippers, tear notches and fold creases that a label should never cross. On a stand-up pouch or coffee bag, measure the flat area below the zipper track and inside the left and right side seals, then subtract ½ inch from both width and height. Also remember that a pouch bulges outward at the bottom gusset once it is filled with coffee beans, snacks or bath salts, so test your paper cutout on a filled pouch rather than an empty flat one. For a standard 8 oz to 12 oz pouch, a 3 × 4 inch rectangle on the front and a matching 3 × 4 inch ingredient label on the back is the most popular setup. On custom mailer boxes and shipping cartons, a 3 × 3 inch or 4 × 6 inch label on the top lid or across the front flap seals and brands the box in one step.
Full wrap vs front-and-back labels: which is easier to apply?
A single full-wrap label means you only peel and stick one piece per container, which cuts hand-labeling time in half compared with applying separate front and back labels. The trade-off is alignment: on a long wrap, starting the label even slightly crooked causes the far end to spiral upward or downward as you roll it around the cylinder. Leaving a ¼ inch gap between the ends gives you a little forgiveness so the edges do not overlap if the jar diameter varies slightly from batch to batch. Front-only labels are shorter, so they are very forgiving to apply by hand without bubbles, and they let more of a glass jar, frosted cosmetic bottle or kraft pouch show around the artwork. If you have too much ingredient text for a single front panel but still want clear glass visible on the sides, pair a front brand label with a matching back information label.
How do I size labels for tapered jars, lids and tamper seals?
Not every container has straight vertical walls. Bail-wire canning jars, yogurt cups, candle vessels and plastic tubs often taper so the top rim is wider than the base. If you wrap a standard flat rectangle around a tapered wall, the top edge has further to travel than the bottom edge, which forces the label to angle upward and form creases. On gently tapered jars, keep the label height shorter (under 1.5 to 2 inches tall) or switch to a narrow front oval or circle that sits on the flattest band of the wall. On strongly tapered tubs, tell our design team the top diameter, bottom diameter and vertical height so we can curve the dieline into a custom arc that wraps flat. For jar lids and tamper-evident closures, measure the flat inner circle of the cap inside any raised outer lip or knurling, then subtract ⅛ inch. If you want a lollipop-style tamper seal that sticks to the top of the lid and folds down over the side of the jar neck, measure the lid circle diameter plus the length of the side tab you want extending down onto the glass.
- Gently tapered jars: use a shorter vertical height or a front-only oval so the edges do not fight the taper.
- Steeply tapered tubs and cups: ask our designers for a curved arc dieline matched to your top and bottom diameters.
- Flat jar lids: measure inside the raised outer rim of the cap and subtract ⅛ inch for a clean circle fit.
- Tamper seals: combine a round top circle with a rectangular strip that bridges across the cap seam onto the neck.
What are the most common custom label sizing mistakes?
Almost every sizing error comes from measuring over a curve or skipping a paper test on a filled container. Check these five before you approve your proof
- Measuring the total height of a jar or bottle instead of just the straight vertical wall, which forces the top edge onto the shoulder curve where it puckers.
- Designing a full wrap to the exact circumference with zero gap. Glass tolerances vary slightly, causing the ends to overlap and lift.
- Sizing a pouch label on an empty flat bag. Once filled, the bottom gusset pulls the lower third of the pouch into a curve.
- Making a front label wider than one-third of a round bottle's circumference, which forces shoppers to turn the bottle to read your product name.
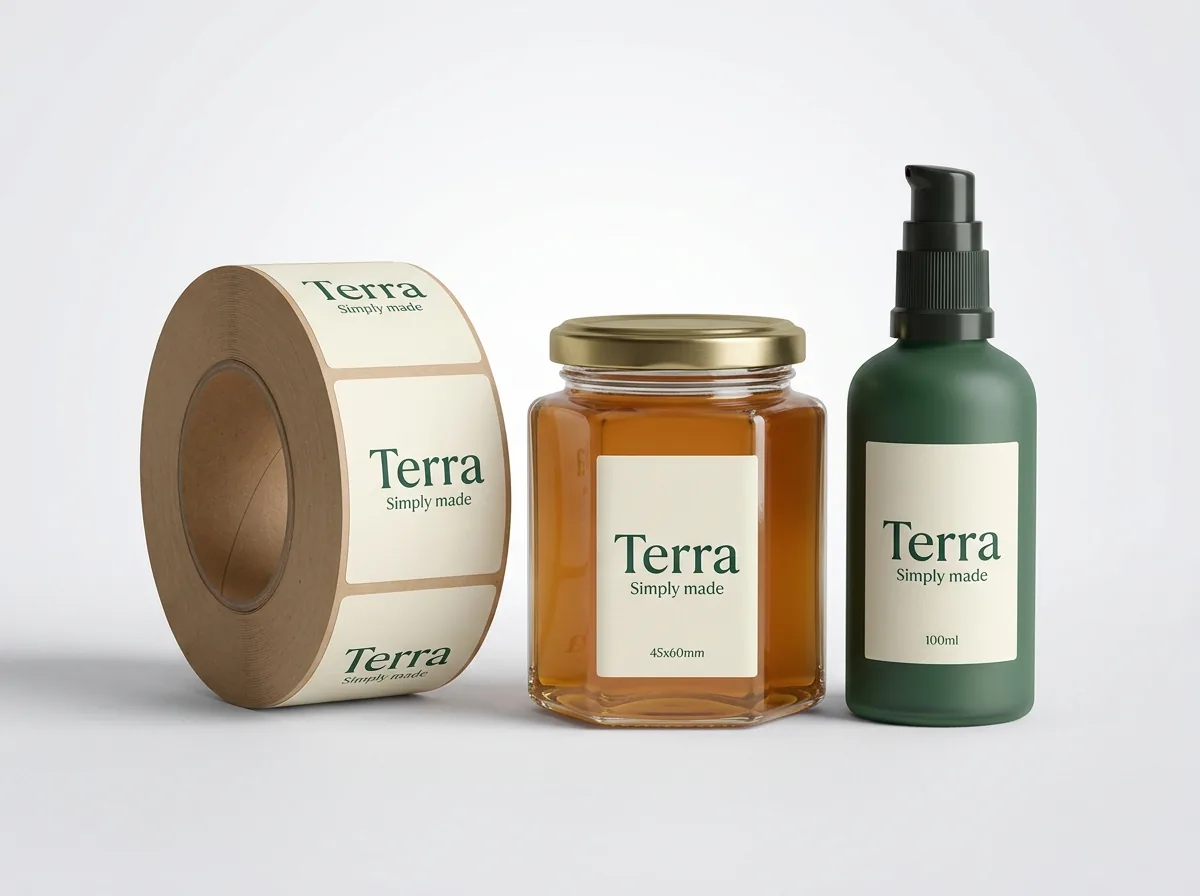
- Swapping width and height when ordering roll labels, which changes how the label sits on the roll.
Find your label size
Suggested label size: 9⅛ × 2¾ in (width × height)
A typical starting point. Your account manager confirms the size on the proof.
Quote this size →Packaging for this
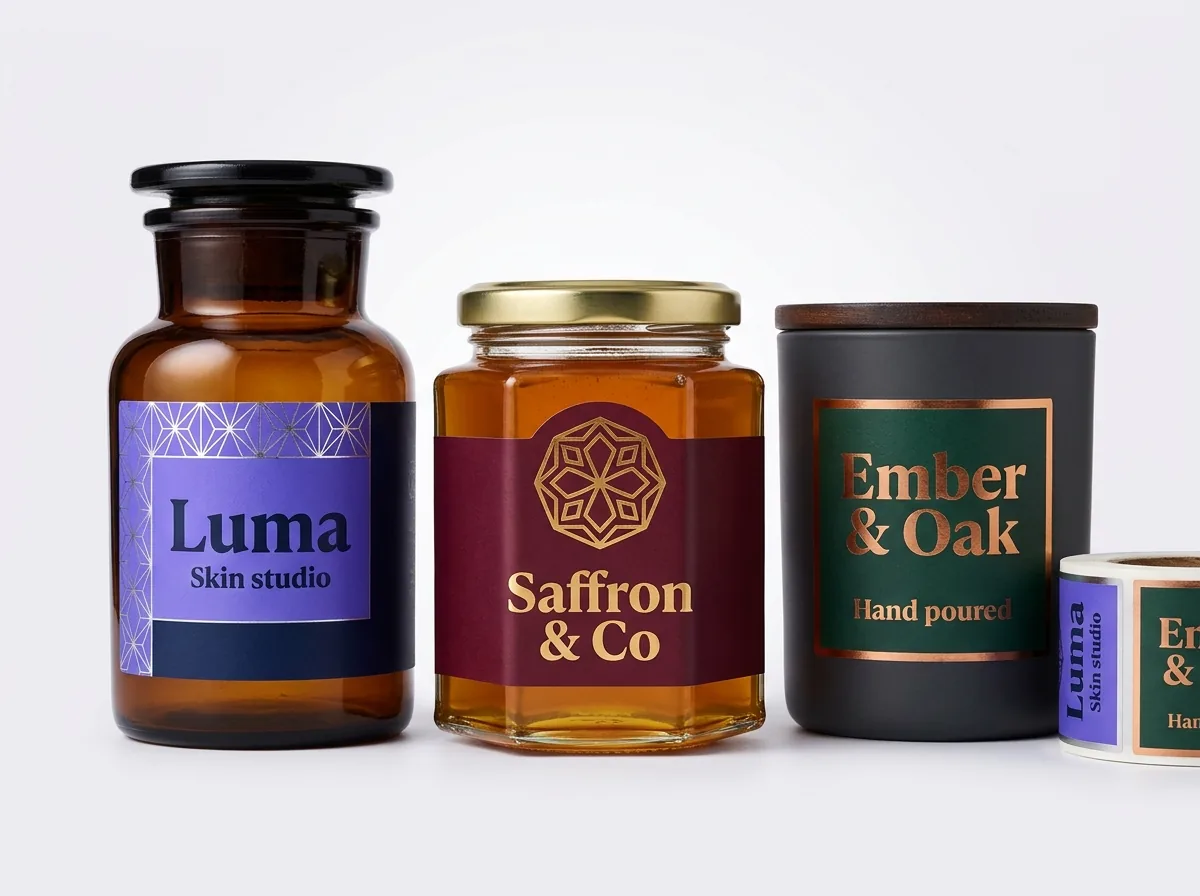
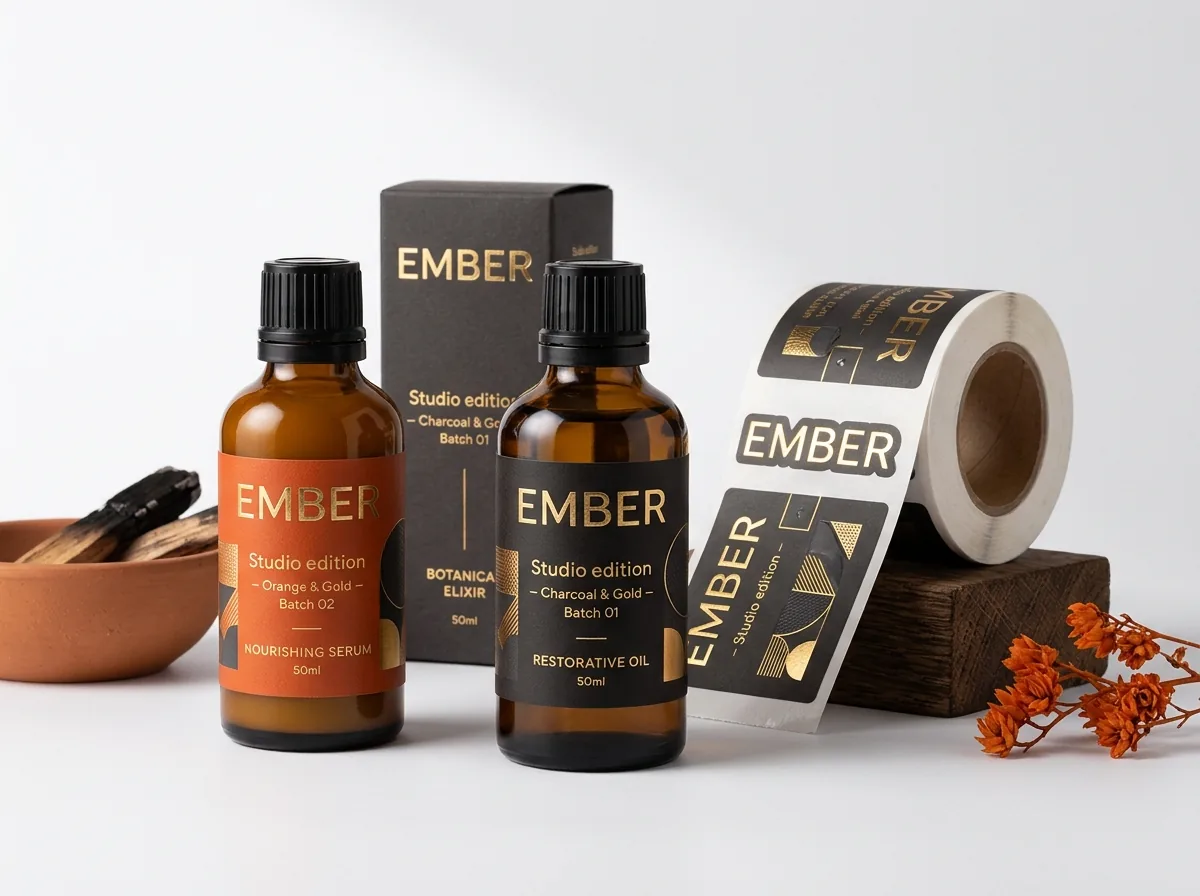
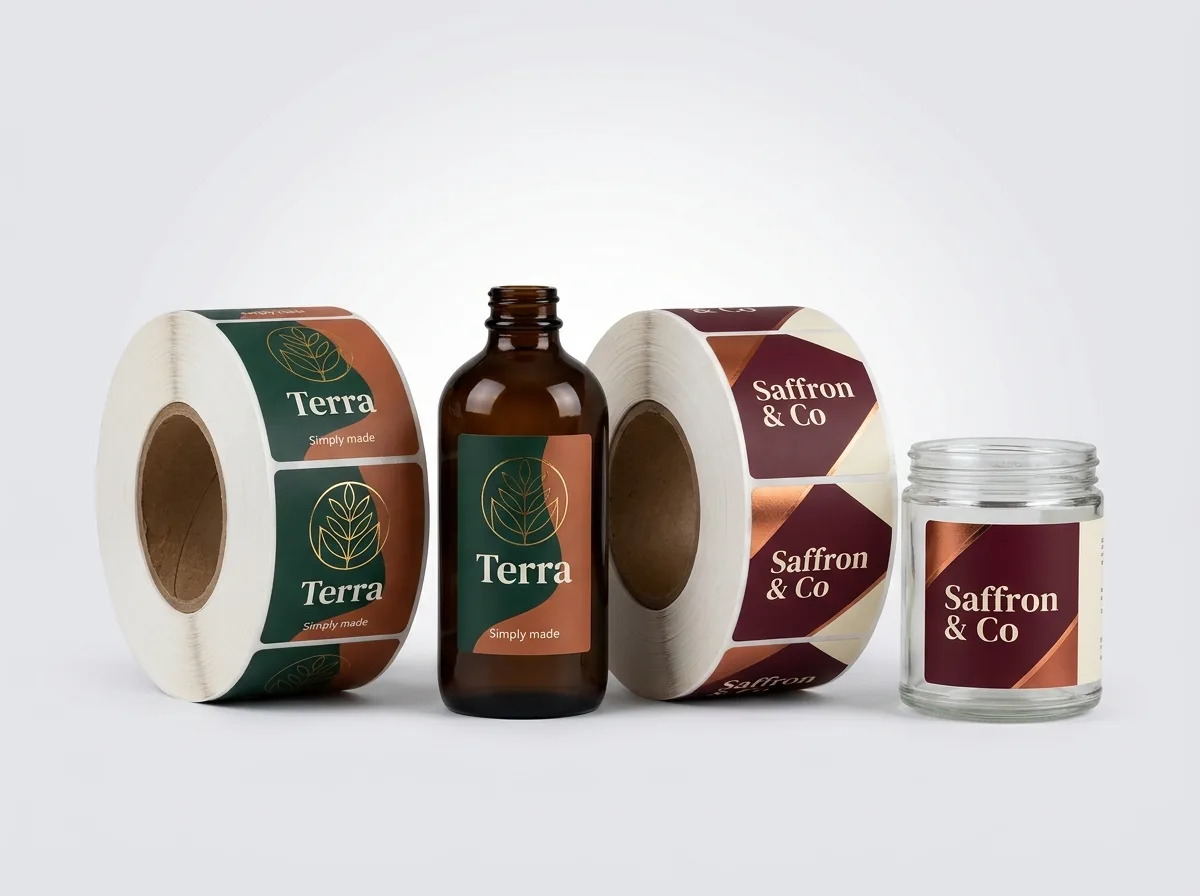
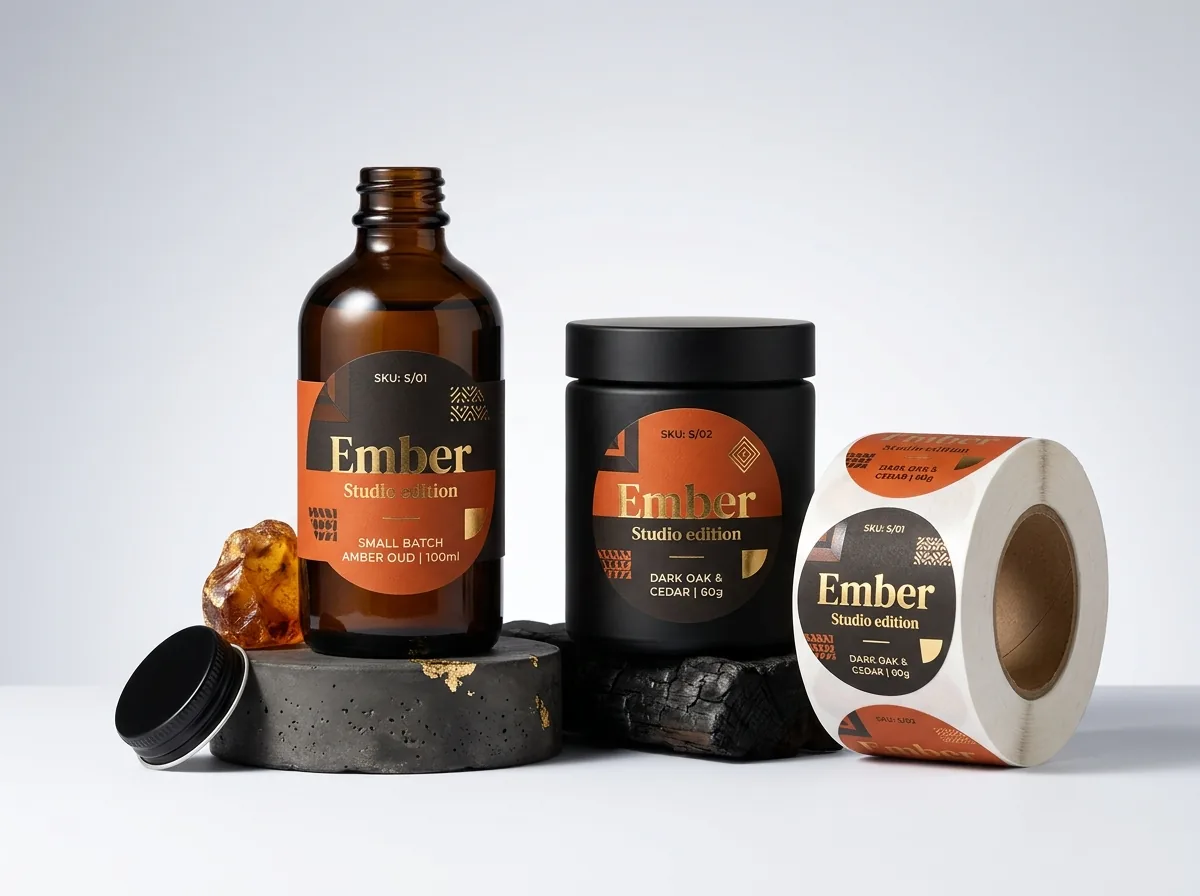
Ready to order labels? Compare up to 3 quantities with a free 3D mockup.
Request a Quote →Questions about labels
Should width or height come first when I write my label size?
Write width first, then height (W × H in inches). Width is the horizontal measurement from left to right as you read the label on the container, and height is the vertical measurement from top to bottom. For round labels, simply give the diameter in inches.
How much gap should I leave on a full-wrap bottle or jar label?
Leave about ¼ inch (0.25 in) between the two ends of a full-wrap label. Molded glass and plastic containers vary slightly in diameter from batch to batch, and a ¼ inch gap prevents the ends from overlapping on a slightly narrower jar.
Can I order a custom label size that is not a standard fraction?
Yes. Because CubitPack cuts every order to your exact dieline with no die or plate charges, you can order any dimension down to the sixteenth of an inch, such as 1.875 × 3.125 inches, at the same price as a standard size.
Why do labels wrinkle on tapered jars and how do I prevent it?
A flat rectangular label wraps cleanly around a straight cylinder, but on a tapered container where the top is wider than the bottom, a tall rectangle will wrinkle. Keep the label shorter on tapered walls, or ask our designers for a curved arc dieline.
What size round label do I need for a mason jar lid?
Regular-mouth mason jar lids typically take a 2 inch circle label, and wide-mouth mason jar lids typically take a 2.5 inch circle label. Always measure the flat inner ring of your lid and subtract ⅛ inch so the edge stays flat.
Can I order two different label sizes in the same order?
Yes. Many brands order a rectangular front wrap and a smaller round lid or bottom label together. Select 2 designs or 3+ designs in the quote form and list both sizes in the notes so your account manager quotes them together.
Still have a question? Ask a packaging specialist.
Request a Quote →Request your labels quote
Tell us your size and quantities, and one dedicated account manager prepares pricing for each tier.
- Free design & AI-to-print studio + 3D mockup
- No die or plate charges · 4–5 day rush available
- Free shipping to all 50 states
- 10% off your first order
The formulas in this guide use standard cylinder geometry (circumference = π × diameter) with a ¼ inch clearance margin tested on glass jars, plastic bottles and stand-up pouches. A CubitPack packaging specialist checked every row. Spot something wrong? Tell us and we will fix it.
Sources
What changed
- October 22, 2026: First published.
- October 22, 2026: Updated specifications, terminology, and verified source links.
More guides
New packaging guides by email
Sizes, materials and design tips. Unsubscribe anytime.