
How does a two-piece tray and sleeve box dieline work?
Short answer: A dieline for custom tray and sleeve boxes has two separate flat vector layouts: a four-panel tubular outer sleeve with a longitudinal glue lap, and an open-top inner tray surrounded by double-layer rolled walls. Extend artwork 1/8 inch past cut lines, keep text 1/8 inch inside folds, and leave the glue lap unvarnished.

On this page
- What are the two pieces on a tray and sleeve box dieline
- How do outer sleeve panels, windows, and thumb notches work
- How does outer print wrap over the rolled double-wall tray
- What are the pre-press bleed, safe zone, and line color rules
- How do I get a custom tray and sleeve dieline and 3D proof
- Common mistakes
- FAQs
Request a custom quoteFree dieline & 3D mockup
Unlike a one-piece folding carton, a tray and sleeve box uses two independent die-cut layouts engineered to mate with a 1.5 to 2.5 mm slide clearance. Piece A is the outer sleeve blank: a four-panel band (top panel, left side wall, bottom panel, right side wall) plus a 0.5 to 0.75 inch longitudinal glue lap that is pre-glued on a straight-line folder-gluer so the sleeve ships flat. Piece B is the inner drawer tray blank: a central rectangular floor (Length × Width) surrounded on all four sides by outer walls, narrow top rollover crease bridges, inner locking walls with foot tabs, and four corner dust flaps. Because the rolled tray walls fold 180 degrees over the corner flaps to lock into the floor, printing flood color on the outside of a single-sided sheet automatically colors both the outside and inside tray walls in one press pass.
What are the two pieces on a tray and sleeve box dieline?
Unlike a one-piece carton such as a straight tuck end box or mailer box, a custom tray and sleeve box uses two coordinated vector templates that we place on a single Adobe Illustrator artboard
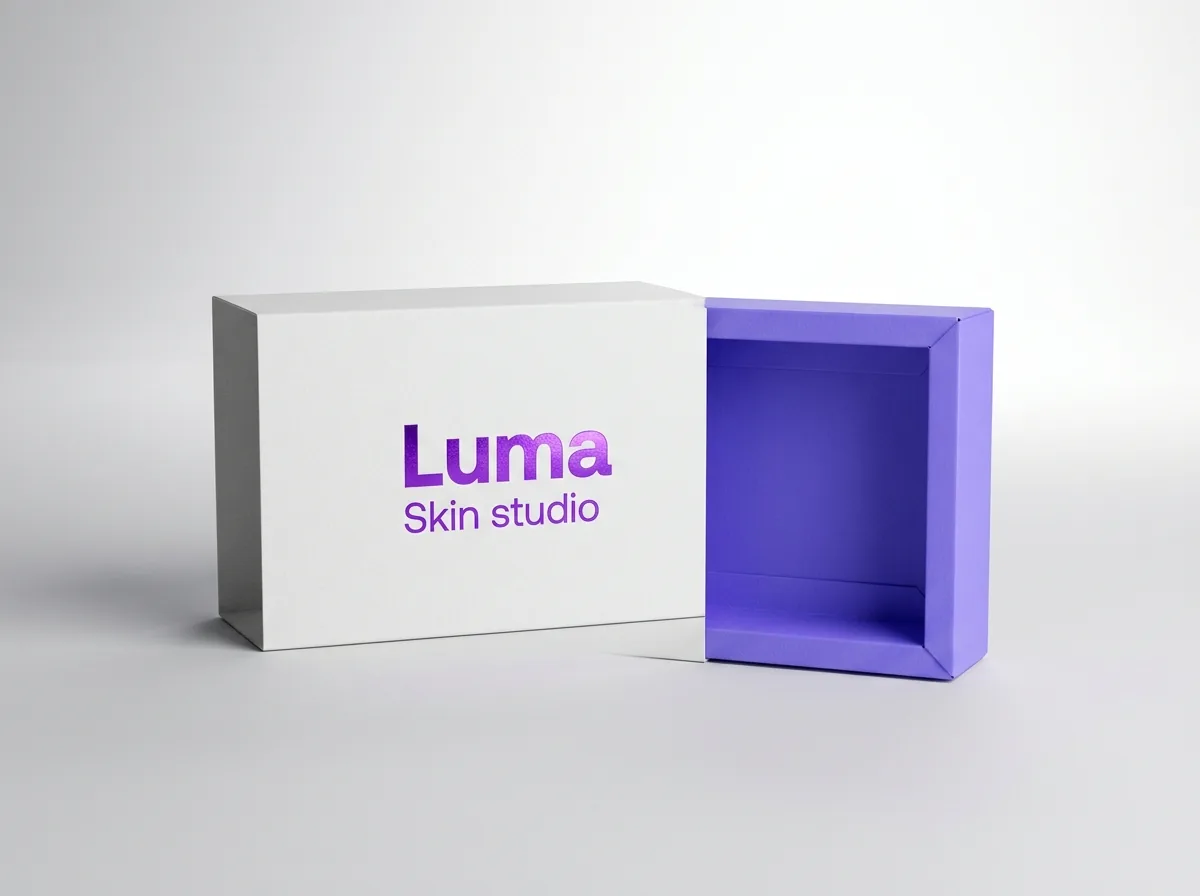
- Piece A (Four-panel tubular outer sleeve): Laid flat, the sleeve consists of four continuous panels wrapping around the tray: the Top Display Panel (W × L), Left Side Wall (H × L), Bottom Panel (W × L), Right Side Wall (H × L), and a longitudinal Glue Lap (0.5 to 0.75 in wide) on one outer edge. Both ends of the sleeve are clean cut lines with optional half-moon thumb notches.
- Piece B (Rolled double-wall inner tray): Centered around the rectangular Tray Floor (L × W). Radiating from all four edges of the floor are the Outer Side and End Walls, parallel Rollover Crease Bridges (0.125 to 0.25 in wide), Inner Locking Walls with foot tabs that snap into floor perimeter slots, and four Corner Dust Flaps.
- Single-sheet vs split-sheet nesting: If both pieces use the same paperboard and finish, we nest Piece A and Piece B on the same press sheet. If you want a printed white card sleeve over a natural brown kraft or E-flute corrugated tray, we run each piece on its own stock.
How do outer sleeve panels, windows, and thumb notches work?
Because the outer sleeve has no end tuck flaps, 100% of its four main panels act as an uninterrupted 360-degree billboard around your product. Follow these structural rules when laying out your sleeve artwork
- Top panel and bottom glue-seam placement: The longitudinal glue lap bonds the far edge of the right side wall to the inside of the bottom panel so the top display panel and both side walls stay completely seam-free.
- Die-cut window keep-out margin (minimum 3/8 in / 9.5 mm): Whether you choose an open window cutout for custom soap boxes or a clear PET film-patched window for custom macaron boxes and custom chocolate boxes, keep every edge of the window opening at least 0.375 inches away from the four vertical score lines and the two open ends of the sleeve. Cutting closer weakens the sleeve frame and leaves too little margin for the window patch adhesive.
- Thumb notch clearance (minimum 1/4 in / 6.35 mm): If your sleeve includes half-moon thumb notches on one or both open ends so shoppers can pinch the inner tray, keep logos, foil borders, and body text at least 0.25 inches back from the notch cut line.
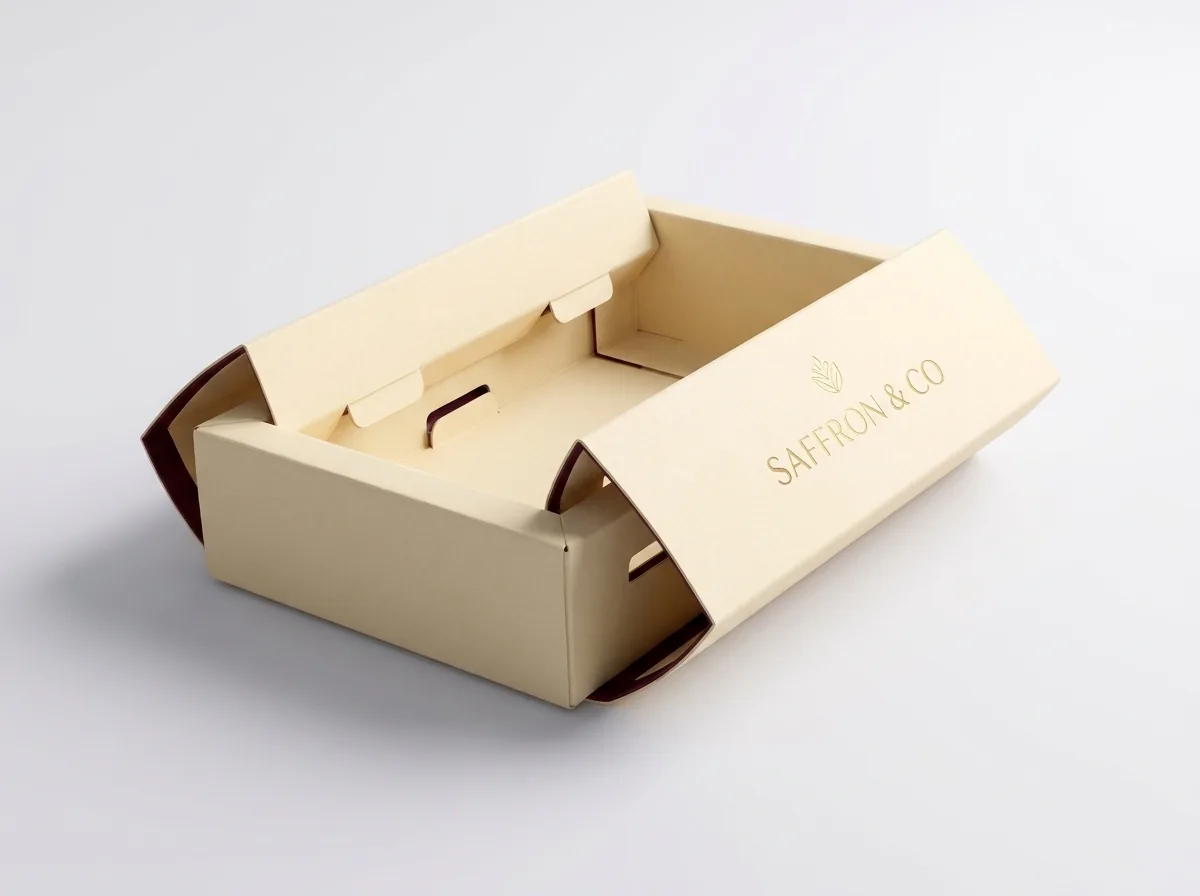
How does outer print wrap over the rolled double-wall tray?
Look closely at each of the four walls on the inner tray dieline and you will see two parallel red crease lines separated by a narrow bridge strip (0.125 to 0.25 inches wide). During assembly, the four corner dust flaps fold 90 degrees inward first, and each outer wall folds 90 degrees up and rolls 180 degrees down over the corner flaps so its locking foot tabs snap into die-cut slots along the tray floor.
- Free interior wall color from a 1-sided press run: Because the outer coated face of the paperboard wraps up the outside tray wall, crosses the top rim bridge, and drops all the way down the inside tray wall, extending a solid flood color or pattern across those panels on the outside of the sheet automatically prints the inside walls of your open drawer at no extra 2-sided print cost.
- Covering or printing the tray floor: On a 1-sided press run, only the flat center floor of the tray shows the unprinted white or kraft back side of the board. If your product does not cover the floor, you can either add a printed card insert/divider or upgrade the tray to 2-sided printing.
- Ribbon pull-tab slot placement: If you add a satin ribbon pull tab on the front end wall of the tray, our CAD template places two narrow horizontal die-cut slots centered on the outer and inner end-wall panels so the ribbon tails lock invisibly inside the double wall.
Know your size? Compare pricing across up to 3 quantities.
Request a Quote →What are the pre-press bleed, safe zone, and line color rules?
When we send your custom CAD dieline after you measure your product, the vector lines sit on a locked top layer in Adobe Illustrator. Use the table below to check every layer before exporting your press-ready PDF
| Dieline Element | CAD Line Convention | Pre-Press Artwork Rule |
|---|---|---|
| Cut lines & window cutouts | Solid cyan or black line | Extend background art 0.125 in (3.175 mm) past all outer cuts |
| Fold / score lines | Dashed red or magenta line | Keep text, logos, and borders 0.125 in inside all score lines |
| Outer bleed guide | Solid green outer boundary | Full 0.125 in bleed around both the sleeve and tray blanks |
| Sleeve glue lap | Cross-hatched flap (0.5–0.75 in) | Keep 100% free of ink, aqueous coating, and lamination film |
| Die-cut window margin | Solid cut loop on sleeve top | Keep window opening at least 0.375 in from sleeve scores and ends |
| Tray floor lock slots | Narrow cut slots at floor edge | Keep small legal text or barcodes away from floor slot cuts |
| Foil & spot UV layers | 100% vector spot-color layer | Set to overprint on separate named layers (Foil, Spot UV, Emboss) |
How do I get a custom tray and sleeve dieline and 3D proof?
Still deciding whether you need a two-piece tray and sleeve carton, a simple belly band, or a 2 mm rigid setup drawer? Read our comparison of tray and sleeve vs sleeve-only and rigid drawer boxes. When you request a quote on CubitPack (from 1,000 boxes, with 10–14 business days standard turnaround or 4–5 business days rush), our packaging specialists email your exact two-piece vector dieline template at no charge. Every order includes free design help, a free digital proof, and a free 3D mockup before payment, with zero die or plate charges and free shipping across all 50 US states.
- Confirm slide orientation between sleeve and tray: Verify that your outer sleeve front panel matches the end of the tray that holds your thumb notch or ribbon pull tab so the drawer pulls out from the intended side.
- Extend background artwork across the tray wall bridge: Carry your outer tray wall color across the 0.125–0.25 inch top rollover bridge and down the inner locking wall panel so the inside walls of the open drawer are colored in one press pass.
- Outline all fonts and embed 300 DPI CMYK links: Convert every typeface to vector outlines, keep text 0.125 inches inside score lines, and place metallic foil or spot UV on separate 100% vector overprint layers.
What are the most common artwork and dieline mistakes on tray and sleeve boxes?
Check your Illustrator file against these five pre-press errors before sending art to press
- Placing a die-cut sleeve window closer than 3/8 inch (9.5 mm) to the vertical fold lines or open ends, which causes the sleeve bridge to bow or tear when sliding.
- Printing ink or applying soft-touch lamination over the longitudinal sleeve glue lap, which prevents folder-gluer adhesive from bonding into paper fibers.
- Stopping outer tray wall artwork at the top crease instead of continuing the background color across the rollover bridge and inner locking wall panel.
- Orienting the bottom sleeve panel artwork upside down relative to how customers flip the box over in hand.
- Applying thick soft-touch film to both the inside of the outer sleeve and the outside of the inner tray walls without widening the slide clearance to prevent rubbery friction drag.
Get a tray and sleeve dieline at your size
A simplified drawing for planning your design. Your free production dieline comes with your proof, made for your exact size and board.
Packaging for this
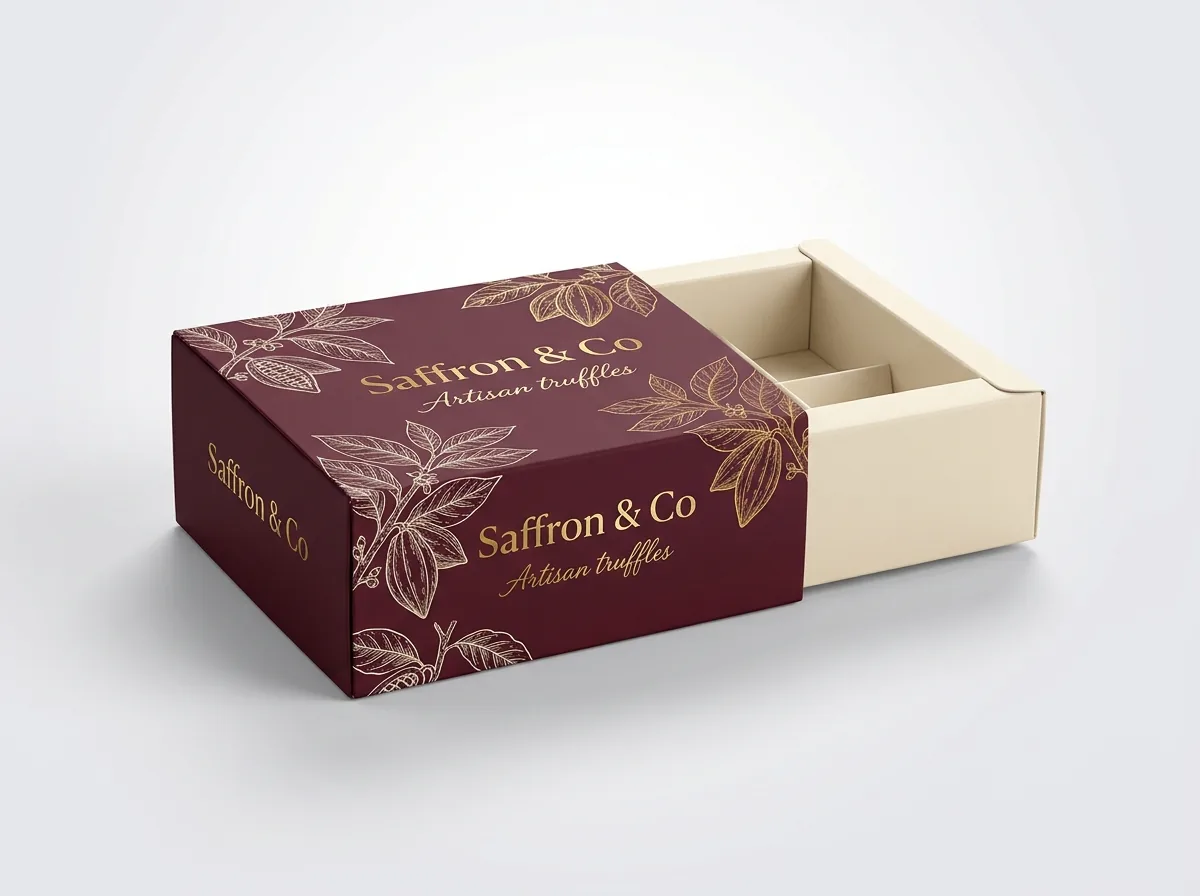




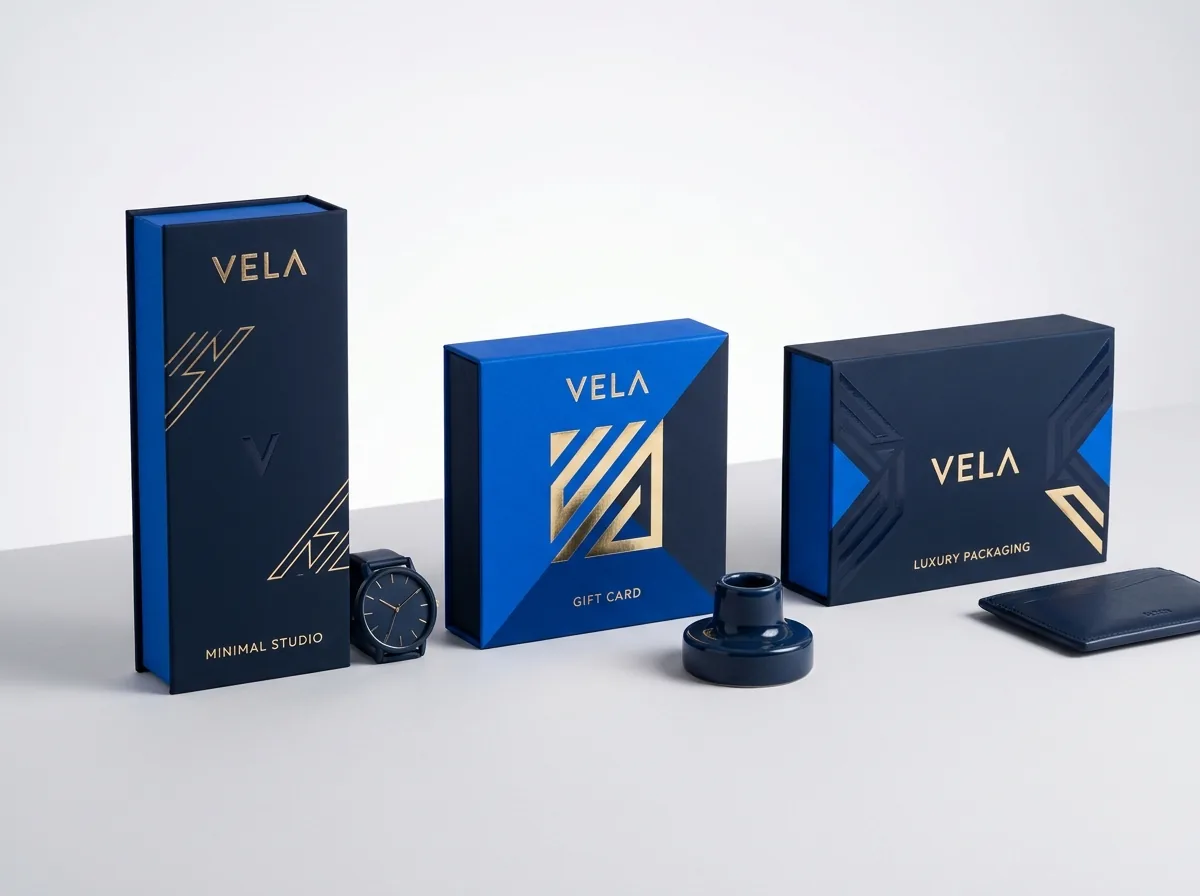
Ready to order tray and sleeve boxes? Compare up to 3 quantities with a free 3D mockup.
Request a Quote →Questions about tray and sleeve boxes
Do I need two separate artwork files for the tray and the sleeve?
No. We place both the outer sleeve dieline and the inner tray dieline on a single Adobe Illustrator artboard (or two labeled artboards inside one file) so you can align colors, foil accents, and slide orientation in one place.
How do I print the inside walls of the tray without paying for two-sided printing?
Because the inner tray walls fold up 90 degrees and roll 180 degrees down inside the tray to lock into the floor, the outside coated surface of the paperboard forms both the outer tray wall and the visible inner tray wall. Printing flood color across those panels on the outside of the sheet colors the inside walls automatically.
What is the minimum distance between a die-cut sleeve window and a fold line?
Keep every die-cut window opening at least 0.375 inches (3/8 in) away from the sleeve's vertical fold lines and open ends. For heavier 22 pt to 24 pt sleeves, a 0.5 inch margin provides even stronger frame rigidity and gives ample surface area for gluing a clear PET window patch.
Which way should the bottom panel text face on the outer sleeve dieline?
Place bottom-panel text right-side-up relative to the side walls if customers will turn the box over side-to-side like a book, or rotate it 180 degrees if customers will flip the box end-over-end. Our 3D digital proof lets you spin the assembled sleeve to verify reading direction before press.
Can I download a blank tray and sleeve dieline right now?
Yes. Use the interactive dieline generator on our custom tray and sleeve boxes style page to preview and download a custom-sized vector dieline, or request a quote and our prepress team will email a production-ready Adobe Illustrator template.
Still have a question? Ask a packaging specialist.
Request a Quote →Request your tray and sleeve boxes quote
Tell us your size and quantities, and one dedicated account manager prepares pricing for each tier.
- Free design & AI-to-print studio + 3D mockup
- No die or plate charges · 4–5 day rush available
- Free shipping to all 50 states
- 10% off your first order
We verified two-piece sleeve and rolled-wall tray dieline conventions, 0.125 in bleed and safe-zone tolerances, and 0.375 in window patch margins against ECMA folding carton standards, FEFCO 0500 slide-box rules, and Paperboard Packaging Council prepress guidelines. A packaging specialist checked every rule. Spot something wrong? Tell us and we fix it.
Sources
What changed
- October 24, 2026: First published with two-piece sleeve and double-wall tray dieline breakdown, rollover print-wrap explanation, and window margin rules.
More guides
New packaging guides by email
Sizes, materials and design tips. Unsubscribe anytime.