
How do reverse tuck end box dielines, press-sheet nesting, and slit locks work?
Short answer: An ECMA A20.20.03.01 reverse tuck end (RTE) dieline places the top closure on the back panel and the bottom closure on the front panel so blanks interlock on the press sheet. Pair a friction-tuck top lid with 3 mm bottom ankle slit locks, add 0.125-inch bleed, and keep the glue flap unvarnished.
On this page
- How does an ECMA A20.20.03.01 reverse tuck end box dieline work
- What is the difference between a friction tuck flap and ankle slit locks (cherry locks)
- How do I orient artwork on the back-hinged top lid and front-hinged bottom flap so neither reads upside down
- What bleed, glue-flap, and window margins are required on a reverse tuck end print file
- How do I get a custom reverse tuck end dieline and 3D proof from CubitPack
- Common mistakes
- FAQs
Request a custom quoteFree dieline & 3D mockup
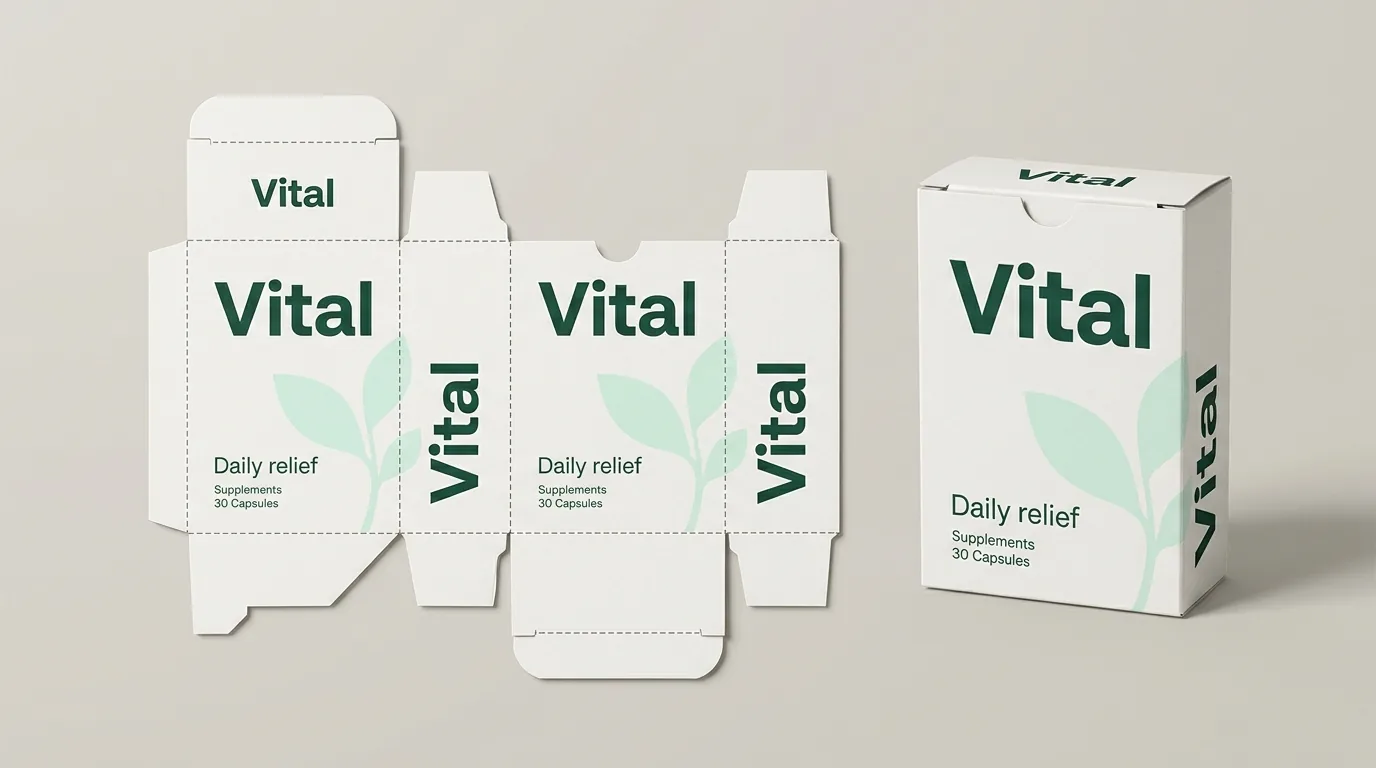
Understanding the anatomy of an ECMA A20.20.03.01 dieline for custom reverse tuck end boxes helps you set up print-ready artwork and choose the right locking hardware before approving your proof. Looking at the flat print side of the sheet from left to right, the four vertical body panels run Back (Length, L) → Left Side (Width, W) → Front (Length, L) → Right Side (Width, W), with a tapered 0.50 to 0.75 inch glue flap attached to the far left edge. What makes the layout a reverse tuck end is that the Top Closure panel hinges above the Back wall (Column 1), while the Bottom Closure panel hinges below the Front wall (Column 3). Because the top lid folds forward over the opening, upright artwork on the flat top closure reads right-side-up from the front of the box. Adding ankle slit locks at the bottom tuck crease hooks the base onto the dust flaps.
How does an ECMA A20.20.03.01 reverse tuck end box dieline work?
When you request a quote for custom reverse tuck end boxes, our structural team generates a custom 2D vector dieline engineered to your exact inside Length × Width × Height and paperboard caliper (16 pt to 24 pt). Every line on the vector template belongs to a non-printing spot layer that drives our flatbed die-cutter and high-speed folder-gluer
| Dieline component | Position on flat print side | Engineering tolerance & rule | Function on the erected carton |
|---|---|---|---|
| Four main body walls | Back (L) · Left (W) · Front (L) · Right (W) | Scored with 2 pt creasing rules perpendicular to board grain | Forms the rectangular tube when squeezed open |
| Top closure & tuck flap | Hinges above the Back panel (Column 1) | Closure depth = Inside W; tuck flap = 0.50–0.75 in | Folds back-to-front and tucks behind the Front wall |
| Bottom closure & tuck flap | Hinges below the Front panel (Column 3) | Closure depth = Inside W; includes ankle slit-lock cuts | Folds front-to-back so the lower front shelf edge is clean |
| Four side dust flaps | Top and bottom of Left & Right Side walls | Angled 15° lead-in shoulder + locking notch step | Fold inward first at 90° to block dust and catch slit locks |
| Longitudinal side glue flap | Attached to left edge of Back panel | 0.50–0.75 in (13–19 mm) wide, tapered 15–30°, ink-free | Bonds inside the Right Side wall on the folder-gluer |
What is the difference between a friction tuck flap and ankle slit locks (cherry locks)?
One of the smartest structural upgrades on a reverse tuck end box costs zero extra die fees: combining two different tuck flap profiles on the top and bottom of the same carton. Here is how friction tucks and ankle slit locks compare across custom medicine boxes, custom playing card boxes, and custom electronics boxes
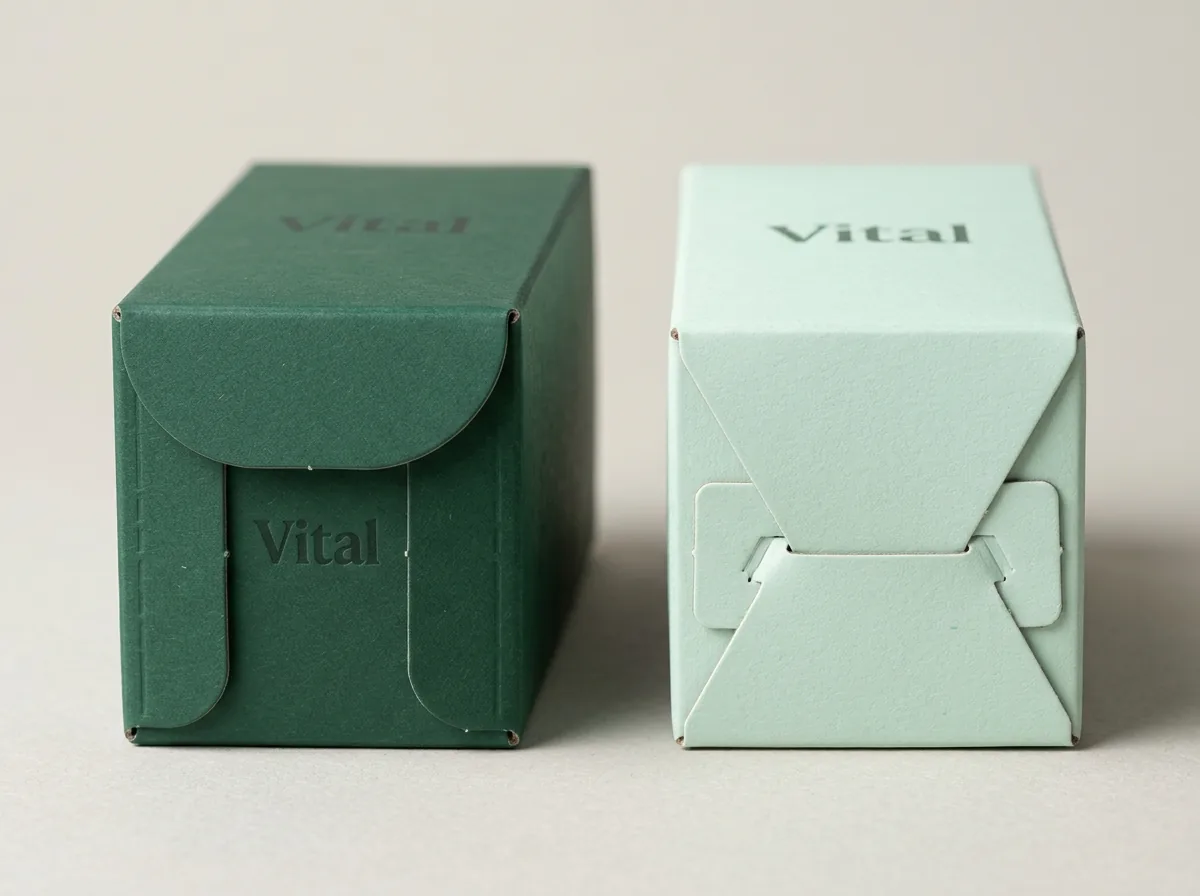
- Friction tuck flap (best for the Top Lid): A friction tuck flap has smooth, rounded outer shoulders with no locking cuts at the score line. It holds the lid shut through calibrated friction between the curved sides of the tuck flap and the inside edges of the two dust flaps. Because there are no hooks to unlatch, customers can open and re-close a tea box, playing card deck, or eye cream carton dozens of times without tearing the flap.
- Ankle slit locks / cherry locks (best for the Bottom Base): Ankle slit locks are two 2.5 to 4.0 mm L-shaped or curved knife cuts at the left and right ends of the tuck crease, paired with matching 90-degree locking shoulders on the two bottom dust flaps. When the bottom tuck flap is pushed in, those ankle notches snap underneath the dust flaps and positively lock the base shut.
- Why combining both gives the ideal RTE box: We engineer almost every reverse tuck end carton over 3 ounces with ankle slit locks on the bottom base (so the product can never drop through the bottom when lifted off a shelf) and a smooth friction tuck on the top lid (for effortless consumer opening).
How do I orient artwork on the back-hinged top lid and front-hinged bottom flap so neither reads upside down?
Because a reverse tuck end dieline places the top closure above the Back wall and the bottom closure below the Front wall, first-time designers often wonder which way to rotate logos and barcodes on the flat Illustrator template. Follow this orientation rule and verify it on our interactive 3D mockup
- Four vertical body walls (Back, Left Side, Front, Right Side): All four main walls share the exact same upright vertical orientation (top of the box is at the top of the flat dieline).
- Top closure panel (hinged above the Back wall): Because this panel hinges on the Back wall and folds forward toward the Front wall, text or logos placed right-side-up on the flat Top Closure panel will read right-side-up when a shopper looks at the front of the closed box from above!
- Bottom closure panel (hinged below the Front wall): Because this panel hinges on the Front wall and folds backward under the base, orient your UPC barcode, recycling icons, and batch/lot stamp zone inverted 180 degrees on the flat sheet if you want them to read right-side-up when a shopper flips the box forward from the front face.
- Tuck flaps (hidden inside the box when closed): Leave the outer tuck flaps solid background color (so no white edge peeks through the fold seam), or place a short surprise unboxing tagline on the top tuck flap.
Know your size? Compare pricing across up to 3 quantities.
Request a Quote →What bleed, glue-flap, and window margins are required on a reverse tuck end print file?
Whether you are setting up artwork for custom tea bag boxes, custom toy boxes, or custom pen boxes, follow these five prepress specifications before uploading your PDF or Adobe Illustrator file
| Prepress zone | Required measurement | Vector layer & ink rule | Common error to avoid |
|---|---|---|---|
| Exterior ink bleed | 0.125 in (3.175 mm) past all cut lines | Extend background art across outer knife lines | Stopping ink right on the cut line (leaves white slivers) |
| Interior text safety margin | 0.125 in (3.175 mm) inside all cut & score lines | Keep logos, Drug Facts, and borders inside safe zone | Running small text across a vertical fold crease |
| Side glue flap keep-out | Full glue tab (or 0.375 in glue strip mask) | Leave 100% unprinted, unvarnished, and unlaminated | Flooding UV gloss or soft-touch film over the glue tab |
| Die-cut PET window margin | Min 0.375 in (10 mm) from all scores | Show window cutout as a spot line on DIELINE layer | Placing window too close to the top tuck crease |
| UPC-A retail barcode block | Min 80% magnification (1.18 × 0.80 in) | 100% K black bars on high-contrast white/cream box | Printing low-contrast metallic or red bars that fail to scan |
How do I get a custom reverse tuck end dieline and 3D proof from CubitPack?
Ready to prepare your artwork? Read our companion guides on how to measure and choose board for reverse tuck end boxes and reverse tuck end vs straight tuck end and seal end boxes. Every order of printed reverse tuck end cartons from CubitPack starting at 1,000 boxes includes free prepress support, zero die or plate charges, a custom 2D CAD dieline template, and an interactive 3D mockup before payment. Whether your graphic designer is laying out multi-SKU supplement cartons in Adobe Illustrator or you want our in-house design team to place your logo, Drug Facts table, and Pantone colors onto the dieline for you, follow this 4-step proof workflow to guarantee a clean press run
- Step 1: Request your quote with your target Inside L × W × H; our team sends back a custom 2D vector dieline PDF (.ai compatible) with cut lines, score lines, ankle slit locks, and bleed zones marked.
- Step 2: Place your artwork on the artwork layer (or send us your logo and copy for free design help), keeping foil stamping, embossing, and spot UV on separate 100% K vector spot layers.
- Step 3: Double-check that background colors extend 0.125 inches past all exterior cut lines and that the longitudinal side glue flap remains unprinted and unvarnished.
- Step 4: Inspect your free 2D dieline proof and interactive 3D mockup in your browser to verify top and bottom flap orientation before you pay.
What are the most common dieline and prepress mistakes on reverse tuck end boxes?
Check your reverse tuck end artwork file against these five prepress pitfalls before press
- Rotating the top closure logo 180 degrees upside down because you assumed it folded from the front panel like a straight tuck end box (on an RTE dieline, the top closure hinges on the back wall and reads upright on the flat sheet).
- Omitting ankle slit locks on the bottom tuck flap of a 4 to 12 oz bottle, charger, or card deck box, allowing the product weight to push the bottom open.
- Applying matte, gloss, or soft-touch lamination across the longitudinal side glue flap without a glue mask, preventing the folder-gluer adhesive from penetrating the paperboard fibers.
- Cutting a front display window closer than 0.375 inches (10 mm) to the upper front rim where the top tuck flap slides inside the box.
- Leaving the dieline cut and score strokes set to CMYK process ink instead of a non-printing spot color layer, which would print red and green lines across your finished cartons.
Get a reverse tuck end dieline at your size
A simplified drawing for planning your design. Your free production dieline comes with your proof, made for your exact size and board.
Packaging for this
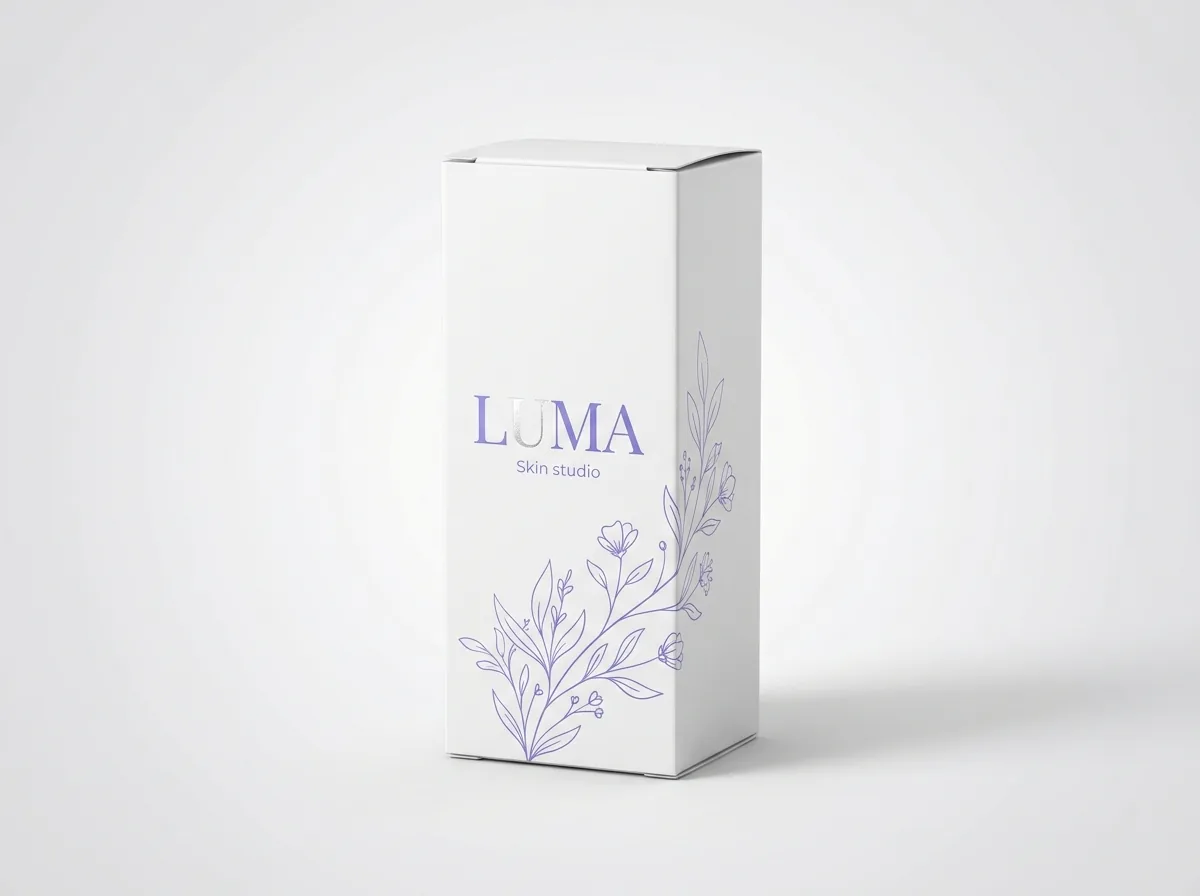
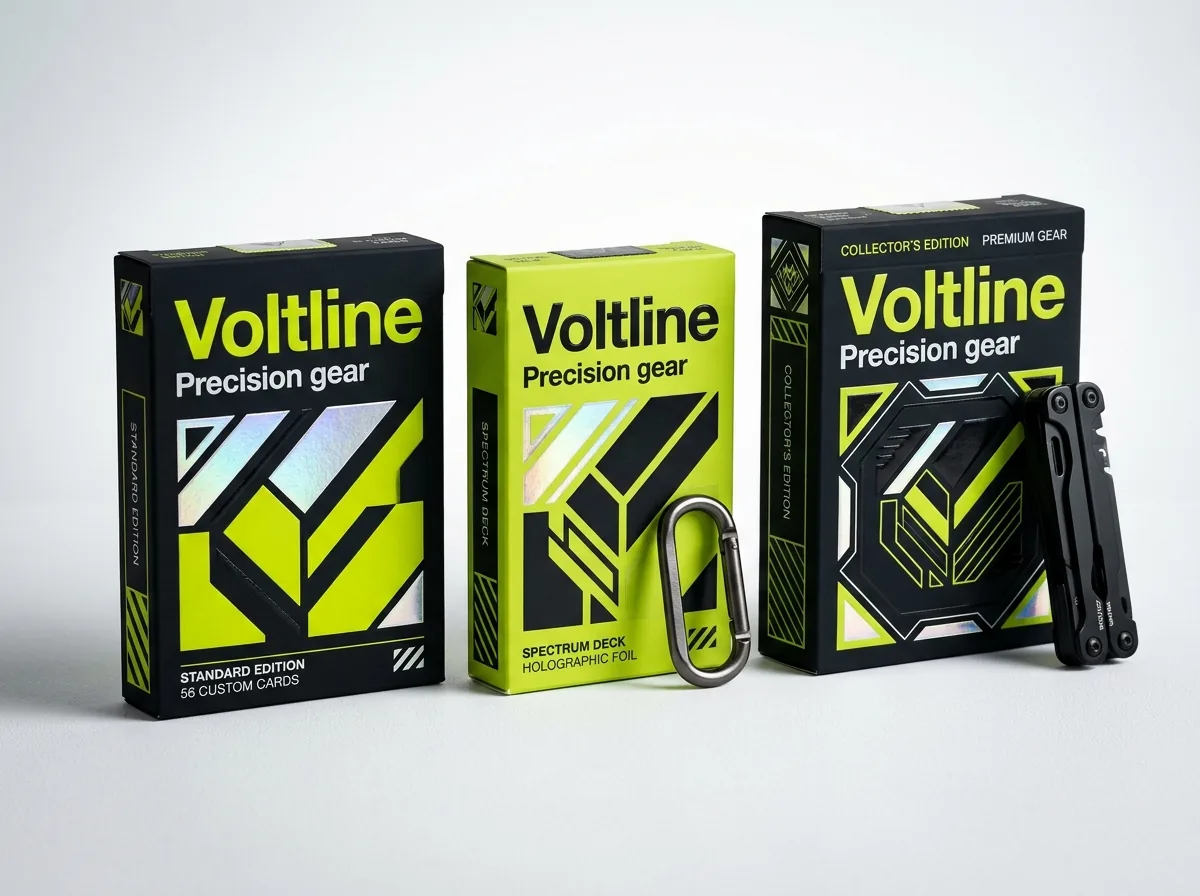
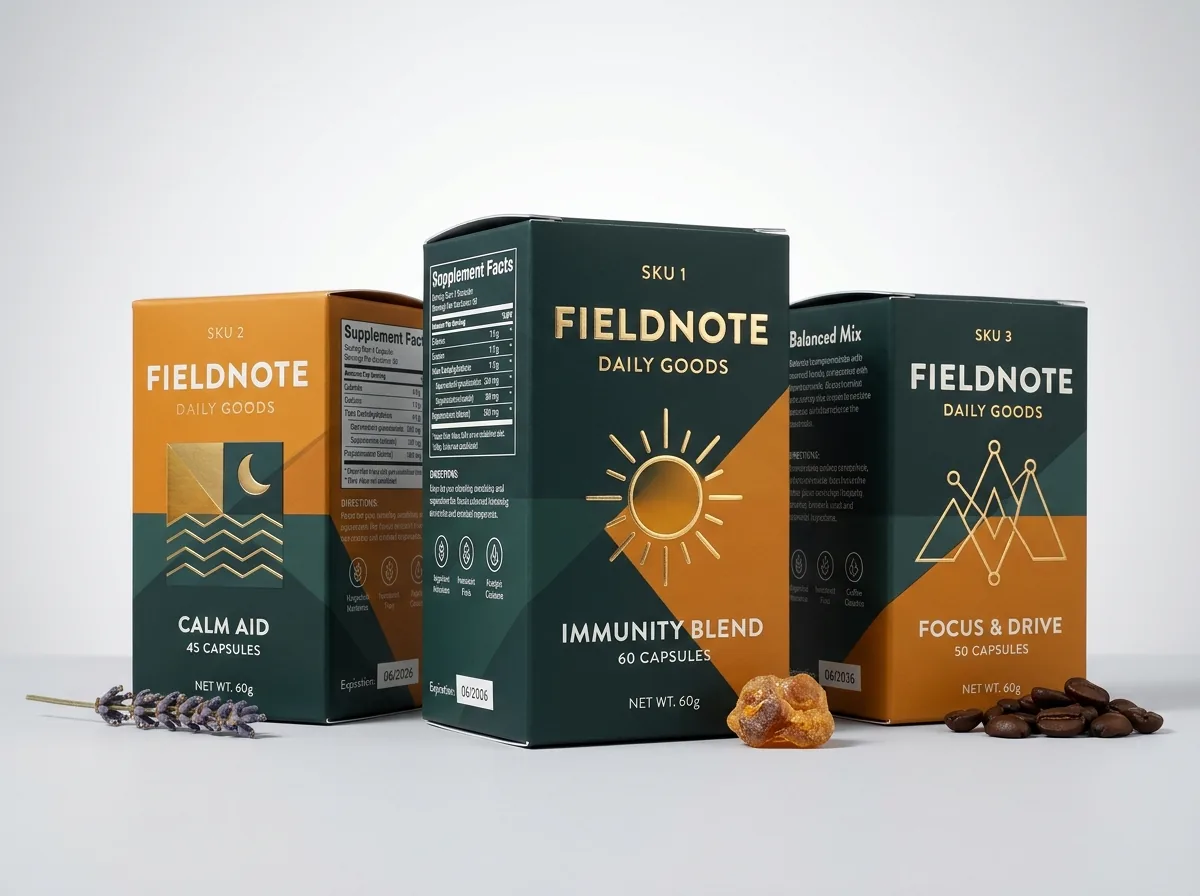
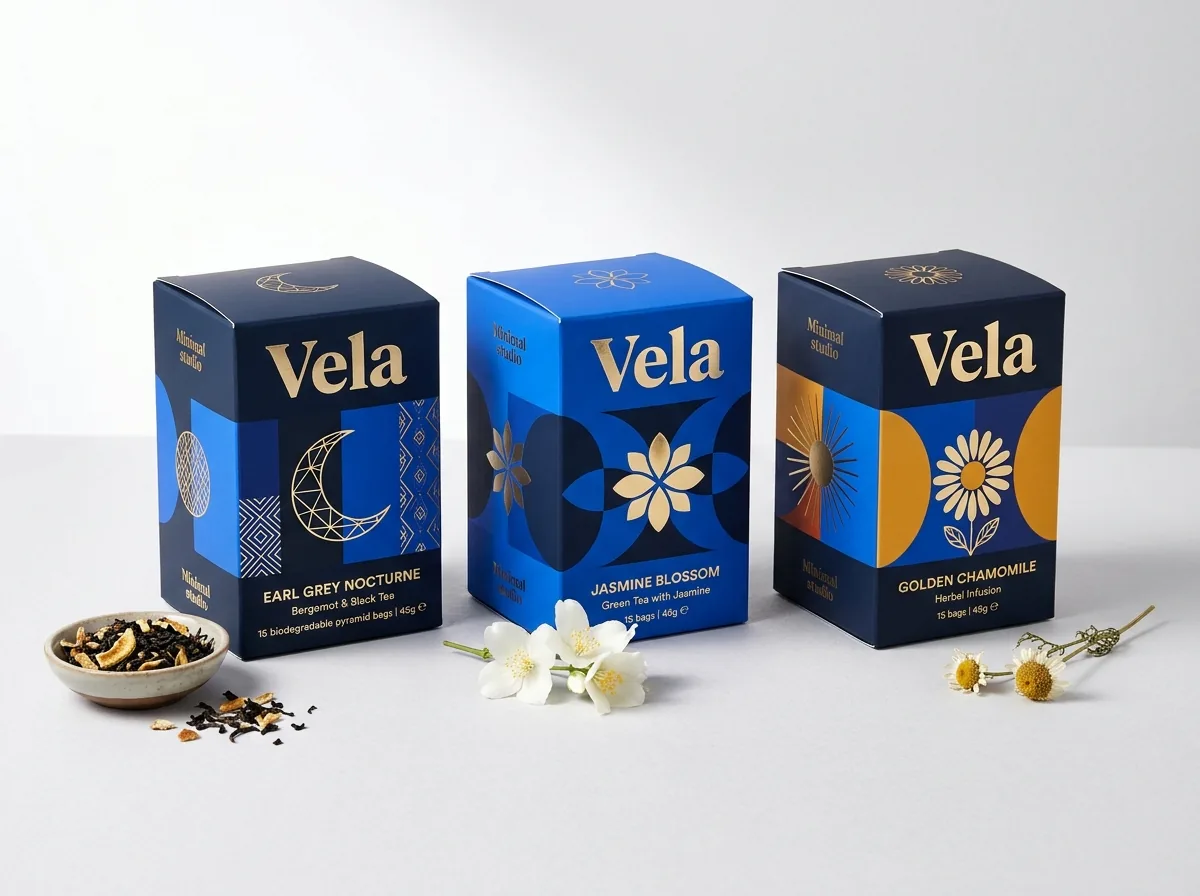
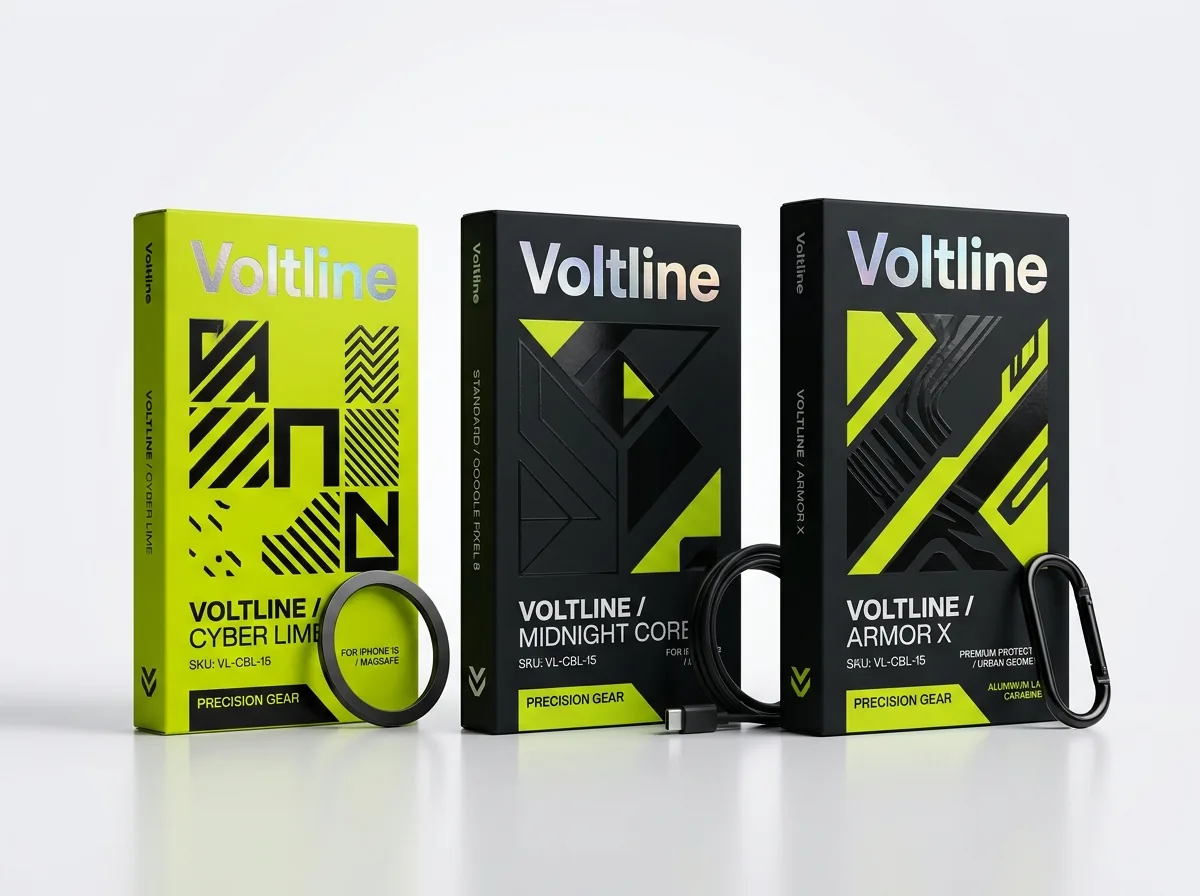
Ready to order reverse tuck end boxes? Compare up to 3 quantities with a free 3D mockup.
Request a Quote →Questions about reverse tuck end boxes
What is the ECMA code for a standard reverse tuck end box dieline?
In the European Carton Makers Association (ECMA) folding carton classification system, a standard reverse tuck end carton with opposite-panel closures is designated as ECMA A20.20.03.01 (and when equipped with ankle slit locks, ECMA A20.21.03.01).
Why does upright artwork on the flat top closure of an RTE dieline read right-side-up on the folded box?
Because the top closure panel is hinged to the top of the Back wall and folds forward 90 degrees over the opening toward the Front wall, the top edge of the flat closure panel becomes the front-most edge of the closed lid. Therefore, text oriented upright on the flat Top Closure reads right-side-up when looking at the front of the box.
Should I put slit locks on both the top and bottom tuck flaps?
In most cases, no. Putting ankle slit locks on the bottom tuck flap holds the base securely under product weight, while keeping a smooth friction tuck on the top lid lets customers open and close the box easily without catching or tearing the dust flaps.
How wide should the glue flap and window border be on a reverse tuck end carton?
The side glue flap is engineered at 0.50 to 0.75 inches (13–19 mm) wide depending on box size and must remain free of ink, varnish, and film lamination. Any die-cut PET window must stay at least 0.375 inches (10 mm) away from all score lines.
Does CubitPack provide a free custom dieline template before I place my order?
Yes. Send us your target Inside Length × Width × Height in the quote form, and our structural team will send you a custom 2D vector dieline template plus free prepress check, a 2D digital proof, and an interactive 3D mockup before payment.
Still have a question? Ask a packaging specialist.
Request a Quote →Request your reverse tuck end boxes quote
Tell us your size and quantities, and one dedicated account manager prepares pricing for each tier.
- Free design & AI-to-print studio + 3D mockup
- No die or plate charges · 4–5 day rush available
- Free shipping to all 50 states
- 10% off your first order
We verified ECMA A20.20.03.01 and A20.21.03.01 reverse tuck dieline geometry, 2.5–4.0 mm ankle slit-lock tolerances, 0.125-inch bleed/safe rules, and 0.375-inch PET window margins against European Carton Makers Association (ECMA) and Paperboard Packaging Council (PPC) technical manuals. A packaging specialist checked every specification. Spot something wrong? Tell us and we fix it.
Sources
What changed
- October 25, 2026: First published with ECMA A20.20.03.01 dieline breakdown, friction tuck vs ankle slit-lock diagram, flap artwork orientation map, and prepress table.
More guides
New packaging guides by email
Sizes, materials and design tips. Unsubscribe anytime.