
How do I read a tuck end box dieline and set up artwork?
Short answer: A tuck end box dieline is the flat 2D vector template that maps every cut line, fold crease, panel, dust flap, and glue seam before printing. On custom straight tuck end boxes, the four vertical walls sit in a row while both closure lids extend from the front panel.
On this page
- What do the cut lines, fold lines, bleed, and safe zones mean on a dieline
- Which way should text and logos face on each panel of a straight tuck end dieline
- Why should ink and lamination stay off the glue flap, and what goes on dust flaps
- How do you position windows, foil stamping, and barcodes on the dieline
- What if I only have a logo or an AI-generated box concept instead of a vector dieline
- How do paperboard grain direction and thickness affect a tuck end box dieline
- Common mistakes
- FAQs
Request a custom quoteFree dieline & 3D mockup
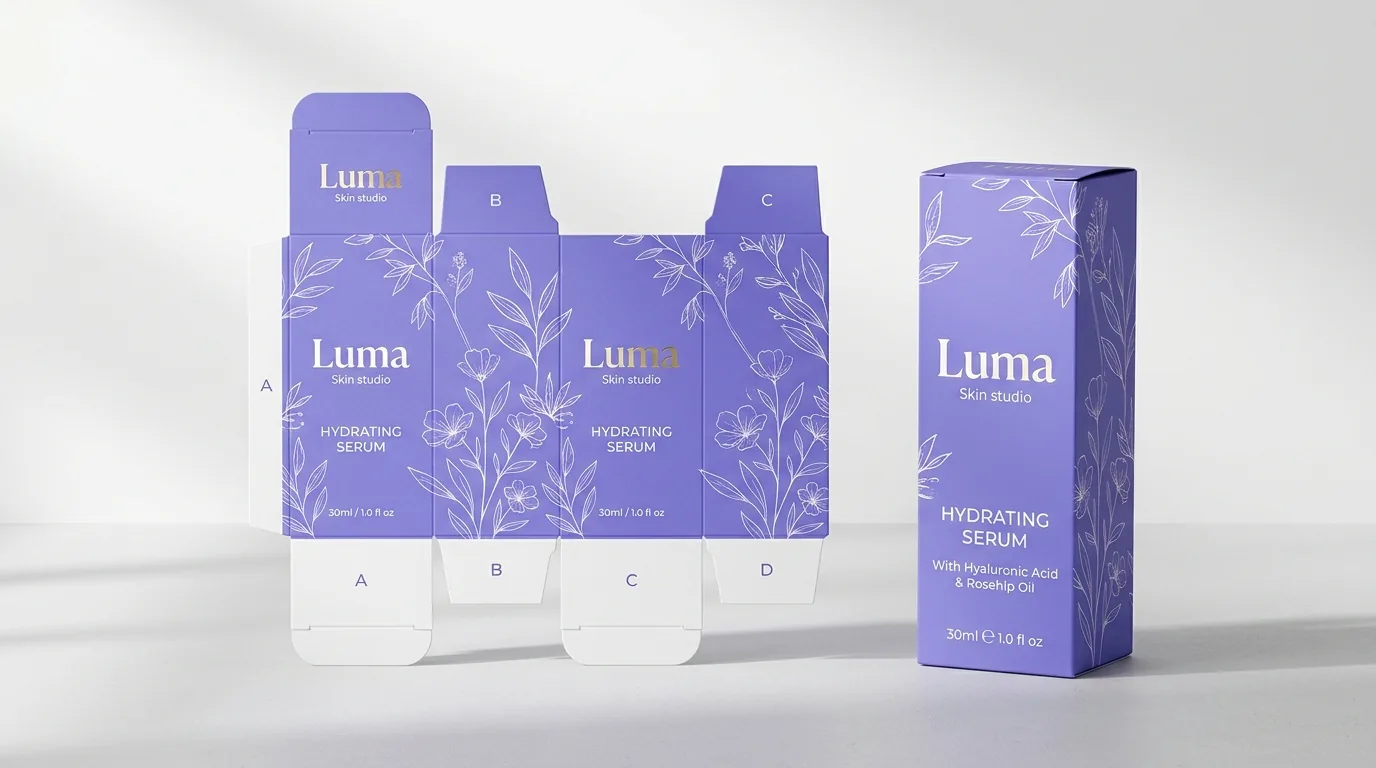
When you open a flat folding carton dieline in Adobe Illustrator or view your digital proof, you are looking at the outside surface of the unfolded paperboard sheet from above. Reading left to right across the center belt on a standard straight tuck end layout, the panels appear in sequence: the narrow Glue Flap, the Back Panel, the Left Side Panel, the Front Panel (your main retail display face), and the Right Side Panel. Above and below the Front Panel sit the Top Closure and Bottom Closure panels, each ending in a rounded Tuck Flap that slides inside the box. Above and below the two Side Panels sit the four Dust Flaps that fold inward first to block dust and square the corners. At CubitPack, we build your custom dieline for free, place your artwork or AI design onto the panels, and send a 2D proof and 3D mockup before payment.
What do the cut lines, fold lines, bleed, and safe zones mean on a dieline?
Every structural dieline uses distinct line styles and color layers so the printing press never prints the template lines onto your finished carton. Solid lines mark where steel cutting rules slice through the paperboard, dashed lines mark where rounded creasing rules press fold hinges into the board, and outer margin lines guide how far background colors must extend. Before uploading artwork for straight tuck end folding cartons, check your vector file against the layer table below.
| Dieline layer | How it looks on the proof | What it does in production & how to place art |
|---|---|---|
| Cut line (trim) | Solid dark ink or magenta line | Steel blade cuts completely through the board along the outer perimeter and window cutouts |
| Fold / score line | Dashed purple or green line | Rounded creasing rule indents a hinge so panels and flaps fold cleanly at 90 degrees |
| Bleed line | Outer boundary 1/8 in (3 mm) past cut | Extend background colors and patterns all the way to the bleed line so no white edge shows |
| Safe zone | Inner margin 1/8 in (3 mm) inside cuts/folds | Keep logos, ingredient text, and barcodes inside this zone so they never clip or bend |
| Glue flap zone | Diagonal hatch marks on the side tab | Keep 100% free of ink, lamination, and UV coating so adhesive bonds directly to paper fiber |
| Slit-lock cuts | Short notches at the tuck crease corners | Locks the tuck flap corners under the side dust flaps so the lid does not pop open |
Which way should text and logos face on each panel of a straight tuck end dieline?
The easiest mistake on a flat dieline is placing text right-side-up on the Top Closure lid without realizing how that panel folds in three dimensions. When the Front Panel faces you upright, the four vertical body walls (Back, Left Side, Front, Right Side) all read right-side-up from top to bottom. However, the Top Closure hinges backward away from you over the top of the carton, and its Tuck Flap folds straight down inside the back wall. That means a logo placed on the Top Closure panel should read right-side-up when viewed from the front of the box, while any small message printed on the outer face of the Top Tuck Flap must be rotated 180 degrees upside down on the flat dieline so it reads upright when a customer pulls the lid open.
- Front, Back, Left Side, and Right Side walls: All text and graphics stand upright from bottom crease to top crease.
- Top Closure panel (lid): Orient your logo so it reads upright when looking down at the box from the front shelf edge.
- Top Tuck Flap: Rotate any pull-tab text 180 degrees so it reads upright as the flap lifts out of the box.
- Bottom Closure panel: Usually carries recycling notices, batch codes, or a barcode rotated for bottom scanning.
Why should ink and lamination stay off the glue flap, and what goes on dust flaps?
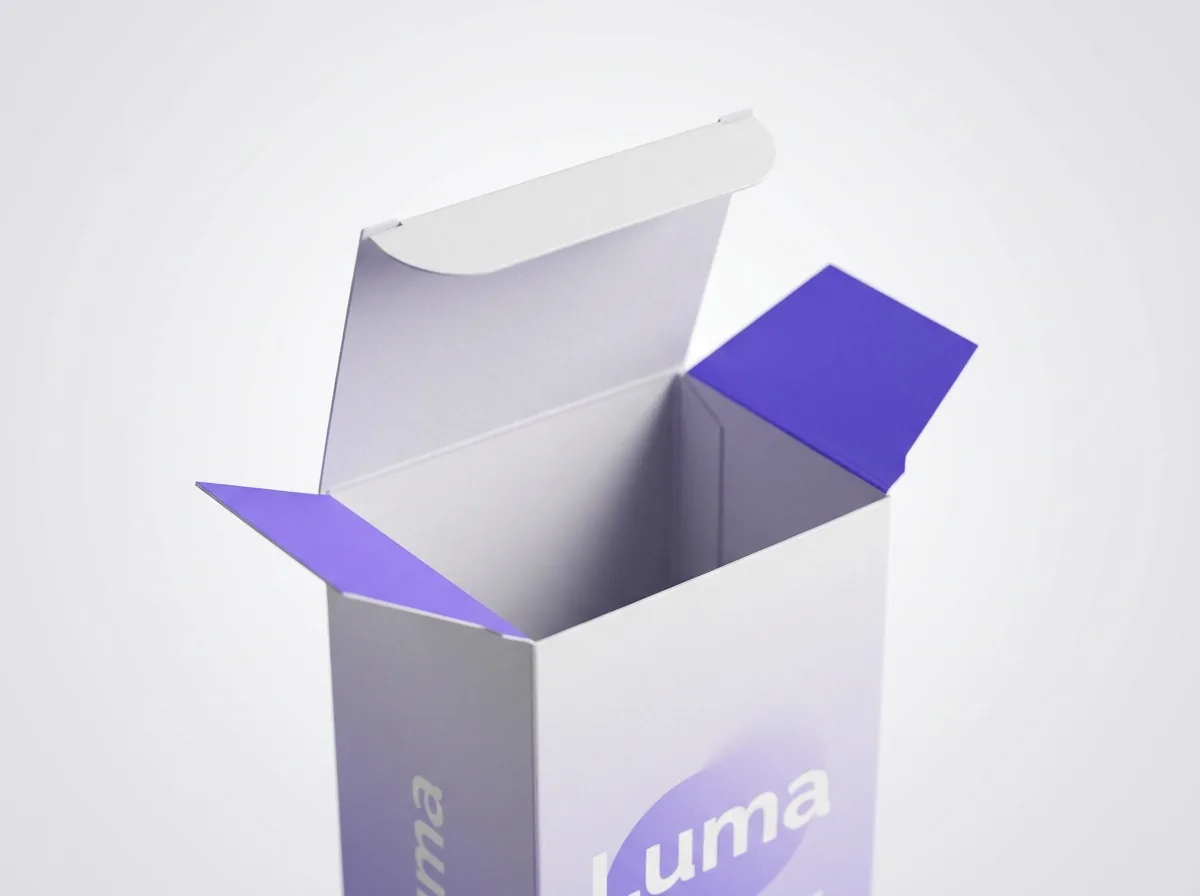
Along the far left edge of the dieline sits the tapered side Glue Flap, which folds behind the opposite wall and runs through a high-speed folder-gluer machine. Paperboard glue bonds by soaking into raw paper fibers. If flood ink, gloss varnish, or lamination covers the Glue Flap without a knock-out area, the adhesive cannot penetrate the surface and the side seam can pop open in transit. By contrast, the two top Dust Flaps sit right at eye level when a customer opens your carton, making them a great spot for a short welcome line or brand accent color on custom cosmetic boxes and custom serum boxes.
- Glue flap: Leave unprinted and unvarnished (our prepress check masks this area automatically on your proof).
- Top dust flaps: Flood-coat with your brand color or print a short 2-word reveal message on the visible upper half.
- Bottom dust flaps: Leave unprinted or flood-coated, since the bottom stays tucked closed during normal use.
Know your size? Compare pricing across up to 3 quantities.
Request a Quote →How do you position windows, foil stamping, and barcodes on the dieline?
Special finishes and functional cutouts live on separate spot-color vector layers on your dieline template. If you add a die-cut front window like on our custom window boxes, keep the window opening at least 3/8 inch (9.5 mm) away from the left, right, top, and bottom fold creases so the Front Panel stays flat and rigid. Place your retail UPC or EAN barcode on the Back Panel or one of the Side Panels with a solid white quiet zone around the bars, oriented with the bars running parallel to the press direction or safely inside the panel margin. Separate vector layers also mark foil stamping, embossing, and spot UV.
What if I only have a logo or an AI-generated box concept instead of a vector dieline?
You do not need CAD software or packaging prepress experience to order custom cartons. Tell us your product's inside Length, Width, and Height in the quote form, and our structural team builds the exact straight tuck end dieline template for free. If you already mocked up a concept using an AI image generator, or if you only have a PDF logo and brand colors, our designers rebuild the artwork as crisp print-ready vectors, set up the 1/8-inch bleeds and glue-flap knockouts, and send you a 2D dieline proof plus an interactive 3D mockup before you pay a cent.
- Step 1 (Size): Enter your inside Length × Width × Height in inches in the dieline tool or quote form.
- Step 2 (Artwork): Upload your vector file, PDF logo, or AI concept image for a free prepress layout.
- Step 3 (Proof & 3D Mockup): Inspect every panel, fold line, and finish in 2D and 3D before approving production.
How do paperboard grain direction and thickness affect a tuck end box dieline?
A dieline is more than a flat graphic outline; its score offsets depend on the physical thickness (caliper) and fiber grain direction of the paperboard sheet. On a standard Straight Tuck End carton, the paperboard grain runs vertically parallel to the Height of the box so the four main walls resist vertical compression when stacked on a retail shelf, while the horizontal top and bottom closure creases fold across the grain for a crisp, spring-resistant lid hinge. When you switch between smooth white card, natural brown kraft board, or thicker corrugated board, our structural team adjusts the micro-clearances on the side dust flaps and tuck shoulders automatically so the lid glides shut without buckling.
What are the most common tuck end box dieline and artwork mistakes?
Our prepress check catches these five file setup mistakes every day before plates are made
- Stopping background color at the cut line. Always extend background colors and patterns 1/8 inch (3 mm) past the solid cut line to the bleed line.
- Leaving the dieline layer turned on as printable art. Keep cut and score lines on a non-printing spot layer so dashed lines do not print on your box.
- Placing small text or barcodes across a fold crease. Keep all text and barcode quiet zones at least 1/8 inch inside the dashed score lines.
- Upside-down logos on the top tuck flap. Check the 3D mockup to confirm that top lid and tuck flap graphics face the shopper when opened.
- Rasterizing small ingredient text at low resolution. Keep all typography and logos as vector outlines (or 300 DPI minimum for photos).
Get a straight tuck end dieline at your size
A simplified drawing for planning your design. Your free production dieline comes with your proof, made for your exact size and board.
Packaging for this
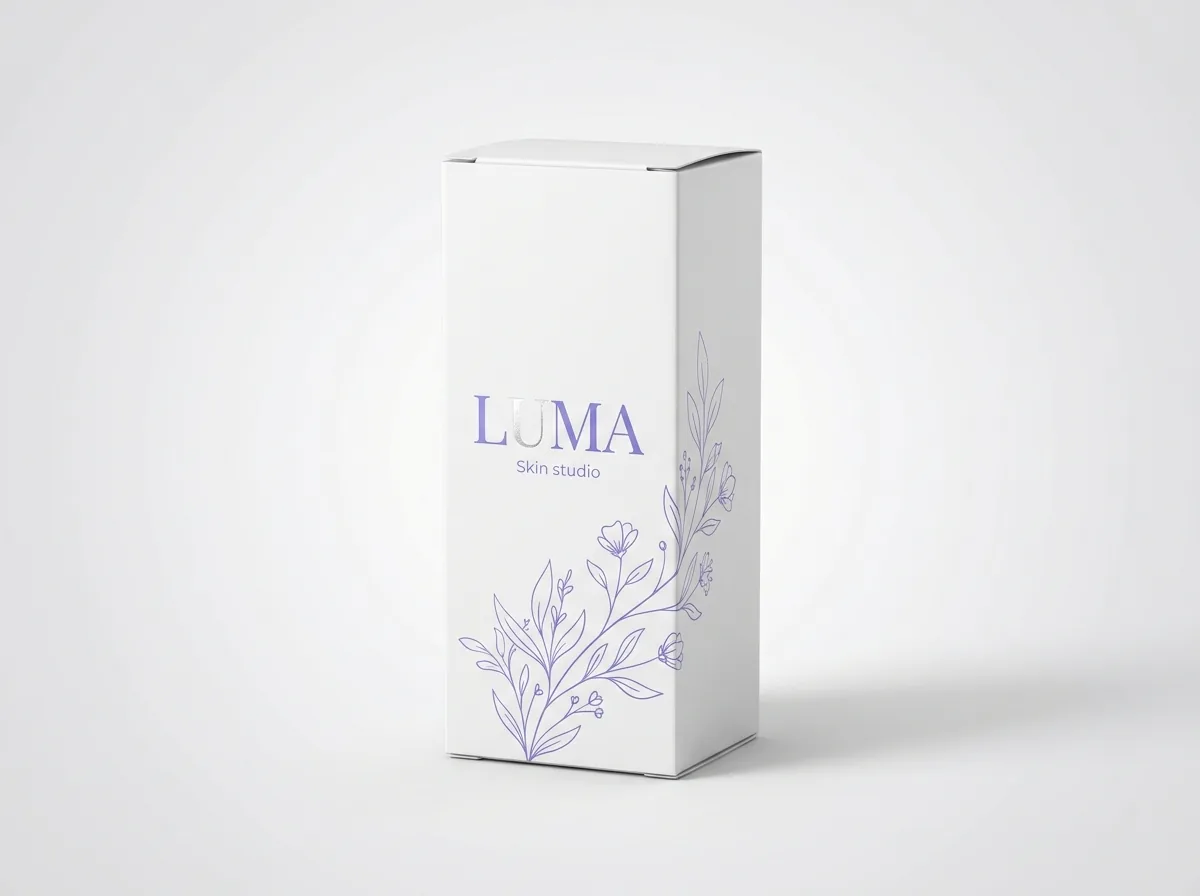
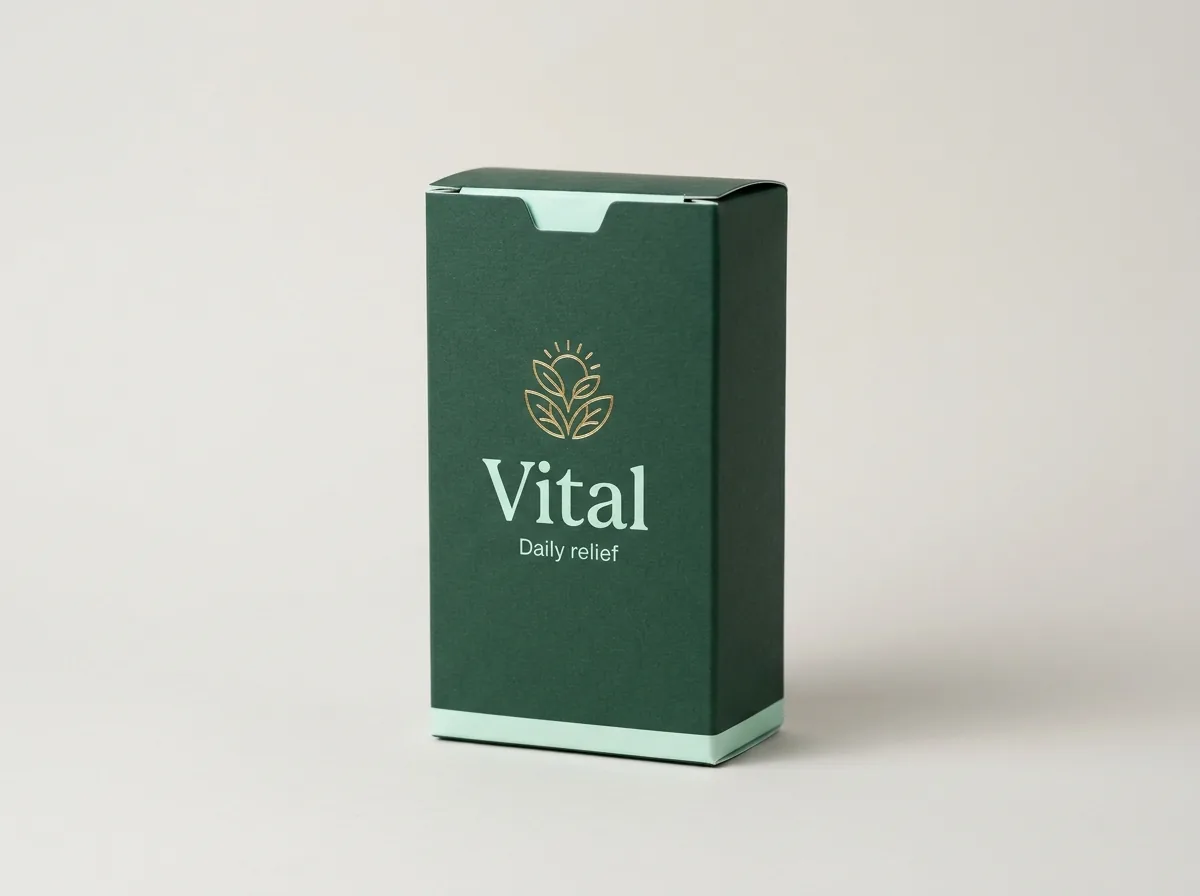
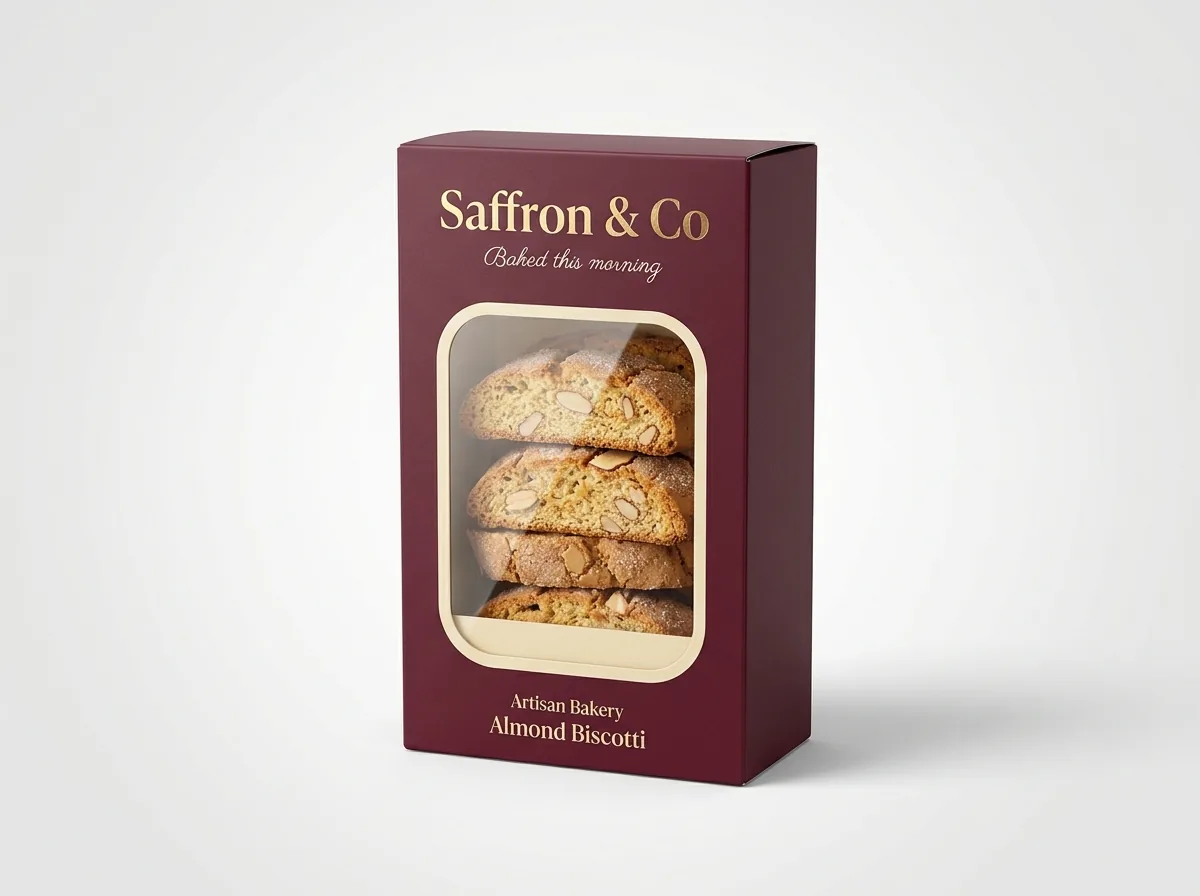


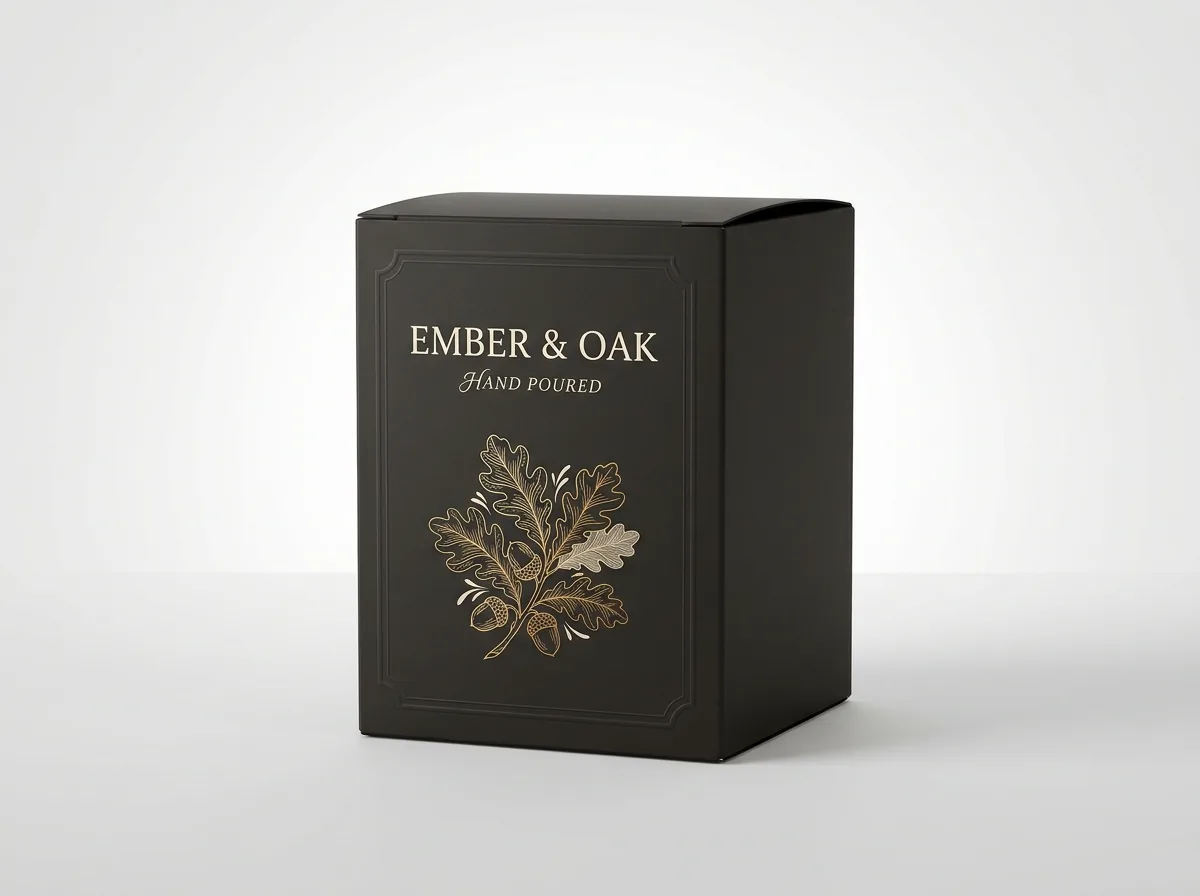
Ready to order straight tuck end boxes? Compare up to 3 quantities with a free 3D mockup.
Request a Quote →Questions about straight tuck end boxes
How much bleed do I need on a straight tuck end box dieline?
Add 1/8 inch (3 mm or 0.125 in) of bleed past every outer solid cut line, except on the unprinted side glue flap. Extending your background color or pattern into the bleed zone guarantees that tiny sheet shifts during die-cutting never leave an unprinted hairline along the edge.
How far from fold lines and cut lines should I keep text and logos?
Keep all important text, logos, borders, and barcode quiet zones at least 1/8 inch (3 mm) inside every cut line and fold score line. On tiny cartons like lip balm or 10 ml essential oil boxes, keep at least 3/32 inch (2.4 mm) of safe margin.
Can I get a free custom dieline template for my exact box size?
Yes. You can preview and download a straight tuck end dieline at your exact Length × Width × Height using the dieline tool on this page, or request a quote and our team will email a print-ready vector PDF/AI dieline template for free.
How do I set up foil stamping, embossing, or spot UV on a dieline?
Place each special finish on its own named vector layer in 100% solid spot color (for example, a layer named 'Gold Foil' or 'Spot UV') aligned directly over your CMYK or Pantone print layer. If you need help, our designers set up the finish layers for free.
Can you print on the inside of a straight tuck end box dieline?
Yes. For two-sided (inside and outside) printing, we supply a two-side dieline layout showing both the outer coated surface and the inner surface. Inside printing is a popular way to reveal a pattern or brand message when the customer lifts the top lid.
Do you check my dieline artwork before I pay for the order?
Yes. Every order includes a free prepress artwork check, a 2D digital proof on the exact production dieline, and a 3D mockup before you pay. We verify panel orientation, bleed, safe margins, barcode placement, and resolution so there are no surprises.
Still have a question? Ask a packaging specialist.
Request a Quote →Request your straight tuck end boxes quote
Tell us your size and quantities, and one dedicated account manager prepares pricing for each tier.
- Free design & AI-to-print studio + 3D mockup
- No die or plate charges · 4–5 day rush available
- Free shipping to all 50 states
- 10% off your first order
We verified the dieline panel layout, cut and crease conventions, bleed and safe-zone allowances, and barcode quiet-zone rules against ECMA folding carton specifications, Paperboard Packaging Council standards, and GS1 US guidelines. A packaging specialist checked every rule. Spot something wrong? Tell us and we fix it.
Sources
What changed
- October 23, 2026: First published.
More guides
New packaging guides by email
Sizes, materials and design tips. Unsubscribe anytime.