
How do you design custom baby food spout pouches for stage labels and safety caps?
Short answer: Place a bold feeding stage badge (Stage 1, 2, 3 or Toddler) in the top-left corner, coordinate the vented wheel cap color with the ingredient palette, keep text 0.375 inches below the top spout weld, and add Infant Nutrition Facts on custom baby food spout pouches.
On this page
- How should you structure the front panel of a custom baby food spout pouch
- How do you color-code feeding stages and vented wheel caps across a SKU line
- How do you set up a baby food spout pouch dieline for the spout weld and rounded corners
- What belongs on the back panel and bottom gusset of a baby food spout pouch
- What affects the price of custom printed baby food spout pouches
- Common mistakes
- FAQs
Request a custom quoteFree dieline & 3D mockup
Shopping the grocery baby aisle is an exercise in three-second visual filtering: parents with a 6-month-old immediately rule out Stage 3 chunkier blends or 12+ month toddler smoothies, then verify the exact fruit, vegetable and allergen list before checking the back window. Designing a retail-ready infant squeeze pouch requires balancing that front-panel clarity with strict flexible-converting clearances. Because a filled 3.5 oz or 4.0 oz stand-up pouch curves inward along the bottom gusset and tapers at the top where the 8.6 mm canoe spout is thermally welded, your artwork must keep logos at least 0.375 inches below the top shoulder seam, keep text 0.25 inches inside both side seals, clear the 8 mm to 10 mm rounded corner radii, and place the FDA Infant or Toddler Nutrition Facts, microwave warning, cap safety notice and UPC barcode on the flat middle-back panel.
How should you structure the front panel of a custom baby food spout pouch?
When pouches stand inside a 12-count grocery shelf caddy, the bottom 1.25 inches of the pouch sits behind the tray lip. That means your brand mark, feeding stage badge and primary ingredient callout must live in the upper 75% of the front panel on printed infant puree squeeze pouches. Divide the front face into three distinct horizontal bands so busy parents can read the stage, flavor and dietary claims from four feet away
- Top shoulder zone (0.375 in below the spout weld): Brand logo centered below the spout neck, paired with a bold stage badge ('Stage 1 · 4+ Mos', 'Stage 2 · 6+ Mos', 'Stage 3 · 8+ Mos' or 'Toddler · 12+ Mos').
- Center billboard zone (flattest optical face of the pouch): Whole-ingredient botanical illustrations or studio photography ('Pear, Spinach & Pea' or 'Sweet Potato, Apple & Oats') with 14 pt to 20 pt high-contrast typography.
- Lower belly zone (above the bottom gusset curve): Up to three clean-label badges ('USDA Organic', 'No Added Sugar', 'Cold-Pressed HPP') plus the mandatory net weight statement ('Net Wt 4 oz (113 g)').
How do you color-code feeding stages and vented wheel caps across a SKU line?
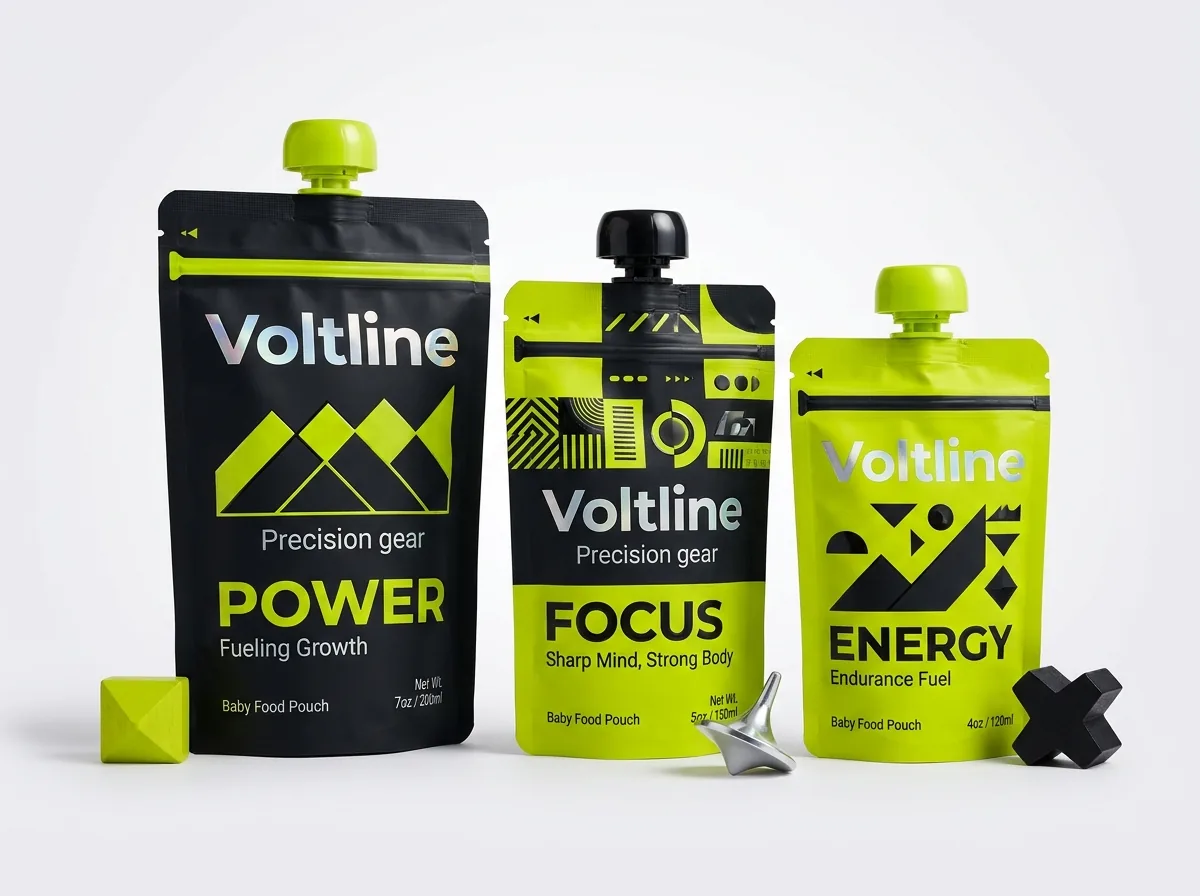
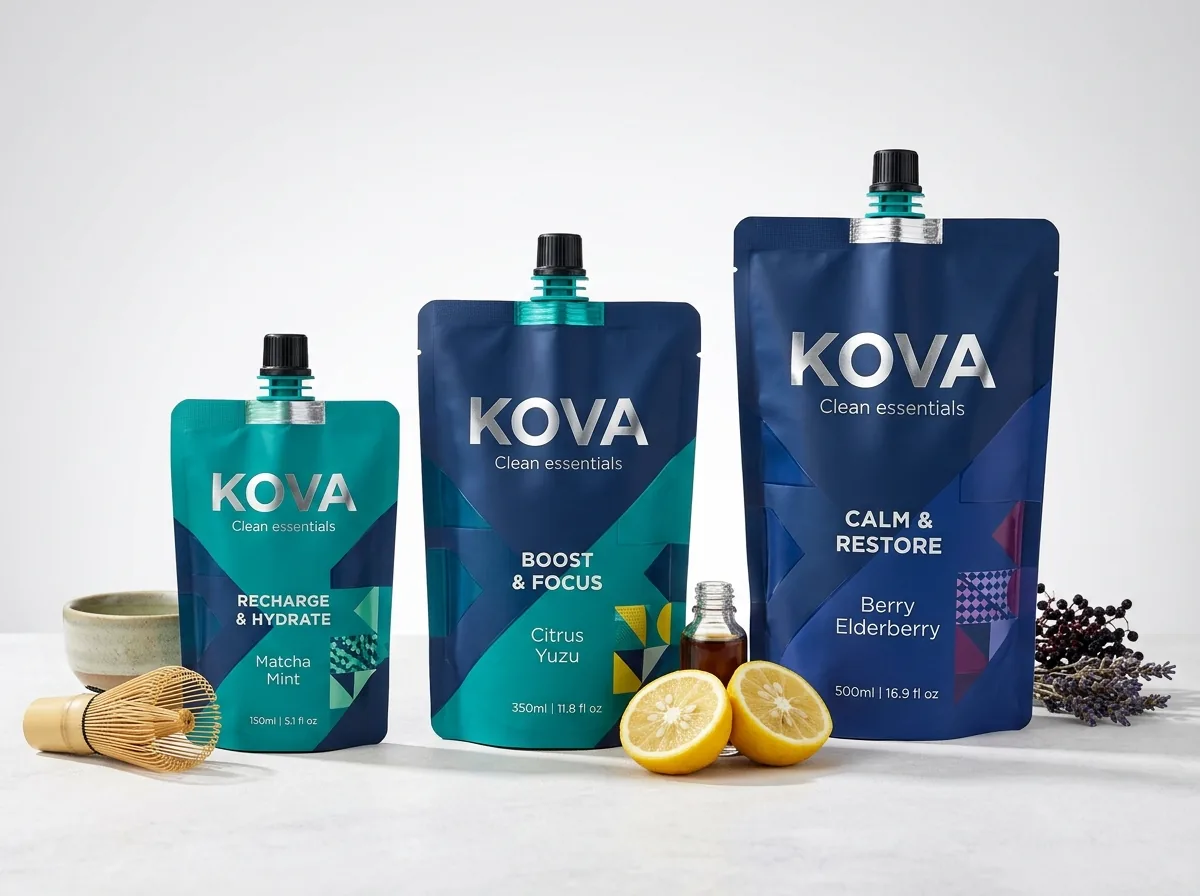
As a baby nutrition line expands from 4 starter flavors to 16 grocery SKUs, pouches that look too similar cause store stockers to mix flavors in shelf trays and parents to grab the wrong feeding stage. A two-layer color architecture solves both problems at once: assign the pouch background band to the dominant ingredient color (forest green for spinach and pea, warm gold for apple and squash, deep purple for blueberry and oat) while color-coding the top stage badge and 31 mm to 35 mm vented wheel cap by feeding stage. For example, many multi-SKU baby brands specify mint green wheel caps for Stage 1 single-ingredient purees, sunny yellow caps for Stage 2 combinations, lavender purple caps for Stage 3 protein and grain meals, and coral caps for Stage 4 toddler smoothies. Pairing Pantone-matched colors with a low-glare matte lamination or velvety soft-touch lamination eliminates harsh supermarket glare and gives little hands a slip-resistant grip.
How do you set up a baby food spout pouch dieline for the spout weld and rounded corners?
A filled stand-up spout pouch transforms from a flat 2D web into a 3D teardrop shape, narrow and pinched at the top shoulder and round at the lower belly. When setting up your vector artwork in Adobe Illustrator for custom spout pouches, account for three structural converting zones that flat snack pouches do not have: the top canoe spout weld, the 4-corner safety rounding, and the lower gusset curve. Use the dieline clearance table below to position your graphics, barcodes and date-coding pads accurately on the first proof.
| Dieline zone / feature | Required clearance or spec | Why it matters on filling lines and shelves |
|---|---|---|
| Top canoe spout weld zone | Keep logos & text >= 0.375 in (9.5 mm) below top edge | Prevents hot spout-sealing jaws from crimping or warping typography |
| Side heat-seal margin | 0.25 in (6 mm to 8 mm on retort pouches) inside edges | Steam retort autoclaves require wide side seals free of critical copy |
| Rounded corner die-cut | 8 mm to 10 mm smooth radius on all 4 corners | Eliminates sharp laminate corners so edges never scratch small hands |
| White ink knockout window | 0% white ink in viewing zone; 1.25 x 1.25 in min | Lets parents inspect puree texture on back panel or bottom gusset |
| UPC-A barcode box | 1.15 x 0.75 in black bars on 100% white, middle back | Avoids lower gusset curve wrinkles that block checkout scanners |
| Lot & expiration code pad | 1.5 x 0.5 in unvarnished matte white box on back | Accepts co-packer inkjet, thermal-transfer or laser date stamps |
Know your size? Compare pricing across up to 3 quantities.
Request a Quote →What belongs on the back panel and bottom gusset of a baby food spout pouch?
Unlike adult snack packaging, infant and toddler pouches require specialized FDA Nutrition Facts formatting calculated specifically for Infants through 12 months or Children 1 through 3 years, where protein grams and micronutrient % Daily Values reflect early childhood requirements. Alongside the nutrition table, ingredient list, allergen statement and distributor address, every baby food spout pouch back panel should include clear feeding, heating and cap-safety notices. Print a high-contrast callout stating 'Do not microwave pouch' (since microwaving a sealed foil or barrier pouch causes uneven hot spots and steam bursts) and 'Refrigerate after opening and serve within 24 hours.' Right beside the top shoulder, include the cap safety notice: *'Keep cap out of reach of children under 3 years. If cap seal is broken or pouch looks damaged or unusually inflated, please discard.'* On foil-free HPP or transparent-oxide pouches, place your clear puree inspection window either on the lower back panel or across the bottom gusset so parents can verify freshness before opening.
What affects the price of custom printed baby food spout pouches?
Four factors drive the unit price of custom printed baby food spout pouches: barrier laminate class (4-layer 250°F steam retort vs 190°F hot-fill vs foil-free 87,000 psi HPP film), outer pouch dimensions (3.5 oz vs 4.0 oz vs 12 oz refill), total order quantity, and how many flavor SKUs you combine in one print run. The smartest way to lower your per-pouch cost is to standardize one master dieline, such as 3.75 × 5.75 × 1.75 in (4.0 oz / 113 g), across every Stage 2 and Stage 3 flavor in your catalog. When your Apple Spinach, Sweet Potato Carrot, Pear Blueberry Oat and Mango Quinoa pouches share identical outer dimensions, film structure and 8.6 mm spout hardware, you can group 2 or 3+ designs in Step 2 of the quote form to unlock higher total-quantity price breaks. We also print matching custom food boxes and custom counter display boxes so your 12-count grocery shelf trays and 4-pack cartons match your pouch Pantones.
- Standardize one 4.0 oz (3.75 x 5.75 x 1.75 in) dieline across flavors to combine multi-SKU print quantities.
- Use a white-ink knockout window on clear HPP or AlOx films to add a viewing window at zero tooling cost.
- Keep one background finish (such as matte lamination) across all SKUs so flavors run together on press.
- Order matching 12-count shelf-ready display trays and 4-pack cartons alongside your pouches.
What are the most common artwork mistakes on baby food spout pouches?
Most prepress delays on infant squeeze pouches happen when designers treat a 3D spouted pouch like a flat carton panel. Avoid these five mistakes
- Placing the brand logo or stage badge within 0.25 inches of the top center edge, where the canoe-shaped spout weld crimps and distorts the film.
- Using adult % Daily Value Nutrition Facts instead of the mandatory FDA Infant (through 12 months) or Toddler (1 to 3 years) Nutrition Facts format.
- Omitting the 'Do Not Microwave Pouch', 'Refrigerate After Opening' and 'Keep Cap Out of Reach of Children' safety callouts on the back panel.
- Placing the UPC barcode near the bottom fold of the back panel where the expanding bottom gusset curves the film and blocks checkout scanners.
- Designing slightly different outer widths or heights for each flavor instead of sharing one master 3.5 oz or 4.0 oz dieline across all SKUs.
Packaging for this
Ready to order baby food spout pouches? Compare up to 3 quantities with a free 3D mockup.
Request a Quote →Questions about baby food spout pouches
What file format do I need to submit artwork for custom baby food spout pouches?
Upload vector PDF or Adobe Illustrator (.AI) files in Step 3 of the quote form, or upload your logos and ingredient illustrations and our prepress team will place them on your exact spout pouch dieline and send a free digital proof and 3D mockup before payment.
Can you help us design our baby food pouch branding and stage system from scratch?
Yes. Every order includes free artwork check and dieline setup, and if you need full brand identity and packaging design from scratch, our optional $250 + $50 brand identity package covers custom layout and illustration.
Where do co-packers stamp the expiration date and lot code on a baby food spout pouch?
Co-packers either emboss or inkjet the date into the side or bottom seal or print into a dedicated 1.5 × 0.5 inch white coding box on the back panel or bottom gusset. Confirm your co-packer's coder location so we can leave a varnish knockout window.
Can we order different vented wheel cap colors for different flavors in the same print run?
Yes. Standard white and stage-colored 31 mm to 35 mm vented wheel caps can be matched per SKU so each flavor or feeding stage has its own cap color.
Does adding a clear back or bottom gusset window cost extra?
No. On clear high-barrier HPP or transparent-oxide hot-fill laminates, a viewing window is created by leaving an unprinted knockout area in the white ink layer, which adds zero die or patching fees.
How long does production take once we approve our baby food pouch proof?
Standard production takes 10 to 14 business days after you approve your free digital proof and 3D mockup and complete payment. Rush production in 4 to 5 business days is quoted per order, and standard US delivery is free.
Still have a question? Ask a packaging specialist.
Request a Quote →Request your baby food spout pouches quote
Tell us your size and quantities, and one dedicated account manager prepares pricing for each tier.
- Free design & AI-to-print studio + 3D mockup
- No die or plate charges · 4–5 day rush available
- Free shipping to all 50 states
- 10% off your first order
The dieline clearances and labeling rules in this guide are based on 8.6 mm canoe spout heat-weld dimensions, 8 mm to 10 mm rounded corner radii, and FDA 21 CFR 101.9(j)(5) Infant and Toddler Nutrition Facts formatting rules, verified by a CubitPack packaging specialist. Spot something off? Tell us and we will fix it.
Sources
What changed
- October 22, 2026: First published.
- October 22, 2026: Updated specifications, terminology, and verified source links.
More guides
New packaging guides by email
Sizes, materials and design tips. Unsubscribe anytime.