
How do I design custom snack pouches for retail pegboards and checkout racks?
Short answer: Keep your brand logo at least 1.75 inches below the top edge to clear pegboard hang holes and zippers, place your flavor band and macro callout across the flat middle belly, and keep barcodes 1.25 inches above the curved bottom gusset on custom snack pouches.
On this page
- Round vs sombrero (euro) hang holes: how much top header clearance does my artwork need
- Where do logos, macro callouts, windows and barcodes belong on a snack pouch dieline
- How do CPG snack brands structure front-panel hierarchy for 3-second shelf scans
- Where should the FDA Nutrition Facts panel and UPC barcode sit on the back panel
- What drives the cost of custom snack pouches and how do I combine flavor SKUs
- Common mistakes
- FAQs
Request a custom quoteFree dieline & 3D mockup
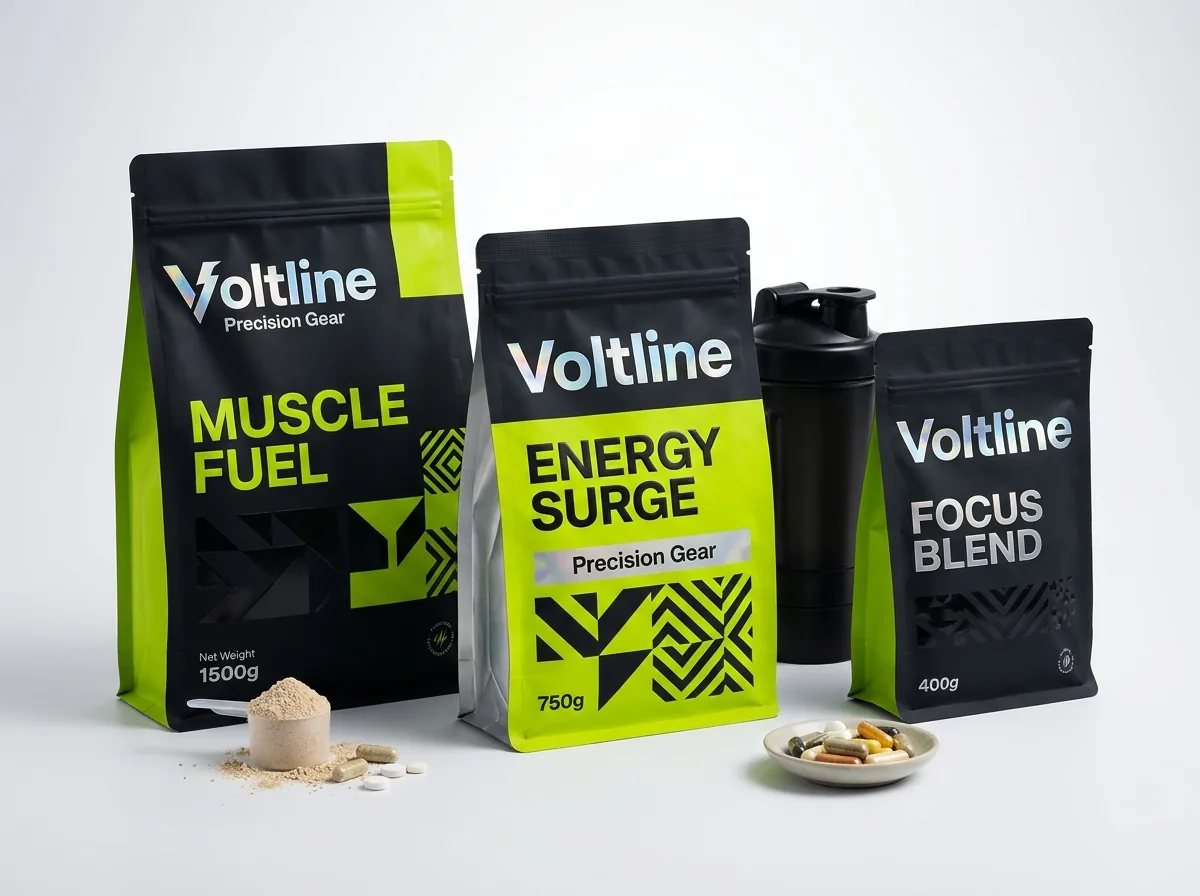
Designing a snack pouch that sells in both grocery aisles and convenience-store checkout racks requires mapping your artwork to the 3D geometry of a filled, hanging or standing bag. On a flat computer screen, a dieline looks like a simple rectangle, but once filled with 6 ounces of granola or 3 ounces of beef jerky, the top 1.5 inches is occupied by the impulse heat seal, sombrero hang hole and reclosable zipper ribs, while the bottom 2 inches curves sharply inward toward the bottom gusset. Winning CPG snack packages anchor the primary brand mark in the upper-middle safe zone below the zipper, use bold Pantone color-coding so shoppers spot Sea Salt versus Spicy Chili from ten feet away, keep the UPC barcode on the flat middle back wall, and group 3 to 6 flavor SKUs onto one shared pouch dimension to lower unit cost.
Round vs sombrero (euro) hang holes: how much top header clearance does my artwork need?
Convenience stores, airport newsstands, gym pro shops, hotel pantries and grocery checkout lanes display 1 oz to 6 oz snack bags on wire peg hooks and hanging clip strips rather than flat shelves. Punching the right hang hole into the top heat-seal header of your printed snack food bags determines whether your bags hang straight or droop sideways. A 0.25 inch or 0.3125 inch round hang hole works well for narrow single-wire clip strips and lightweight 1 oz to 2 oz bags under 4.5 inches wide. For wider 5 inch to 7 inch pouches holding 3 oz to 8 oz of beef jerky, trail mix, gummies or nuts, specify a centered sombrero (euro) slot. The wide hat-shaped slot straddles heavy double-prong retail pegboard brackets so the pouch cannot tilt when a shopper pulls the front bag off the hook. Always leave a 1.5 to 1.75 inch no-text zone from the top cut edge to clear the hang hole, laser tear notches and zipper track.
- Round hang hole (0.25 to 0.31 in diameter): best for single-wire clip strips and 1 to 2 oz packets.
- Sombrero / euro slot (approx. 1.25 × 0.35 in): best for double-wire C-store pegboard hooks and 3 to 8 oz bags.
- Header artwork safe zone: keep primary logos at least 1.75 inches below the top cut edge of the pouch.
Where do logos, macro callouts, windows and barcodes belong on a snack pouch dieline?
When a stand-up pouch is filled with snacks, the bottom gusset expands into an oval footprint and pulls the lower 1.5 to 2.5 inches of the front and back panels inward at an angle. Anything printed too low on the bag tilts toward the shelf and distorts. Use the vertical zone map below to position every element on your front and back panels.
| Vertical pouch zone | Distance from edge | What to place (and avoid) in this zone |
|---|---|---|
| Top impulse seal & hang hole | Top 0.0 to 0.75 in | Background color only; no text (punched by hang hole & seal ribs) |
| Tear notch & zipper track | Top 0.75 to 1.65 in | Small 'Tear Here' or 'Resealable' micro-copy only |
| Upper billboard zone | 1.75 to 4.0 in from top | Brand logo, primary product title & dietary badges (Gluten-Free, Keto) |
| Center belly zone | Middle 35% of pouch height | Flavor banner, hero snack photography or clear viewing window |
| Lower gusset curve zone | Bottom 1.25 to 2.25 in | Net weight statement on front; keep UPC barcode above this curve |
How do CPG snack brands structure front-panel hierarchy for 3-second shelf scans?
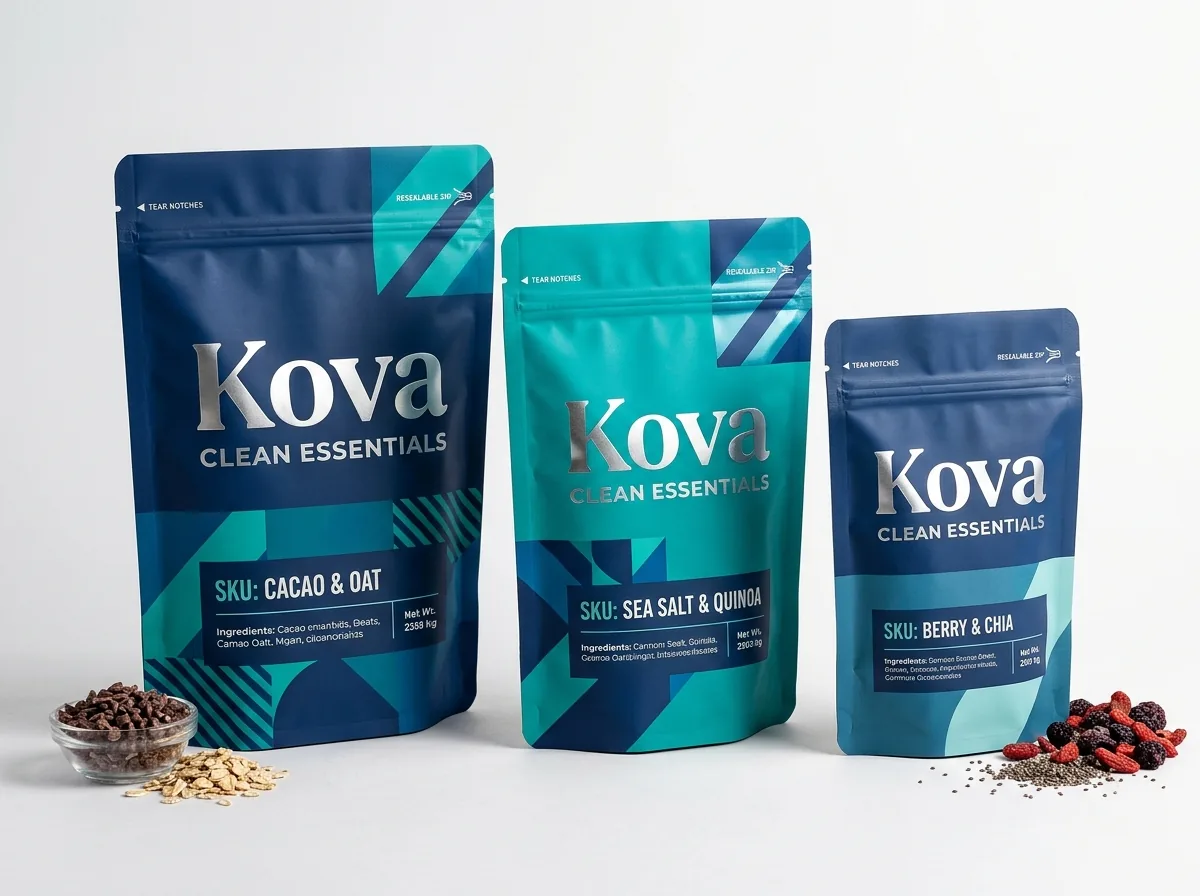
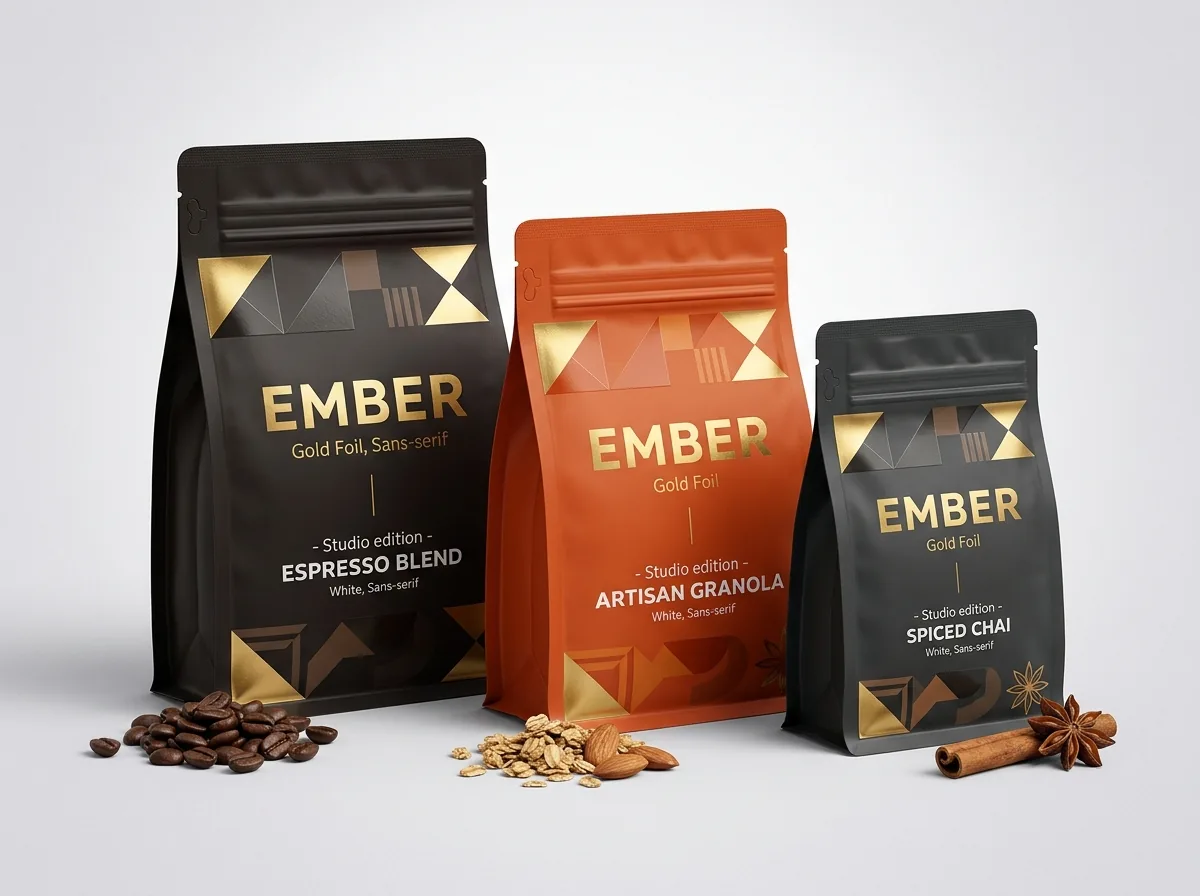
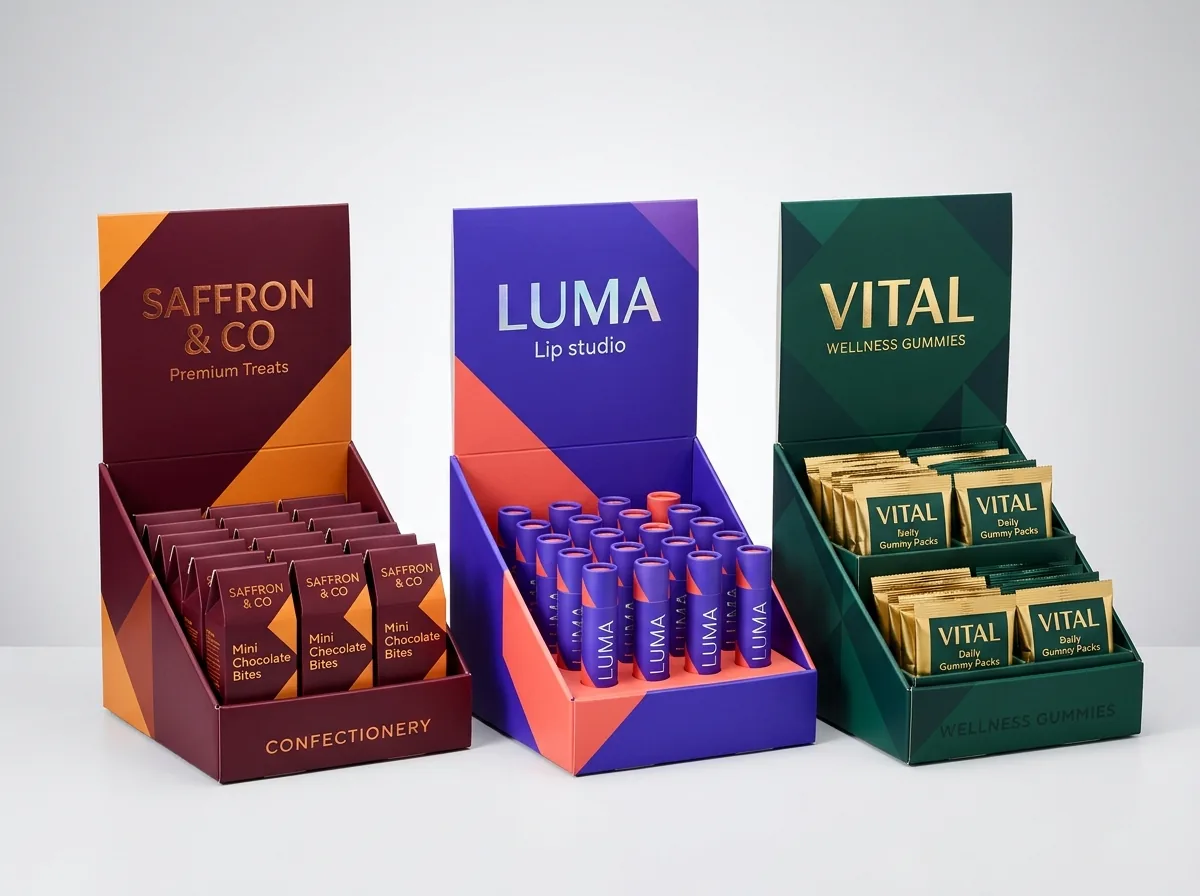
Grocery shoppers scan the snack aisle in less than three seconds. If a buyer cannot immediately tell what the snack is, what flavor it is, and why it fits their diet, their eyes move to the next shelf tag. High-converting snack pouches organize the front panel into four clear visual beats from top to bottom: Brand Mark, Product Format (such as 'Sprouted Almond Granola' or 'Grass-Fed Beef Biltong'), Flavor Band ('Maple Sea Salt' or 'Smoky Habanero'), and 1 to 3 Nutritional Callout Badges ('12g Protein · 2g Sugar · Grain-Free'). Contrast is your strongest shelf tool. Pairing a low-glare matte or velvety soft-touch background with Spot UV gloss highlights over the snack photography or metallic foil stamping on the protein badge gives your pouch tactile contrast without cluttering the layout. If your snacks also ship in retail 6-packs or 12-packs, mirror that exact flavor color band onto the front lip of your custom counter display boxes.
Know your size? Compare pricing across up to 3 quantities.
Request a Quote →Where should the FDA Nutrition Facts panel and UPC barcode sit on the back panel?
The back panel of a snack pouch carries the mandatory FDA Nutrition Facts table, ingredient list, allergen 'Contains' statement, distributed-by address, lot/expiration code box and retail UPC-A barcode. The number-one technical error on stand-up snack pouches is placing the UPC barcode or lot-code stamp box in the bottom 1.5 inches of the back panel. Once the bottom gusset opens and fills with nuts or chips, that lower edge curves sharply inward and creases at the K-seal corners, preventing supermarket flatbed scanners from reading the vertical barcode bars. Instead, position your UPC barcode (printed in high-contrast black bars on an opaque white box at least 1.25 × 0.85 inches) in the flat middle-right or upper-right quadrant of the back panel, at least 1.5 inches above the bottom edge. Leave a clean 1.5 × 0.6 inch light-colored rectangle near the top back header or flat middle zone where your co-packer's thermal-transfer or inkjet coder can stamp the 'Best By' date and batch number on custom zipper pouches.
- UPC-A barcode placement: flat middle of back panel, at least 1.5 inches above the bottom gusset edge.
- Barcode contrast: 100% black bars on an opaque white background (never metallic silver or red bars).
- Lot & expiration date box: unvarnished or high-contrast 1.5 × 0.6 in zone for co-packer date coding.
What drives the cost of custom snack pouches and how do I combine flavor SKUs?
Four factors drive the unit cost of custom printed snack pouches: outer bag dimensions (a 4 × 6 inch single-serve packet uses less than half the film area of an 8.5 × 13 × 4.5 inch club bag), barrier laminate structure (metallized, aluminum foil or kraft vs clear film), converting add-ons (crumb-resistant zippers and sombrero hang holes), and total run quantity. Because snack companies almost always sell multiple flavors (such as Classic Sea Salt, Mesquite BBQ, Sour Cream & Chive and Spicy Sriracha), the smartest way to reduce your per-bag price is to keep every SKU on the exact same Width × Height × Bottom Gusset and barrier film. Select 2 designs or 3+ designs in Step 2 of our quote form and list your quantity per flavor in the notes. You can also test-launch new seasonal flavors by applying custom food labels and custom roll labels onto unprinted or master-branded pouches before scaling to full edge-to-edge print.
- Standardize one master dieline across all flavors to combine total pouch volume in one production run.
- Enter up to 3 quantities in Step 1 of the quote form to compare unit price breaks side by side.
- Zero die or plate charges on every order, plus 10% off your first order and a US competitor price beat.
What are the most common custom snack pouch design and prepress mistakes?
Most snack artwork delays come from ignoring how a flat dieline folds and hangs once filled on a co-packing line. Avoid these five mistakes
- Placing the brand logo within 1.25 inches of the top edge where the sombrero hang hole and pegboard hook cover the text.
- Putting the UPC barcode in the bottom 1.25 inches of the back panel where the expanding bottom gusset warps the bars.
- Printing colored artwork on clear or metallic film without specifying an opaque white ink underbase layer.
- Designing a different pouch width for every snack flavor, which prevents grouping your SKUs into one combined print run.
- Forgetting to leave a high-contrast date-code box where the co-packer stamps the lot number and expiration date.
Packaging for this
Ready to order snack pouches? Compare up to 3 quantities with a free 3D mockup.
Request a Quote →Questions about snack pouches
Can I combine 4 or 5 snack flavors in a single custom pouch order?
Yes. As long as your Sea Salt, BBQ, Cheddar and Jalapeno snack pouches share the exact same outer Width × Height × Bottom Gusset and barrier film, select 2 designs or 3+ designs in Step 2 of the quote form and list your quantity per flavor.
Do you charge extra for sombrero hang holes, tear notches or custom dielines?
CubitPack never charges die or printing plate fees, and every order includes a free custom dieline, free artwork prepress check, digital proof and 3D mockup before you pay.
What file format should I send for my custom snack pouch artwork?
Send vector PDF or Adobe Illustrator (.ai) files with fonts outlined, images embedded at 300 DPI, 0.125 inch bleed outside the cut lines, and separate spot layers for any white ink underbase, clear window knockout or foil stamping.
Can you print an AI-generated snack mascot or illustration on my pouches?
Yes. Select AI image in Step 2 of the quote form and upload your artwork. Our prepress team upscales, color-corrects and rebuilds typography and nutrition panels in crisp vector format on your snack pouch dieline at no extra charge.
How do you make sure my flavor colors match across pouches and display boxes?
We print both full-color CMYK and guaranteed Pantone spot colors. If you order custom snack pouches alongside custom counter display boxes or snack cartons, our production team matches your Pantone swatches across both substrates.
How fast can I receive custom printed snack pouches for a retail reset?
Standard production takes 10 to 14 business days after you approve your free digital proof and 3D mockup, and rush production in 4 to 5 business days is quoted per order. Standard shipping to all 50 US states is free.
Still have a question? Ask a packaging specialist.
Request a Quote →Request your snack pouches quote
Tell us your size and quantities, and one dedicated account manager prepares pricing for each tier.
- Free design & AI-to-print studio + 3D mockup
- No die or plate charges · 4–5 day rush available
- Free shipping to all 50 states
- 10% off your first order
The dieline clearance zones, hang-hole dimensions and barcode placement rules in this guide come from retail pegboard hardware specs, GS1 barcode standards and CubitPack prepress checklists, verified by a packaging specialist. Spot something off? Tell us and we will fix it.
Sources
What changed
- October 22, 2026: First published.
- October 22, 2026: Updated specifications, terminology, and verified source links.
More guides
New packaging guides by email
Sizes, materials and design tips. Unsubscribe anytime.