
How do I design custom drink spout pouches for freezer cocktails and juices?
Short answer: Keep logos and text at least 0.625 inches below the top spout weld and 0.375 inches inside the wide liquid side seals, place UPC barcodes horizontally on the upper flat panel above the bottom gusset curve, and specify a selective white ink underbase when designing custom drink spout pouches.
On this page
- How much clearance do I need around the spout weld, side seals and bottom gusset
- Should I choose a clear slush window, metallic shine or opaque foil barrier
- How do white ink underbases and matte finishes work on drink pouches
- What affects the price of custom printed drink spout pouches
- How do I prepare my print file or AI concept for a 3D drink pouch proof
- Common mistakes
- FAQs
Request a custom quoteFree dieline & 3D mockup
Designing artwork for a flexible drink spout pouch requires planning around three physical transformations that never happen on a rigid glass bottle or aluminum can. First, the rigid plastic spout is thermally welded into the top or corner seam with a ribbed heat-sealing jaw that indents a 0.625 inch collar around the canoe flange. Second, once the pouch is filled with 8 to 32 fluid ounces of liquid, the folded bottom gusset expands into a round oval base that pulls the lower third of the front and back panels into a steep curve. Third, beverage pouches live in wet environments - ice chests, commercial refrigerators and home freezers - where surface labels peel off. Reverse-printing your CMYK and Pantone artwork beneath an outer matte, soft-touch or gloss barrier film keeps colors waterproof while letting clear windows showcase frozen slush or cold-pressed juice.
How much clearance do I need around the spout weld, side seals and bottom gusset?
Every liquid spout pouch dieline has three structural no-text zones where heat-sealing jaws or liquid expansion distort flat graphics. Along the left and right edges sit the vertical liquid side seals, which measure 0.25 to 0.375 inches (6 mm to 10 mm) wide. Extending your background color 0.125 inches past the outer cut line as bleed is mandatory so no unprinted film strip shows at the edge, but all ingredient text, ABV disclosures and net-weight lines must stay at least 0.125 inches inside the inner seal line. At the top center (or 45-degree corner), the rigid canoe fitment is fused between the front and back films under high heat and pressure. That weld leaves a horizontal ribbed texture across a 1.5 inch wide by 0.625 inch tall boss zone right below the spout neck. Finally, when liquid fills the pouch, the bottom gusset pushes outward and curves the bottom 1.5 to 2.25 inches of the front and back panels. When you order custom printed beverage pouches, our prepress team maps all three zones onto your free 3D mockup before you pay.
- Spout weld boss zone: keep headlines and logos at least 0.625 inches below the top seal around the spout collar.
- Liquid side seal margin: allow 0.25 to 0.375 inches for the left and right heat seals plus 0.125 inches inner safe margin.
- Upper flat billboard zone: place your primary brand mark and flavor name in the upper-middle 50% of the pouch face.
- Barcode placement: position the UPC barcode on the upper half of the back panel so the lower gusset curve never warps the bars.
Should I choose a clear slush window, metallic shine or opaque foil barrier?
The film stack you pick controls both how your beverage looks in the cooler and how long its flavor and color last. Because beverage pouches are reverse-printed on the inside of the outer PET layer and laminated to middle barrier and inner food-contact sealant layers, water, ice and condensation can never touch the ink. If you sell vibrant freeze-at-home margaritas, strawberry daiquiris, lemonades or kids fruit punches that turn over quickly, a clear multi-layer liquid barrier film allows you to leave an unprinted window - such as a fruit silhouette, a side ounce-graduation strip or a frosted bottom band - so shoppers see the real slush texture inside. By contrast, if your drink contains oxygen-sensitive cold-pressed greens, cold-brew coffee or shelf-stable dairy shakes, an aluminum foil or metallized barrier layer blocks 100% of UV light and oxygen ingress.
| Visual & barrier goal | Recommended film & ink setup | Best beverage applications |
|---|---|---|
| See the liquid or frozen slush | Clear high-barrier film + selective white ink underbase | Frozen cocktails, lemonades, fruit punches, hydration gels |
| Maximum UV & oxygen shelf life | Opaque aluminum foil middle layer + full white underbase | Cold-pressed juices, cold-brew coffee, protein shakes |
| Metallic cans or foil highlights | Metallized film with knockout areas free of white ink | Energy shots, hard seltzers, festival spirit pouches |
| Wet-hand grip in ice buckets | Matte or soft-touch outer lamination over reverse print | Poolside wine spritzers, boat coolers, sports packs |
| Color-coded multi-flavor line | Shared pouch dieline + matched cap and Pantone band | 3 to 6 flavor families sharing one production run |
How do white ink underbases and matte finishes work on drink pouches?
Standard CMYK printing inks are naturally translucent - they rely on a bright white surface underneath to reflect light back to the eye. When we print on clear barrier film (for window pouches) or silver metallized film, the press lays down a dedicated opaque white ink layer behind your artwork. By controlling where that white plate prints on your dieline, you get three distinct effects on a single pouch at zero extra plate charge. Everywhere you place a 100% white underbase, your brand colors and nutrition text print solid and vivid. Everywhere you drop out both the white ink and CMYK on a clear film, you create a crystal-clear viewing window into the beverage. And if you print translucent yellow, magenta or cyan directly over un-whited metallic film, that area gleams like brushed gold, copper or anodized aluminum. Pair that ink layer with a matte or soft-touch outer finish so condensation beads up without making the pouch slippery, or add custom juice boxes and custom counter display boxes for retail shelf sets.
Know your size? Compare pricing across up to 3 quantities.
Request a Quote →What affects the price of custom printed drink spout pouches?
Four main variables determine the unit price on a custom drink spout pouch quote: total pouch surface area (Width × Height × Gusset), spout fitment specifications, barrier laminate structure, and total run quantity across your flavors. A 64 oz handled pitcher pouch uses roughly four times the barrier film of a 3.4 oz energy gel pouch and requires a wider 16 mm corner spout weld. The smartest way to lower your cost per pouch when launching multiple beverage flavors - such as Lime Margarita, Strawberry Daiquiri and Mango Paloma - is to standardize every SKU onto the exact same outer dimensions, film stack and spout fitment. When all flavors share one physical pouch setup, we group your total quantity together for volume pricing breaks. Remember that CubitPack never charges die or plate fees, gives 10% off your first order, and beats any written US competitor quote for the same specs.
- Keep one pouch size across all flavors so your entire order combines toward higher quantity price breaks.
- Use one standard screw cap color (such as crisp white or matte black) across your flavor family.
- Build clear windows directly into the printed film rather than applying separate front and back labels.
- Enter three quantity tiers (for example 1,000, 2,500 and 5,000) in Step 1 of the quote form to see where unit cost drops.
How do I prepare my print file or AI concept for a 3D drink pouch proof?
You do not need a finished factory dieline before requesting a quote. If your designer already has artwork in Adobe Illustrator or PDF format, upload it in Step 2 of the quote form with fonts outlined, images embedded at 300 DPI and Pantone spot colors named. Our prepress engineers will place your graphics onto the exact pouch dieline - complete with the spout canoe weld cutout, bottom gusset fold lines and rounded corner path - for free. If you only have a bottle label, a sketch or an AI-generated packaging concept, select Free design help or AI image in Step 2. We rebuild AI concepts into clean vector print layers with proper white-ink masks and send both a flat digital proof and a rotatable 3D mockup for your approval before you pay a cent.
- Vector files (.AI.EPS.PDF) with all typography converted to outlines and 0.125 in bleed outside the cut line.
- Separate spot-color layer named 'WHITE_INK' for clear or metallic films (or let our prepress team build it for free).
- Keep regulatory text, TTB alcohol statements and nutrition panels at 6 pt or larger for crisp legibility.
- Approve your digital proof and 3D mockup before payment; standard turnaround is 10 to 14 business days (rush 4 to 5).
What are the most common drink spout pouch artwork and design mistakes?
Most liquid pouch printing errors happen when designers treat a flexible stand-up bag like a flat postcard. Check these five details before approving your proof
- Placing the brand logo or flavor headline within 0.625 inches of the top spout, where the canoe heat-weld ribs press into the film.
- Forgetting to specify a white ink underbase behind pastel colors and small text on clear or metallized barrier films.
- Putting the UPC barcode vertically near the bottom gusset fold, where liquid weight curves the pouch and prevents grocery scanners from reading it.
- Designing a clear window all the way into the top 15% headspace of a pouch, which makes a properly filled drink bag look underfilled on the shelf.
- Leaving sharp 90-degree corners on the outer cut line instead of specifying smooth rounded die-cut corners for cooler and handheld comfort.
Packaging for this
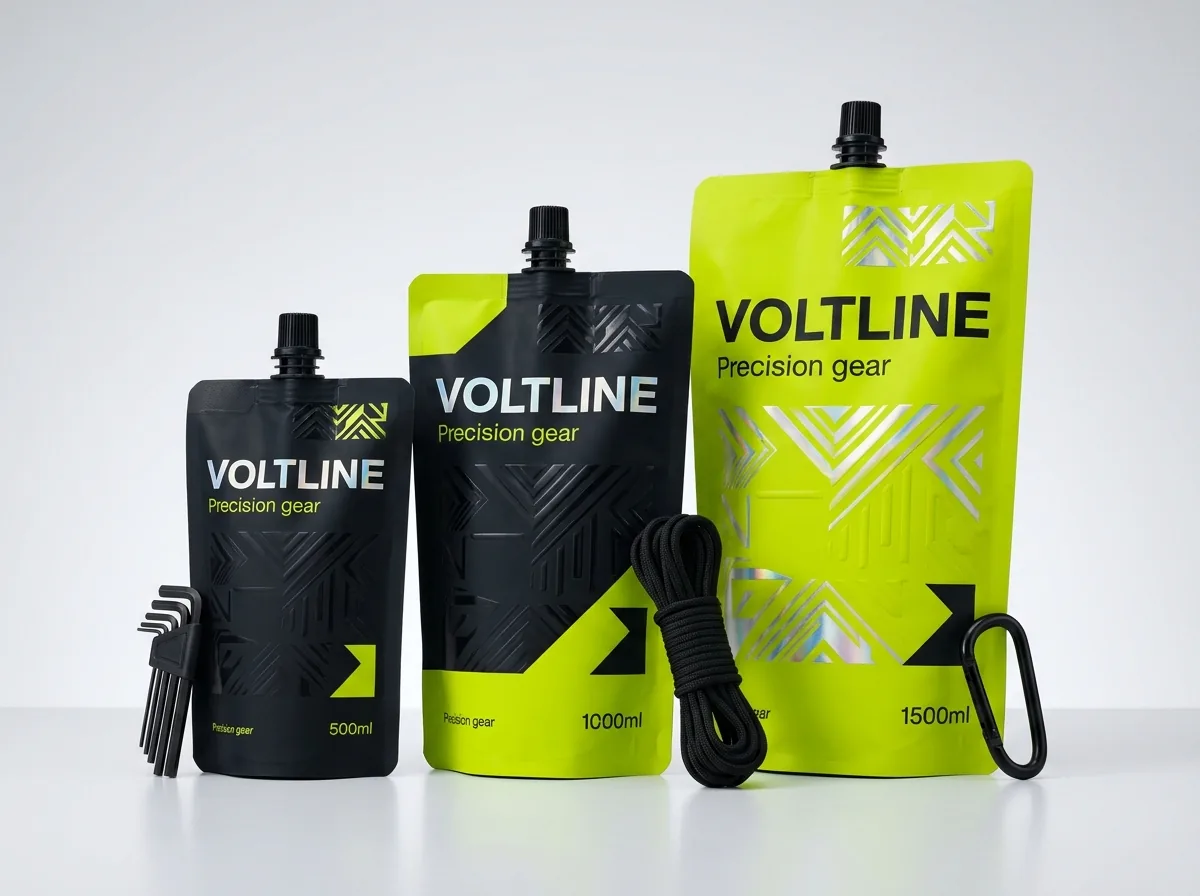
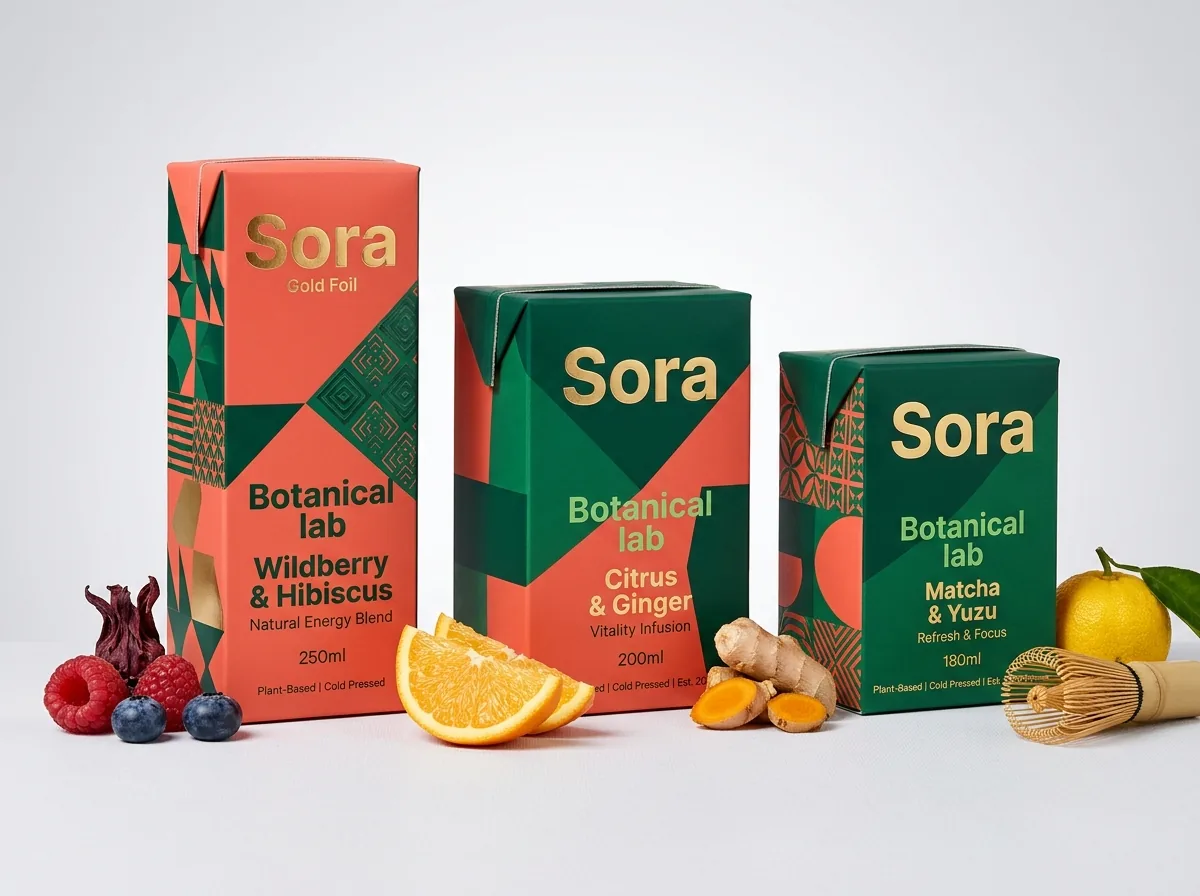
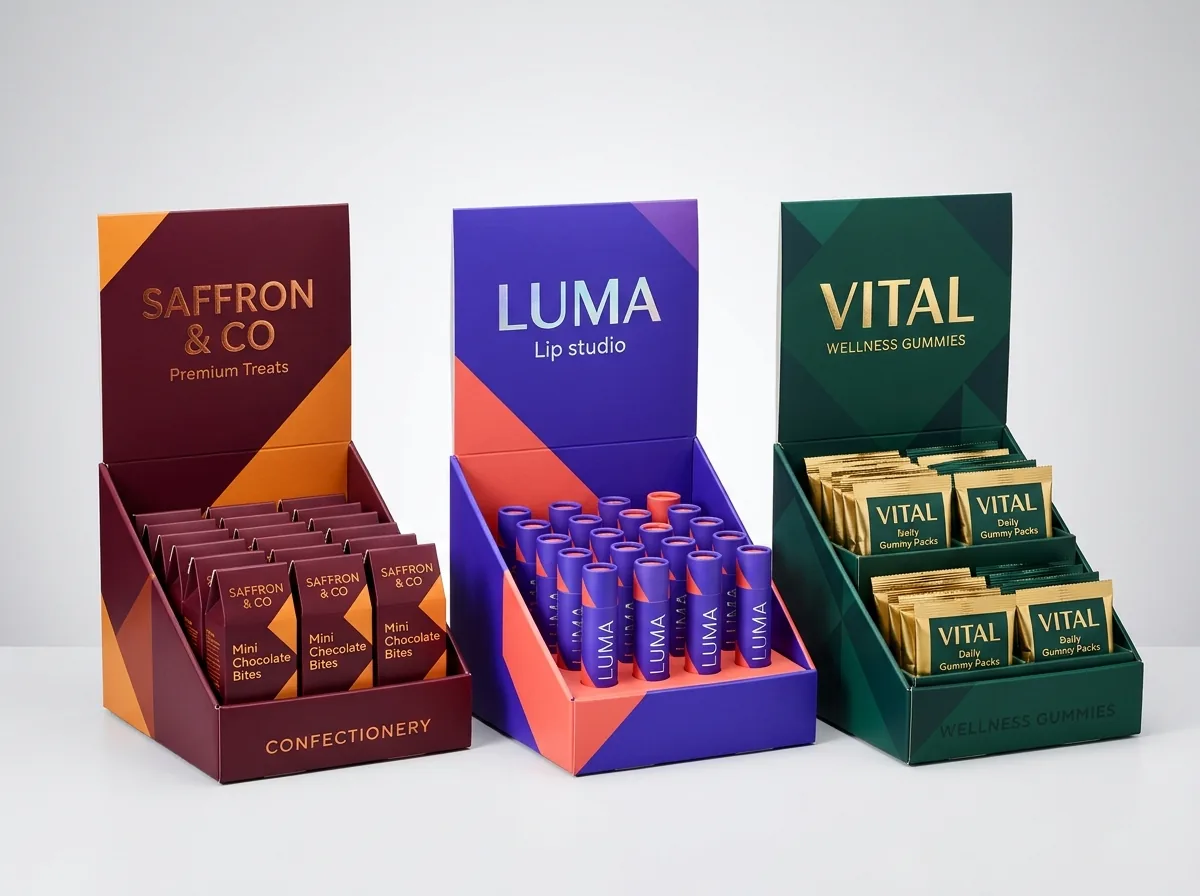
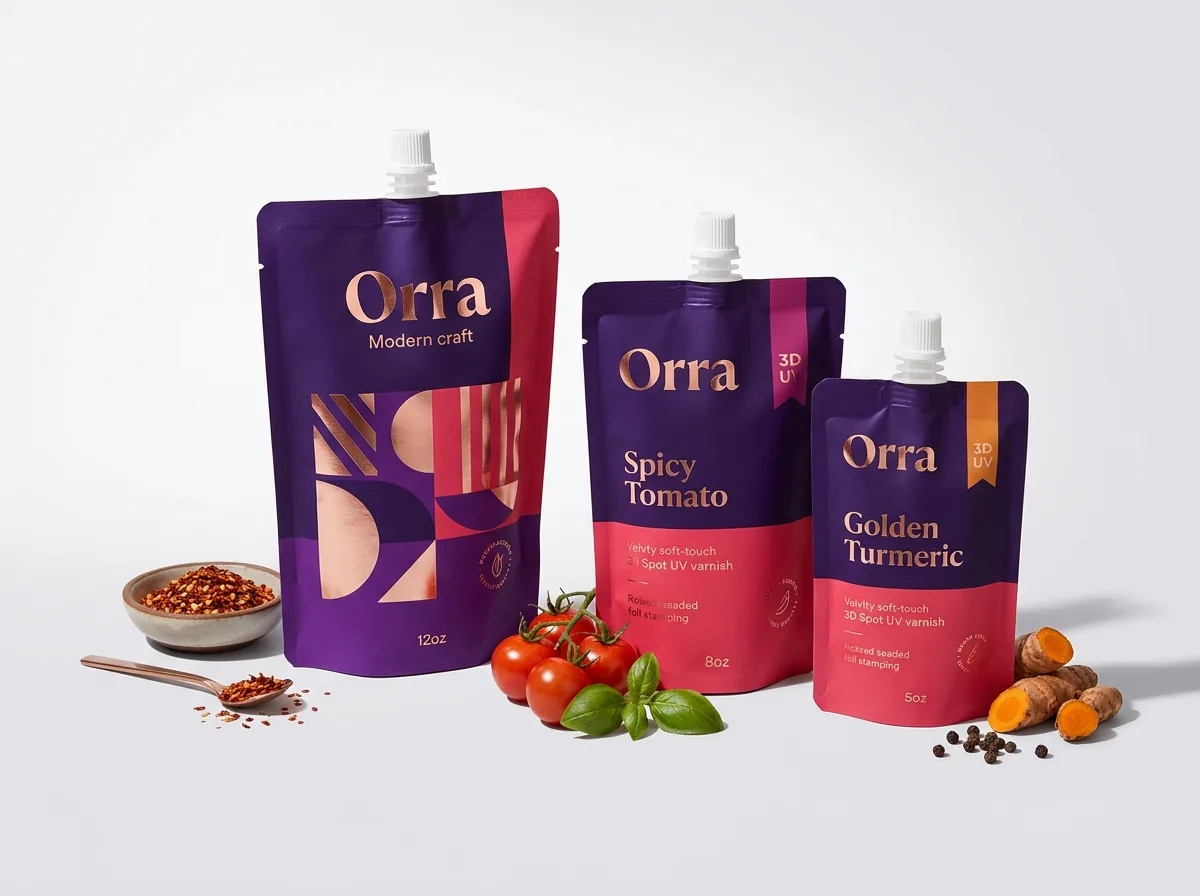
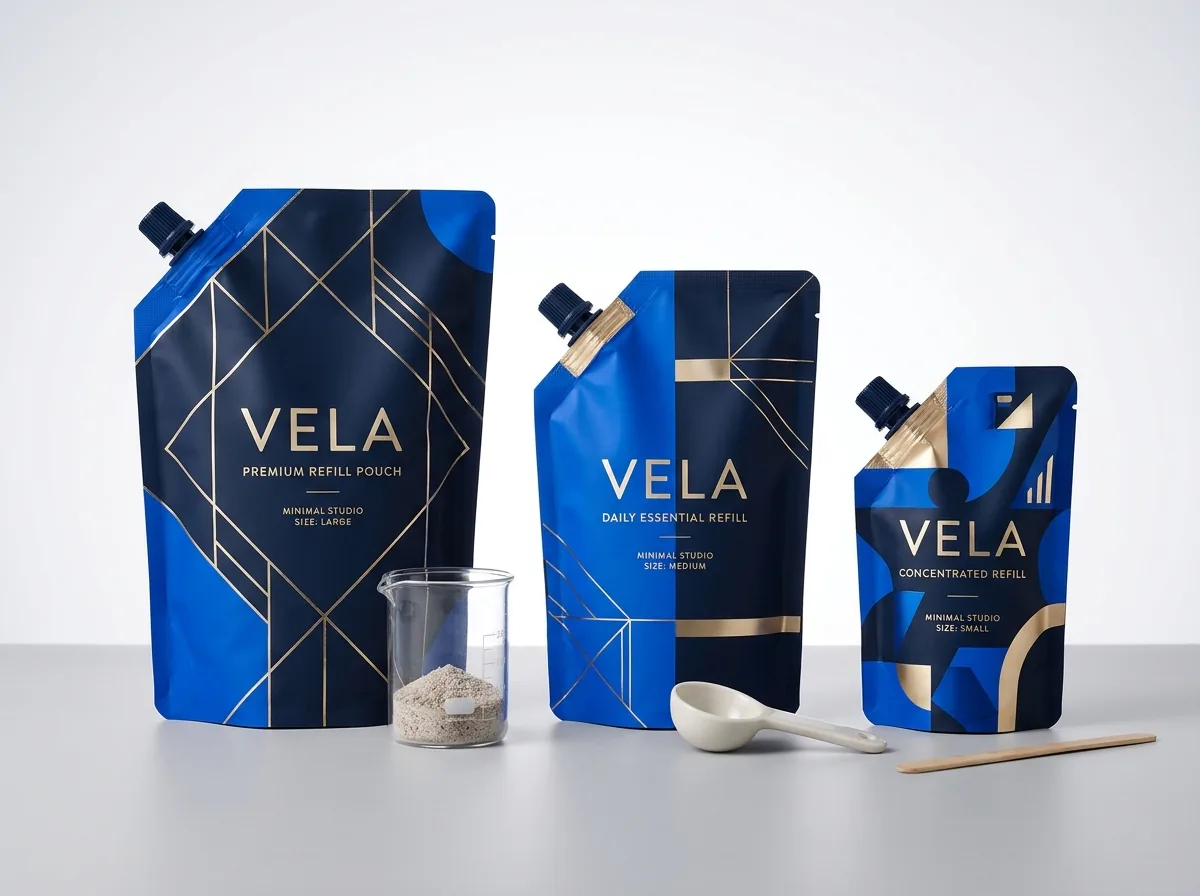
Ready to order drink spout pouches? Compare up to 3 quantities with a free 3D mockup.
Request a Quote →Questions about drink spout pouches
Do I pay extra printing plate charges if I have 4 different drink flavors?
No. CubitPack never charges die or plate fees. You can split your order across multiple beverage flavors in Step 2 of the quote form, and our prepress team sets up each flavor's digital proof and 3D mockup for free.
Will condensation or ice water ruin the printing on my drink spout pouch?
No. Unlike paper labels stuck to the outside of a blank bag, custom drink spout pouches are reverse-printed on the inside of the outer barrier film layer and laminated. Ice water, condensation and freezer frost never touch the ink.
Where should I put the clear window on a drink or slush pouch?
Place your clear viewing window in the middle or lower-middle third of the front panel (at least 0.5 inches inside the side seals and below the top 15% headspace line) so the window always looks 100% full of liquid or frozen slush.
Can you print on the bottom gusset of a custom drink spout pouch?
Yes, the folded bottom gusset can be printed with solid brand colors, batch lot boxes or a clear bottom window so customers can check fruit settling. Keep essential retail text on the front and back faces where it is visible upright.
Can I turn an AI-generated drink pouch image into a real printable file?
Yes. Upload your AI concept in Step 2 of the quote form and pick AI image or Free design help. Our packaging designers rebuild the layout into print-ready vector artwork with proper spout clearance, white ink masks and Pantone colors.
How do I check how my artwork wraps around the filled pouch before paying?
Every CubitPack quote includes a free 2D digital dieline proof and an interactive 3D mockup before payment. If you want to test physical film feel and liquid fill in your hands first, we also offer a $50 sample kit or a paid printed sample credited toward your order.
Still have a question? Ask a packaging specialist.
Request a Quote →Request your drink spout pouches quote
Tell us your size and quantities, and one dedicated account manager prepares pricing for each tier.
- Free design & AI-to-print studio + 3D mockup
- No die or plate charges · 4–5 day rush available
- Free shipping to all 50 states
- 10% off your first order
The prepress clearance margins and barrier film recommendations in this guide follow flexible liquid packaging standards (6 mm to 10 mm liquid side seals, canoe spout boss clearance and reverse-printed laminate construction) alongside CubitPack's decided offers. Reviewed by a packaging specialist. Spot an error? Tell us and we will fix it.
Sources
What changed
- October 22, 2026: First published.
- October 22, 2026: Updated specifications, terminology, and verified source links.
More guides
New packaging guides by email
Sizes, materials and design tips. Unsubscribe anytime.