
How do I set up artwork, protective coatings, and foil finishes on a product box dieline?
Short answer: To prepare artwork for custom product boxes, place graphics on a separate layer beneath the vector dieline, extend background colors 1/8 inch (3.175 mm) past every cut edge for bleed, keep logos and text 1/8 inch inside all fold creases, leave the glue tab unprinted, and supply foil or spot UV as 100% vector spot layers.
On this page
- How do I read the panels and color-coded lines on a product box dieline
- Should I choose aqueous coating, gloss, matte, or soft-touch lamination
- How do I set up metallic foil stamping, embossing, and spot UV layers
- Where should I place the UPC barcode and inside printing on a product box
- What is the 5-step prepress checklist before approving my product box
- Common mistakes
- FAQs
Request a custom quoteFree dieline & 3D mockup
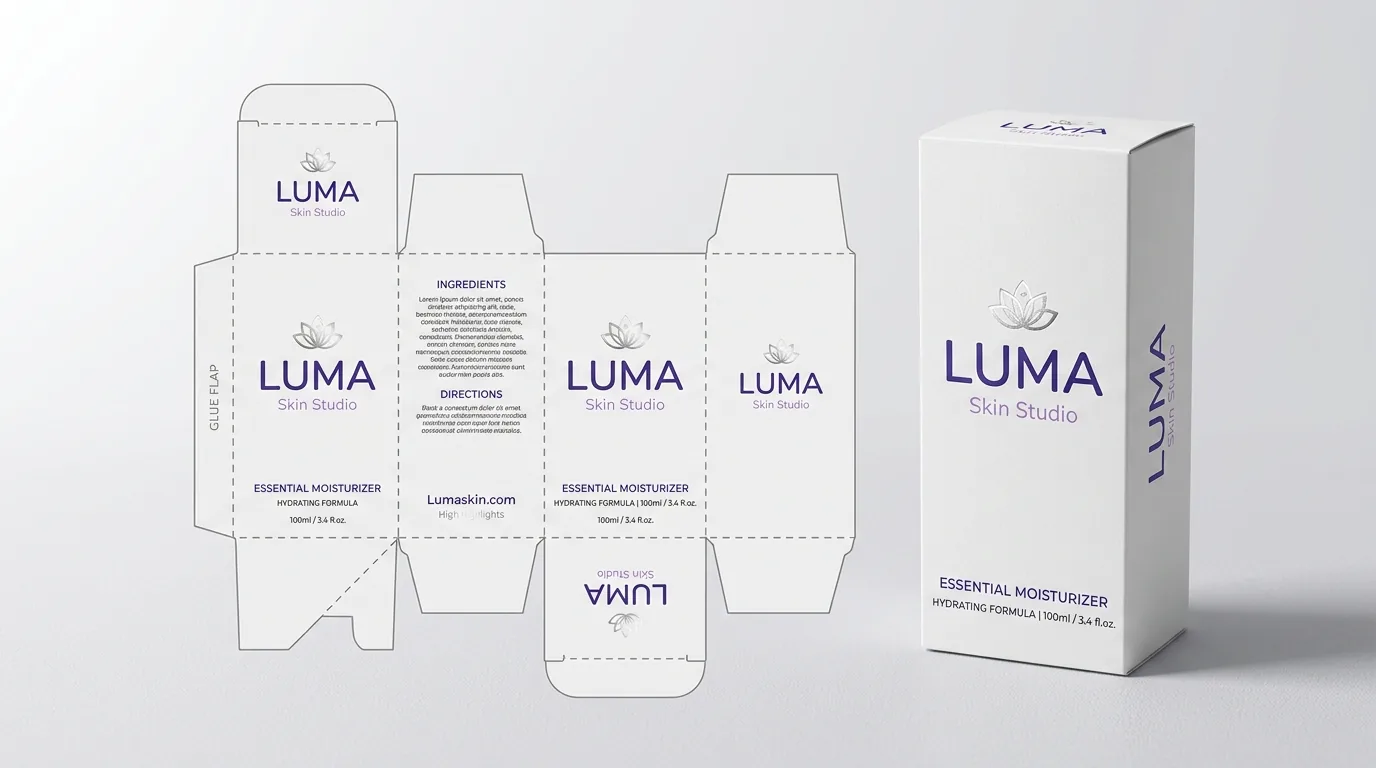
A flat product box dieline is the 2D engineering map that guides our offset printing presses, foil-stamping dies, steel-rule die-cutters, and high-speed folder-gluers. When viewing a standard 4-panel folding carton blank from the outside printed face (left to right), the vertical body panels run Left Side (W), Front Panel (L), Right Side (W), Back Panel (L), and Side Glue Tab, while the top lid flap and tuck tab extend upward and the bottom closure flaps extend downward. Because paperboard shifts by up to ±1/32 inch during high-speed cutting and creasing, extending background colors 1/8 inch (0.125 in) outside the cut line and keeping essential type 1/8 inch inside every fold score guarantees clean edges with zero white paper flashes. Pairing your artwork with a protective overcoat, aqueous, gloss film, matte film, or velvet soft-touch lamination, prevents score cracking on dark colors and sets the stage for metallic foil stamping, embossing, or raised spot UV.
How do I read the panels and color-coded lines on a product box dieline?
Every flat template we generate for product boxes is delivered as a scale 1:1 vector PDF or Adobe Illustrator file with locked structural layers. Here is what each panel and line color controls on press
- Solid Cut Line (Trim Edge): Marks where steel cutting blades punch through the 16 pt to 24 pt paperboard or E-flute sheet to separate the carton blank from the surrounding press sheet.
- Dashed Fold / Crease Line (Score Rule): Marks where rounded creasing rules compress a fold channel into the paperboard fibers so the 4 body panels, dust flaps, and tuck flaps bend cleanly at 90 degrees.
- Outer Bleed Line (+1/8 in / 3.175 mm outside cut): Extend all background colors, flood coats, patterns, and photos all the way out to the bleed line so normal die-cutting tolerance never leaves an unprinted white hairline along the carton rim.
- Inner Safe Zone (-1/8 in / 3.175 mm inside cut and crease): Keep brand logos, product titles, ingredient tables, regulatory warnings, and UPC barcodes at least 1/8 inch inside every cut and fold line so text never wraps around a corner edge.
- Glue-Free Manufacturer Tab (0.5–0.75 in wide): The tapered vertical flap on the far left or right edge bonds inside the opposite wall on the folder-gluer. Leave this zone free of ink, varnish, and film lamination so cold-set PVA adhesive penetrates the raw paper fibers.
Should I choose aqueous coating, gloss, matte, or soft-touch lamination?
Uncoated ink on smooth white C1S paperboard can scuff during transit or crack along 90-degree fold creases if you print a heavy dark flood coat. Adding an overprint coating or BOPP film lamination protects your ink and defines how your product box feels in the shopper's hand
| Protective finish | Visual sheen & hand feel | Fold-crease crack resistance | Best retail pairing |
|---|---|---|---|
| Matte or gloss aqueous coating | Satin low-glare or clean commercial shine · Smooth paper feel | Good on light & medium ink coverage | Everyday supplements, teas, food cartons, high-volume retail SKUs |
| Gloss BOPP film lamination | High-mirror vibrant reflection · Slick moisture-resistant skin | Excellent (flexible film bridges the fold score) | Full-bleed food photography, vibrant candy & toy boxes, bath products |
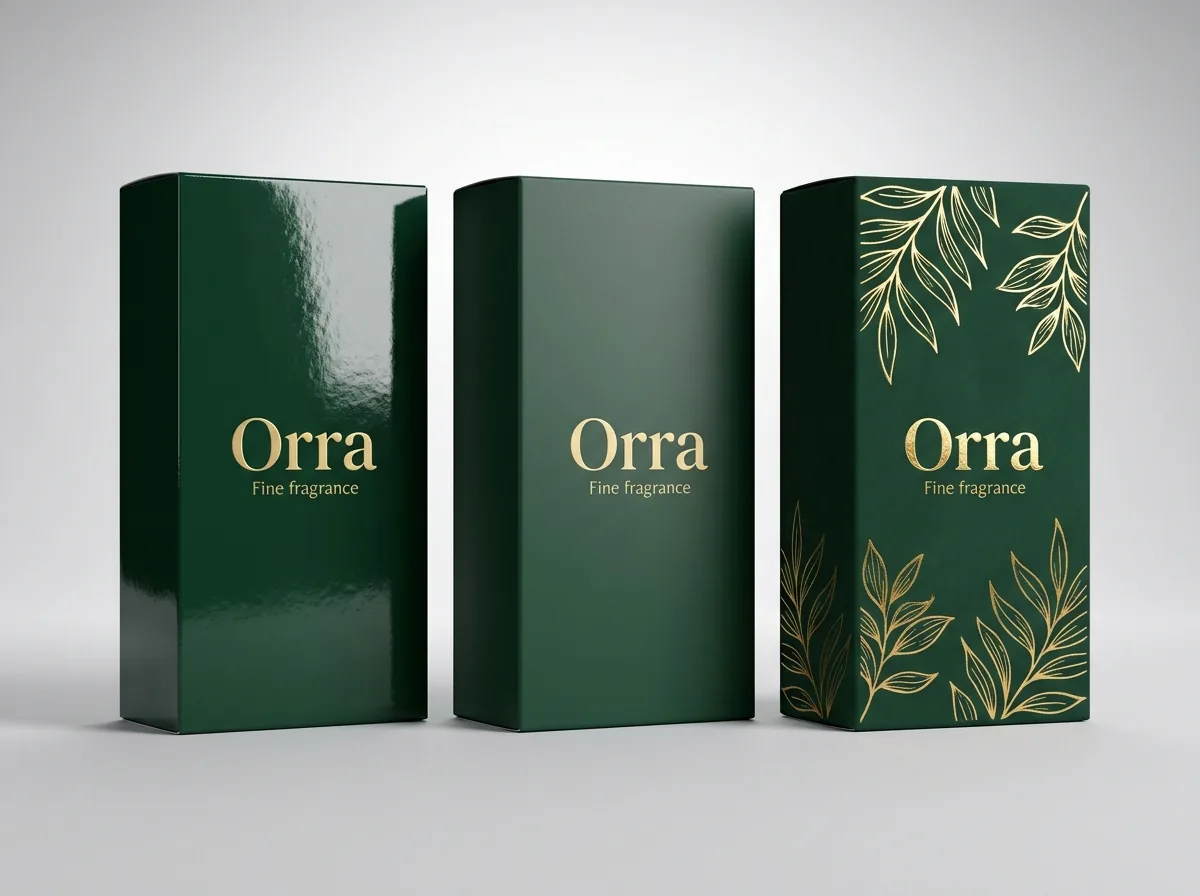
| Matte BOPP film lamination | Zero-glare architectural finish · Silky smooth surface | Excellent on dark flood coats (black, navy, forest green) | Modern wellness, electronics, minimalist lifestyle & candle cartons |
| Soft-touch (velvet) lamination | Ultra-matte muted finish · Warm rose-petal velvet texture | Superior crack & fingerprint resistance | Prestige skincare, serums, fine fragrance, jewelry, contrast w/ spot UV |
How do I set up metallic foil stamping, embossing, and spot UV layers?
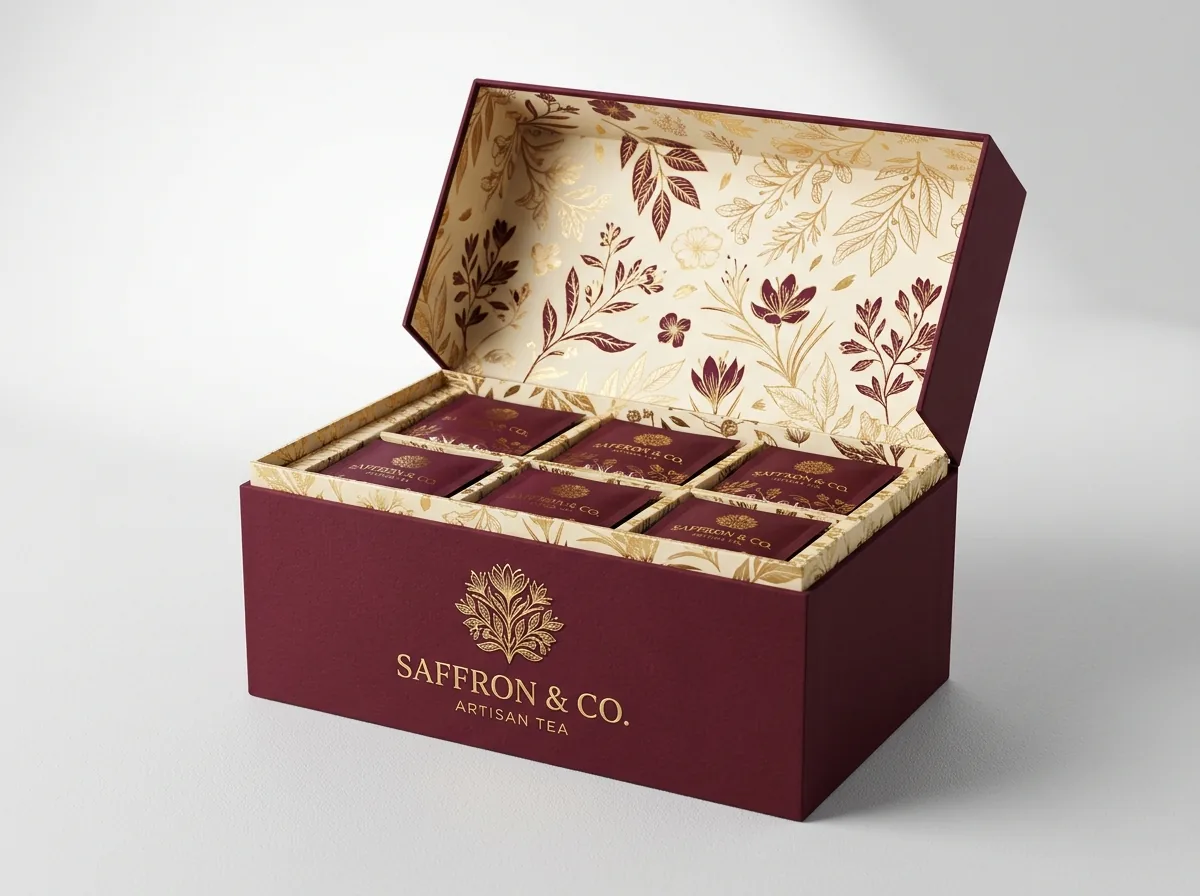
Decorative embellishments turn a flat paperboard panel into a dimensional focal point that catches retail spotlighting. Whether you are designing custom cosmetic boxes, custom candle boxes, or custom jewelry boxes, follow these vector prepress rules for special finishes
- 100% vector spot-color layers: Create a dedicated top layer in Adobe Illustrator for each special finish (named FOIL, EMBOSS, or SPOT_UV) using a 100% solid spot swatch set to Overprint Fill.
- Hot foil stamping (Gold, Silver, Rose Gold, Copper, Holographic): Keep minimum foil line thickness at 0.5 pt (0.18 mm) and leave at least 1.0 pt of open gap between parallel lines so heated metallic foil releases cleanly without bridging.
- Blind or registered embossing / debossing: Use a minimum 20 pt to 24 pt paperboard stock so the male and female brass dies can press a crisp 3D relief into the board fibers, and keep embossed shapes at least 3/16 inch (4.75 mm) away from any fold score.
- High-build spot UV over matte or soft-touch lamination: Pairing glossy spot UV over a zero-glare matte or soft-touch background creates dramatic light-on-dark tactile contrast for logos, botanical patterns, or monogram borders.
Know your size? Compare pricing across up to 3 quantities.
Request a Quote →Where should I place the UPC barcode and inside printing on a product box?
Two details that separate retail-ready national brand cartons from amateur packaging are scannable barcode placement and interior surprise-and-delight printing
- UPC-A and EAN-13 barcode placement: Place your retail barcode on the lower back panel or the bottom closure panel in 100% black ink on a high-contrast white or pale cream box (minimum 80% nominal magnification, 1.18 × 0.80 in) with a clear 1/8 inch quiet zone on both left and right sides.
- Two-sided (4/4) interior printing: Printing a contrasting Pantone flood coat, step-by-step usage routine, or QR code loyalty prompt on the inside top tuck flap and inner walls costs only pennies more per unit when run in a single two-sided press pass.
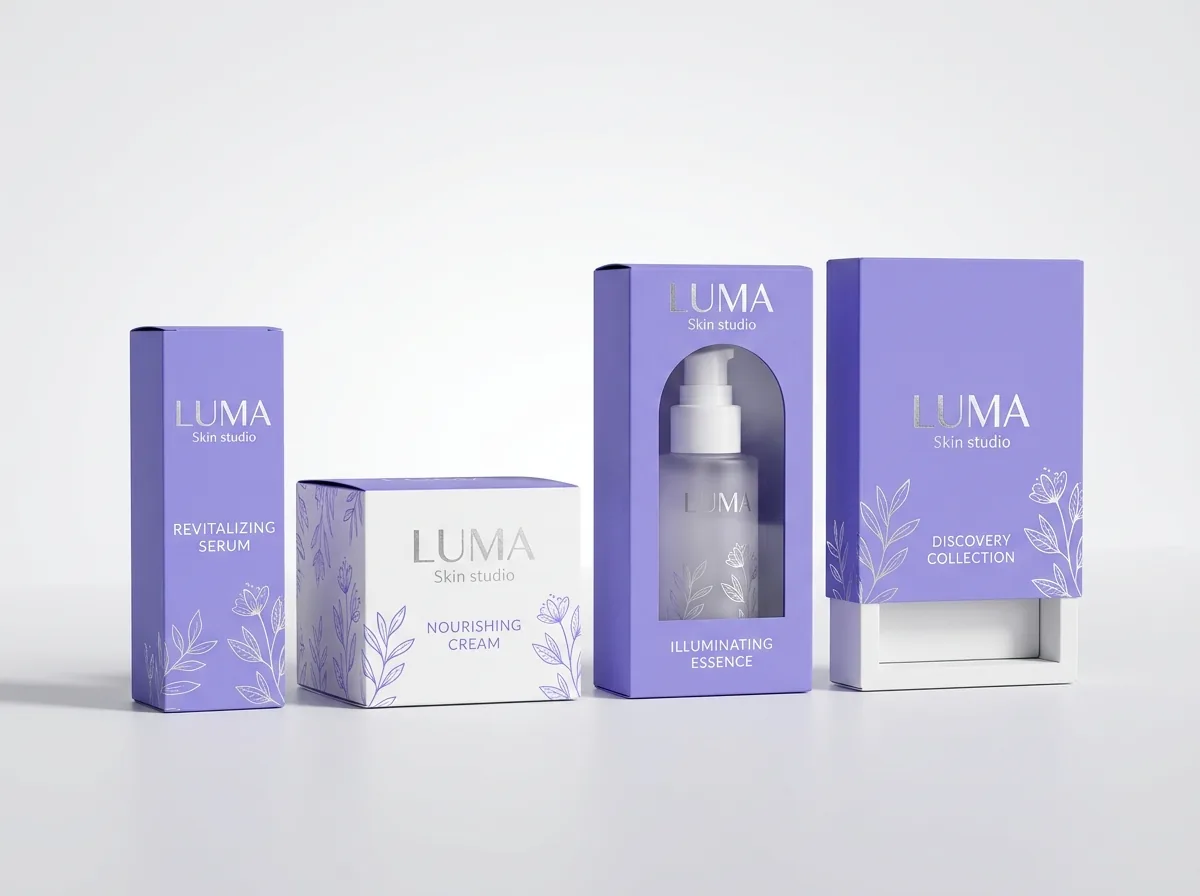
- Color consistency across carton styles: If you pair Straight Tuck End serum boxes with Auto-Lock Bottom jar boxes, as covered in straight tuck vs reverse tuck vs auto-lock product boxes and how to measure and choose board for product boxes, specify Pantone (PMS) spot inks for your primary brand color so every SKU matches under store lighting.
What is the 5-step prepress checklist before approving my product box?
When you request a quote on CubitPack (starting at 1,000 boxes, with 10–14 business day standard turnaround or 4–5 business day rush), our prepress team sends a custom 2D vector dieline and checks every layer of your file at no cost, with zero die or plate charges and free US shipping.
- 1. Document color mode set to CMYK (plus named Pantone PMS swatches if ordered), with linked photos at 300 DPI or higher.
- 2. All fonts converted to vector outlines (Create Outlines) so typography never shifts.
- 3. Background colors extended 1/8 inch (0.125 in) past every solid cut line, and all text kept 1/8 inch inside every dashed fold crease.
- 4. Side manufacturer glue tab and bottom auto-lock glue zones left unprinted and unlaminated.
- 5. Foil, emboss, and spot UV artwork placed on separate 100% vector spot layers with structural dieline layers left unlocked and unmerged.
What are the most common dieline and finish mistakes on product boxes?
Check your artwork file against these five prepress errors before sending your product box to production
- Stopping background colors right on the solid cut line with zero bleed, which leaves thin white paper edges if the steel die shifts by even 1/64 inch.
- Printing a dark solid black, navy, or burgundy ink flood on uncoated or aqueous-only paperboard without matte or soft-touch film lamination, causing white fiber cracking along the 90-degree fold creases.
- Placing a thin 1/16 inch border frame right next to the four panel creases, where normal creasing tolerance makes the border look visibly uneven from left to right.
- Flattening the vector dieline lines onto the CMYK artwork layer, which would cause the red and blue template lines to print directly onto your finished boxes.
- Printing a UPC barcode in metallic foil or low-contrast pastel ink, causing retail checkout scanners to reject the package.
Packaging for this
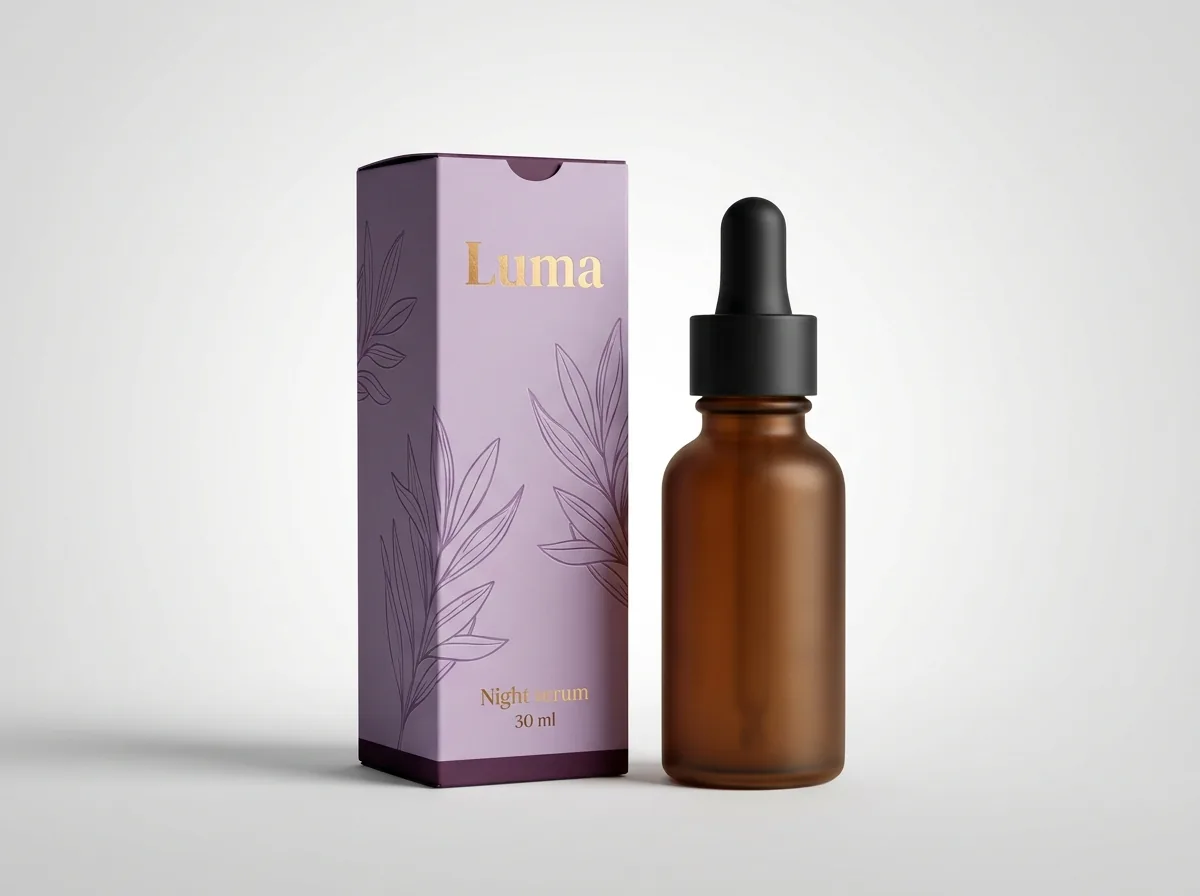
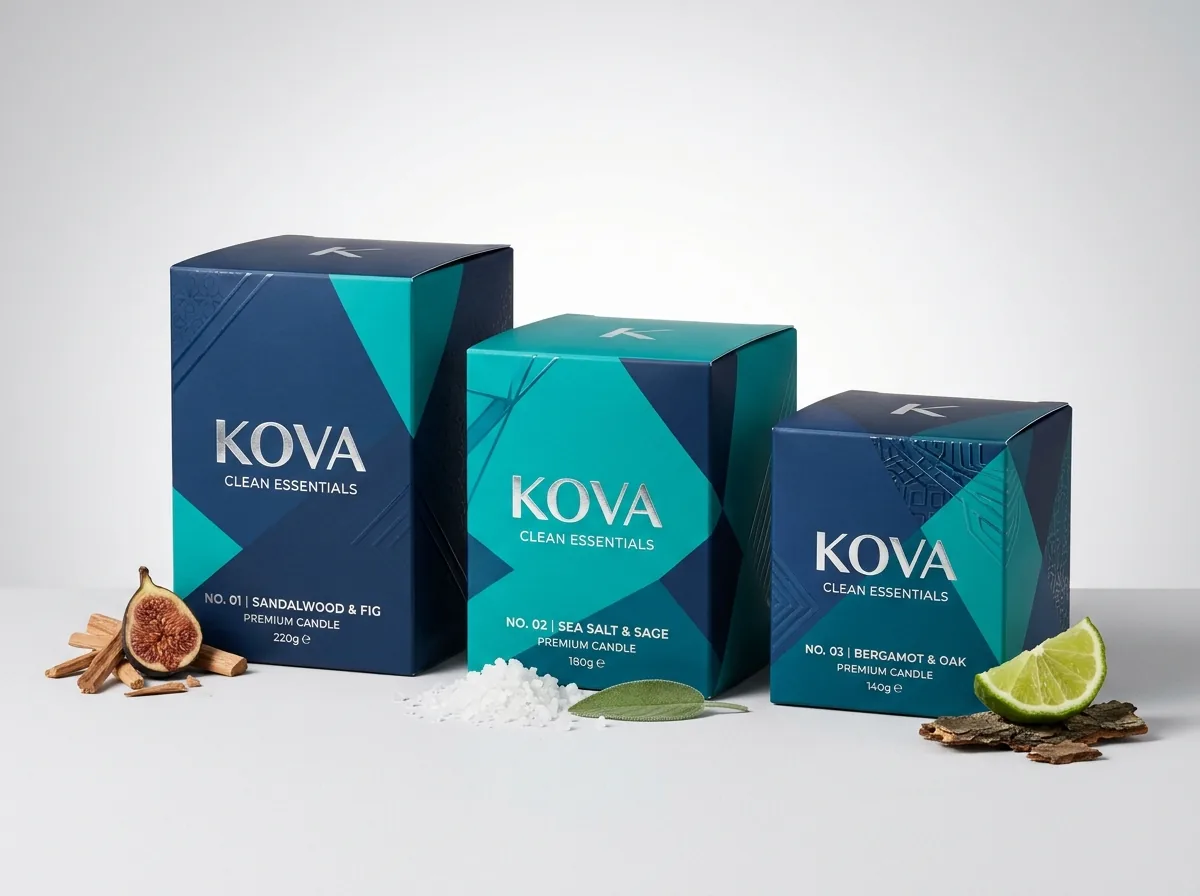
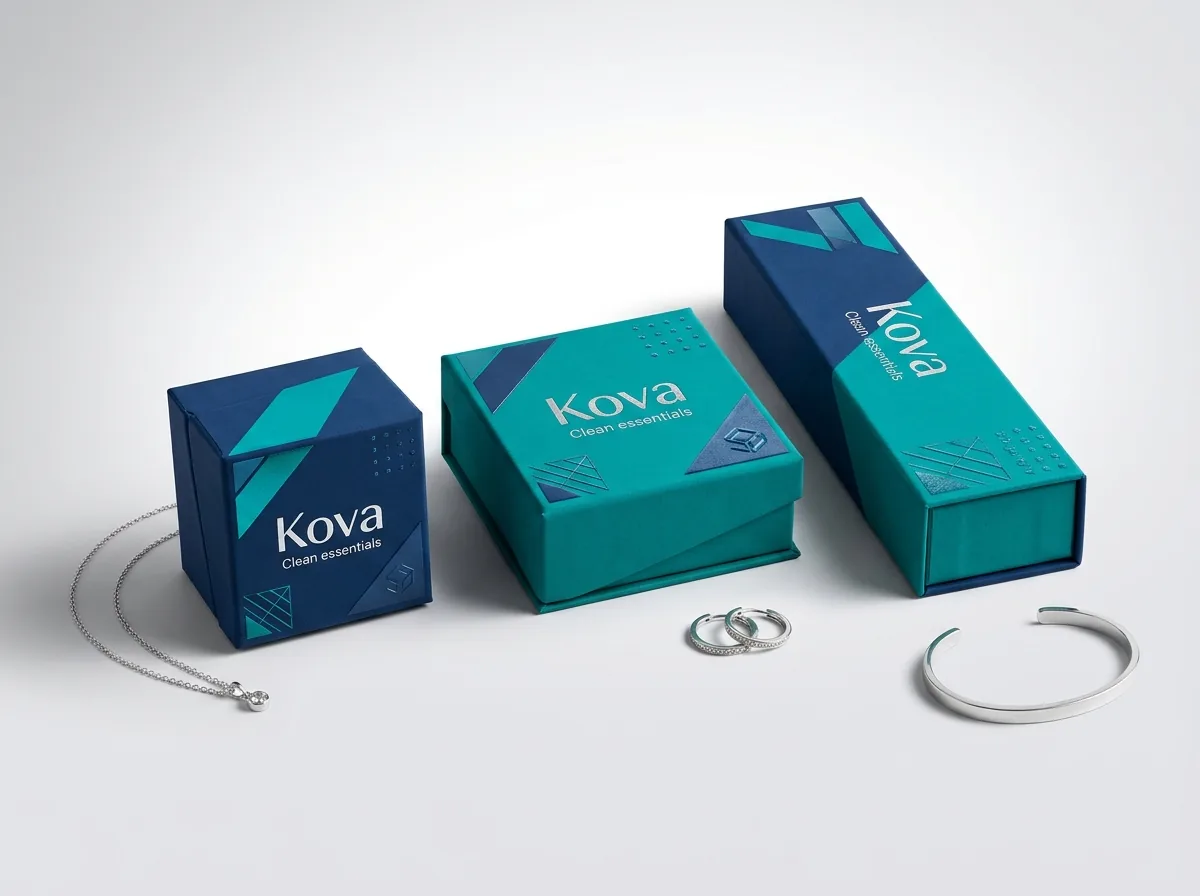
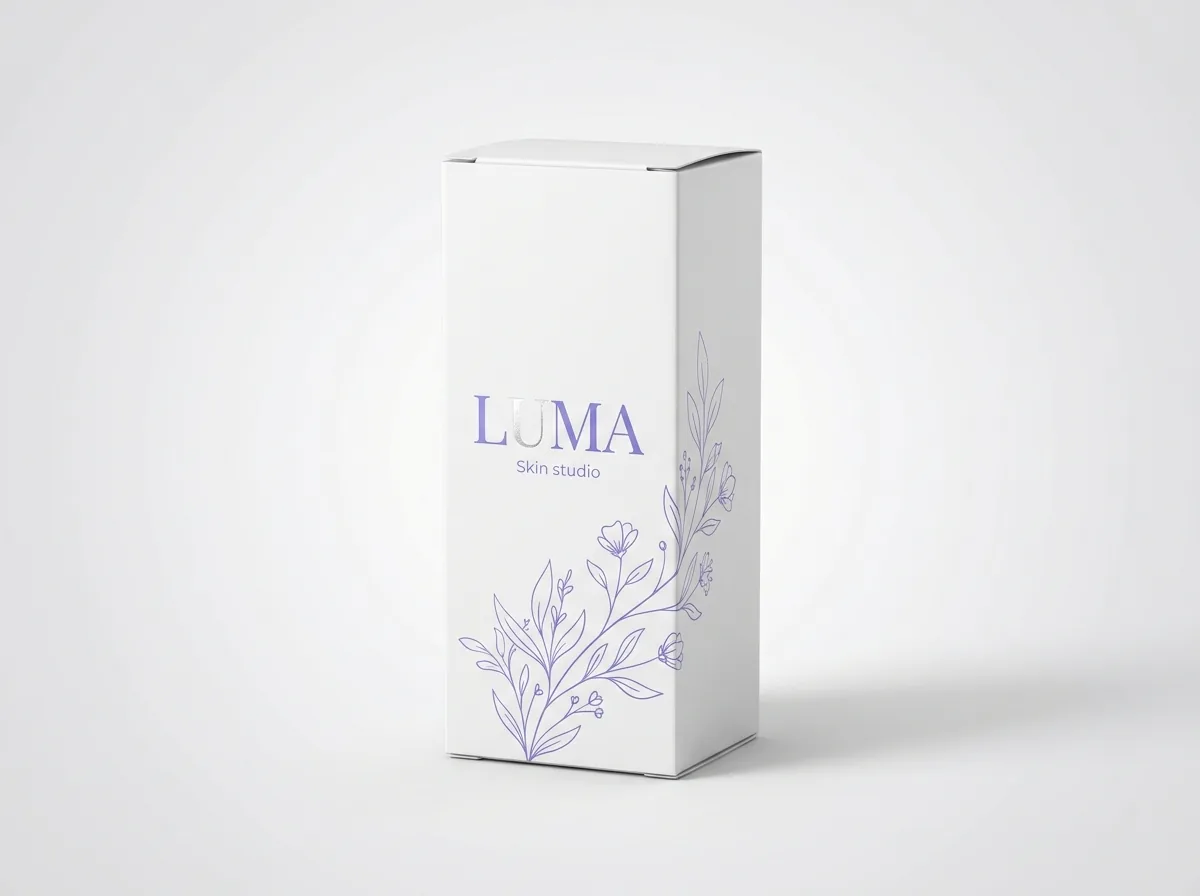
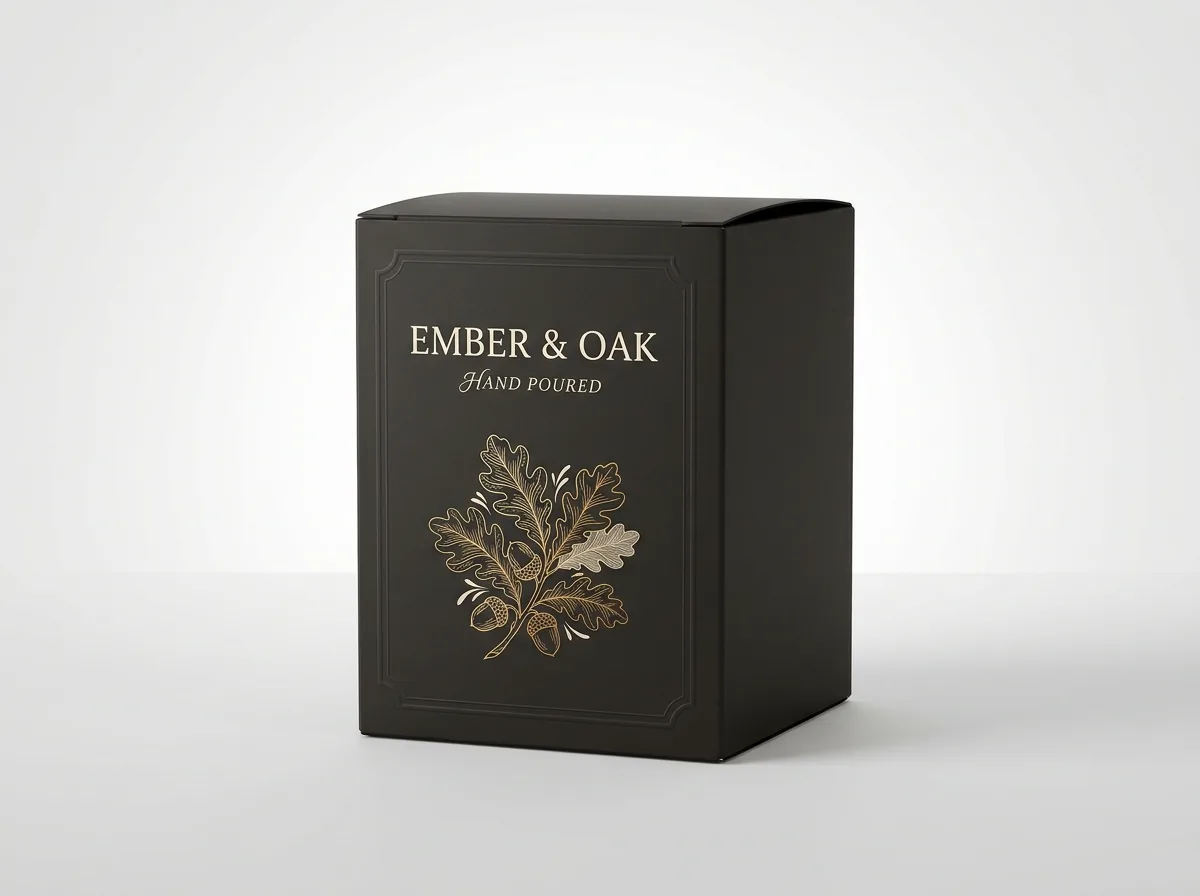
Ready to order product boxes? Compare up to 3 quantities with a free 3D mockup.
Request a Quote →Questions about product boxes
How much bleed do I need on a custom product box dieline?
Extend all background colors, flood coats, patterns, and photographs at least 1/8 inch (0.125 inches or 3.175 mm) past every exterior cut line. Keep essential text, logos, and barcodes at least 1/8 inch inside all cut and crease lines.
How do I prevent dark colors from cracking along the fold lines of a product box?
Specify matte film lamination, gloss film lamination, or soft-touch lamination whenever your product box has a dark solid flood coat (such as black, deep navy, burgundy, or forest green) crossing the fold creases. The flexible BOPP film layer bridges the folded paperboard fibers so white board core never shows through.
Can I combine soft-touch lamination, metallic foil stamping, and spot UV on the same box?
Yes. Soft-touch lamination is applied across the sheet first, creating an ultra-matte velvet base, and metallic hot foil stamping, embossing, or glossy spot UV are applied on top in registered passes for high-contrast luxury shelf appeal.
What file format should I upload for my product box artwork?
Upload a press-ready vector PDF, Adobe Illustrator (.ai), or EPS file in CMYK color mode with all fonts outlined and any linked raster images embedded at 300 DPI or higher. If you only have a logo file, our design team will lay out your dieline for free.
Will I see a 3D mockup of my box and finishes before you print?
Yes. Every order at CubitPack includes a free 2D vector dieline proof and an interactive 3D mockup showing your panel orientation, window cutouts, and foil or spot UV placement before you pay.
Still have a question? Ask a packaging specialist.
Request a Quote →Request your product boxes quote
Tell us your size and quantities, and one dedicated account manager prepares pricing for each tier.
- Free design & AI-to-print studio + 3D mockup
- No die or plate charges · 4–5 day rush available
- Free shipping to all 50 states
- 10% off your first order
We verified 1/8 inch (3.175 mm) bleed and safe zone tolerances, film lamination score-cracking resistance, hot foil minimum line weights (0.5 pt), and GS1 UPC barcode quiet zones against Paperboard Packaging Council (PPC) prepress standards and GS1 US barcode specifications. A packaging specialist checked every specification. Spot something wrong? Tell us and we fix it.
Sources
What changed
- October 24, 2026: First published with annotated 4-panel dieline map, coating and lamination comparison table, vector foil/emboss/spot UV rules, and 5-step prepress checklist.
More guides
New packaging guides by email
Sizes, materials and design tips. Unsubscribe anytime.