
How do I size custom cardboard inserts and partition dividers for my box?
Short answer: Size the outer footprint of custom cardboard inserts 1/16 to 1/8 inch smaller than your outer box's true inside Length × Width, leave at least 0.5 inches of folded air-cell buffer around fragile glass, and keep 0.375 to 0.5 inches of bridge width between adjacent cutouts.

On this page
- How much clearance should you deduct from the outer box inside dimensions
- What are standard cardboard insert dimensions, leg heights and bridge widths
- How do you size stepped platform depths for mixed-height kits
- How do you size interlocking corrugated partition cells for jars and cans
- How do you get a free custom cardboard insert dieline and 3D proof
- Common mistakes
- FAQs
Request a custom quoteFree dieline & 3D mockup
Sizing a folded paperboard riser, fluted corrugated cradle or interlocking partition grid requires reconciling two sets of physical tolerances: the true interior cavity of your outer box after its side walls and dust flaps are folded, and the outer diameter or width of every product sitting in the tray. If an insert's outer Length × Width is cut to the exact nominal size of a mailer box, the folded cardboard legs will bind against the mailer's double-thick rollover side walls and buckle upward in the center. Deducting 1/16 inch (for folding paperboard cartons) to 1/8 inch (for corrugated mailers) on both Length and Width lets the folded insert drop smoothly onto the box floor. For individual product cutouts, adding 1/32 inch of slip clearance on paperboard wells prevents label scuffing while holding bottles upright.
How much clearance should you deduct from the outer box inside dimensions?
The number-one reason DIY insert dielines fail to fit is measuring the outside of a folded box or trusting the nominal size printed on a stock box catalog without checking internal wall loss. On a roll-end tuck-top (RETT) corrugated mailer box, the left and right side walls fold over twice to lock into the floor, consuming roughly 0.25 to 0.375 inches of interior width beyond the raw board thickness. When our design team designs die-cut cardboard inserts, we start from the true net inside Length × Width × Depth measured between the folded inner walls. From that true interior measurement, we subtract 1/16 inch (0.0625 in) on Length and Width for smooth paperboard cartons, or 1/8 inch (0.125 in) for fluted corrugated mailers and shipping cartons. That small slip allowance lets warehouse packers drop the folded tray into the box with one hand without catching on corner locks or dust flaps.
- Folding paperboard carton (16–24 pt): Insert Outer L × W = True Box Inside L × W minus 1/16 inch (0.0625 in).
- Corrugated mailer box (E-flute or B-flute): Insert Outer L × W = True Box Inside L × W minus 1/8 inch (0.125 in).
- Single-piece die-cut cavity clearance: Product Diameter/Width plus 1/32 inch (0.031 in) so paperboard edges never scrape bottle labels.
- Minimum bridge width between two cutouts: 0.375 in on folding card; 0.5 in on E-flute or B-flute corrugated.
- Minimum perimeter air-cell border around glass jars: 0.5 in (0.75 in for heavy 12+ oz glass vessels).
What are standard cardboard insert dimensions, leg heights and bridge widths?
Every CubitPack cardboard insert is die-cut to your exact millimeter or inch specifications with zero cutting die fees. Use the reference table below to see how outer box inside dimensions translate into insert outer dimensions, leg heights and cavity spacing across six common packaging setups. Notice how the riser leg height (the vertical depth of the folded platform) is typically set to 45% to 65% of a bottle's height when the bottle lies flat in a mailer, or 30% to 40% of the bottle's height when the bottle stands upright inside a vertical carton.
| True box inside (L × W × D) | Folded insert outer (L × W) | Riser leg depth | Min bridge / border | Typical product kit |
|---|---|---|---|---|
| 3.5 × 3.5 × 4.25 in | 3.375 × 3.375 in | 1.5 in base + top collar | 0.5 in air-cell border | Single 9 oz glass candle jar in a vertical carton |
| 6 × 4 × 2 in | 5.875 × 3.875 in | 1.125 in leg depth | 0.375 in bridge | 30 ml serum dropper + 15 ml eye cream jar |
| 8 × 6 × 3 in | 7.875 × 5.875 in | 1.5 in & 0.875 in stepped | 0.5 in bridge | 3-piece skincare cleanser, toner and moisturizer kit |
| 9 × 7 × 3.5 in | 8.875 × 6.875 in | 3.375 in full-height grid | 4 interlocking cells | Four 5 oz gourmet hot sauce or honey jars |
| 11 × 9 × 3 in | 10.875 × 8.875 in | 1.625 in leg depth | 0.5 in bridge | 6-cavity influencer PR mailer with thumb notches |
| 12 × 9 × 6.25 in | 11.875 × 8.875 in | 6 in full-height partition | 6 or 12 grid cells | 6-pack or 12-pack craft beverage cans or candles |
How do you size stepped platform depths for mixed-height kits?
Suppose your starter kit pairs a slender 1.5-inch-thick serum dropper bottle with a chunky 2.25-inch-thick face cream jar inside a 3-inch-deep mailer box. If you cut both openings into a single flat cardboard riser standing 1.5 inches tall, the tall cream jar will press up against the lid while the slender serum bottle sinks 0.75 inches below the deck. To make every item sit flush at the exact same viewing plane when the customer opens the lid, our structural designers engineer a stepped-depth cardboard tray. Beneath the thinner serum bottle, a secondary creased support shelf folds up 0.75 inches below the top deck, while the deeper cream jar rests directly on the bottom floor of the box (or on a lower shelf). For narrow dropper necks and tapered tubes, we also add folded neck-lock wings that pinch gently around the collar so the bottle cannot slide upward or spin in transit.
Know your size? Compare pricing across up to 3 quantities.
Request a Quote →How do you size interlocking corrugated partition cells for jars and cans?
When shipping 4, 6, 9, 12 or 24 upright cylindrical glass jars, sauce bottles or beverage cans inside a master carton, an interlocking slotted corrugated grid partition is faster and stronger than a flat riser tray. The partition is made of lengthwise and crosswise corrugated strips with half-depth vertical slots that slide together at 90-degree angles. To size each cell, measure the widest outside diameter of your jar (including any cap overhang) and add 1/16 inch (0.0625 in) so jars slide in without tearing labels. Next, multiply the cell width by the number of columns and add the thickness of each internal divider wall (roughly 1/16 inch per E-flute wall or 1/8 inch per B-flute wall). If you are shipping heavy glass in custom shipping boxes without additional bubble wrap, extend the lengthwise and crosswise strips 0.5 inches past the outer row of cells so the partition forms a protective air-cell perimeter around all four sides of the box.
How do you get a free custom cardboard insert dieline and 3D proof?
You never have to draw complex multi-score cardboard dielines yourself. When you request a quote at CubitPack, simply enter your outer box dimensions (or select custom mailer boxes with inserts to order box and insert together) and list the length, width, height and weight of each product in the notes. Our structural engineering team builds your custom flat dieline, checks flute grain and bridge widths, and sends a free 2D proof and interactive 3D mockup before payment. Minimums depend on the product; we confirm yours with your quote. Standard production takes 10 to 14 business days (4 to 5 days rush) with zero cutting die or printing plate fees and free shipping to all 50 US states. You can also compare cardboard against custom box inserts, custom EVA foam inserts or custom honeycomb inserts.
- Order box + insert together so our design team match the internal tolerances on both dielines simultaneously.
- Test heavy glass or complex kits first with a physical prototype or drop and crush testing.
- Enter up to three quantities in Step 1 of the quote form to compare unit price breaks.
What are the most common cardboard insert and divider sizing mistakes?
Avoid these five dimensional errors before locking your cardboard insert dieline
- Sizing the outer Length × Width of the insert to the nominal mailer size without subtracting 0.25 to 0.375 inches for double-thick rollover side walls.
- Forgetting to add the thickness of internal corrugated divider strips (1/16 to 1/8 in per wall) when calculating the total width of a 6-cell or 12-cell grid.
- Cutting circular jar cavities to the exact jar diameter with zero slip clearance, which causes the raw cardboard edge to scrape paper jar labels.
- Leaving less than 0.375 inches of bridge width between two heavy glass jars, allowing the thin cardboard strip to buckle during side impacts.
- Omitting 0.5-inch thumb notches on flush-mounted rectangular cavities so customers cannot get a finger around a snug cosmetic carton.
Packaging for this



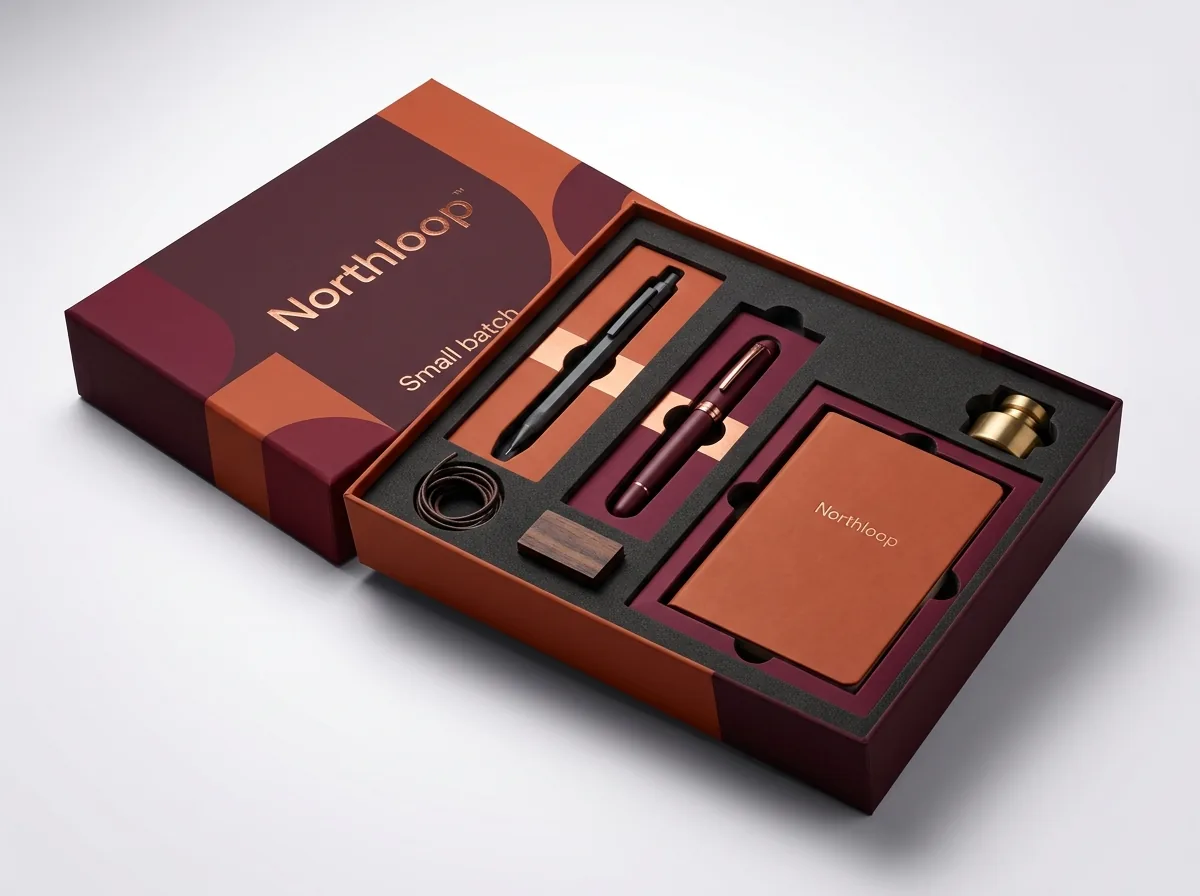
Ready to order cardboard inserts? Compare up to 3 quantities with a free 3D mockup.
Request a Quote →Questions about cardboard inserts
How much smaller than the inside of my box should a folded cardboard insert be?
Deduct 1/16 inch (0.0625 in) from the true inside Length and Width when placing a paperboard insert into a folding carton, and deduct 1/8 inch (0.125 in) when placing a corrugated insert into a mailer or shipping box so it slides in without binding.
Why does my 8 × 6 × 3 mailer box measure smaller than 8 inches wide on the inside?
Roll-end tuck-top mailer boxes fold their left and right side walls over a double layer of corrugated board to lock into the floor slots. Those double walls take up about 0.25 to 0.375 inches of width, which we account for on your insert dieline.
How much gap should I leave around a product inside a cardboard cavity cutout?
Unlike soft foam that stretches for an interference pinch fit, rigid paperboard and corrugated board do not stretch. We add 1/32 inch (0.031 in) of clearance around rigid bottles and jars so they drop into the cutout smoothly without scuffing labels.
What is the minimum bridge width between two cutouts on a cardboard insert?
Keep at least 0.375 inches (3/8 in) of solid board between adjacent cutouts on folding paperboard trays, and at least 0.5 inches (1/2 in) on E-flute or B-flute corrugated trays holding glass jars or heavy bottles.
How tall should the folded legs of a cardboard riser insert be?
For horizontal products lying flat in a mailer box, set the riser leg height so the top of each item sits flush with or 1/8 inch below the box rim. For upright bottles in a vertical carton, a base well of 1.25 to 2 inches paired with a top neck-lock collar stops tipping.
Can I send my physical bottles or jars to CubitPack so you can size the insert?
Yes. For standard cylinders and boxes, caliper measurements are enough to engineer your free dieline and 3D mockup. For contoured glass flacons or multi-item kits, you can ship product samples to our structural team or test a physical prototype before full production.
Still have a question? Ask a packaging specialist.
Request a Quote →Request your cardboard inserts quote
Tell us your size and quantities, and one dedicated account manager prepares pricing for each tier.
- Free design & AI-to-print studio + 3D mockup
- No die or plate charges · 4–5 day rush available
- Free shipping to all 50 states
- 10% off your first order
The outer tray slip allowances (1/16 to 1/8 in), cavity clearances (1/32 in), bridge-width minimums and corrugated partition wall deductions in this guide follow TAPPI and ISTA structural design standards. A CubitPack packaging specialist verified every row. Spot something wrong? Tell us and we will fix it.
Sources
What changed
- October 22, 2026: First published.
- October 22, 2026: Updated specifications, terminology, and verified source links.
More guides
New packaging guides by email
Sizes, materials and design tips. Unsubscribe anytime.