
How do you keep custom bottle labels from wrinkling, bubbling or peeling?
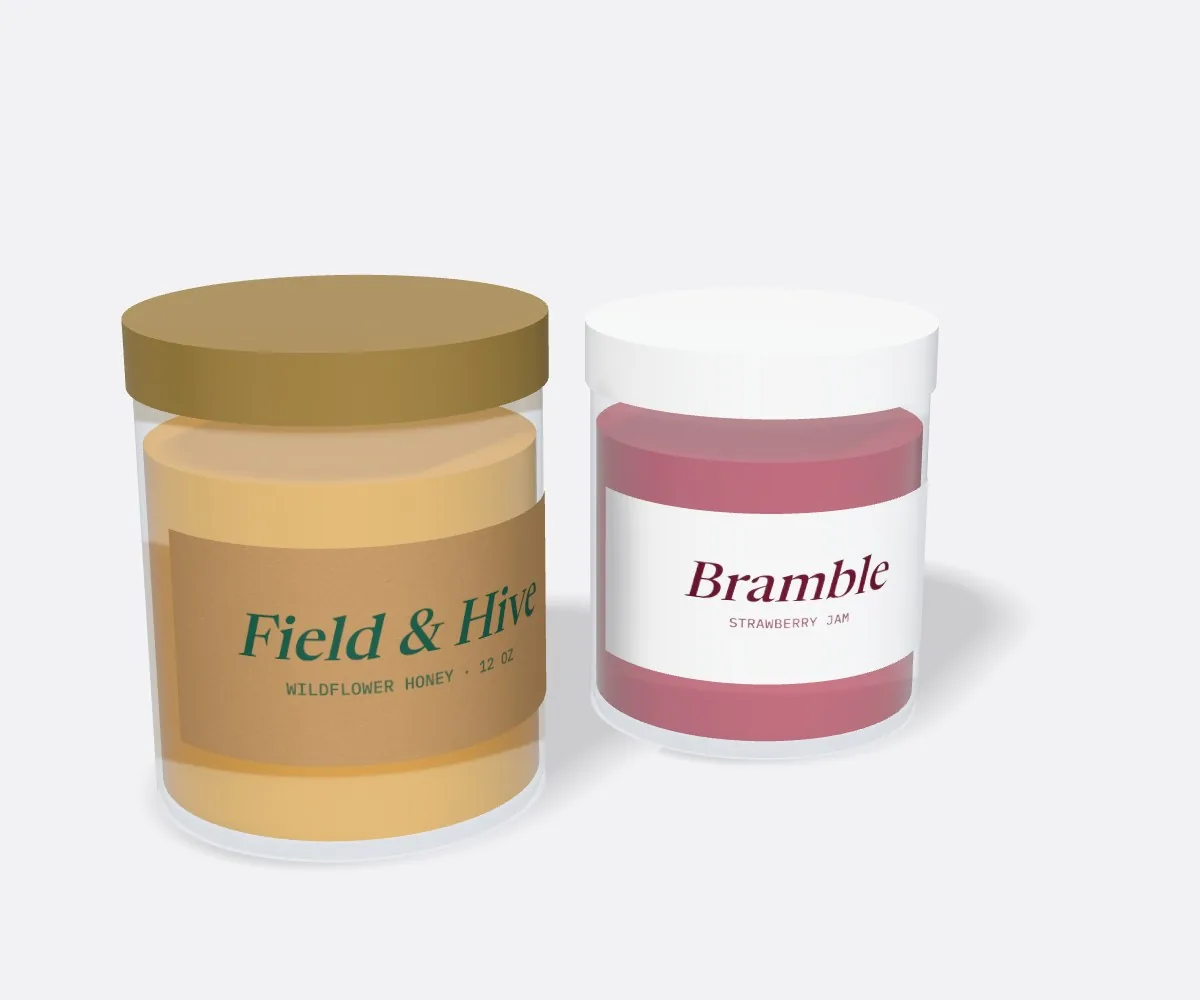
Short answer: Keep your label height ⅛ inch inside the straight cylinder wall (away from the curved shoulder and heel), apply stickers to clean, dry room-temperature bottles before refrigeration, and smooth from the center outward. When ordering custom bottle labels, leave a ¼ inch wrap gap so ends never overlap.
On this page
- What causes bottle labels to wrinkle, bubble or lift (and how do you fix it)
- Why do bottle labels wrinkle at the top shoulder or on tapered walls
- How do you keep bottle labels from peeling in coolers, fridges and showers
- Why do labels flag on 1 oz dropper bottles or bubble over glass mold seams
- How do you prevent crooked spiraling and barcode scan failures on bottles
- Common mistakes
- FAQs
Request a custom quoteFree dieline & 3D mockup
Almost every wrinkled, bubbled or peeling bottle label traces back to one of four physical causes on the bottling line: sizing the label too tall so it rides onto the curved neck shoulder, applying stickers over microscopic condensation or filling-line oil mist, trapping air along a raised vertical glass mold seam, or wrapping a stiff label around a narrow 1 oz vial without wiping off mold-release dust. Fixing those four details before production starts eliminates 95 percent of application waste and keeps every bottle shelf-ready. When you order printed bottle labels from CubitPack, our prepress team checks your straight-wall dimensions, ¼ inch wrap gap and vertical barcode orientation on a free digital proof and 3D bottle mockup before you pay, starting at 500 labels in 10 to 14 business days (with 4 to 5 day rush available) and free shipping across all 50 US states.
What causes bottle labels to wrinkle, bubble or lift (and how do you fix it)?
When a bottle label lifts or creases, it is easy to assume the adhesive is faulty. In practice, pressure-sensitive adhesives need flat geometry and dry, oil-free contact at the moment of application. Use the diagnostic table below to match the exact symptom on your bottle to its root cause and fix. Notice where the wrinkle or bubble sits on the bottle: top-edge creases always point to the shoulder break, vertical line bubbles point to the glass mold parting seam, and end lifting on narrow vials points to circumference overlap or surface residue.
| Symptom on the bottle | Root physical cause | How to fix it |
|---|---|---|
| Dart creases along the top or bottom edge | Label height extends onto the curved shoulder or bottom heel | Reduce label height by ¼ in so it sits 100% on the straight wall |
| Label spirals upward or downward around bottle | Bottle shifted at an angle during hand or roller application | Use a V-cradle or bottle roller with a fixed bottom-heel stop |
| Long vertical air channel down one side | Label bridged over a raised vertical glass mold parting seam | Position front panel between seams, or rub down from seam outward |
| Trailing edge lifts ('flags') on 0.5 oz or 1 oz vials | Tight curve memory + dust or oil on glass, or ends overlapping | Wipe glass with 70% alcohol, leave ¼ in gap, press ends firmly |
| Entire label slides or peels in ice cooler | Label was stuck onto a cold, sweating bottle over condensation | Apply to dry, room-temperature bottles 24 hours before chilling |
| Cloudy silver haze under a clear bottle label | Rushed hand application trapped microscopic air pockets | Apply with firm squeegee roller pressure on clean, smooth glass |
Why do bottle labels wrinkle at the top shoulder or on tapered walls?
A flat rectangular sticker can bend around one curve (a cylinder) without stretching, but it cannot bend around two curves at once (a sphere or a cone) without folding over itself. On a glass beverage, sauce or dropper bottle, the moment the straight vertical wall begins curving inward toward the neck is called the shoulder break. If your label sits even 1/16 inch above that shoulder break, the top edge has a smaller circumference to wrap around than the middle of the label, forcing the excess material to buckle into vertical dart wrinkles. Always measure the straight wall with a rigid ruler, stop before daylight appears at the shoulder or bottom heel, and subtract ¼ inch. If your bottle has a continuous taper from top to bottom (common on Belgian beer bottles, conical syrups and apothecary flasks), keep the label height shorter (2 to 2.5 inches) or ask our designers for a custom curved arc dieline.
- Hold a rigid ruler flat against the bottle wall to find the exact millimeter where the shoulder curve begins.
- Keep the top edge of your label at least ⅛ inch below the shoulder break and ⅛ inch above the bottom heel.
- On slightly tapered bottles, switch to a shorter height or an oval shape that hugs the flattest band.
- Test a 100% scale paper printout taped onto your filled bottle before approving your final print proof.
How do you keep bottle labels from peeling in coolers, fridges and showers?
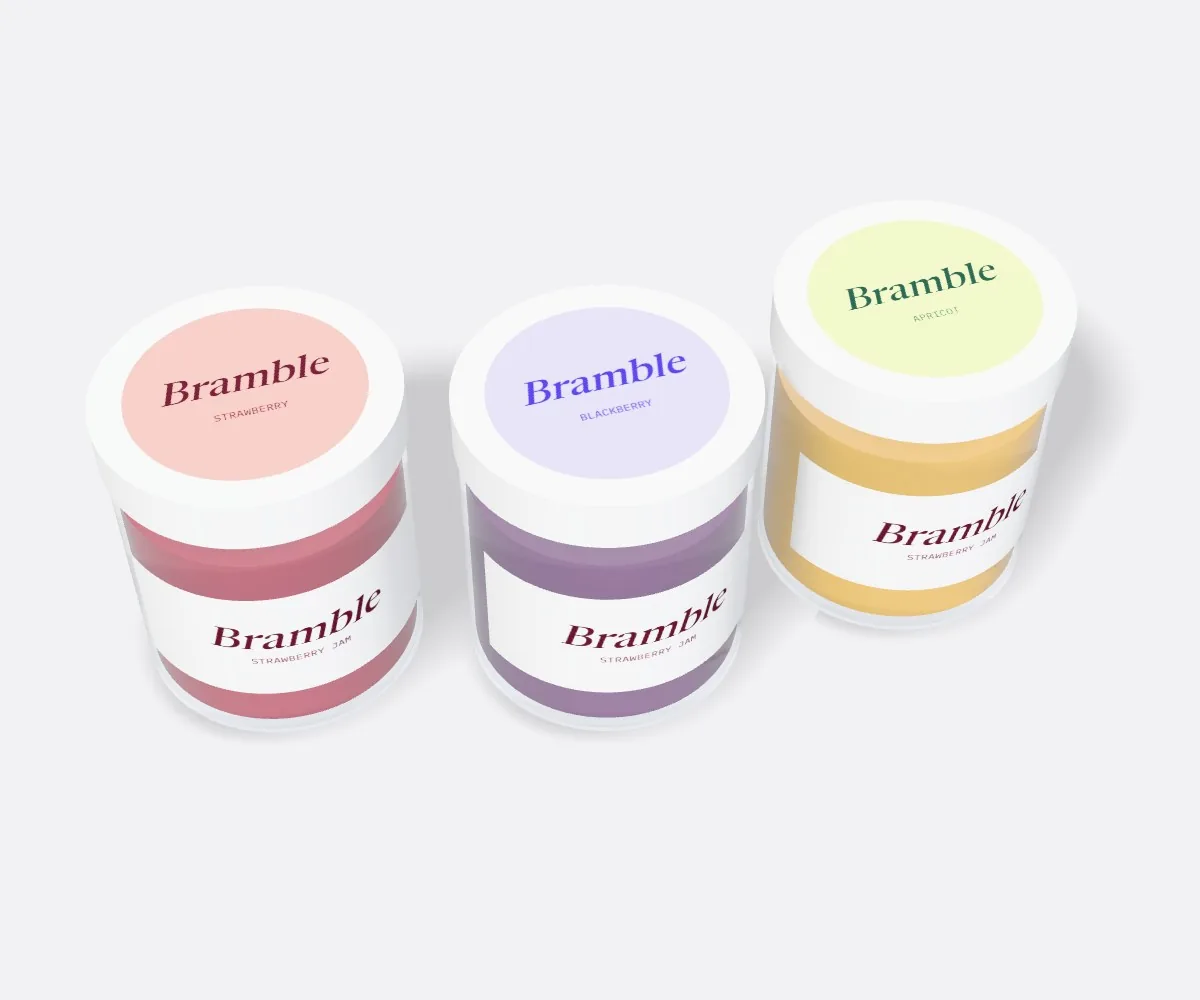
Cold-pressed juices, kombuchas, craft sodas and white wines spend their lives in refrigerated cases and ice buckets, while beard oils, hot sauces and body lotions encounter oils and steamy bathrooms. Two things determine whether a bottle label stays put in wet environments: the stock and finish you specify on your quote, and whether the bottle wall was dry when the label was stuck down. When you pull a cold glass bottle out of a walk-in cooler at 38°F (3°C) into a warm room, invisible moisture condenses on the glass within seconds. If you stick a label over that thin film of water, the adhesive bonds to the water droplets instead of the glass. Whenever your production workflow allows, label clean, dry bottles before cold-filling or before moving filled bottles into the cooler, and give the adhesive 12 to 24 hours at room temperature to build its full bond.
Know your size? Compare pricing across up to 3 quantities.
Request a Quote →Why do labels flag on 1 oz dropper bottles or bubble over glass mold seams?
Small cylinder containers under 1.25 inches in diameter (such as 0.5 oz (15 ml) and 1 oz (30 ml) Boston round dropper bottles and lip balm tubes) put constant outward spring tension on a wrapped label. If the two ends of your wrap touch or overlap on the back of a 1 oz vial, the stiffer double-thick seam acts like a spring and pops the trailing edge up (called flagging). Leaving a clean ¼ inch gap so both ends bond directly to bare glass, and wiping away any silicone mold-release dust or filling drips with isopropyl alcohol, keeps narrow wraps locked down. On larger glass bottles, watch out for the two vertical mold parting seams running down opposite sides of the cylinder. When applying by hand, press the center of the label onto the smooth glass face first, then smooth outward toward the left and right edges so air pushes out ahead of your fingers rather than getting trapped beside the seam.
How do you prevent crooked spiraling and barcode scan failures on bottles?
When a 5 inch or 8 inch wrap label starts even 1 degree off-level, the trailing end climbs ¼ inch higher or lower than the leading edge by the time it wraps around the cylinder. Instead of holding a round bottle in mid-air while labeling by hand, set the base of the bottle against a fixed square stop inside a tabletop cradle roller. When you order custom roll labels, stripping the waste matrix and winding the labels on a clean core lets your roller feed every sticker dead-square to the bottle heel. Finally, check your barcode orientation before going to press. On wide 12 oz and 16 oz bottles (over 2.5 inches in diameter), a standard horizontal picket-fence barcode scans easily. On narrow bottles under 2 inches in diameter (1 oz to 4 oz droppers and 5 oz woozies), always orient the barcode vertically (ladder style) with a ⅛ inch white quiet zone so curved reflections never block the outer guard bars.
- Use a tabletop bottle cradle with a bottom heel stop so every wrap starts at the exact same height.
- Leave a ¼ inch gap between wrap ends on round glass bottles to absorb minor diameter variations.
- Rotate barcodes 90 degrees into a vertical ladder layout on any bottle narrower than 2 inches in diameter.
- Pair matte or gloss protective finishes with your artwork so filling-line splashes wipe clean without smearing.
- Allow freshly labeled bottles to rest at room temperature for 12 to 24 hours before submerging them in ice water.
What are the most common bottle labeling application mistakes?
Even a perfectly printed label will wrinkle or lift if applied over a curve or a damp wall. Avoid these five bottling-day mistakes
- Sticking labels onto cold, sweating beverage bottles right out of the cooler instead of labeling dry room-temperature glass.
- Not wiping filling-line oil drips or silicone glass dust off dropper bottles with rubbing alcohol before labeling.
- Sticking both ends of a label down first and smoothing toward the middle, which traps a vertical air bubble in the center.
- Positioning the label height ⅛ inch too high on the bottle roller stop so the top edge rides onto the shoulder curve.
- Printing a horizontal barcode across a tight 1 oz dropper curve where checkout scanners cannot see both ends at once.
Find your label size
Suggested label size: 9⅛ × 2¾ in (width × height)
A typical starting point. Your account manager confirms the size on the proof.
Quote this size →Packaging for this
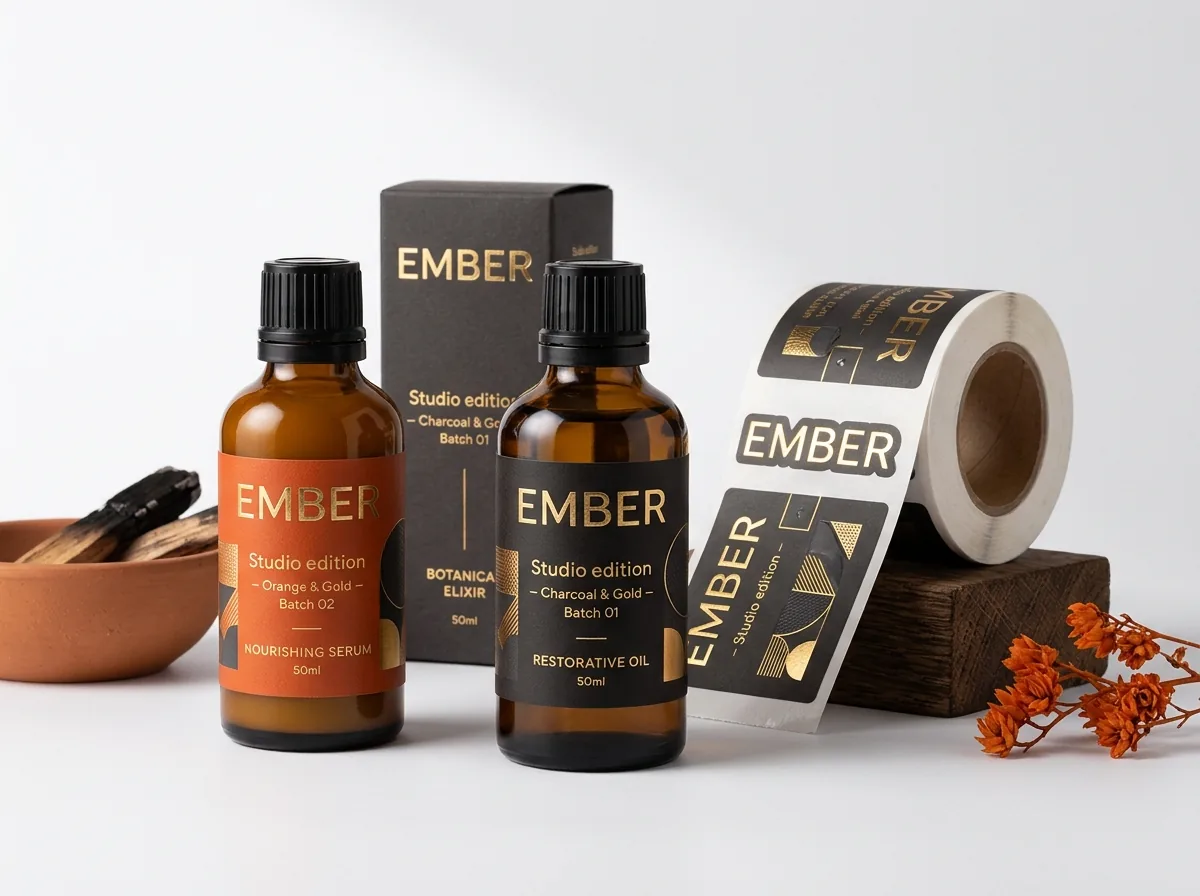
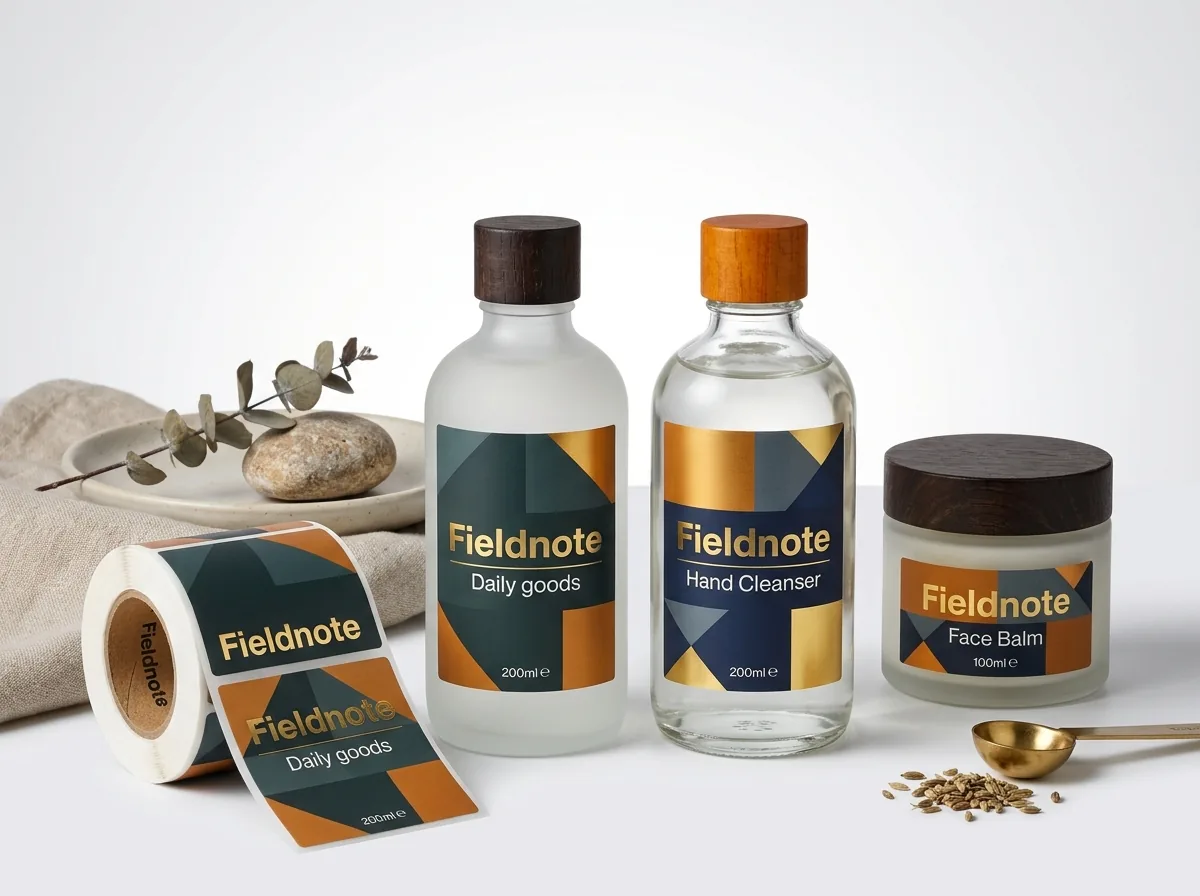
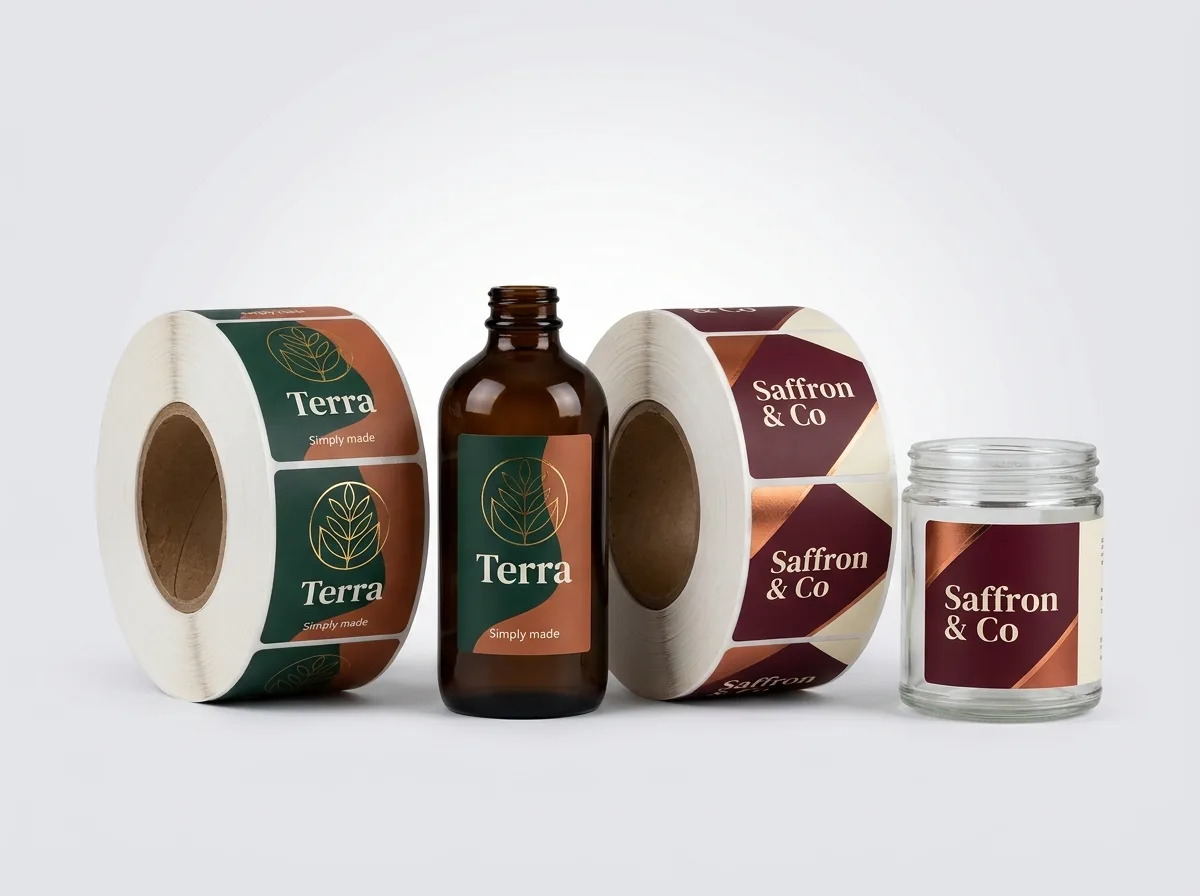
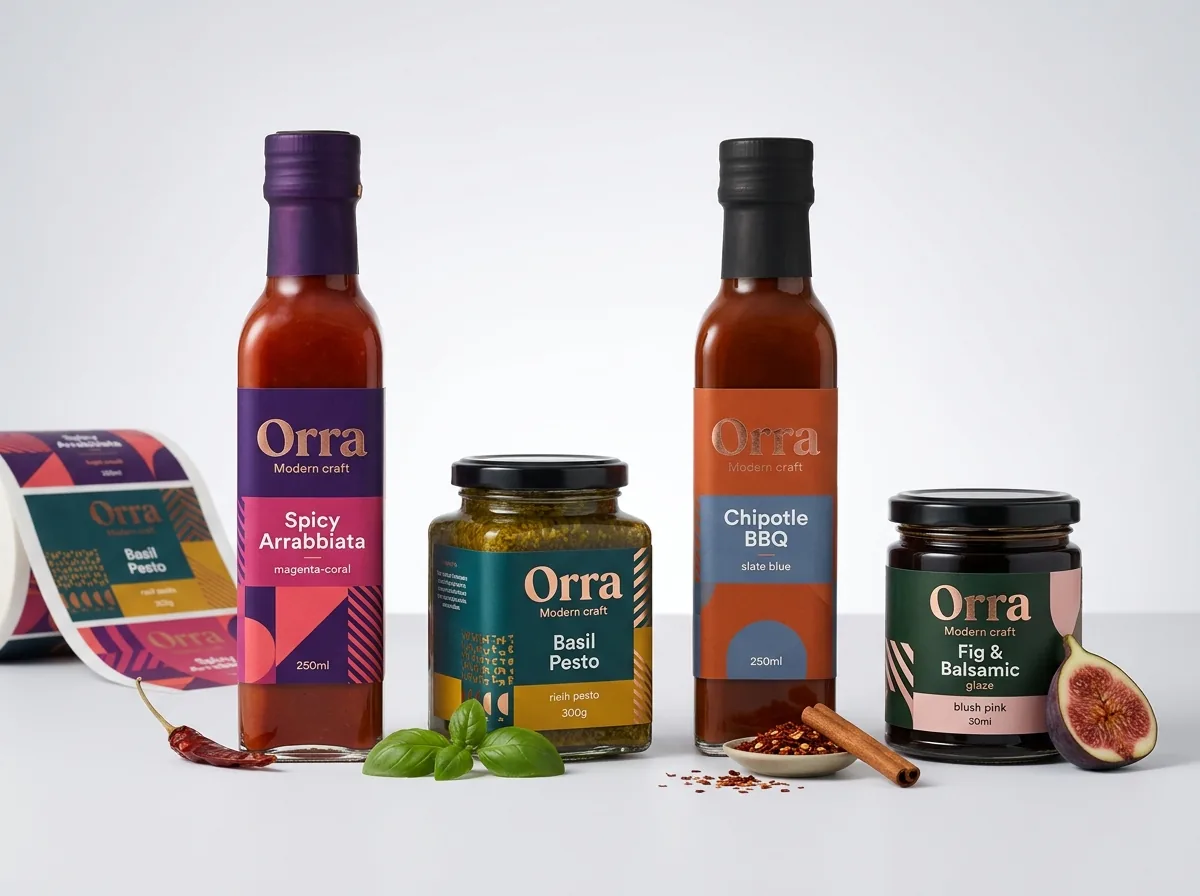
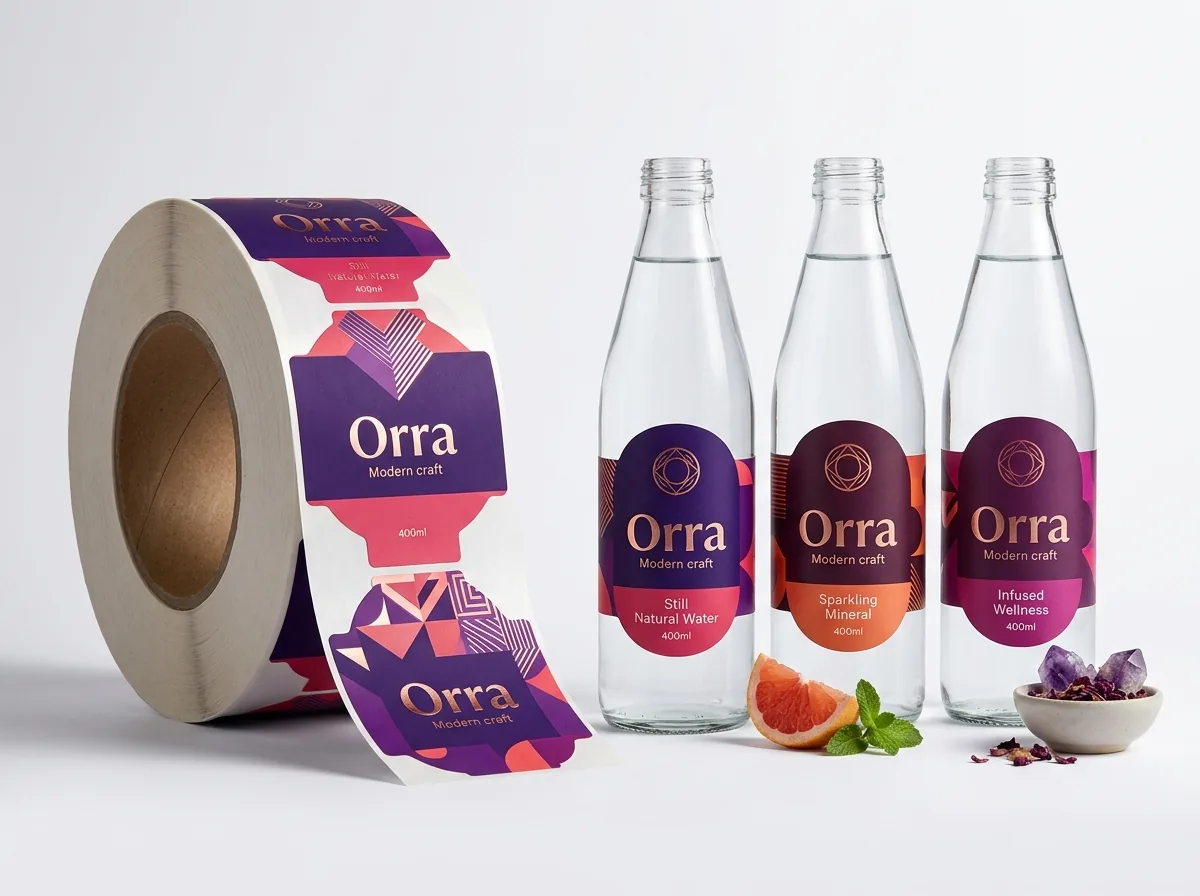
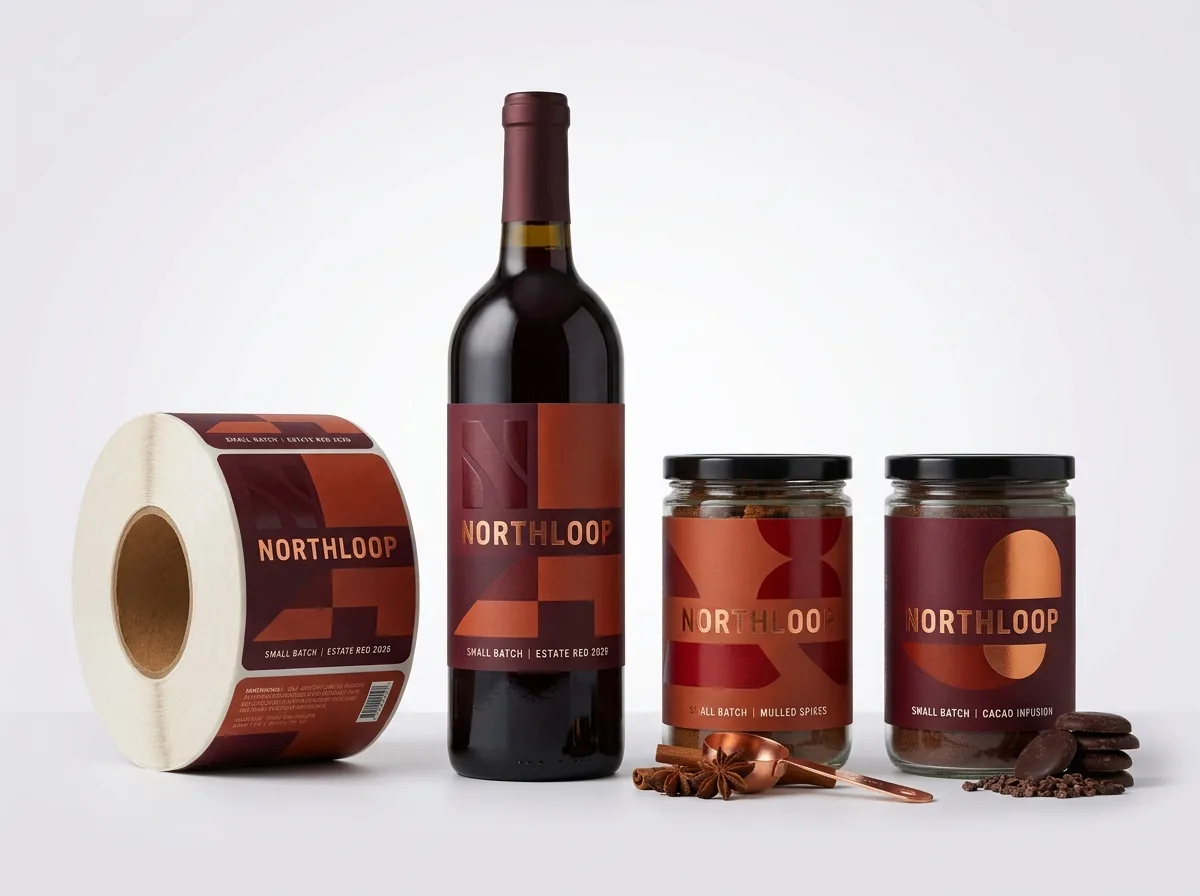
Ready to order bottle labels? Compare up to 3 quantities with a free 3D mockup.
Request a Quote →Questions about bottle labels
How do I get air bubbles out of clear bottle labels?
Apply custom clear labels to clean, dry glass using a firm rubber roller or squeegee pad, starting at the center line and rolling outward toward the left and right edges. Pressing from center to edge pushes air out ahead of the adhesive.
What if my beverage bottles must be cold-filled before labeling?
If you cold-fill bottles, pass them through an air-knife blower or wipe the exterior wall dry and let the surface warm slightly above the room dew point before the labeler station, and note cold-fill conditions in your CubitPack quote notes.
Why do my bottle label ends overlap on some bottles in the same case?
Glass bottles have normal manufacturing tolerances of ±1/16 inch in diameter, which translates to nearly 3/16 inch of circumference variance. Sizing your full wrap with a ¼ inch gap prevents the ends from colliding on the narrower bottles.
Can I reposition a bottle label if I stick it on crooked?
During the first few seconds on clean glass, you can often peel a label back gently if you have not pressed it down hard. Once rolled firmly, permanent adhesives build high tack quickly, so using a V-cradle guide is much safer than peeling and re-sticking.
Should I use matte or gloss finish on sauce and oil bottles?
Both matte and gloss protective finishes shield the ink from handling and kitchen splashes. Gloss wipes clean effortlessly after a sauce or olive oil drip, while matte prevents glare under bright grocery store lights.
How should I store my bottle label rolls before bottling day?
Keep your rolls sealed in their protective bag inside the shipping box at normal room temperature (around 65°F to 75°F and 40% to 50% relative humidity), away from damp warehouse floors, open loading docks or space heaters.
Still have a question? Ask a packaging specialist.
Request a Quote →Request your bottle labels quote
Tell us your size and quantities, and one dedicated account manager prepares pricing for each tier.
- Free design & AI-to-print studio + 3D mockup
- No die or plate charges · 4–5 day rush available
- Free shipping to all 50 states
- 10% off your first order
This troubleshooting guide combines cylinder wrap geometry, GS1 curved-surface barcode orientation rules, and CubitPack's prepress and finish specifications. Checked by a packaging specialist. Spot something wrong? Tell us and we will fix it.
Sources
What changed
- October 22, 2026: First published.
- October 22, 2026: Updated specifications, terminology, and verified source links.
More guides
New packaging guides by email
Sizes, materials and design tips. Unsubscribe anytime.