
How do I design stand up pouch dielines, gussets and windows?
Short answer: Keep logos and text at least 1.5 inches below the top edge for the zipper header, 0.375 inches inside the left and right side seals, and 0.75 inches above the bottom edge where the gusset curves. Every order of custom stand up pouches includes a free dieline and 3D mockup.
On this page
- What are the safe margins and seal zones on a stand up pouch dieline
- How do I set up a clear window or metallic sheen using the white ink layer
- How should I prepare artwork for kraft paper, matte and soft-touch pouches
- What drives the cost of custom stand up pouches across multiple flavors
- What if I only have a logo or an AI-generated packaging concept
- Common mistakes
- FAQs
Request a custom quoteFree dieline & 3D mockup
Designing artwork for a stand up pouch is different from designing a flat postcard because the pouch is heat-welded around its perimeter and bends into a 3D cylinder at the base once filled. On a flat stand up pouch dieline, you work across three connected panels: the front panel, the back panel and the W-folded bottom gusset panel. Background colors and patterns should bleed ⅛ inch (0.125 in) past every outer cut edge and flow continuously across the bottom gusset fold so no unprinted strips show when the bag expands. However, all live typography, nutrition panels, barcodes and window cutouts must stay inside the central safe zone: clear of the top 1.5 inch zipper and tear-notch header, clear of the ¼ to ⅜ inch left and right side weld seams, and at least 0.75 inches above the bottom edge where the face panel curves inward.
What are the safe margins and seal zones on a stand up pouch dieline?
When you request a free custom dieline for printed stand up pouches, you receive an Adobe Illustrator or PDF template showing the front face, back face and unfolded bottom gusset laid out flat. Around the edges of those panels sit mechanical weld zones where heated sealing jaws press the inner layers together. While background ink prints all the way to the outer bleed line, the heat and pressure of the sealing jaws slightly emboss the film along the side seams and top header, which would distort small ingredient text or make a UPC barcode unscannable. Even more important is the lower transition zone on the front and back panels. When you pour 8 oz or 16 oz of product into the bag, the bottom W-gusset pushes open into a 3 inch or 3.5 inch oval floor. That expansion pulls the bottom 0.5 to 0.75 inches of the front and back walls inward at a steep angle toward the shelf. Any tagline or weight statement placed too close to the bottom trim line disappears under the belly of the filled bag.
| Dieline zone on pouch | Typical measurement | Artwork & typography rule |
|---|---|---|
| Outer bleed margin | +0.125 in (⅛ in) past cut | Extend background color and patterns all the way to bleed |
| Top heat-seal & tear-notch band | Top 0.5 to 0.75 in of height | Background color only; keep logos and text out |
| Zipper track zone | 0.75 to 1.5 in below top lip | Keep text and windows below 1.5 in from top edge |
| Left & right side heat seals | 0.25 to 0.375 in per side | Keep live copy at least 0.5 in inside outer side edges |
| Lower gusset curve zone | Bottom 0.75 in of front/back | Curves inward when filled; keep headlines above 0.75 in |
| Unfolded bottom gusset panel | 2 in to 5 in total depth | Flood with solid color or place barcode / lot stamp box |
How do I set up a clear window or metallic sheen using the white ink layer?
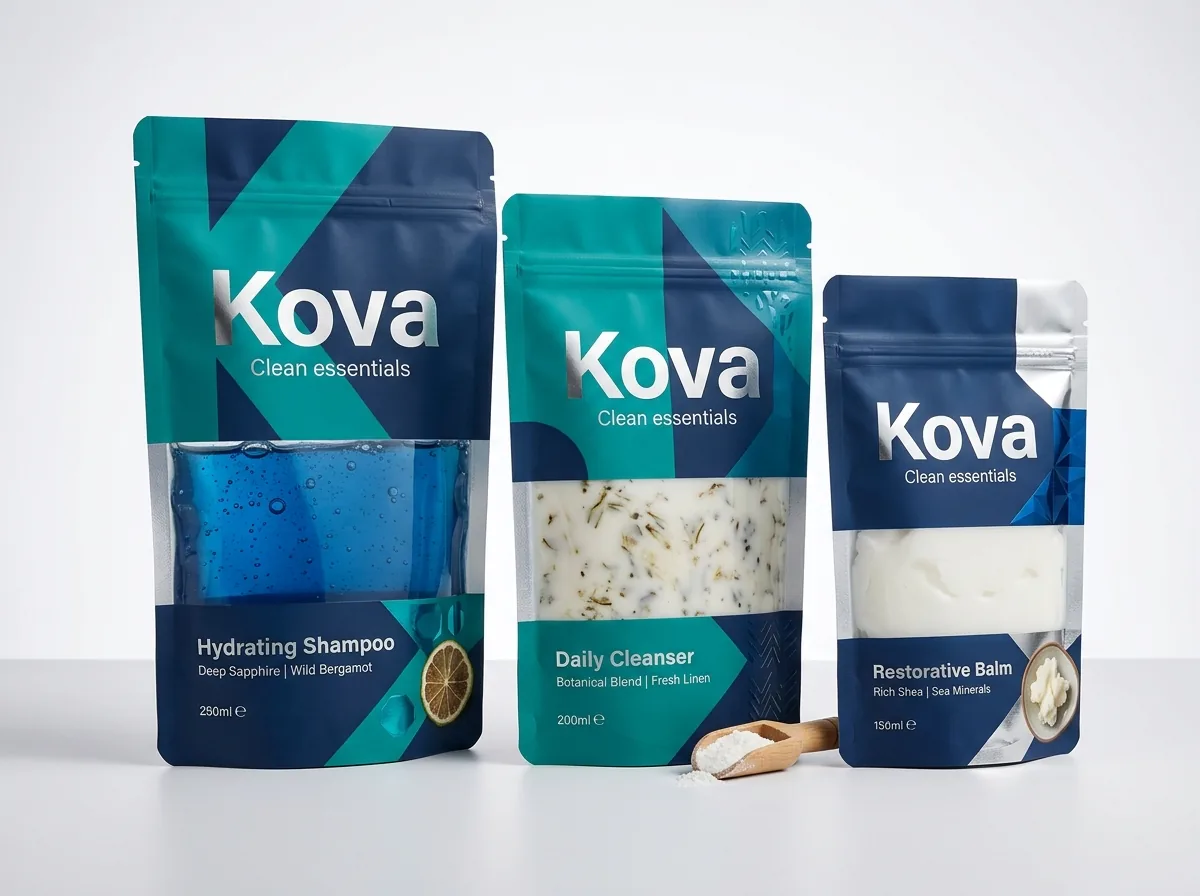
Unlike folding cartons where a window is punched out with a steel knife and patched with a separate sheet of plastic, a window on custom stand up pouches with a window is created through ink layering on a single web of high-barrier clear film. Because CMYK printing inks are naturally semi-transparent, printing them directly onto clear or metallized film makes colors look like stained glass or tinted foil. To make colors solid and opaque, we print a dedicated spot layer called the White Ink Underbase beneath your artwork. Wherever you want a crystal-clear peek window on a clear-film pouch, you simply leave both the white ink layer and the CMYK ink layers empty in that shape. Wherever you want a shimmering gold, silver or rose-gold badge on a metallized-film pouch, you knock out the white ink underbase in that badge shape and print yellow, magenta or black ink directly over the bare metallic barrier layer. Because no physical cutting die is needed for the window, you can create ovals, arches, leaf silhouettes or custom mascot windows at zero extra cost.
- Opaque artwork areas: 100% White Ink Underbase layer + CMYK/Pantone color layers on top.
- Clear product window (on clear barrier film): 0% White Ink + 0% CMYK ink inside your vector window path.
- Metallic foil effect (on metallized film): 0% White Ink + tinted CMYK ink printed directly over the reflective core.
- Window placement rule: keep clear windows at least 0.5 inches away from the side seals, zipper track and bottom gusset fold.
How should I prepare artwork for kraft paper, matte and soft-touch pouches?
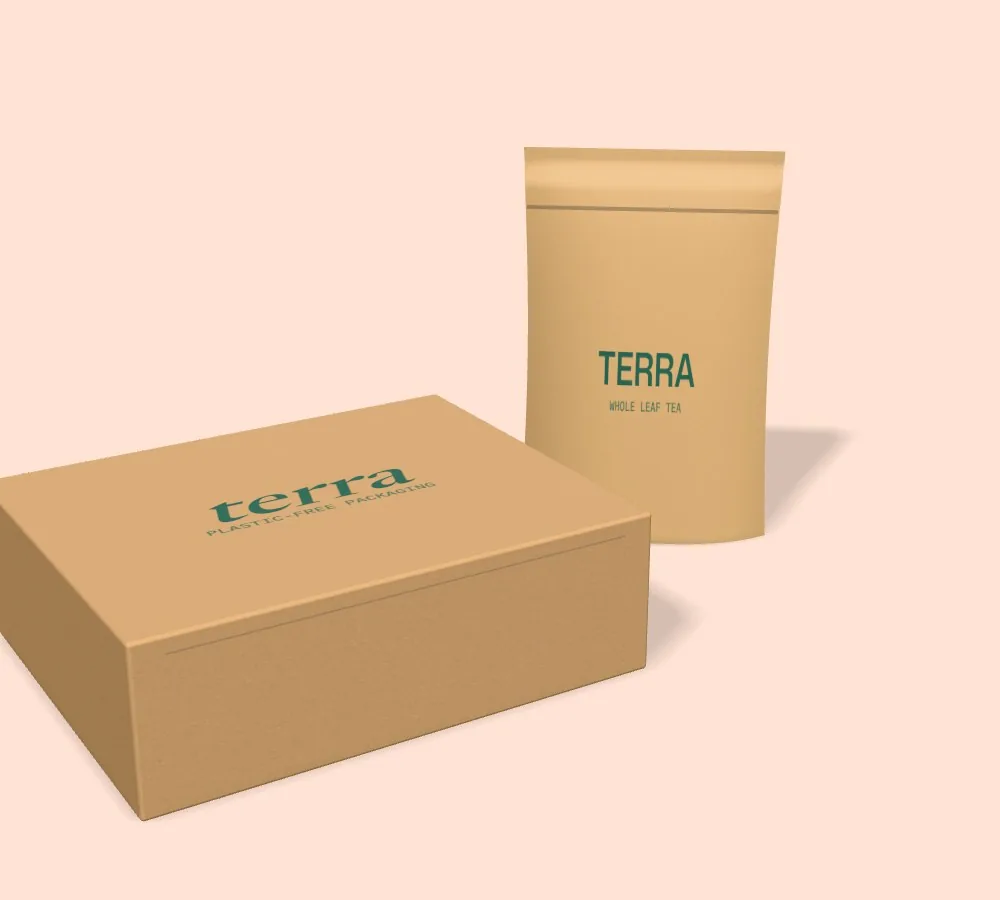
The outer surface laminate changes how your colors and typography read under store lights. On custom kraft stand up pouches, the unbleached brown paper fibers absorb ink and shift light CMYK colors toward a warm earthy brown. Bold dark greens, espresso blacks, deep burgundies and navy blues look rich printed directly on brown kraft, while light pastels, bright yellows and nutrition fact boxes need a solid white ink underbase printed first so they stay legible. If you choose a matte or soft-touch outer lamination, the satin finish diffuses overhead fluorescent glare in grocery aisles, making small ingredient lists on the back panel effortless to read. To create high-contrast shelf drama on a matte or soft-touch pouch, add a selective Spot UV layer over just your brand logo or flavor illustration so the glossy highlights catch the light as shoppers walk past.
Know your size? Compare pricing across up to 3 quantities.
Request a Quote →What drives the cost of custom stand up pouches across multiple flavors?
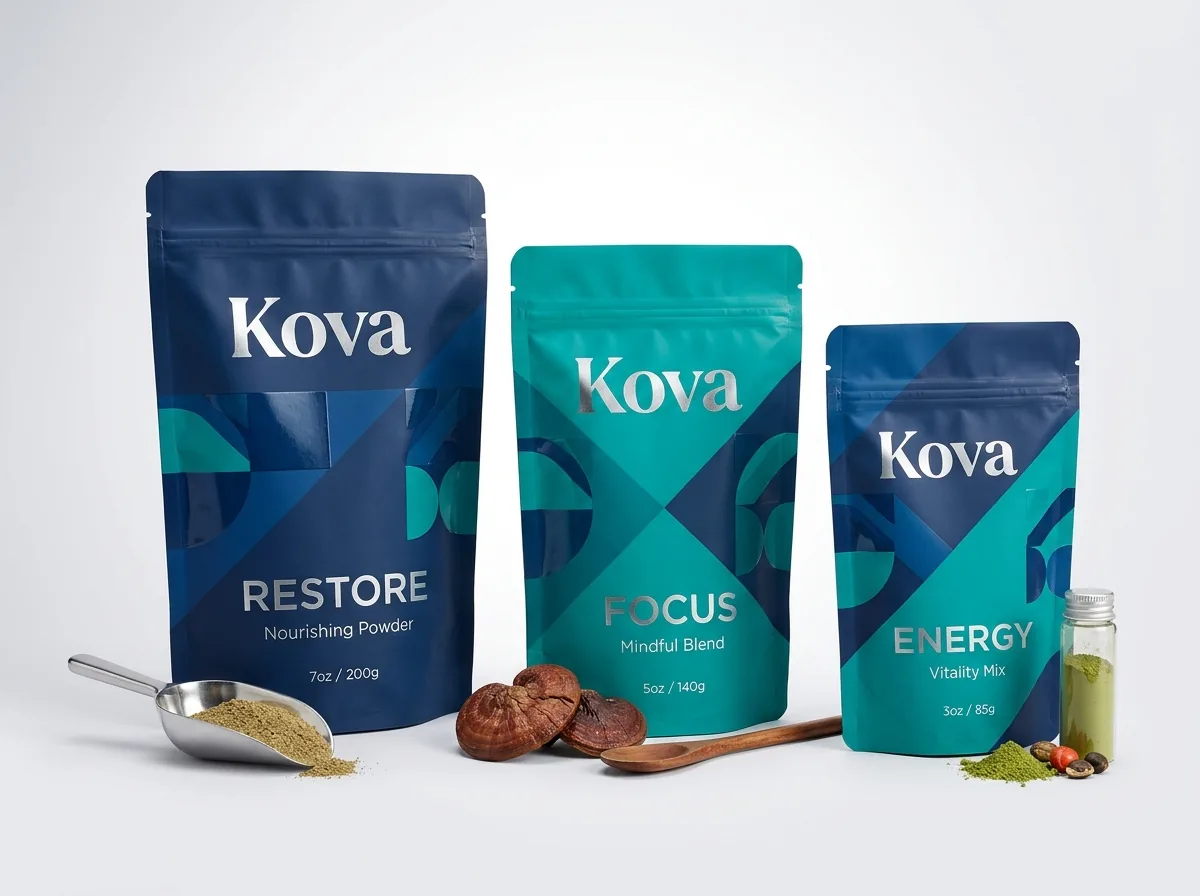
When brands launch three, five or ten flavors of gummies, granola, tea or pet treats at once, how you structure the dieline across those SKUs has a major impact on your unit cost. In custom flexible packaging, the bag-making machine is calibrated around the outer Width × Height × Bottom Gusset, the film stack, and the zipper and tear-notch positions. If every flavor in your line shares the exact same outer dimensions, barrier material and finish, all of your SKUs can be grouped efficiently in one production schedule. For very small-batch seasonal flavors or limited micro-lots, you can also combine custom pouch printing with custom roll labels: print a master stand up pouch with your brand logo, background pattern and nutrition framework, leaving a clean 3 × 4 inch front rectangle where you apply flavor-specific roll labels on demand.
What if I only have a logo or an AI-generated packaging concept?
You do not need to be a technical prepress operator to order custom pouches. If you already have a finished Adobe Illustrator (.ai), PDF or EPS file, upload it with your quote and our prepress engineers will verify the white underbase, spot UV mask, bleed and seal clearances for free. If you only have a brand logo, rough sketch or an image generated with an AI tool, our team provides free design help and our print your AI design service rebuilds your concept into a press-ready vector dieline with guaranteed Pantone color matching. Before any ink touches film, you receive both a flat 2D digital proof with every cut line, heat-seal margin, tear notch and zipper track clearly marked, plus an interactive 3D mockup showing how your design wraps around the expanded bottom gusset. You approve both proofs before making payment, so there are never surprises on press.
What are the most common stand up pouch artwork and dieline mistakes?
Most pouch printing delays come from placing key elements inside mechanical seal zones or forgetting the white underbase layer. Check these five items before sending files
- Placing brand headlines or weight callouts in the bottom 0.75 inches of the front panel, where the wall bends inward as the bottom gusset opens.
- Putting text, logos or window cutouts inside the top 1.5 inch zipper and tear-notch header or within 0.375 inches of the left and right side seals.
- Forgetting to include a White Ink Underbase vector layer on clear or metallized film, causing normal CMYK colors to look translucent.
- Designing a clear window on an aluminum-foil laminate instead of specifying a high-barrier clear film with a white ink knockout.
- Printing barcodes in low-contrast metallic ink or across the folded crease of the bottom gusset where checkout scanners cannot read the bars.
Packaging for this
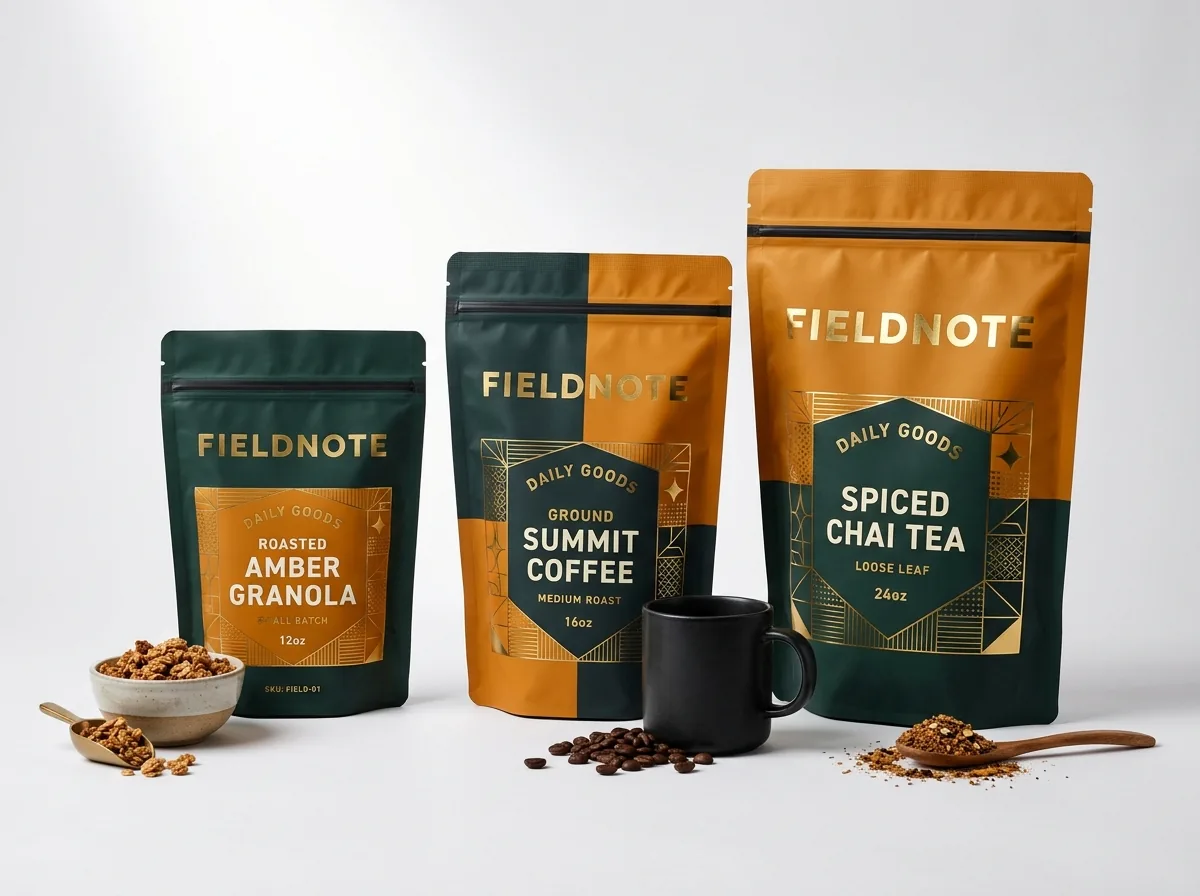
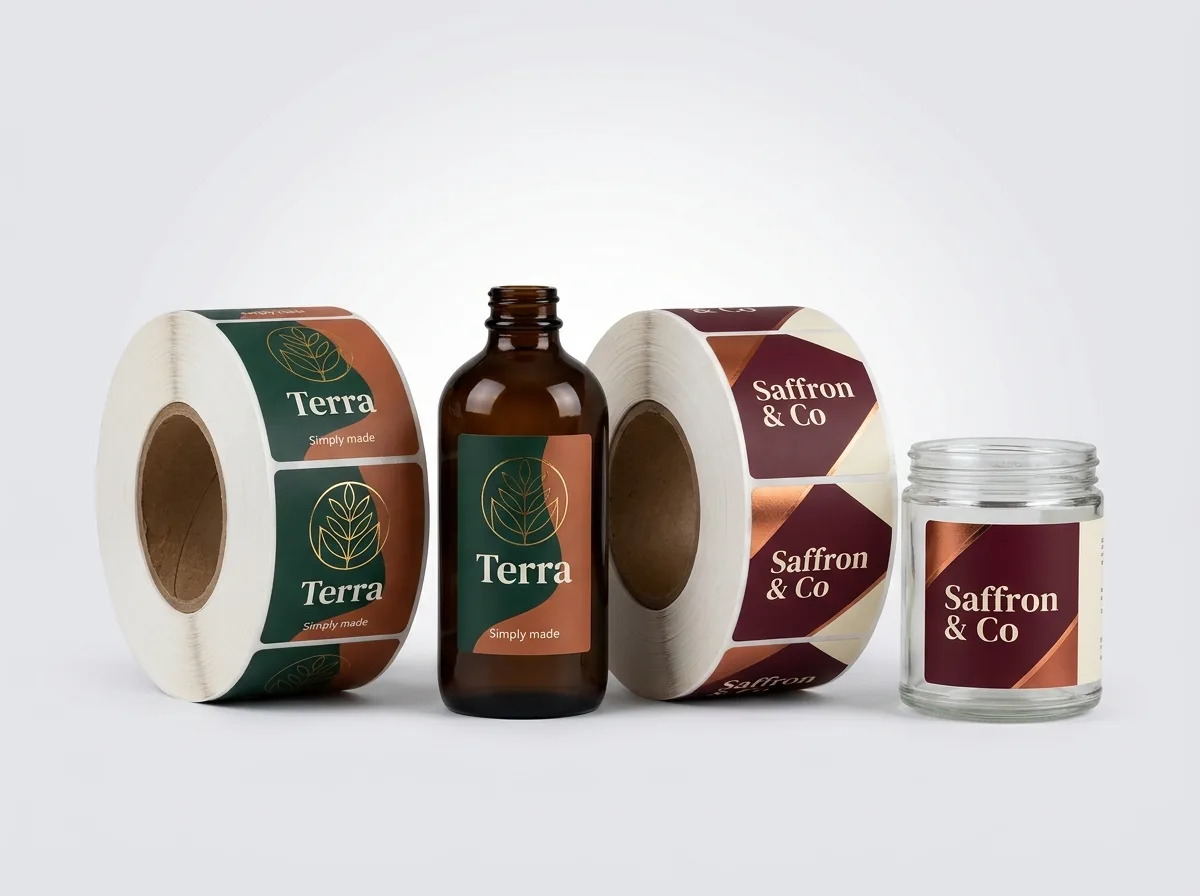
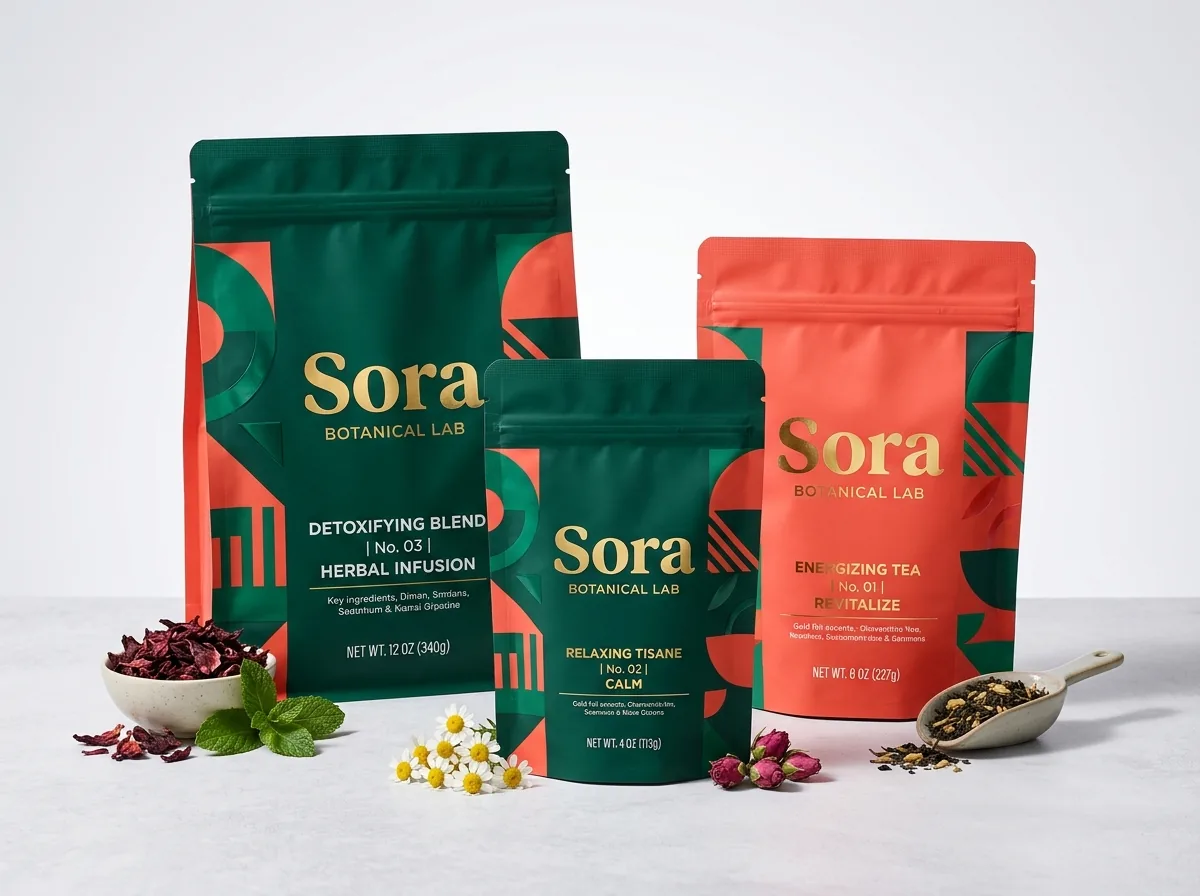
Ready to order stand up pouches? Compare up to 3 quantities with a free 3D mockup.
Request a Quote →Questions about stand up pouches
What file format should I upload for custom stand up pouch printing?
Vector files in Adobe Illustrator (.ai), press-ready PDF or EPS format with fonts outlined and linked images at 300 DPI or higher are ideal. If you only have a PNG, PSD or AI-generated concept image, upload it and our designers will set up the print dieline for free.
How should I orient artwork on the unfolded bottom gusset panel?
Most brands fill the bottom gusset with a solid background color or repeating pattern so the bottom fold looks clean from every angle. If you place a barcode or lot-number box on the bottom gusset, center it between the inner fold crease lines so it sits flat.
Do I pay extra plate or die charges for a custom-shaped pouch window?
No. Because a clear window on a stand up pouch is created by knocking out the white ink underbase and color layers on a clear barrier laminate, any window shape is included with zero die or plate charges.
Can I print inside the top area above the resealable zipper?
Yes, background colors, gradients and patterns print all the way to the top edge of the pouch above the zipper and tear notches. Just keep important text and logos below the 1.5 inch header line so the impulse sealer and tear strip never cut through your copy.
How do you guarantee my brand colors match across pouches and boxes?
Specify your Pantone (PMS) color codes on your quote or dieline. Our Pantone color match is guaranteed: if a printed Pantone color is clearly off from the approved specification, we reprint the order.
Will I see a 3D mockup of my stand up pouch before I pay?
Yes. Every CubitPack quote includes a free 2D digital proof showing exact seal lines, zipper placement and white-ink masks, plus a 3D rendered mockup of your filled pouch that you review and approve before payment.
Still have a question? Ask a packaging specialist.
Request a Quote →Request your stand up pouches quote
Tell us your size and quantities, and one dedicated account manager prepares pricing for each tier.
- Free design & AI-to-print studio + 3D mockup
- No die or plate charges · 4–5 day rush available
- Free shipping to all 50 states
- 10% off your first order
The dieline tolerances in this guide use standard flexible pouch heat-seal widths (¼ to ⅜ inch side seals, 1.25 to 1.5 inch zipper headers, ⅛ inch bleed) and CubitPack's decided prepress workflow. Checked by a packaging specialist. Spot an error? Tell us and we will fix it.
Sources
What changed
- October 22, 2026: First published.
- October 22, 2026: Updated specifications, terminology, and verified source links.
More guides
New packaging guides by email
Sizes, materials and design tips. Unsubscribe anytime.