
How do I design custom poly mailers and control print costs?
Short answer: Decide between a centered 1-to-2 color logo or edge-to-edge full-bleed Pantone print, keep live text 0.5 inches inside side heat welds, and reserve a clear 4 × 6 inch zone for thermal postage labels. Every order of custom poly mailers includes free design help and a 3D mockup.
On this page
- Spot-logo vs full-bleed printed poly mailers: how do they differ
- How do the top self-sealing flap, tear strip and side welds work on the dieline
- Where should the 4 × 6 inch thermal shipping label go on a printed poly mailer
- What drives the unit cost of custom poly mailers
- How do I send artwork or turn an AI concept into a press-ready poly mailer
- Common mistakes
- FAQs
Request a custom quoteFree dieline & 3D mockup
Designing a custom poly mailer balances high-impact doorstep branding with practical warehouse fulfillment. On a flat poly mailer dieline, you have three main canvas areas: the front display panel, the back panel and the 1.5 to 2 inch top fold-over self-seal flap. You can keep unit cost low by printing a bold 1-color or 2-color centered logo on a white or black co-extruded mailer, or go all-out with a 100 percent edge-to-edge Pantone flood coat and repeating pattern that wraps around the bag and onto the sealing flap. Whichever route you choose, keep fine typography at least 0.5 inches inside the left and right heat-welded edges, account for where the top flap folds over the back panel when sealed, and designate a dedicated 4 × 6 inch spot so warehouse packers never slap the carrier shipping label over your artwork.
Spot-logo vs full-bleed printed poly mailers: how do they differ?
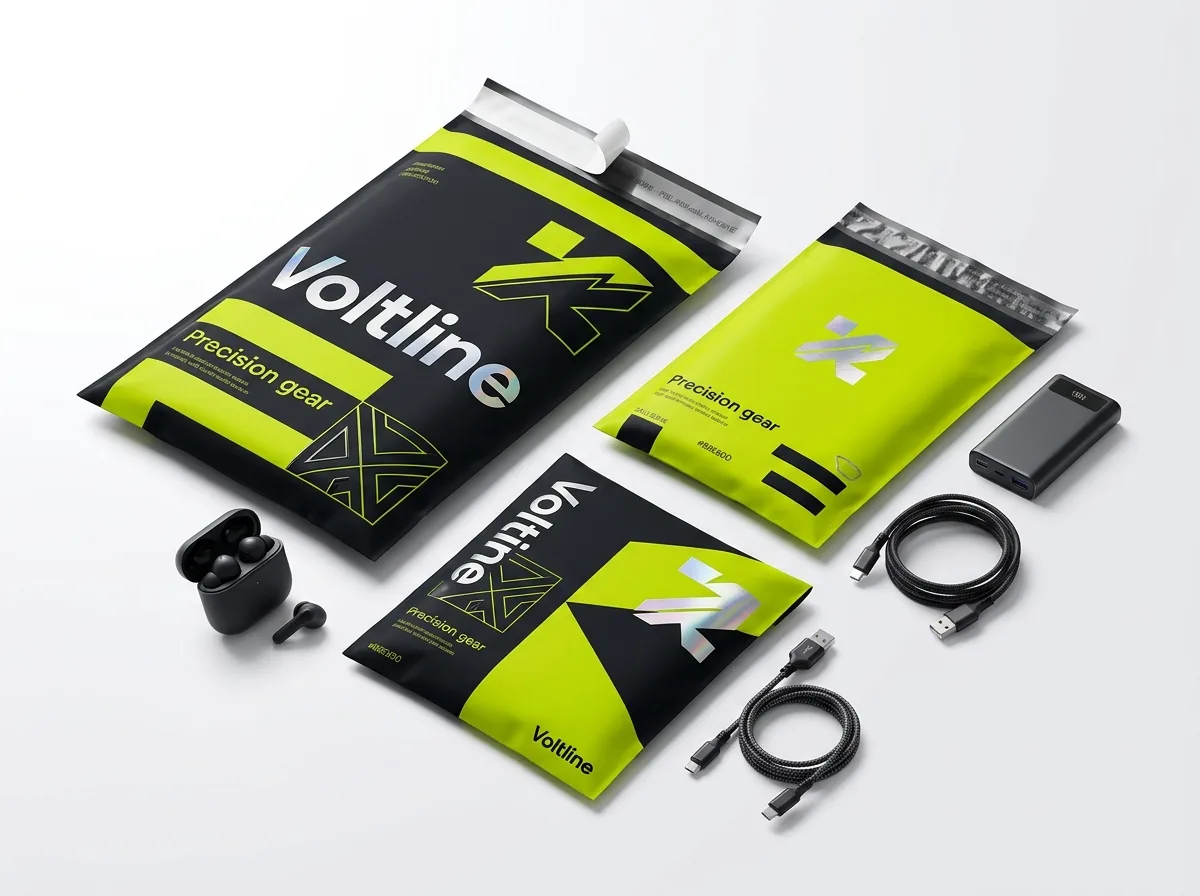
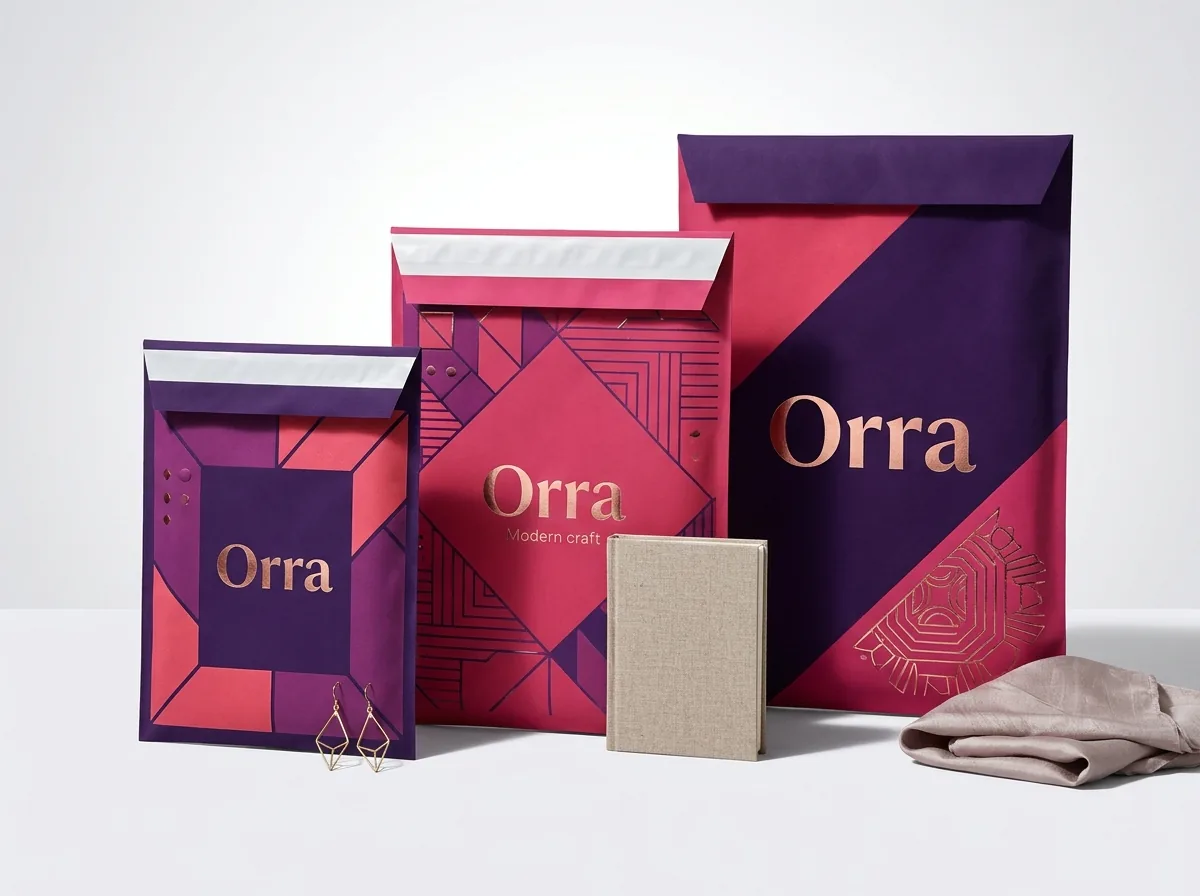
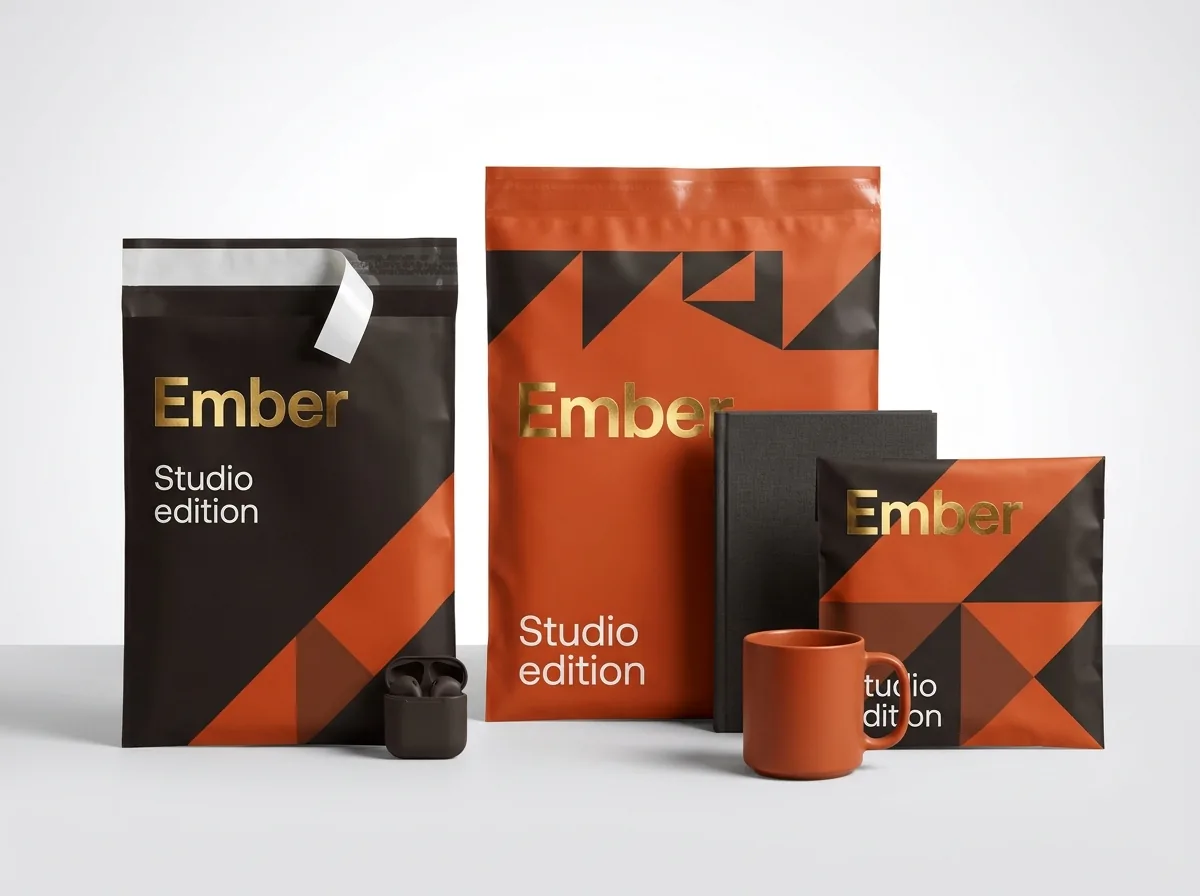
When you request a quote for custom shipping poly mailers, the first artwork choice is print coverage. A spot-logo design places your brand mark, tagline and social handle in the center of a white, black or stock-colored poly mailer with generous unprinted margins around the edges (see our poly mailers with logo page). Because the ink does not touch the left, right or bottom edges of the web, spot printing uses fewer ink stations and runs rapidly on press. A full-bleed design floods 100 percent of the front panel, back panel and top sealing flap with your custom Pantone background color, photographic gradient or repeating monogram pattern (see our custom printed poly mailers page). Full-bleed mailers extend artwork 0.125 inches (⅛ inch) past the cut lines so zero white edge shows anywhere on the bag.
| Design approach | Ink coverage & margins | Best brand fit & cost impact |
|---|---|---|
| 1-to-2 color spot logo | Centered graphic with 1 in unprinted outer border | Clean minimalist look · Lowest unit cost |
| Full-bleed custom Pantone flood | 100% solid background color + contrasting logo | Signature brand color at the door · Moderate cost |
| Full-bleed repeat pattern / CMYK | Edge-to-edge multi-color illustration or photo | High-impact D2C unboxing & social sharing |
| Two-sided + printed top flap | Front hero logo + back pattern + contrasting flap | When folded shut, the top flap frames the back panel |
| Matte + metallic foil crest | Satin low-glare film with hot-stamped gold/silver logo | Boutique fashion, jewelry and luxury soft goods |
How do the top self-sealing flap, tear strip and side welds work on the dieline?
A poly mailer is sealed shut by folding the top 1.5 to 2 inch lip over onto the upper back panel (or front panel, depending on which side you designate as the front). That means the top 2 inches of your back panel will be covered by the folded flap once the bag is packed and sealed. Never place your return address, website URL or care icons in the top 2.5 inches of the panel where the flap lands. If you choose a return-ready dual adhesive strip, the top flap is slightly taller (typically 2.25 to 2.5 inches) and carries three horizontal features: the outbound hot-melt tape strip near the tip of the flap, a laser-perforated tear line in the middle, and a second release-lined tape strip closer to the bag mouth. Printing a small dashed scissor or pull-tab icon right along the perforated tear line shows customers how to open the mailer cleanly without cutting the garment inside with scissors.
- Left and right side heat welds: keep all text and logos at least 0.5 inches inside the outer side edges.
- Bottom fold or bottom gusset: keep text 0.5 inches above the bottom fold (or 1 inch above an expandable bottom gusset).
- Flap landing zone: leave the top 2.5 inches of the receiving panel free of important text so the folded flap never hides copy.
- Perforated tear strip: add a clear 'Pull here to open · Save bag for returns' callout along the tear line.
Where should the 4 × 6 inch thermal shipping label go on a printed poly mailer?
Every parcel shipped via USPS, UPS, FedEx or DHL requires a standard 4 × 6 inch thermal barcode label. If your poly mailer has a large centered logo on both the front and the back, hurried fulfillment staff will stick the 4 × 6 label right over your logo on half of your shipments. Solve this on the dieline by making the front panel your hero brand billboard and dedicating the back panel to fulfillment. Print a subtle 4.25 × 6.25 inch corner-tick frame on the back panel labeled 'Place 4 × 6 shipping label here'. If your mailer uses metallic foil stamping, keep that 4 × 6 inch rectangle free of foil so thermal adhesives bond permanently and laser sorting scanners read the barcode without glare. You can also place your suffocation warning text, recycling symbol and bag dimensions in small 8-point type along the lower back edge below the label frame so the front panel stays completely clean.
- Front panel: keep 100% focused on your brand logo, tagline and campaign pattern for unboxing photos.
- Back panel center: add a 4.25 × 6.25 inch corner-tick box to guide fast 4 × 6 thermal label placement.
- Back panel bottom margin: place required child-safety suffocation warning text and material recycling marks.
- Back panel top 2.5 inches: leave clear of critical text so the folded self-sealing flap lands cleanly.
Know your size? Compare pricing across up to 3 quantities.
Request a Quote →What drives the unit cost of custom poly mailers?
Four main variables control the unit price of a custom poly mailer: bag dimensions (Width × Height plus any bottom gusset), film thickness in mils, ink coverage (1-to-2 color spot logo vs full-bleed CMYK/Pantone flood), and total order quantity. Because press setup spreads across the entire production run, stepping up from a small starter quantity to the next volume tier drops the price per bag noticeably. You can enter up to three quantity tiers in Step 1 of the quote form to compare how the unit price scales across larger runs. To maximize your budget, consolidate your fulfillment into two versatile mailer sizes (such as 10 × 13 inches and 14.5 × 19 inches) rather than splitting your quantity across five slightly different bag sizes. At CubitPack, you never pay die or plate charges, your first order receives 10% off, and we beat any written quote from a US competitor for the same specifications.
How do I send artwork or turn an AI concept into a press-ready poly mailer?
If you have vector artwork in Adobe Illustrator (.ai), PDF or EPS format, upload it on the quote form and our prepress specialists will place it onto your exact Width × Height mailer dieline at no cost. If you only have a PNG logo, a Canva mockup or an AI-generated design concept, use our free design help or print your AI design service. We convert raster concepts into crisp vector paths, assign exact Pantone color codes (backed by our Pantone match guarantee), and send you both a flat 2D digital proof and an interactive 3D mockup to approve before you pay. Standard production takes 10 to 14 business days after proof approval (or 4 to 5 business days with rush), and standard shipping across all 50 US states is always free.
What are the most common custom poly mailer design mistakes?
Check these five prepress and fulfillment details before approving your poly mailer proof
- Placing a hero logo on both sides of a small 6 × 9 or 10 × 13 inch mailer without leaving a clear 4 × 6 inch zone for the shipping label.
- Putting website URLs, social icons or return instructions in the top 2.5 inches of the back panel where the folded adhesive flap covers them.
- Printing dark external ink on a single-layer translucent bag instead of specifying a co-extruded mailer with an opaque black inner security lining.
- Including a dual return adhesive strip without printing a visual 'Tear here to open · Use second strip for returns' guide line for the customer.
- Uploading low-resolution 72 DPI screenshots for full-bleed patterns instead of vector artwork or 300 DPI print files.
Packaging for this
Ready to order poly mailers? Compare up to 3 quantities with a free 3D mockup.
Request a Quote →Questions about poly mailers
Do you charge plate fees or setup fees for custom printed poly mailers?
No. CubitPack never charges die or printing plate fees, whether you order a 1-color centered logo or a full-bleed multi-color pattern. Free artwork setup, a 2D digital proof and a 3D mockup are included with every quote.
Can I match a specific Pantone color on a polyethylene mailer?
Yes. You can specify any Pantone (PMS) color for your background flood coat or logo ink. Our Pantone color match is guaranteed: if a printed Pantone shade is clearly off from the approved spec, we reprint it.
Why do custom poly mailers have a black or dark gray inside layer?
Co-extruded poly mailers are extruded with a bright white printable outer layer and a dark black or gray inner layer so the bag is 100% opaque. That prevents anyone from seeing the clothing or brand inside during transit.
Should my artwork on the back panel be upside down or right-side up?
Our prepress team orients the front and back panels on your dieline so that both sides read right-side up when the bag is filled and sealed. You will see the exact orientation on your 2D proof and 3D mockup.
Can I add air-vent holes to custom poly mailers for puffy clothing?
Yes. If you pack puffy outerwear, pillows or knitwear that traps air when the flap is sealed, ask your account manager to include small micro-vent holes near the bottom corners so trapped air escapes during packing.
What file format do I need to upload for custom poly mailer printing?
Vector files (.ai.eps or press-ready.pdf) with outlined fonts work best. If you only have a PNG logo or an AI-generated mockup, upload it with your quote and our design team will build your vector dieline for free.
Still have a question? Ask a packaging specialist.
Request a Quote →Request your poly mailers quote
Tell us your size and quantities, and one dedicated account manager prepares pricing for each tier.
- Free design & AI-to-print studio + 3D mockup
- No die or plate charges · 4–5 day rush available
- Free shipping to all 50 states
- 10% off your first order
The dieline tolerances in this guide reflect standard co-extruded poly mailer side-weld margins (0.5 in), top fold-over flap geometry (1.5 to 2.5 in), 4 × 6 inch carrier label clearances and CubitPack's decided prepress standards. Spot an error? Tell us and we will fix it.
Sources
What changed
- October 22, 2026: First published.
- October 22, 2026: Updated specifications, terminology, and verified source links.
More guides
New packaging guides by email
Sizes, materials and design tips. Unsubscribe anytime.