
What size custom stand up pouch with window do I need?
Short answer: Size custom stand up pouches with window by flat outer Width × Height × Bottom Gusset in inches, then place your clear window between 1.25 inches above the bottom fold and at least 0.5 inches below your product's settled fill line so the window shows 100% product and zero empty headspace.
On this page
- How do outer pouch dimensions and safe window coordinates work together
- What are the standard window stand up pouch sizes from 2 oz to 5 lb
- How does product bulk density change the right pouch and window height
- How wide should a horizontal band, oval or custom-shaped window be
- How can I test my window height with real product before printing
- Common mistakes
- FAQs
Request a custom quoteFree dieline & 3D mockup
Sizing a stand up pouch with a clear window takes one step beyond standard pouch sizing: you are sizing both the outer bag footprint (Width × Height × Bottom Gusset in inches) and the vertical viewing window zone on the front face. Dry foods, pet treats, candies and bath salts settle by 10% to 15% during parcel and pallet vibration. If you pick an oversized pouch or place the top of the clear window too high on the front panel, shoppers on the retail aisle look straight through the top of the window into empty air, making the bag appear underfilled. Conversely, if the bottom edge of the window drops lower than 1.25 to 1.5 inches from the base fold, the internal W-folded bottom gusset shows through the glass-clear film. Matching outer pouch volume to your settled fill height guarantees a full, edge-to-edge product view.
How do outer pouch dimensions and safe window coordinates work together?
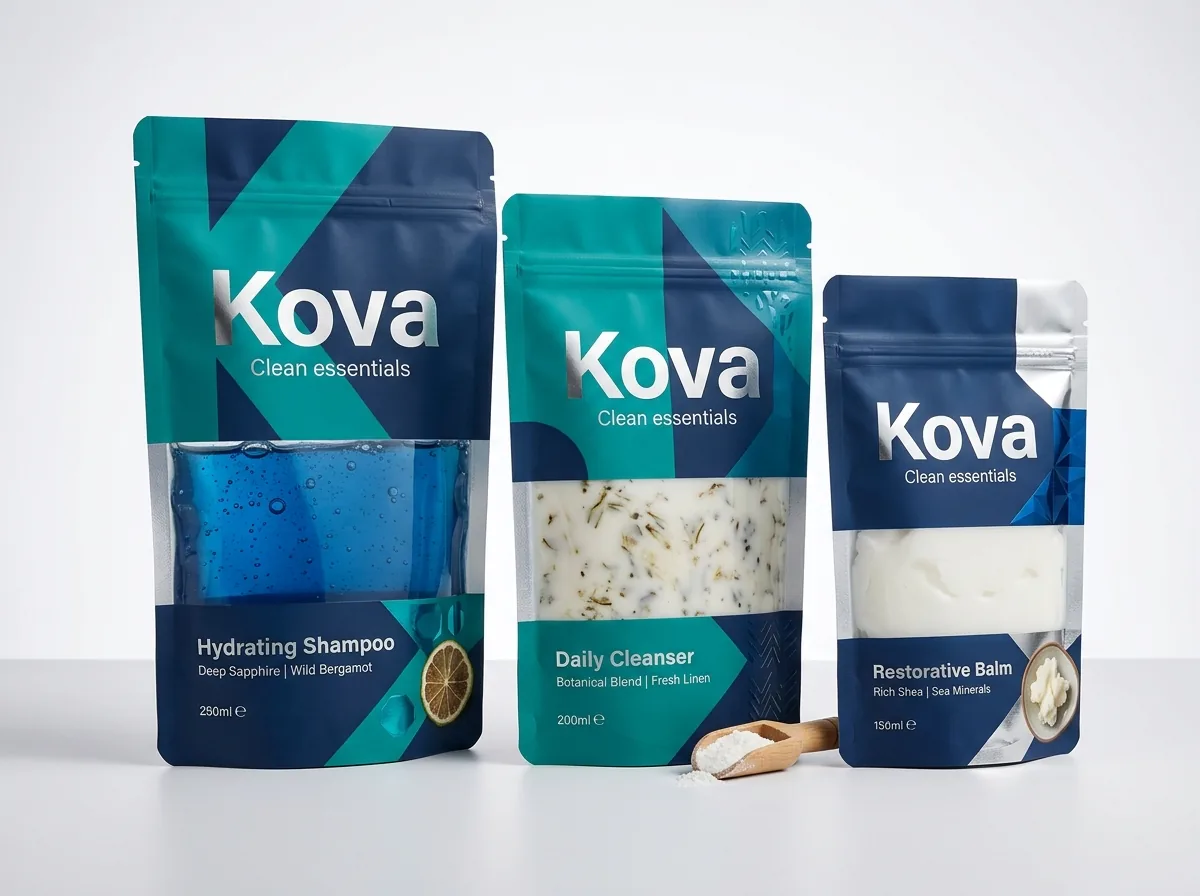
Every bottom-gusseted stand up pouch is measured flat before filling by its outer Width (left edge to right edge), outer Height (bottom fold to top lip) and Bottom Gusset (full unfolded depth of the base fold) in inches. When we build the dieline for your windowed stand up pouches, three internal structural features dictate where the transparent window can sit cleanly on the front panel. At the top of the pouch, the impulse heat-seal header, V-cut tear notches and resealable press-to-close zipper occupy the upper 1.5 to 1.75 inches. At the left and right sides, the vertical perimeter heat welds take ¼ to ⅜ inch per side. At the bottom, the W-shaped gusset folds upward inside the lower 1.25 to 2.0 inches of the bag wall. Framing your window inside those four boundaries ensures the transparent film sits on the flattest, fullest part of the filled pouch.
- Top window boundary: keep the upper edge of the window at least 0.5 inches below your product's post-shipping settled fill line (and at least 1.75 to 2.0 inches below the top lip).
- Bottom window boundary: keep the lower edge of the window 1.25 to 2.0 inches above the bottom fold so the internal W-gusset seam stays hidden behind printed ink.
- Left & right side margins: leave at least 0.50 to 0.75 inches of printed frame on the left and right sides on knockout film pouches (or 0.75 inches on die-cut kraft window pouches).
- Bottom gusset windows: if you prefer a clear bottom gusset instead of a front window, keep the clear zone inside the inner gusset seal lines.
What are the standard window stand up pouch sizes from 2 oz to 5 lb?
Use the size chart below to match your target net weight and approximate fluid-ounce volume to proven outer pouch dimensions and recommended front window heights. Because light puffed snacks or freeze-dried fruit take up far more cubic volume per ounce than dense bath salts, nuts or hard candy, always verify by volume as well as weight. At CubitPack, every order is built to your exact Width × Height × Bottom Gusset and custom window shape with zero die or plate charges. Minimums depend on the product and are confirmed with your quote.
| Outer pouch size (W × H × G) | Typical dry weight & volume | Safe bottom window margin | Recommended window W × H | Common retail products |
|---|---|---|---|---|
| 4 × 6 × 2 in | 1 to 2 oz (8–12 fl oz) | 1.125 in above base | 2.5 × 1.5 in oval or band | Sample trail mix, gummies, tea, bath soak |
| 5 × 8 × 2.5 in | 3 to 4 oz (16–22 fl oz) | 1.25 in above base | 3.25 × 2.25 in window | Beef jerky bites, dog treats, dried fruit, nuts |
| 6 × 9 × 3 in | 8 to 12 oz (28–38 fl oz) | 1.50 in above base | 4.0 × 2.75 in arch or oval | Granola clusters, mini cookies, bath salts, candy |
| 7 × 10.5 × 3.5 in | 16 oz / 1 lb (48–60 fl oz) | 1.75 in above base | 4.75 × 3.5 in window | Artisan pasta, pretzel twists, coffee beans, oats |
| 8.5 × 12 × 4 in | 32 oz / 2 lb (85–105 fl oz) | 2.00 in above base | 6.0 × 4.0 in window | Family snack bags, cereal, pet kibble, Epsom salt |
| 10 × 14 × 5 in | 3 to 5 lb (150–210 fl oz) | 2.25 in above base | 7.0 × 5.0 in window | Bulk pet treats, bird seed mixes, wholesale grains |
How does product bulk density change the right pouch and window height?
Two products that both weigh 8 ounces on a scale can sit at completely different heights inside a 6 × 9 × 3 inch pouch. Eight ounces of coarse pink Himalayan bath salt or chocolate-covered almonds is dense and compact, filling only the lower half of the bag. Eight ounces of dehydrated apple rings, popcorn or freeze-dried beef liver treats is light and airy, filling the pouch nearly to the zipper. If you pack a dense, heavy item into a tall standard pouch, a centered window will expose empty space at the top. Instead, either choose a shorter, wider pouch footprint with a deeper bottom gusset so the product column rises higher, or position a horizontal belly-band window across the lower-middle third of the front panel where the dense product rests.
- Light, airy goods (freeze-dried treats, puffed snacks, herbal tea leaves, dried fruit chips): fill high in the bag; support tall vertical arch or gauge windows.
- Medium-density goods (granola, gummies, cookies, pasta, roasted nuts, jerky): fit standard oval, circle or custom mascot windows in the lower-center face.
- Dense, heavy goods (bath salts, sugar scrubs, hard candies, seeds, beans): sit low in the pouch; use a low horizontal strip window or step down one pouch height size.
Know your size? Compare pricing across up to 3 quantities.
Request a Quote →How wide should a horizontal band, oval or custom-shaped window be?
Window width depends on how the window is constructed. On polymer film pouches (such as our standard custom stand up pouches or custom snack pouches), the clear window is created by knocking out the white ink underbase rather than cutting the film with a blade. Because the barrier web remains one continuous sheet from left to right, you can run a horizontal belly-band window all the way across the front face from side seal to side seal. On custom kraft stand up pouches, by contrast, the window is physically die-cut out of the outer paper ply before the paper is laminated to the inner clear barrier film. To keep the outer kraft paper structurally rigid along the vertical edges, always leave at least 0.75 inches of solid kraft paper between the left and right edges of a die-cut window and the outer side edges of the pouch.
How can I test my window height with real product before printing?
You never have to guess where your settled fill line will land against your window artwork. When you send us your target pouch dimensions and net weight, our design team builds a free 2D dieline proof and an interactive 3D mockup showing the exact window cutout, bottom gusset fold height and top zipper track before you pay. To test physical fill volume on your own packing bench, order our $50 sample kit or a paid custom-printed prototype of your exact pouch size and window shape, both credited toward your full production order. Pour your exact weight into the sample bag, tap it to settle, and confirm that the product bed rises at least ½ inch above the top border of the window.
- Pour & settle test: fill the sample bag with your exact net weight and shake gently for 10 seconds.
- Check top coverage: verify at least 0.5 inches of product above the highest point of the clear window.
- Check bottom gusset: look straight at the lower edge of the window to confirm the internal W-fold is hidden.
- Approve 2D & 3D proofs: sign off on your flat dieline and 3D render before production begins.
What are the most common window stand up pouch sizing mistakes?
Avoid these five dimension and window-placement errors so your pouches always look full and clean on retail shelves
- Placing the top edge of the clear window above the post-transit settled fill line, which exposes an empty air gap at the top of the window.
- Dropping the bottom edge of the window into the lower 1.25 inches of the pouch, where the internal W-folded bottom gusset seam shows through.
- Sizing a pouch by weight alone without accounting for bulk density, putting dense bath salts in a tall bag made for airy puffed snacks.
- Running a die-cut window on a kraft paper pouch closer than 0.75 inches to the left and right heat seals.
- Forgetting that the top 1.5 to 1.75 inches of pouch height is occupied by the heat-seal header, tear notches and zipper track.
Packaging for this
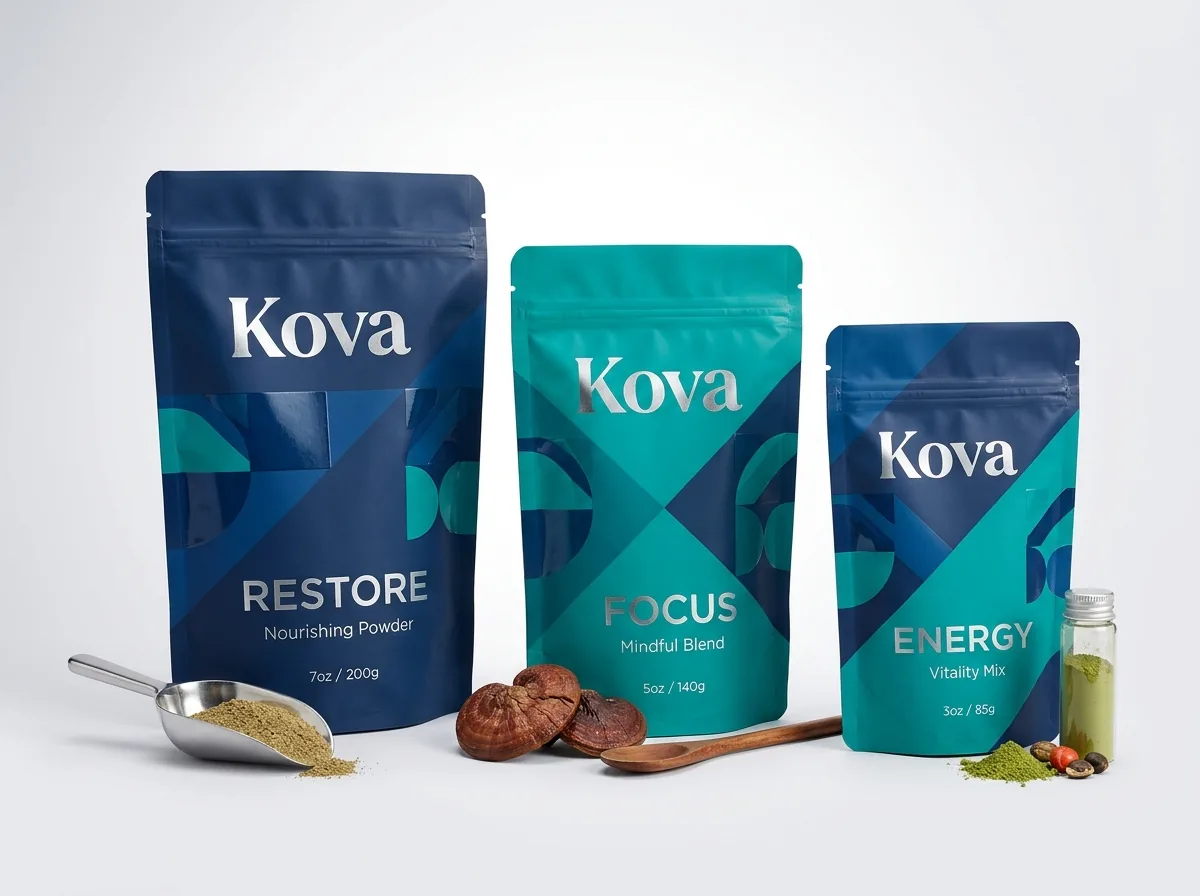
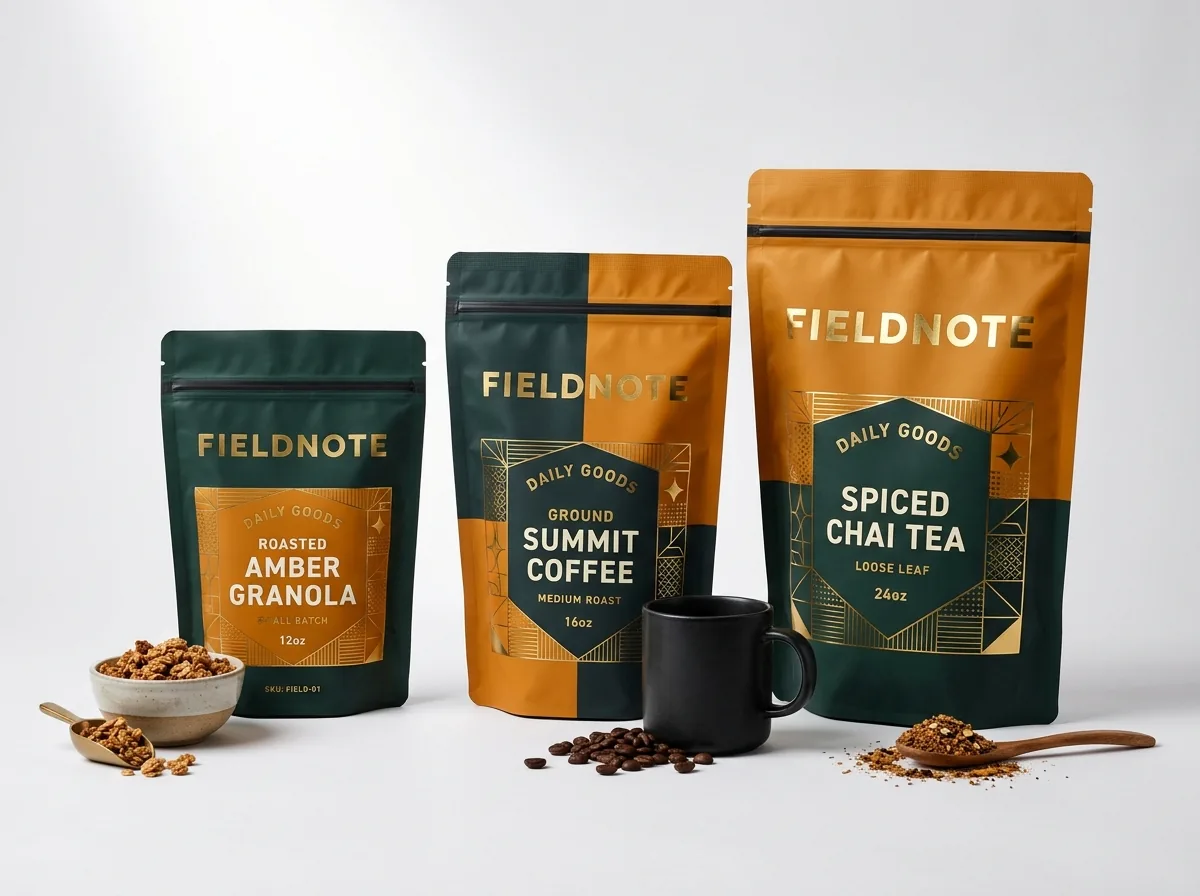
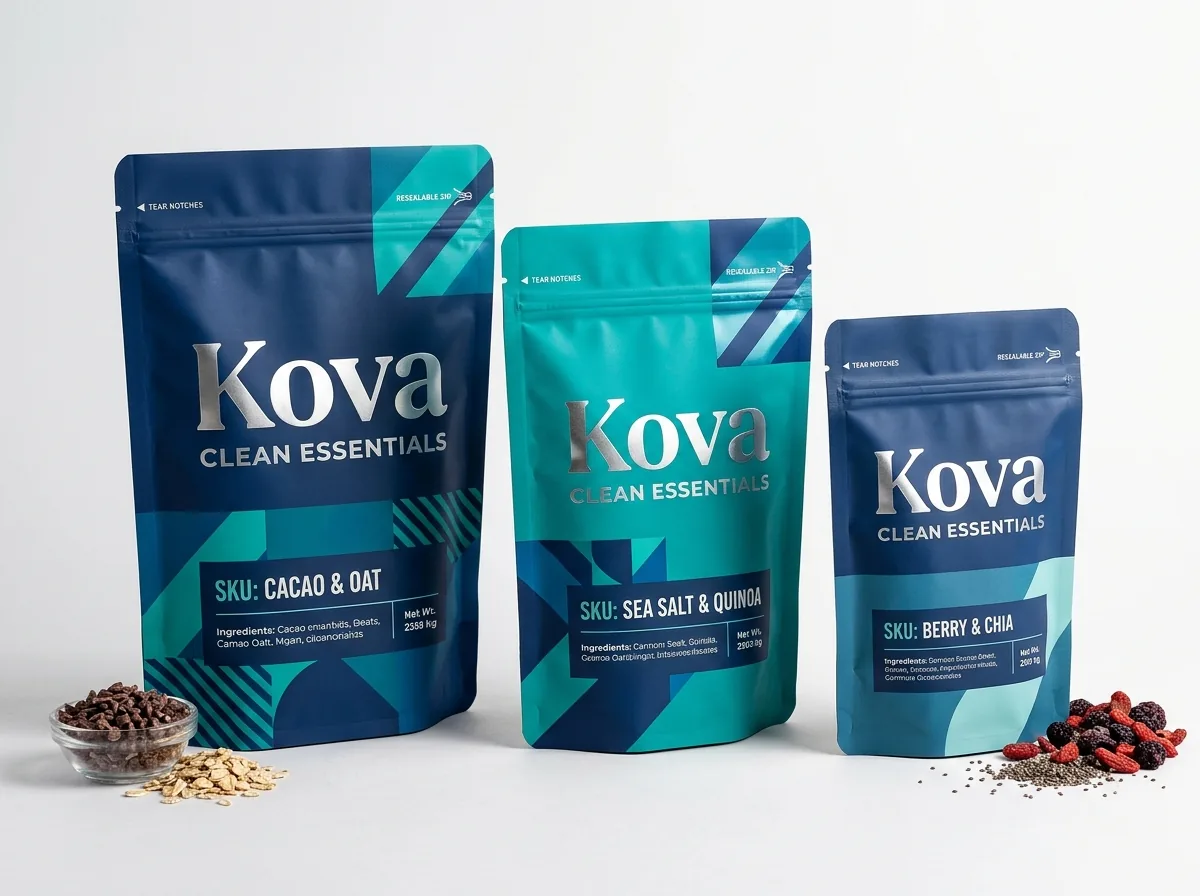
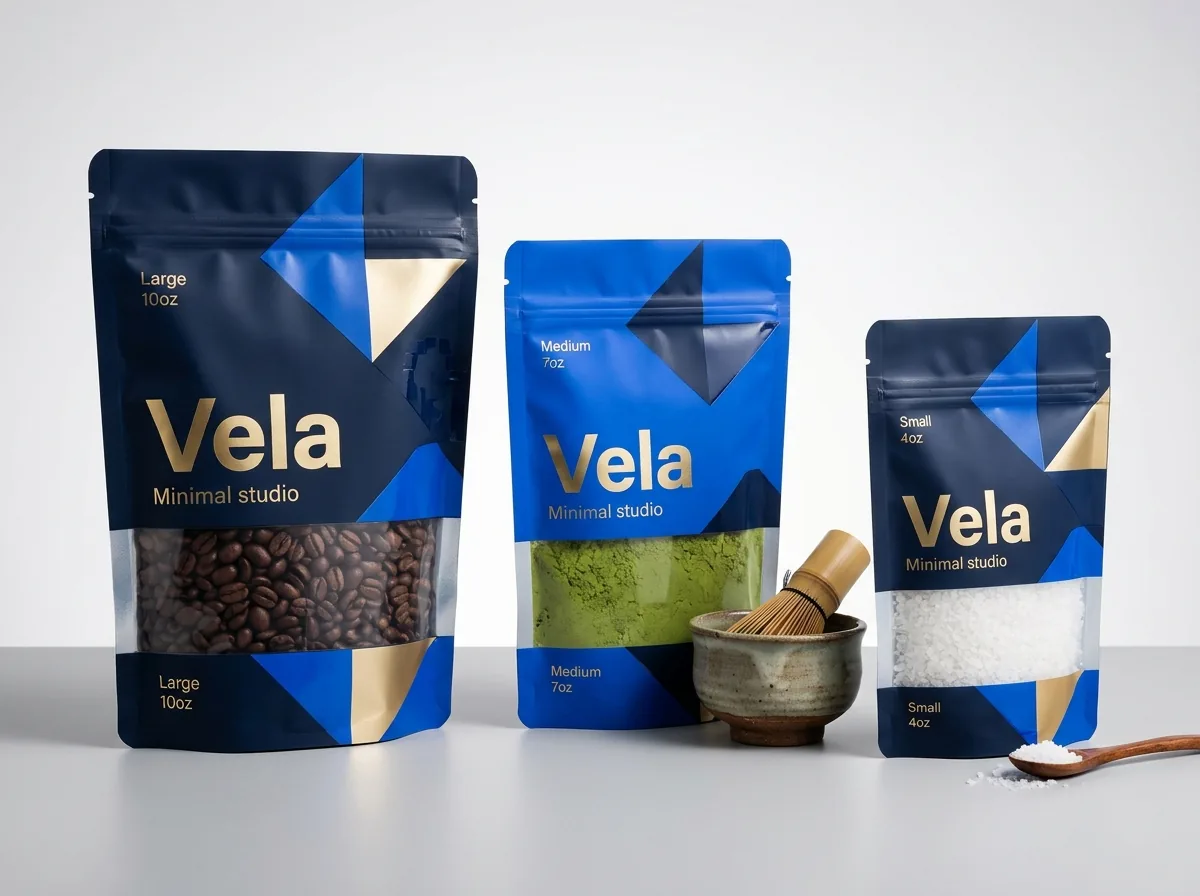
Ready to order stand up pouches with window? Compare up to 3 quantities with a free 3D mockup.
Request a Quote →Questions about stand up pouches with window
What size stand up pouch with window fits 8 oz of granola, nuts or bath salts?
The most popular outside size for 8 to 12 ounces of granola, roasted nuts, cookies or bath salts is 6 × 9 × 3 inches, paired with a 4.0 × 2.75 inch clear window positioned 1.5 inches above the bottom fold.
How do I stop my windowed stand up pouch from looking underfilled?
Test-fill a sample pouch with your target weight, tap it 15 times to simulate shipping vibration, measure the settled fill height from the bottom fold, and place the top edge of your clear window at least 0.5 inches below that line.
How far from the bottom of a stand up pouch should the window start?
Keep the bottom edge of your clear window at least 1.25 inches above the base on small pouches (4 × 6 in to 5 × 8 in) and 1.5 to 2.0 inches above the base on larger pouches so the internal W-folded bottom gusset stays hidden.
Are windowed stand up pouches measured by inside or outside dimensions?
Windowed stand up pouches are always specified by flat outside Width × Height × Bottom Gusset in inches. Subtract about ½ to ¾ inch from the width for side seals and 1.5 to 1.75 inches from the height for the zipper header.
Can I order a custom pouch size or custom window height with no die fee?
Yes. On clear barrier film pouches, both the outer pouch dimensions and the unprinted knockout window outline are custom-sized to your product with zero die or plate charges. Minimums depend on the product and are confirmed on your quote.
Can I test my window placement on a physical pouch before a full production run?
Yes. Every order includes a free 2D dieline proof and 3D mockup before payment, and you can order our $50 sample kit or a paid custom printed prototype of your exact pouch, both credited toward your full order.
Still have a question? Ask a packaging specialist.
Request a Quote →Request your stand up pouches with window quote
Tell us your size and quantities, and one dedicated account manager prepares pricing for each tier.
- Free design & AI-to-print studio + 3D mockup
- No die or plate charges · 4–5 day rush available
- Free shipping to all 50 states
- 10% off your first order
The outside pouch footprints, bottom gusset W-fold clearances and settled fill-line window margins in this guide come from standard flexible packaging converting rules. A CubitPack packaging specialist verified every size row. Spot something wrong? Tell us and we will fix it.
Sources
What changed
- October 22, 2026: First published.
- October 22, 2026: Updated specifications, terminology, and verified source links.
More guides
New packaging guides by email
Sizes, materials and design tips. Unsubscribe anytime.