
How do I design custom window shapes on stand up pouches with zero die fees?
Short answer: On polymer film custom stand up pouches with window, any custom window shape is created for free by knocking out your vector silhouette from the Spot White ink underbase layer and CMYK artwork layer. Add a 2 pt to 4 pt border stroke around the window to hide white-ink registration choke.
On this page
- How do you set up the Spot White underbase layer for a clear pouch window
- What custom window shapes work best by product category
- Can you print fine lines, tick marks or illustrations directly over the clear window
- How can you give every flavor SKU its own custom window shape in one order
- What drives the price of custom-designed window pouches and how do I get started
- Common mistakes
- FAQs
Request a custom quoteFree dieline & 3D mockup
When you design a paperboard folding carton with a custom window, a steel cutting die has to punch out the cardboard and a window-patching machine glues a separate piece of clear film behind it. On polymer film stand up pouches, the entire bag is already built from a continuous web of crystal-clear high-barrier film. Your window shape is simply the unprinted area where the printing press omits the opaque white ink underbase and colored inks. That means your designer can turn a fruit slice, honey drip, dog bone, cat paw, leaf, jar silhouette, vertical measuring gauge or brand monogram into the clear window at zero cutting-die cost. Setting up your Adobe Illustrator dieline with a clean Spot White underbase layer, a 0.015-inch registration choke, a 2 pt to 4 pt border stroke and proper settled fill-line coordinates ensures your custom window prints razor-sharp across every SKU.
How do you set up the Spot White underbase layer for a clear pouch window?
Because clear barrier film is completely transparent, CMYK process inks printed by themselves on clear film look translucent like stained glass. To make your pouch body solid and opaque, presses print a dense Double-Hit White ink layer behind all of your colored graphics while leaving your window shape 100% unprinted on custom printed window pouches. When preparing your vector artwork on a CubitPack dieline (or handing your sketch to our free design team), follow these four layer-setup steps so the printed frame is completely opaque and the window stays crystal-clear
- Step 1 (Draw your closed vector window path): place your custom window silhouette on a dedicated 'WINDOW' guide layer at least 1.25 inches above the bottom fold and 0.5 inches below the settled fill line.
- Step 2 (Create the 'SPOT_WHITE' underbase layer): fill the entire pouch dieline (front, back and bottom gusset) with a 100% Spot White swatch, then subtract (Pathfinder Minus Front) your exact window vector shape.
- Step 3 (Choke the white underbase by 0.015 in): inset the white ink edge 0.015 inch (1 pt) inside the colored artwork border so a tiny sliver of white ink never peeks out into the clear window.
- Step 4 (Add a 2 pt to 4 pt window border stroke): place a solid dark, contrasting or metallic stroke around the window perimeter on the CMYK/Pantone artwork layer to frame the transition cleanly.
What custom window shapes work best by product category?
Replacing a generic rectangle with a category-specific window silhouette turns the real texture and color of your product into part of the front illustration. A granola cluster looks like crunchy earth inside a mountain-range window; rainbow sour belts look like a smile inside a mascot mouth; baked dog biscuits fill out a bone cutout. Use the creative matrix below to pick a window silhouette, minimum stroke width and finish combination tailored to your product.
| Product category | High-converting custom window shapes | How the product completes the graphic | Recommended frame & window finish |
|---|---|---|---|
| Gummies, sours & confections | Fruit slice, cloud, splash, mascot belly or letterform | Bright candy colors fill the fruit or character outline | Soft-touch matte frame + crystal-clear gloss window |
| Granola, trail mix & nuts | Arch dome, leaf silhouette, mountain peak or mason jar | Whole nuts, seeds and oat clusters form a natural texture bed | Matte earth-tone film or die-cut brown kraft frame |
| Pet treats & dental chews | Dog bone, paw print, fish silhouette or heart cutout | Shoppers verify kibble or biscuit bite size for their pet | Matte frame + grease-resistant inner seal liner |
| Artisan pasta, grains & beans | Full-width horizontal belly band or vintage apothecary label | Shows bronze-die pasta ridges or heirloom bean colors edge to edge | Satin matte frame with a Spot UV gold border line |
| Bath salts, scrubs & botanicals | Vertical side measuring gauge, water droplet or botanical arch | Ounce/cup tick marks alongside the window show remaining soaks | Frosted matte window that diffuses overhead bathroom glare |
| Light-sensitive spices & teas | Narrow vertical slit or hidden clear bottom gusset lens | Lets buyers check leaf grade underneath while blocking store light | Opaque front/back print + clear bottom gusset knockout |
Can you print fine lines, tick marks or illustrations directly over the clear window?
Yes! Because a knockout window on polymer film is an unprinted area of continuous plastic rather than an open hole, you can print crisp opaque white or colored vector graphics right across the middle of the clear window. There is no danger of floating island pieces falling out like they would in a physical paper die cut. For example, on custom bath salt pouches or rice bags, we often print opaque white horizontal measuring lines ('4 Soaks Left', '2 Soaks Left') directly onto the clear vertical gauge window. On custom pet treat pouches or custom snack pouches, you can print a cartoon character's eyes and whiskers in opaque white + black ink right over the clear window so the crunchy treats inside form the character's furry face.
- Floating island graphics: letters, eyes, badges and measuring lines can sit inside the clear window with zero structural bridges.
- Minimum line weight over clear film: keep any text or line art printed over the window at least 1.5 pt thick and backed by Spot White ink.
- Avoid 5%–30% halftone tints on the window: use 100% solid vector shapes backed by white ink so floating elements read sharply against dark foods.
Know your size? Compare pricing across up to 3 quantities.
Request a Quote →How can you give every flavor SKU its own custom window shape in one order?
When brands launch a 4-flavor or 6-flavor product line in traditional die-cut cartons, changing the window shape from a strawberry on SKU 1 to a mango on SKU 2 requires buying a separate steel cutting die for every flavor. On film stand up pouches, the window shape is purely an ink layer. As long as all of your flavors share the exact same outer pouch dimensions (for example, 6 × 9 × 3 inches) and the same barrier film structure, you can give every single SKU in your multi-design run a completely different custom window outline at zero die cost. Select 2 designs or 3+ designs in our quote form, list your quantities per flavor, and our prepress team will build a custom 3D mockup for every SKU before payment.
What drives the price of custom-designed window pouches and how do I get started?
Your per-pouch unit cost is driven by four simple specs: outer Width × Height × Bottom Gusset dimensions, film structure (polymer knockout window vs die-cut kraft paper window), surface finishes (matte, gloss, soft-touch or Spot UV), and total combined order quantity across your SKUs. Window outline complexity on polymer film adds zero extra cost to your quote because no physical cutting blade is required. Even if you only have a rough pencil sketch or a brand logo file, CubitPack includes free design help with every order. Tell us what you pack, your target fill weight and what window shape you envision, and our prepress designers will build your Spot White underbase layer, flat 2D dieline proof and interactive 3D mockup before you pay. Plus, new customers get 10% off their first order, guaranteed Pantone color matching and free shipping to all 50 US states.
- Zero die or plate charges on any custom knockout window silhouette, from simple ovals to intricate mascot outlines.
- Group all flavors of the same bag size into one multi-SKU quote to reach lower per-unit price tiers.
- Give every flavor SKU its own custom window shape on clear barrier film at zero additional tooling cost.
- Order our $50 sample kit or a paid custom printed prototype (both credited to your full order) to test your window with real product.
- Review and approve your free 2D dieline proof and 3D mockup showing the exact window cutout before payment.
- Standard turnaround is 10 to 14 business days (with 4 to 5 business day rush available) and free shipping across all 50 US states.
What are the most common artwork mistakes on custom window stand up pouches?
Check these five prepress details before approving your windowed pouch dieline
- Forgetting to subtract the window shape from the Spot White underbase layer, which prints solid white ink across your window.
- Skipping a 2 pt to 4 pt border stroke around the window perimeter, leaving raw ink-registration edges visible.
- Printing dark text or a logo directly over the clear window without a Spot White backing, making the text disappear against dark foods.
- Using a soft blurred gradient edge around the window instead of a crisp 100% vector knockout boundary.
- Placing small fine-line corners (<0.125 in radius) on a physical die-cut kraft paper window where paper fibers can lift.
Packaging for this
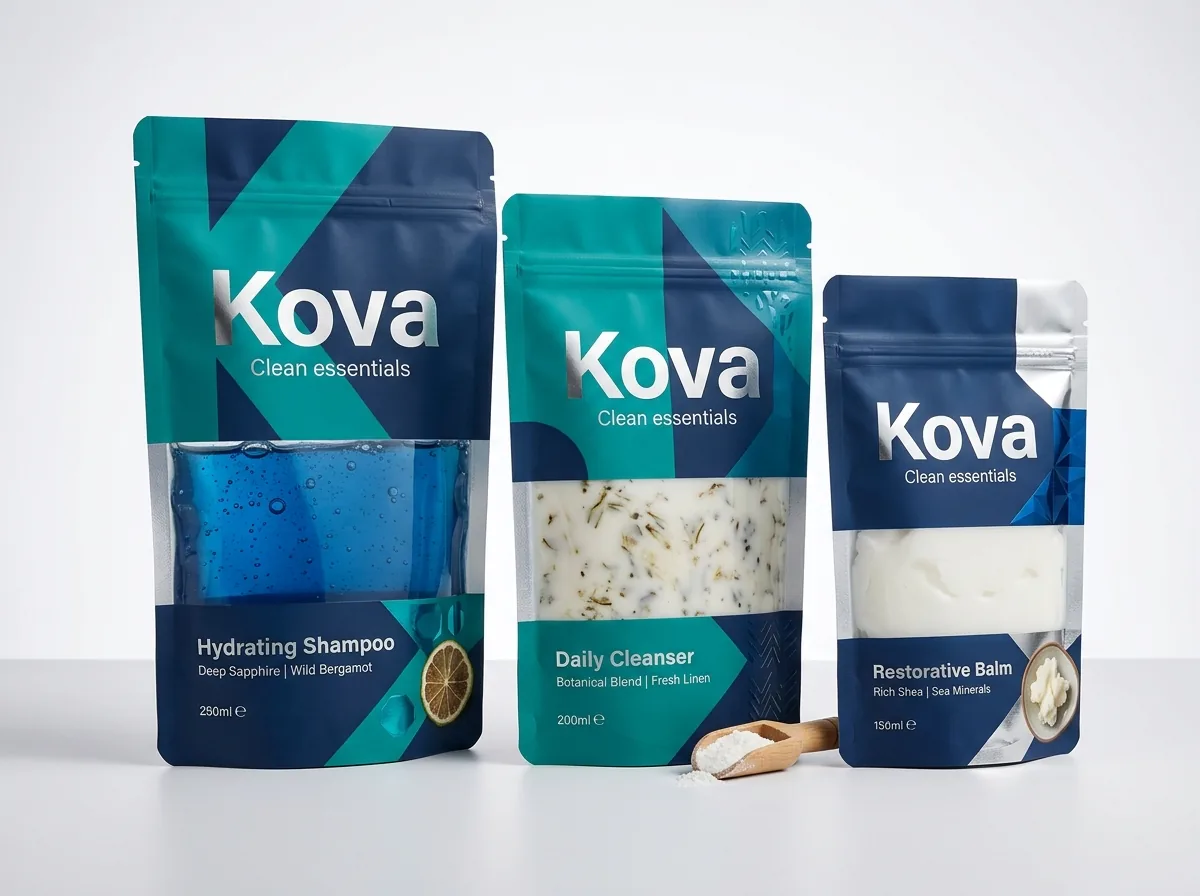
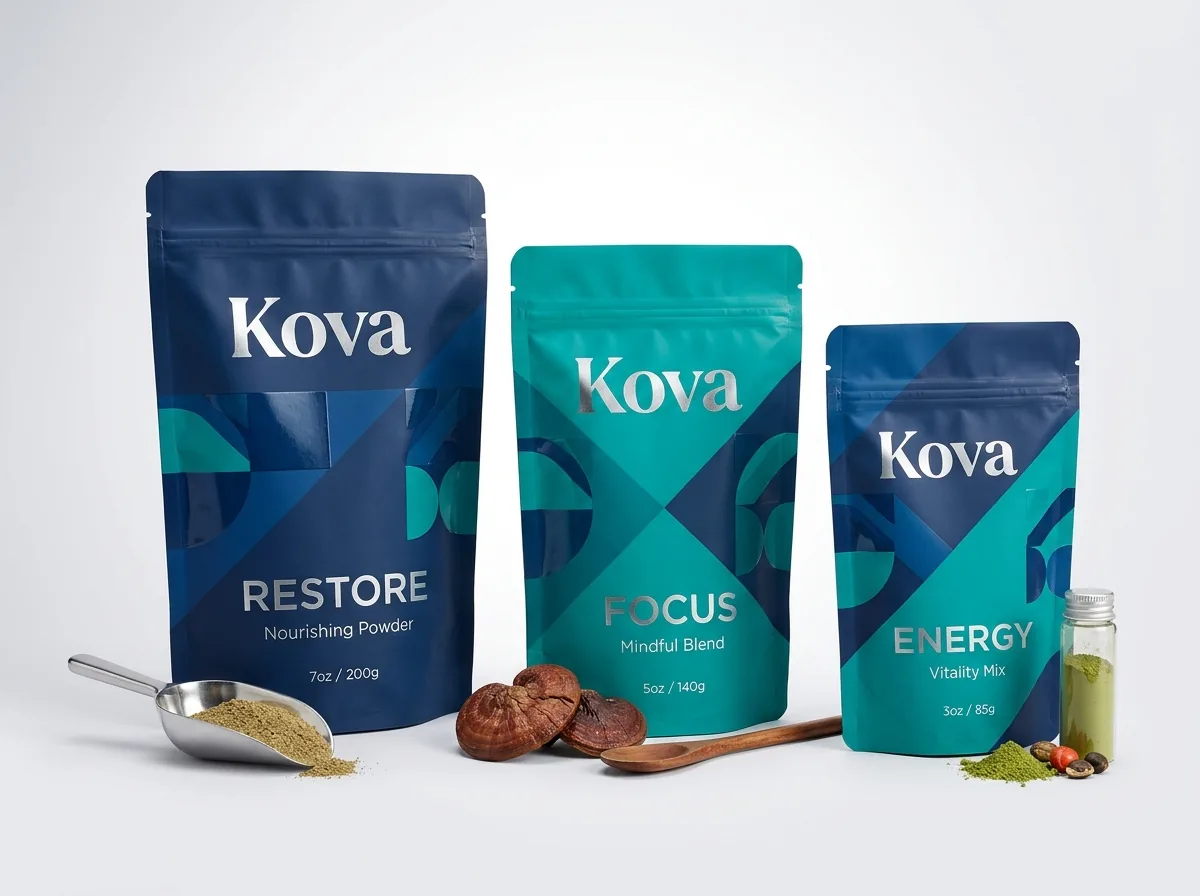
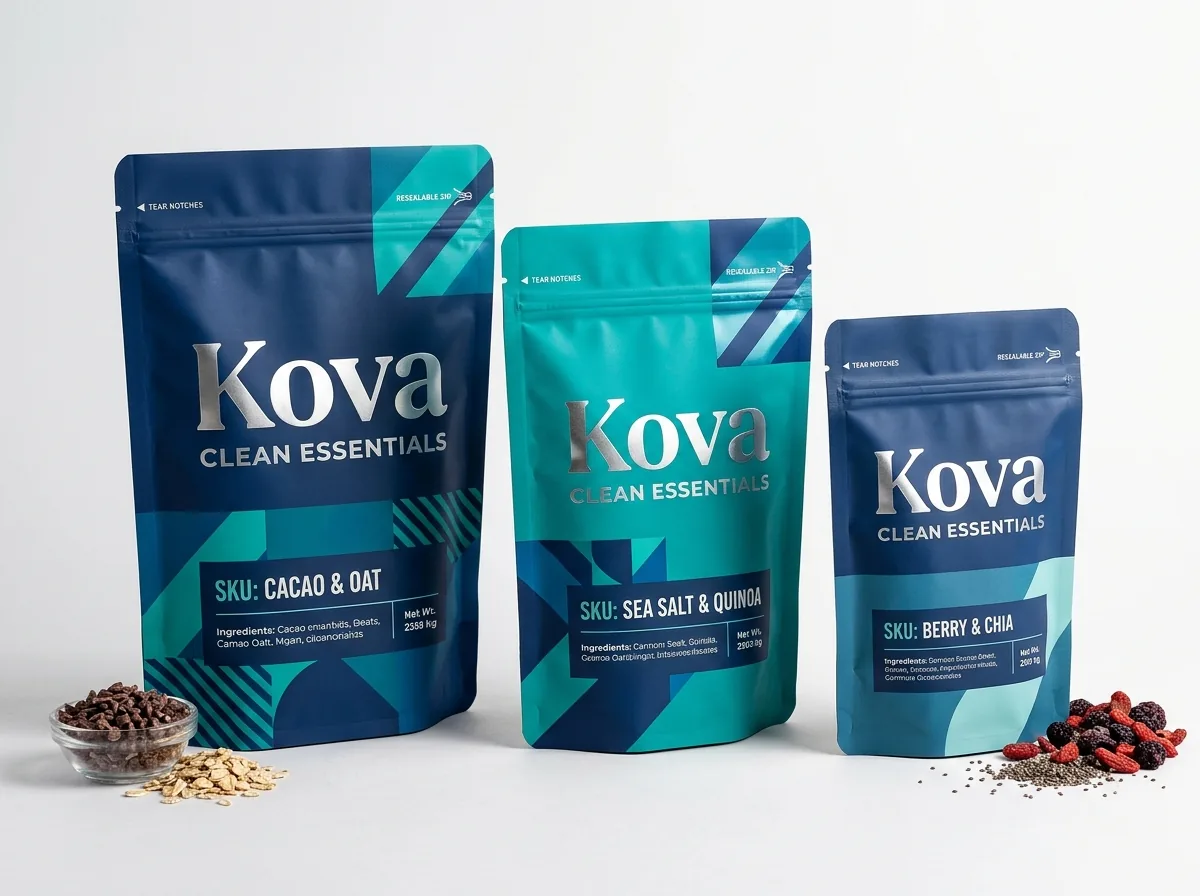
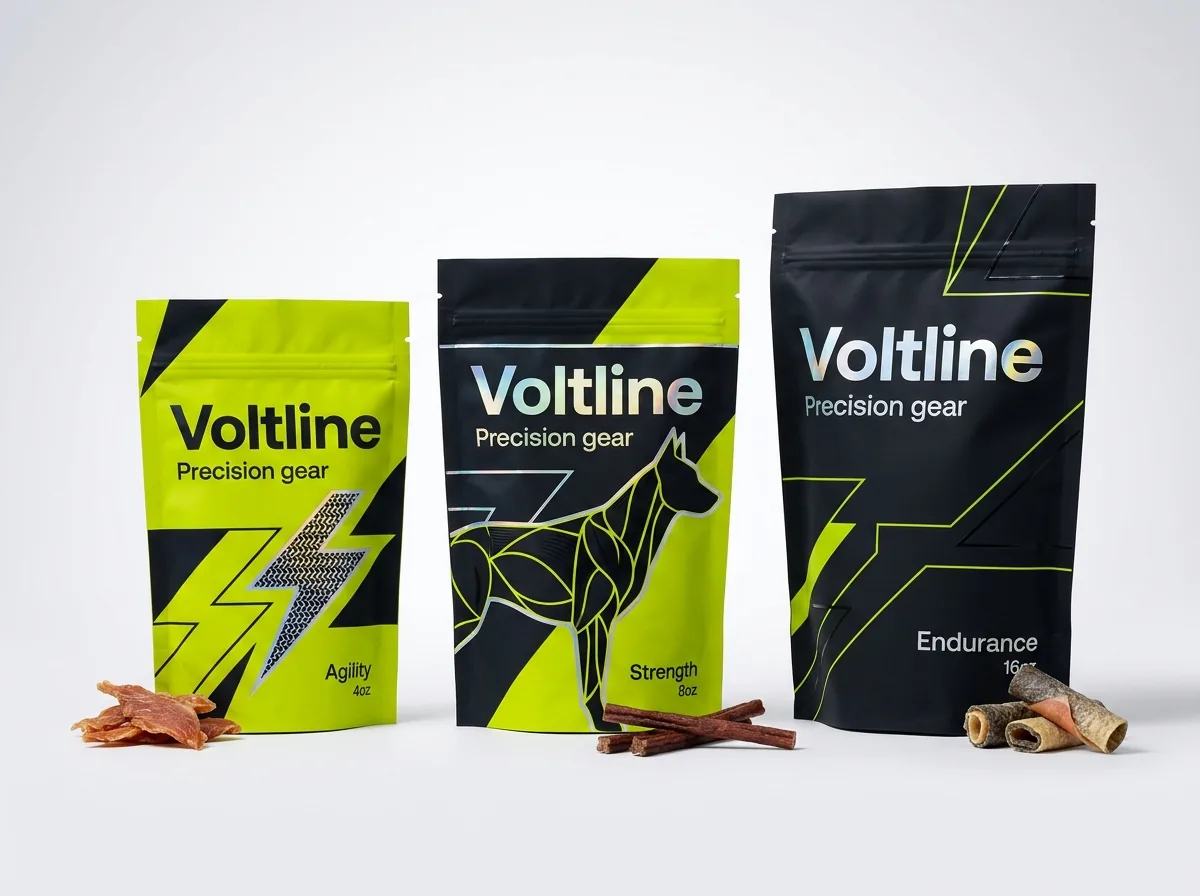
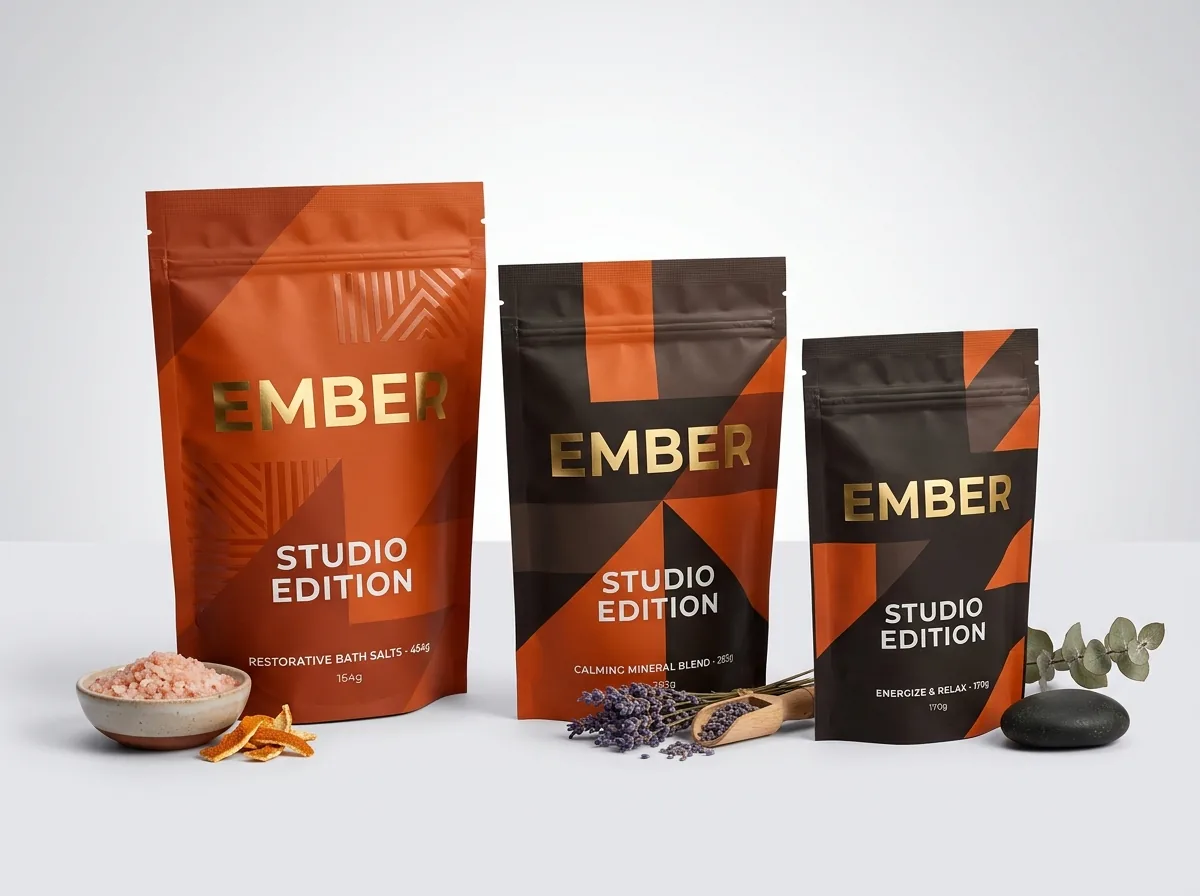
Ready to order stand up pouches with window? Compare up to 3 quantities with a free 3D mockup.
Request a Quote →Questions about stand up pouches with window
Do custom window shapes like a fruit, bone or leaf cost extra on film pouches?
No. On polymer film stand up pouches, the clear window is created by leaving an unprinted knockout area in the white ink underbase and color layers. Because no steel cutting blade is used, any custom window shape has zero die charges.
How do I indicate where the clear window goes in my Adobe Illustrator file?
Place your closed vector window outline on a separate layer named 'WINDOW'. Our prepress team will automatically knock that exact shape out of the Double-Hit Spot White underbase layer and show you the result on a 2D proof and 3D mockup.
Can I print a logo or measuring lines right in the middle of the clear window?
Yes. Because the clear barrier film runs continuously across the window on polymer pouches, we can print floating logos, character eyes or ounce/cup gauge lines right over the window, backed by Spot White ink so they stay opaque.
Can each flavor in my order have a different window shape at no extra cost?
Yes, on polymer film pouches. As long as your SKUs share the same outer Width × Height × Bottom Gusset and laminate structure, each flavor can feature its own unique ink-knockout window silhouette in the same multi-design run.
Why do you recommend a border stroke around a knockout pouch window?
During multi-color printing, the white ink underbase is slightly inset ('choked' by about 0.015 in) so white ink never peeks into the clear window. Adding a 2 pt to 4 pt colored or metallic stroke covers that seam cleanly.
What if I don't have a designer to set up the Spot White underbase layer?
You don't need one. Every CubitPack order includes free design help. Send us your logo, colors and a note describing the window shape you want, and our designers will build the dieline, white underbase and 3D mockup for free.
Still have a question? Ask a packaging specialist.
Request a Quote →Request your stand up pouches with window quote
Tell us your size and quantities, and one dedicated account manager prepares pricing for each tier.
- Free design & AI-to-print studio + 3D mockup
- No die or plate charges · 4–5 day rush available
- Free shipping to all 50 states
- 10% off your first order
The Spot White underbase knockout steps, 0.015-inch registration choke rules and floating window graphic guidelines in this article come directly from our flexible packaging prepress checklist. A CubitPack packaging specialist reviewed every section. Spot something wrong? Tell us and we will fix it.
Sources
What changed
- October 22, 2026: First published.
- October 22, 2026: Updated specifications, terminology, and verified source links.
More guides
New packaging guides by email
Sizes, materials and design tips. Unsubscribe anytime.