
How do you design custom mylar bags: finishes, windows and print setup?
Short answer: Build your custom mylar bag artwork on a vector dieline in CMYK or Pantone spot colors with ⅛ inch bleed, keep all text and barcodes ⅜ inch inside heat-seal edges and below the zipper track, and use a dedicated White Ink Underbase vector layer to control opaque colors, metallic foil knockouts and clear windows.
On this page
Request a custom quoteFree dieline & 3D mockup
Designing for flexible barrier film is different from designing for white paperboard because the base substrate is often reflective silver metallized film or crystal-clear barrier film. Since standard CMYK inks are translucent, printers lay down an opaque White Ink Underbase layer first wherever colors need to look solid. By knocking out (leaving blank) specific vector shapes on that white ink plate, you can let the silver film shine through CMYK yellow or magenta to create metallic gold, rose-gold or chrome foil effects, or knock out both white and CMYK on clear film to create a custom window in any shape at no extra die cost. Add matte, gloss or velvety soft-touch outer lamination plus optional Spot UV to set the tactile feel, and review your free 2D dieline proof and 3D mockup before payment at CubitPack.
How does the white ink underbase layer create metallic foil and clear windows?
When you print on white cardstock, the paper provides a built-in white background under your inks. Flexible custom mylar bags work differently: the barrier web is frequently silver metallized BoPET film or transparent high-barrier film. Because standard CMYK process inks are semi-transparent, printing them straight onto silver film gives every color a metallic tint, while printing them straight onto clear film looks translucent like stained glass. To give you complete control over opacity, our prepress team uses a fifth print plate called a White Ink Underbase. Anywhere the white underbase prints at 100% density first, the 300 DPI CMYK or Pantone inks on top look solid, bright and true to your brand guide. Wherever you knock out (omit) the white ink layer, you unlock signature metallic or clear window effects across the bag without paying for hot-stamping dies or window patching. Leaving at least a 0.375 inch (⅜ in) solid printed border around any clear window knockout also hides the 0.25 inch perimeter heat-seal weld.
- Opaque brand colors: place 100% White Ink Underbase behind photos, pastel backgrounds, nutrition panels and small typography.
- Metallic foil knockout (on metallized film): omit the white underbase behind logos, badges or borders; leave CMYK blank for mirror-silver foil, or print yellow and magenta directly over bare silver film to create metallic gold, bronze or rose gold.
- Custom clear window knockout (on clear barrier film): print a solid white underbase plus CMYK across the bag body, and omit both white and CMYK inside any vector shape to create custom mylar bags with a window.
- Scannable barcode box: always put a 100% opaque white underbase rectangle behind your UPC barcode with pure 100% black bars (0C 0M 0Y 100K) so retail laser and camera scanners read it cleanly.
Should you choose matte, gloss, soft-touch or spot UV on your mylar bag?
On a custom printed mylar pouch, the ink layer is never exposed on the exterior surface where moisture, oils or warehouse friction could scratch it. Instead, the printed layer is buried beneath a protective outer film lamination. That outer finish determines how the bag feels in a customer's hand and how it reflects studio and grocery store lighting. Use the table below to compare our five main surface finishes and how each one interacts with metallic knockouts and brand photography.
| Surface finish | Visual & tactile feel | Effect on metallic knockout zones | Best product categories |
|---|---|---|---|
| Matte lamination | Smooth, low-glare satin surface that hides fingerprints and photographs without hotspots | Turns bare metallic zones into a brushed anodized aluminum or satin gold finish | Coffee, tea, supplements, gourmet snacks, pet treats |
| Gloss lamination | High-shine mirror surface that deepens blacks and makes fruit or neon colors pop | Gives knocked-out metallic areas a bright, mirror-like chrome or foil shine | Candy, gummies, kids snacks, freeze-dried fruit, bold merch |
| Soft-touch lamination | Velvety peach-skin tactile coating that feels noticeably plush in the hand | Creates a muted, ultra-smooth satin metallic glow on bare foil accents | Skincare masks, bath soaks, adaptogen powders, specialty roasts |
| Matte + Spot UV | High-gloss UV coating applied strictly over your logo or pattern on a matte bag | Combines glare-free nutrition text readability with high-contrast glossy highlights | Limited-edition drops, gift packs, botanicals, functional drinks |
| Holographic / Foil | Rainbow prism reflection or stamped foil accents | Reflects shifting rainbow spectrums wherever white underbase is knocked out | Confections, collectibles, gaming snacks, novelty releases |
Where are the keep-out zones on a custom mylar bag dieline?
Unlike a flat label or postcard, a custom stand-up pouch or custom flat pouch goes through heated sealing jaws, zipper welding, V-notch punching and bottom gusset folding during conversion. Background colors and repeating patterns should bleed ⅛ inch (0.125 in) past every outer cut line so no unprinted edge shows, but critical text, logos and barcodes must stay inside the safe interior zones. Before placing your typography on a CubitPack dieline template, check four mechanical zones on the front, back and bottom gusset panels. Keeping small ingredient lists and regulatory icons out of these active weld and fold bands ensures your package looks crisp even after filling and shipping.
- Left and right side heat seals (¼ to ⅜ inch wide): heated jaws crimp a flat or waffle weld along both vertical edges; bleed background colors across the seam, but keep text at least ⅛ inch inside the inner seal line.
- Top zipper track and tear notches (1.25 to 1.5 inches from top lip): the zipper weld creates a horizontal ridge across both faces and V-notches are punched on the left and right edges above it; keep your main logo below the zipper line.
- Hang hole punch zone (centered in the top header): if adding a round or sombrero euro hang hole, leave a ¼ inch text-free buffer ring around the punch outline.
- Bottom gusset fold curve: when a stand-up pouch fills and expands at the base, the bottom ¾ inch of the front and back panels curves inward; keep your Nutrition Facts box and net-weight statement above that lower curve.
Know your size? Compare pricing across up to 3 quantities.
Request a Quote →What is the prepress checklist before submitting custom mylar bag artwork?
Running through a five-point prepress check guarantees that your digital proof is ready on the first round. If you already have print-ready vector artwork, upload your Adobe Illustrator (.ai), EPS or PDF file in Step 2 of the quote form. If you only have a logo or rough concept, free design help is included with every order, or you can use our $250 full brand identity service ($50 when ordered with packaging). Before production starts, you receive a free 2D dieline proof showing your CMYK artwork, Pantone spot colors, white underbase plate and Spot UV mask, plus an interactive 3D mockup before payment. Pantone color matching is guaranteed whenever you specify Pantone Solid Coated (PMS C) swatches. If you are rolling out four or five flavors in the same pouch size, building every SKU on the same master Illustrator template keeps your nutrition table, barcode and front brand badge aligned to the millimeter across the whole shelf.
- Outline all fonts (Create Outlines in Illustrator) so typography never shifts.
- Embed all linked raster images at 300 DPI or higher at 100% print scale in CMYK color mode.
- Place White Ink Underbase, Spot UV and Window Knockout shapes on separate, named vector layers set to Overprint.
- Keep fine reversed-out (knockout) ingredient text at 6 pt or larger so dark background ink never fills in tiny letters.
- Verify bottom gusset orientation arrows so any bottom-panel barcode or lot stamp box faces the right direction when folded.
What are the most common custom mylar bag artwork mistakes?
Our prepress specialists check every file for these five layout errors before sending your free digital proof
- Printing a UPC barcode directly over bare metallic film without a solid white ink underbase box, which makes laser scanners fail at retail checkout.
- Placing the front net-weight line or Nutrition Facts panel too low on a stand-up bag so it disappears into the bottom gusset curve when the pouch is filled.
- Putting critical headline text right across the horizontal zipper track at the top 1.5 inches of the pouch where the heat weld distorts letters.
- Designing a clear window knockout that touches the side heat-seal seams or bottom gusset fold instead of leaving a ⅜ inch printed border.
- Using tiny 4 pt knockout text in four-color rich black, which can close up on flexible film; use 6 pt or larger type with single-ink black on a light panel.
Packaging for this
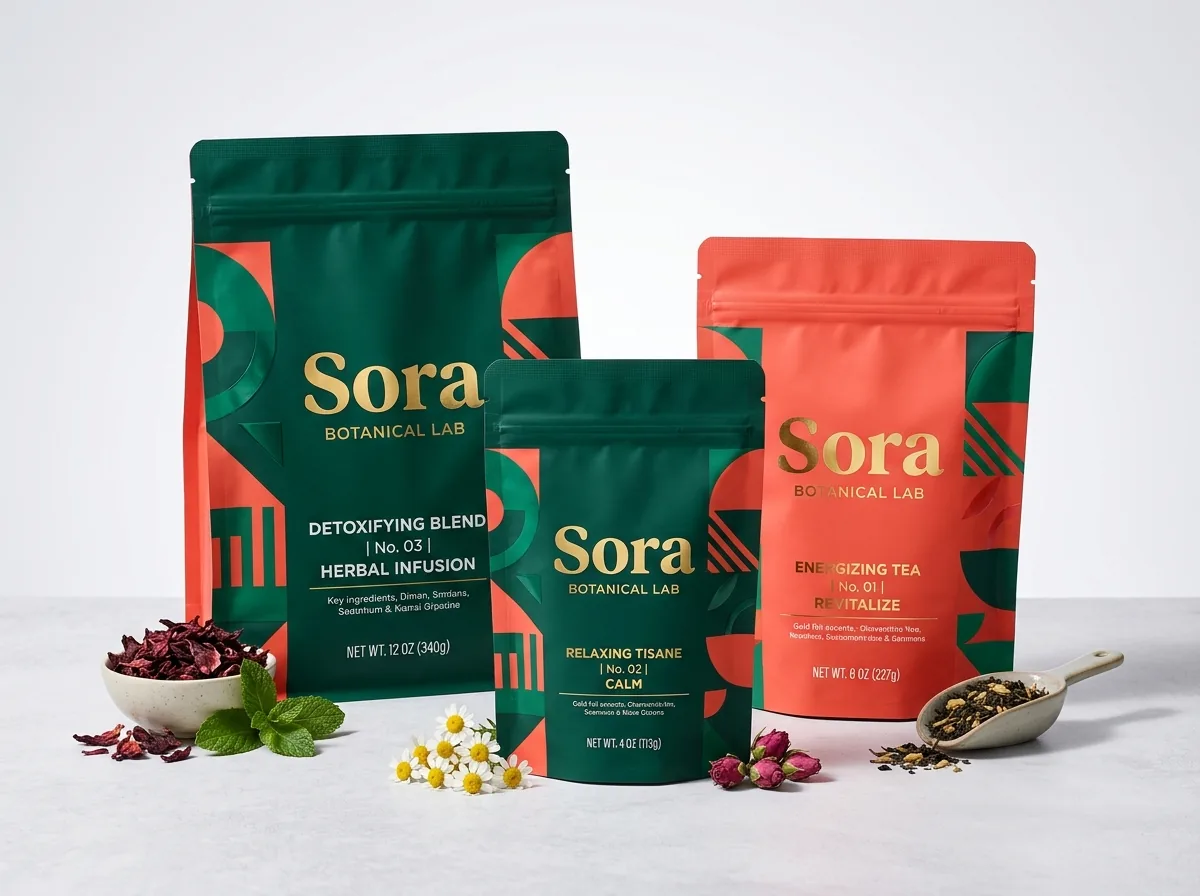
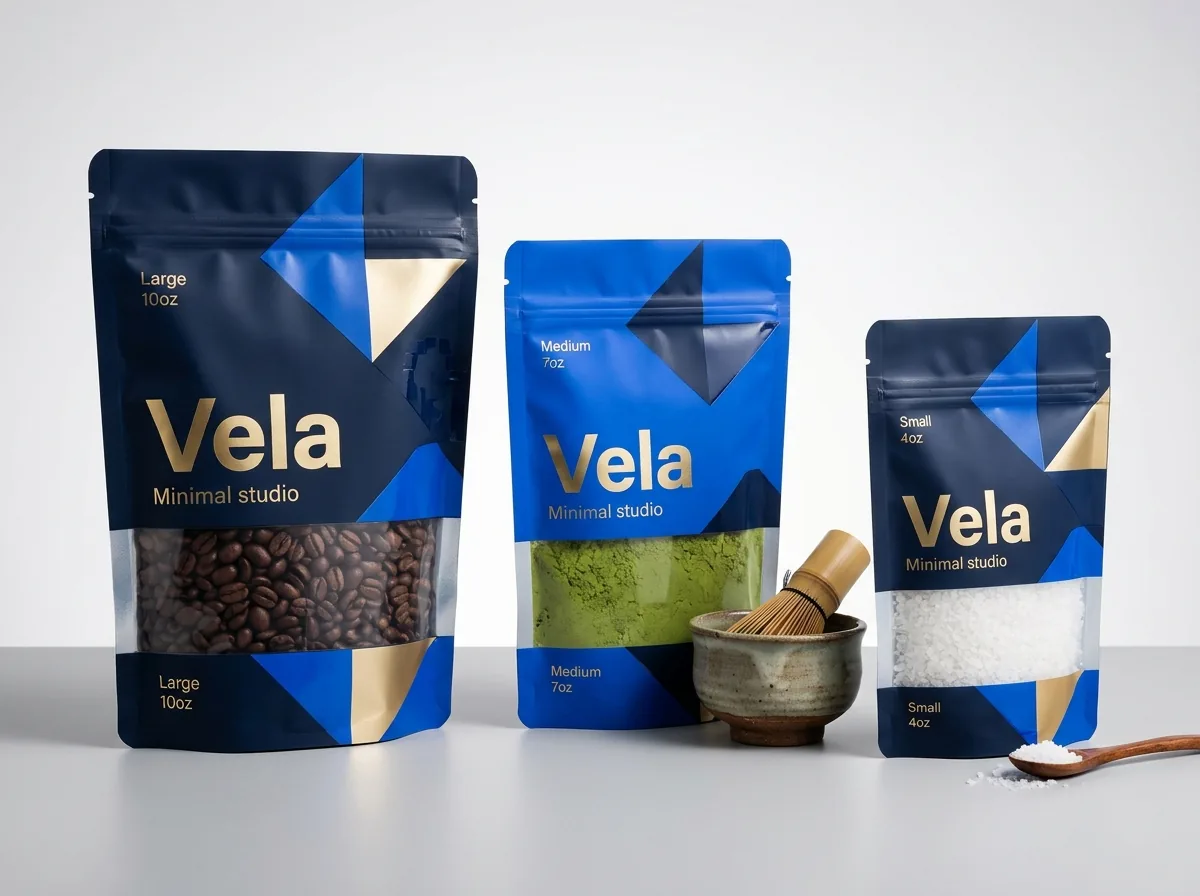
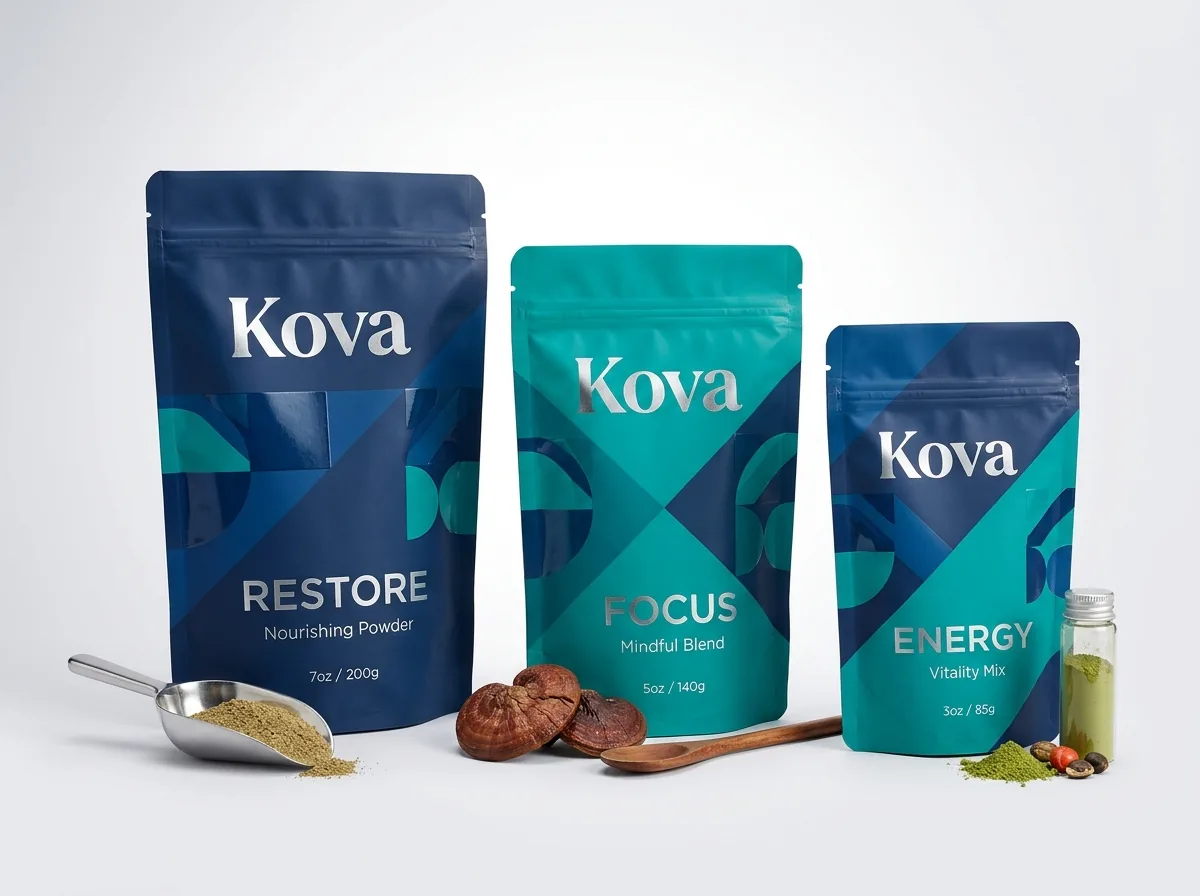
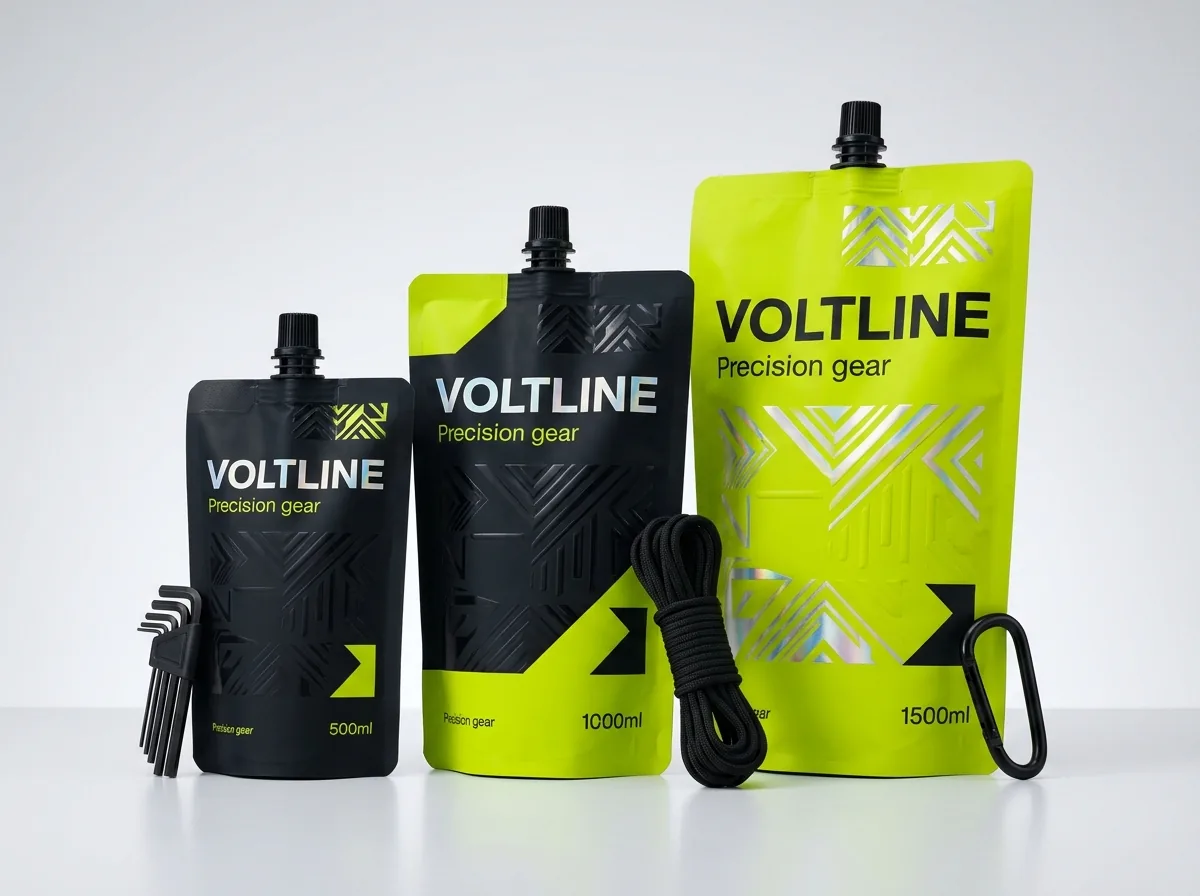
Ready to order mylar bags? Compare up to 3 quantities with a free 3D mockup.
Request a Quote →Questions about mylar bags
What file format should I submit for custom mylar bag printing?
Vector Adobe Illustrator (.ai), EPS or editable print-ready PDF files work best, with fonts outlined and embedded photos at 300 DPI in CMYK. If you only have a PNG or logo file, free design help is included with every order to build your dieline.
Does it cost extra to print full color across the entire mylar bag?
No. Edge-to-edge full-color CMYK printing across the front, back and bottom gusset is standard, and we never charge die or plate fees. Pantone color matching is also guaranteed when specified.
How do I indicate where I want a clear window or metallic foil on my pouch?
Create a separate vector layer in your Illustrator file named White Underbase or Window Knockout, or write a quick note when uploading your artwork in the quote form. Our prepress team will build the exact white ink and Spot UV plates and show them on your free 2D and 3D proofs before payment.
Can I combine matte lamination, metallic foil accents and Spot UV on one bag?
Yes. One of our most popular configurations prints selective white ink on metallized film (so knocked-out badges look like satin gold foil), laminates the pouch in matte or soft-touch film, and adds high-gloss Spot UV over the main logo.
Can I order multiple flavor designs in the same custom mylar bag size?
Yes. Keep the exact same Width × Height × Gusset across all your flavors and select 2 designs or 3+ designs in Step 2 of the quote form so we can price your multi-SKU run together.
Can I see a physical printed sample of my design before the full run?
Every order includes a free 2D digital proof and 3D mockup before payment. You can also order our $50 sample kit or a paid custom printed sample of your own pouch design, both credited toward your full order.
Still have a question? Ask a packaging specialist.
Request a Quote →Request your mylar bags quote
Tell us your size and quantities, and one dedicated account manager prepares pricing for each tier.
- Free design & AI-to-print studio + 3D mockup
- No die or plate charges · 4–5 day rush available
- Free shipping to all 50 states
- 10% off your first order
The prepress specifications, white ink underbase rules and heat-seal margin allowances in this guide follow standard flexible pouch converting practices. A CubitPack prepress specialist reviewed every checklist item. Spot something wrong? Tell us and we will fix it.
Sources
What changed
- October 22, 2026: First published.
- October 22, 2026: Updated specifications, terminology, and verified source links.
More guides
New packaging guides by email
Sizes, materials and design tips. Unsubscribe anytime.