
How do I design custom spout pouches for liquids and purees?
Short answer: To design leak-free custom spout pouches, keep text 0.75 in clear of the canoe spout weld and 0.375 in inside side heat seals, match top seal geometry to your filling method, add a white ink knockout for a clear volume gauge, and round all corners.
On this page
- How do I set up artwork safe zones around the spout weld and bottom gusset
- How does through-the-spout filling vs open-top filling change my pouch design
- Which barrier film, finish and clear window design work best for liquids
- Why should every custom spout pouch include rounded corners and the right cap
- What pre-press checklist should I run before approving my spout pouch proof
- Common mistakes
- FAQs
Request a custom quoteFree dieline & 3D mockup
Designing custom spout pouches for liquids, purees, gels and refills requires coordinating your artwork layout with the physical mechanics of liquid filling and heat sealing. As soon as a pouch fills with liquid, the bottom gusset expands into a 3D oval base and the top shoulder narrows toward the rigid plastic canoe fitment. To keep graphics sharp and seals liquid-tight, keep all text and logos at least 0.75 inches below the spout weld zone and 0.375 inches inside the side seal margins, confirm early whether your filler pumps through the uncapped spout neck or an open top film seam, choose foil or high-barrier clear laminate with a vertical fill-level gauge strip, and specify rounded die-cut safety corners and carry handles at zero die or plate charge from CubitPack, with a free 2D dieline proof and 3D mockup before payment.
How do I set up artwork safe zones around the spout weld and bottom gusset?
When a flat flexible pouch fills with liquid, the lower 20 percent of the front and back panels curve inward to form the standing bottom gusset, while the upper shoulder gathers around the rigid plastic canoe fitment. Structuring your custom printed spout pouches dieline around those three-dimensional curves prevents warped logos, unreadable barcodes and crimped text on the finished bag. Extend background colors 0.125 inches past all outer cut lines for bleed, and keep critical copy at least 0.375 inches inside the left, right and bottom heat-seal margins because liquid pouches use wider structural weld seams than dry snack pouches. Around the top-center or 45-degree corner spout, reserve a 0.75-inch keep-out zone so the heated ribbed welding jaws that fuse the plastic canoe base between the films never stamp across typography or mandatory regulatory text. Placing your main brand mark and flavor title in the middle 60 percent of the front panel ensures the artwork sits on the flattest vertical face once filled.
- Canoe fitment weld zone (top 0.75 in): let background color bleed through, but keep all text and logos out of the spout crimp area.
- Side and bottom heat seals (0.25 to 0.375 in): keep nutrition boxes, ingredients and regulatory copy inside the inner safe line.
- Primary billboard zone (middle 60% of height): center your brand logo, flavor name and net fluid volume on the flattest belly of the pouch.
- Vertical barcode placement: orient your UPC barcode vertically (ladder style) on the upper-middle back panel so checkout scanners read across a flat line.
How does through-the-spout filling vs open-top filling change my pouch design?
Before our packaging team builds your free 2D dieline proof, check with your co-packer (or in-house filling line) to confirm how liquid enters the bag. There are two standard converting configurations, and each requires a different top seal setup. In through-the-spout filling, CubitPack heat-seals all four sides of the pouch and welds the spout fitment in place; pouches ship either on carrier rails with caps packed separately in poly-lined cartons or with caps loosely threaded. Your filler inserts a nozzle straight into the spout neck, pumps in the liquid, and torques the tamper-evident cap until the ratchet ring locks. In open-top filling, we weld the spout and torque the cap closed during production, leaving an unsealed top film channel open so your filler can dispense liquid through the top seam and band-seal it shut.
- Ask your co-packer whether they fill through the uncapped spout throat or through an open top film channel next to the spout.
- Confirm spout neck flange dimensions and carrier rail slot width if your filler uses automated spout rails.
- Specify bulk-bagged caps for automatic vibratory cap feeders or pre-threaded caps according to your capping machine.
- Share your filling and processing temperatures (ambient, cold-fill, hot-fill, pasteurization or freezer) so we match the film adhesive and sealant layer.
Which barrier film, finish and clear window design work best for liquids?
Liquid spout pouches use a laminated stack of 3 to 4 films: a durable outer print film, a middle barrier core (aluminum foil, metallized film or high-barrier clear nylon/EVOH), and a thick inner liquid-grade LLDPE sealant layer. Food-safe inner barrier liners and low-odor inks are available on request through our certified partner facility. If you pack oxygen- or light-sensitive products like custom baby food spout pouches or vitamin shots, an aluminum foil core blocks 100 percent of UV light and oxygen. If you pack colorful smoothies in custom drink spout pouches, glazes in custom sauce spout pouches or soaps in custom refill spout pouches, pick a high-barrier clear laminate and leave a 0.25-inch vertical strip unprinted in the white ink underbase layer to create a built-in fill-level gauge.
| Liquid product category | Recommended barrier core | Window / gauge style & exterior finish |
|---|---|---|
| Baby food purees & applesauce | Opaque foil or high-barrier clear | Fruit-shaped front peek window · Matte finish for easy grip |
| Frozen slush cocktails & drinks | Freezer-grade nylon / PE barrier | Clear lower window showing slush ice · Gloss or metallic sheen |
| Culinary sauces, glazes & oils | Foil or clear oxygen-barrier film | 0.25 in vertical side volume gauge · Matte + Spot UV logo |
| Soap, shampoo & cleaner refills | Moisture & chemical-resistant PE/PET | Side fill-level strip with oz tick marks · Soft-touch or satin matte |
Know your size? Compare pricing across up to 3 quantities.
Request a Quote →Why should every custom spout pouch include rounded corners and the right cap?
When filled 16 oz or 32 oz liquid pouches vibrate inside a corrugated shipping case during parcel delivery, standard 90-degree square film corners act like stiff plastic blades that can abrade or pinhole neighboring pouches. Specifying die-cut rounded corners (typically a 0.25-inch to 0.375-inch corner radius) eliminates sharp film points at zero die charge. On heavier 32 oz and 64 oz refill pouches, you can also add a reinforced die-cut two-finger carry handle in the upper seal margin opposite the corner spout at no tooling cost. Pair your pouch body with the cap style that fits your customer and product category: ratcheting tamper-evident screw caps whose lower ring snaps loose on first opening, oversized ventilated choke-safe caps for infant and toddler purees, or one-handed flip-top dispensing caps for culinary sauces, dressings and lotions.
What pre-press checklist should I run before approving my spout pouch proof?
Every custom spout pouch order at CubitPack includes free design help plus a 2D dieline proof and interactive 3D mockup before payment so you can inspect every seal margin, spout weld and window knockout before press plates or digital files are locked. Minimums depend on the product and are confirmed with your quote, and standard production takes 10 to 14 business days (with 4 to 5 business day rush available) and includes free shipping to all 50 US states. Review these five pre-press items with your designer before signing off on your proof
- 0.75-inch spout weld keep-out: verify no text or logos sit inside the top-center or 45-degree corner canoe weld zone.
- White ink underbase spot layer: check that clear front windows or vertical side volume gauge strips are knocked out cleanly.
- Net volume callout in lower 30%: confirm fluid ounces (fl oz) and milliliters (ml) appear clearly on the lower front panel.
- Rounded corner & handle cut lines: verify the outer dieline path rounds all four corners and leaves reinforced seal margins around any handle.
- Co-packer written sign-off: send the 2D PDF dieline (showing spout ID, cap style and fill opening) to your filler for confirmation.
What are the most common custom spout pouch design mistakes?
Avoid these five artwork and structural mistakes before sending your custom spout pouch to press
- Placing brand logos or headline text in the top 0.75 inches around the spout, where the heated canoe fitment weld jaws crimp the film.
- Ordering pouches pre-sealed with caps torqued shut when your co-packer fills through an open top film seam (or vice versa).
- Forgetting to include a white ink underbase layer on clear or metallized barrier film, which makes fruit photography and text look translucent.
- Orienting the UPC barcode horizontally across the curved lower belly of the pouch, where cylinder curvature prevents retail scanners from reading it.
- Leaving sharp 90-degree square corners on heavy liquid pouches instead of specifying free die-cut rounded corners.
Packaging for this
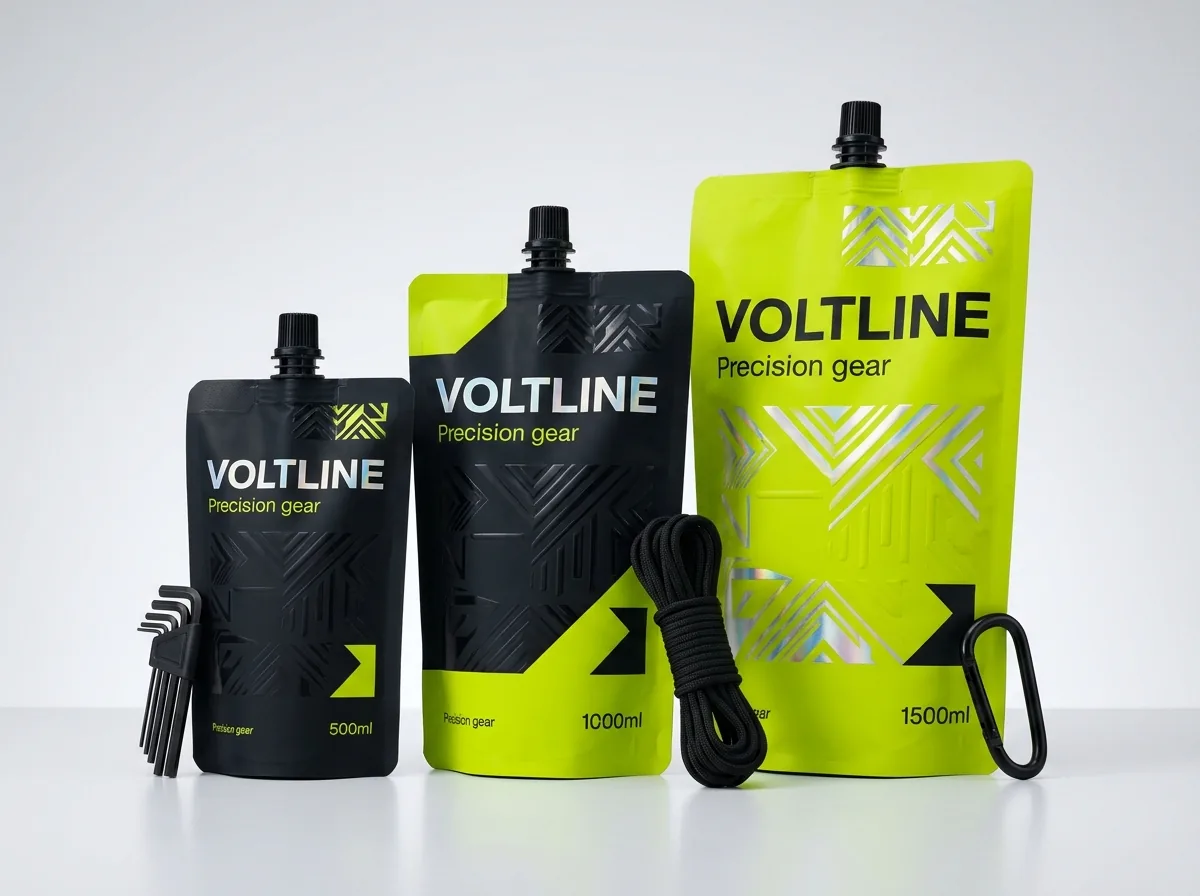
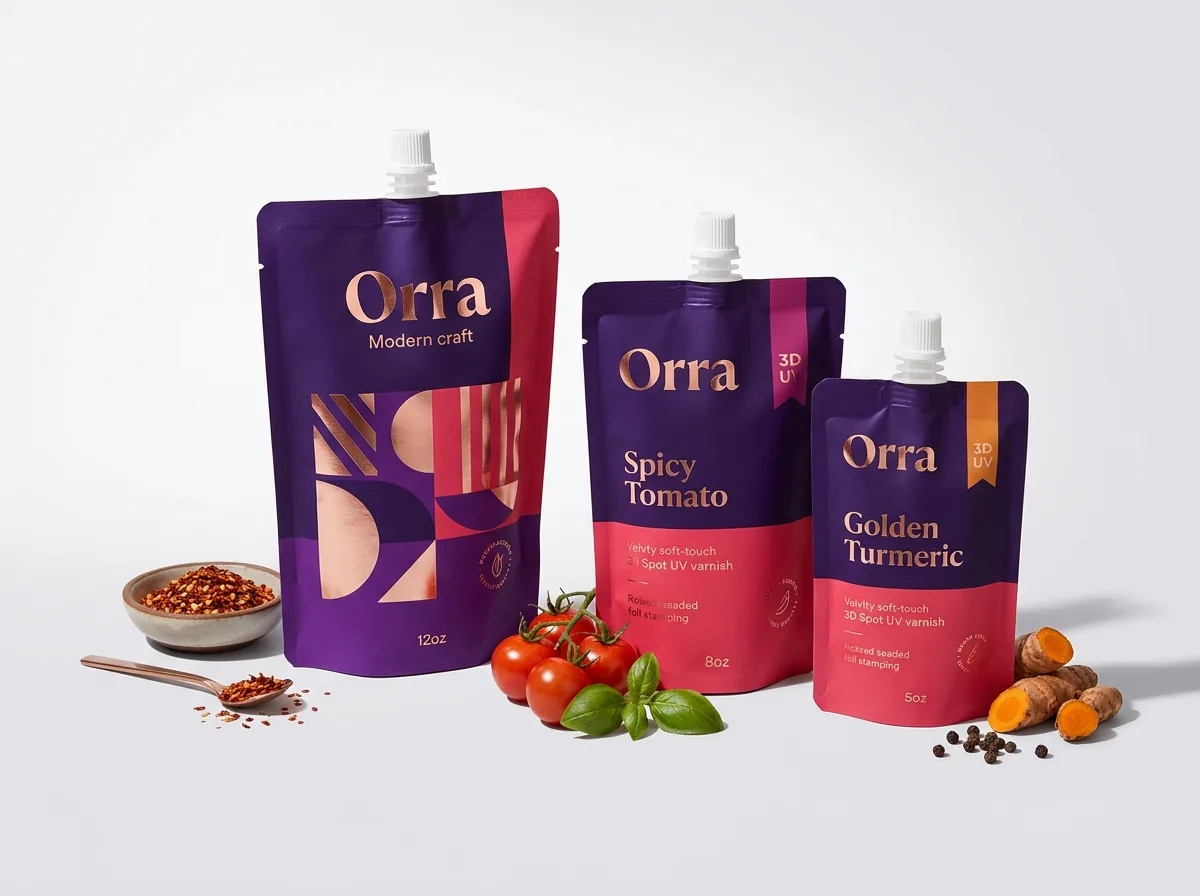
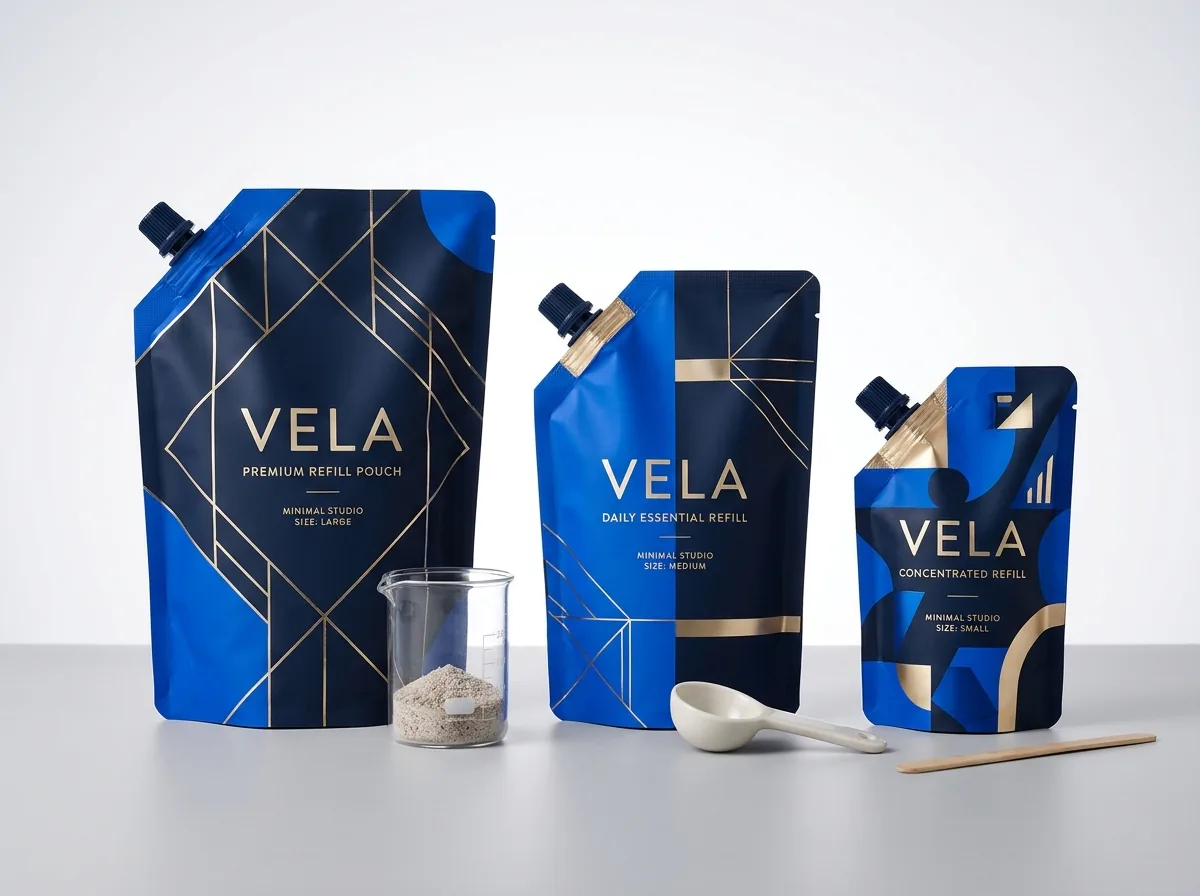
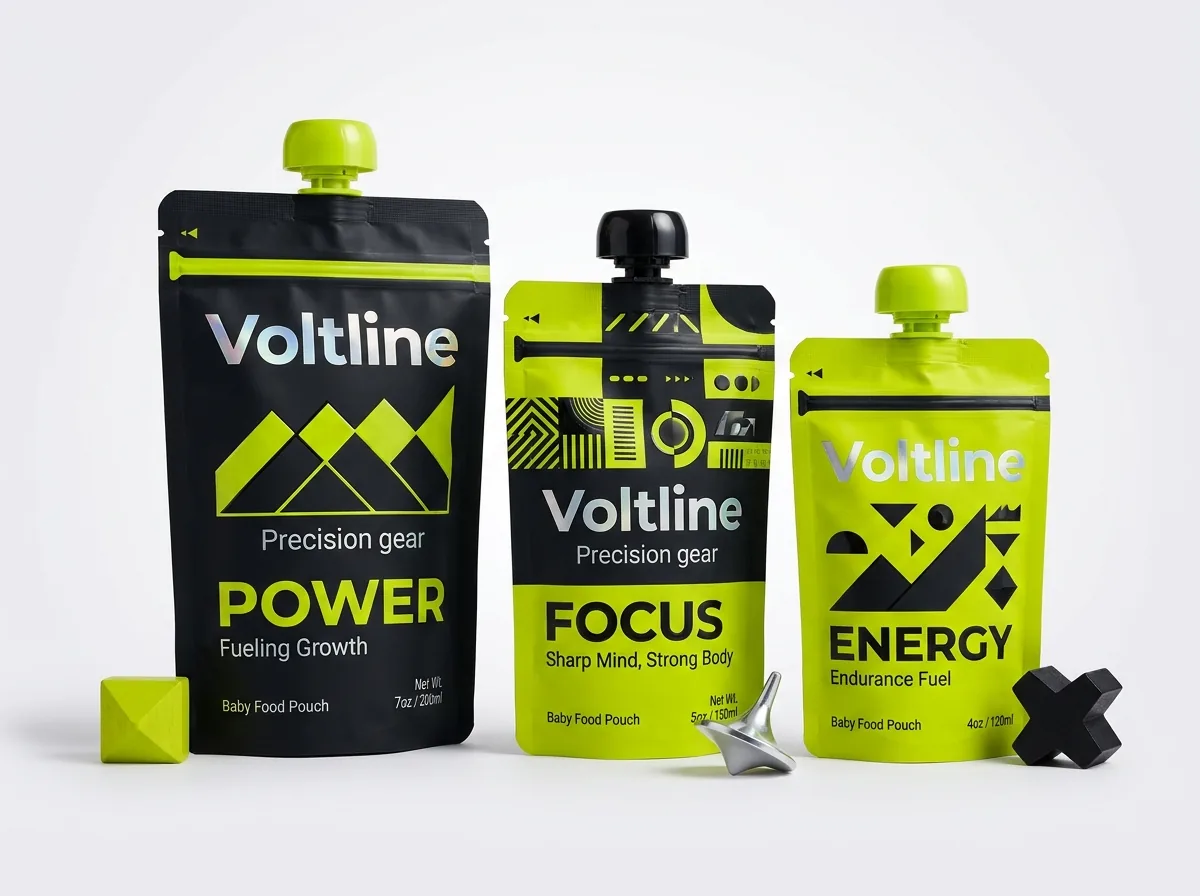
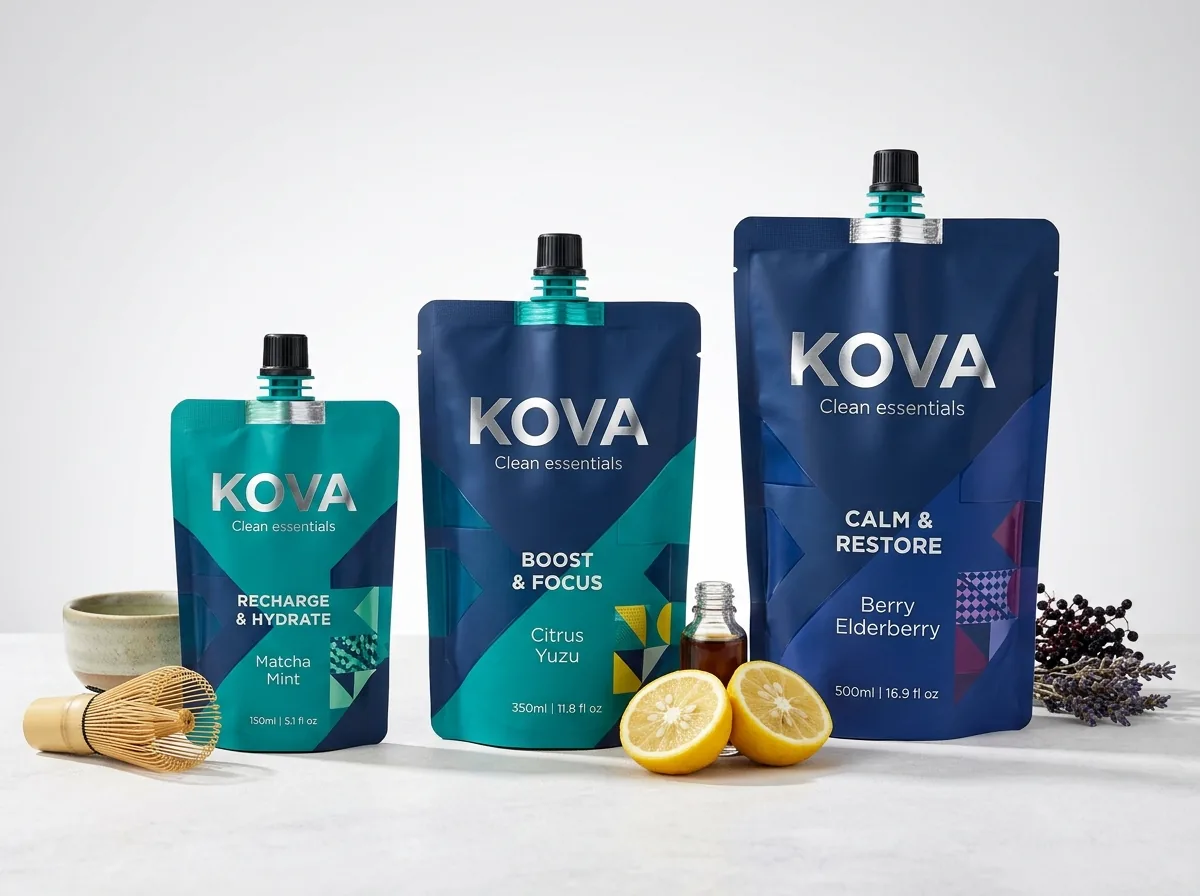
Ready to order spout pouches? Compare up to 3 quantities with a free 3D mockup.
Request a Quote →Questions about spout pouches
Can you build the custom spout pouch dieline and white underbase layer for me?
Yes. Free design help is included with every CubitPack order. Send us your target fluid volume, spout preference and raw logo or label files, and our packaging designers will build the exact Width × Height × Bottom Gusset dieline, white ink underbase mask, 2D proof and 3D mockup before payment.
Do rounded corners, clear windows or carry handles add die fees?
No. CubitPack never charges die or plate fees on custom spout pouches. Rounded safety corners, custom front peek windows, vertical side fill-level gauge strips and punched carry handles are all included without tooling charges.
Why should UPC barcodes be oriented vertically on a custom spout pouch?
When a stand-up spout pouch is filled with liquid, the front and back panels curve horizontally into a cylinder. Printing the barcode in a vertical (ladder) orientation on the upper-back panel ensures the bars remain flat across the curve so retail checkout scanners read them on the first pass.
Which exterior finish is easiest to grip on wet shower or kitchen spout pouches?
Matte lamination and soft-touch lamination provide noticeably better wet-hand friction than high-gloss film. For hand soap refills, body wash, haircare and kitchen cooking oils, a satin matte or soft-touch finish keeps the pouch from slipping while pouring.
How can I check print colors and barrier film stiffness before a full run?
You can order our $50 sample kit to feel our barrier laminates, finishes and spout fitments, or request a custom pre-production sample of your exact pouch design to test on your filling line, with the sample cost credited toward your production order.
Still have a question? Ask a packaging specialist.
Request a Quote →Request your spout pouches quote
Tell us your size and quantities, and one dedicated account manager prepares pricing for each tier.
- Free design & AI-to-print studio + 3D mockup
- No die or plate charges · 4–5 day rush available
- Free shipping to all 50 states
- 10% off your first order
This design guide combines flexible spouted pouch dieline tolerances, canoe fitment weld keep-out rules, through-the-spout vs open-top filling conventions and multi-layer barrier pre-press standards. Checked by a CubitPack packaging specialist. Spot an error? Tell us and we will fix it.
Sources
What changed
- October 22, 2026: First published.
- October 22, 2026: Updated specifications, terminology, and verified source links.
More guides
New packaging guides by email
Sizes, materials and design tips. Unsubscribe anytime.