
How do I design custom paper shopping bag dielines, gussets and cuffs?
Short answer: Keep front and back logos at least 1.5 inches below the top rim to clear interior handle patches or ribbon grommets, center side-wall graphics on either side of the vertical gusset crease, and add a white ink underbase when printing light colors on brown kraft custom paper shopping bags.
On this page
- How is an unfolded paper shopping bag dieline laid out
- Which artwork and finishes work best on each panel of a shopping bag
- How do I set up white ink and Pantone colors on natural brown kraft bags
- When should I add lamination, foil stamping, embossing or spot UV to a shopping bag
- What drives the unit cost of custom paper shopping bags, and how can I save
- Common mistakes
- FAQs
Request a custom quoteFree dieline & 3D mockup
Designing a custom paper shopping bag works best when you treat the unfolded paper sheet as a three-dimensional walking billboard with five distinct viewing zones: the front face, the back face, two accordion-pleated side gussets, the folded inside top cuff, and the flat underside of the base. Because paper shopping bags fold inward along sharp vertical gusset scores and carry tension across an upper handle zone, placing fine text or logos too close to the top lip or across the lower diamond fold crease can distort your artwork once the bag is assembled. At CubitPack, our designers build a free custom dieline for your exact Width × Height × Gusset Depth, add 0.125 inch bleed margins, and send a 2D digital proof and interactive 3D mockup before you pay so you can inspect every crease and handle position.
How is an unfolded paper shopping bag dieline laid out?
When you open a flat template for custom printed paper shopping bags, you see one continuous horizontal wrap made of four vertical panels (Front, Left Gusset, Back, and Right Gusset), plus a side glue lap on one end, a turnover top cuff strip along the upper edge on boutique bags, and four bottom folding flaps along the lower edge. Solid lines mark the outer paper cut and handle holes, while dashed lines mark the valley and mountain score creases. Two mechanical zones on that flat sheet require special attention before you place your logo: the upper 1.5 to 2 inches of the front and back panels, where either a glued interior handle reinforcement patch or four punched ribbon holes sit, and the lower 20 percent of the front and back panels, where the horizontal bottom score line folds the paper underneath the bag during storage.
- Top handle zone (top 1.5 to 2 in): keep primary logos below this band so ribbon grommets or interior handle glue patches do not press through your type.
- Center face billboard: place your primary brand mark slightly above the geometric vertical center (roughly 45 percent down from the top lip) so it reads at eye level.
- Vertical side-gusset crease: every side gusset folds inward down its exact vertical midline; avoid straddling small QR codes or phone numbers across that center crease.
- Bottom diamond fold line: when empty bags fold flat in master cartons, the bottom crease folds upward across the lower front wall.
- Inside turnover cuff: a 1.5 to 2 inch top fold on boutique bags that faces upward into the bag mouth, ideal for a website URL or welcome message.
Which artwork and finishes work best on each panel of a shopping bag?
Because we print the entire paper sheet flat before scoring and gluing the bag, printing on the side gussets, bottom base and upper inside cuff costs no extra cutting-die fee. Each panel of the bag serves a different role as your customer walks out of the store and opens the bag at home. Use the panel-by-panel layout guide below to assign your logo, repeat pattern, social handle and barcode to the right surface.
| Bag panel or zone | Safe margin & fold behavior | Best design content to place here |
|---|---|---|
| Front & back main faces | Keep 1.5 in below top rim and 1 in above bottom crease | Primary brand wordmark, crest, foil stamp or hero illustration |
| Left & right side gussets | Folded inward down the vertical center line | All-over repeat pattern, vertical store URL or contrasting flood color |
| Inside turnover cuff | 1.5 to 2 in folded top collar visible when looking inside | Short thank-you note, tagline, social handle or contrasting stripe |
| Bottom base underside | Overlapping diamond-fold flaps glued on the exterior bottom | Recycling icon, reorder SKU code, bag dimensions and manufacturer mark |
| Handle cord or ribbon | Rises 3.5 to 4.5 in above the top rim | Solid contrast color matched to your side gusset or tissue paper |
How do I set up white ink and Pantone colors on natural brown kraft bags?
Unbleached brown kraft paper is one of the most popular stocks for custom kraft paper bags, cafes and organic retailers because its warm tan fibers hide minor scuffs and signal an earthy aesthetic. However, standard CMYK process inks are translucent and rely on a bright white paper sheet underneath to reflect light back to the eye. If you print yellow, baby pink, sky blue or light green directly onto brown kraft without a base layer, the brown paper shows through and turns every shade dull and olive-tinted. You have two ways to design cleanly on brown kraft. First, embrace high-contrast dark spot colors like jet black, espresso brown, navy blue, burgundy or forest green, which look rich and sharp directly on raw kraft. Second, ask our prepress team to add an opaque white ink on kraft plate either as a standalone crisp white logo or as a solid underbase mask directly beneath your lighter Pantone colors.
Know your size? Compare pricing across up to 3 quantities.
Request a Quote →When should I add lamination, foil stamping, embossing or spot UV to a shopping bag?
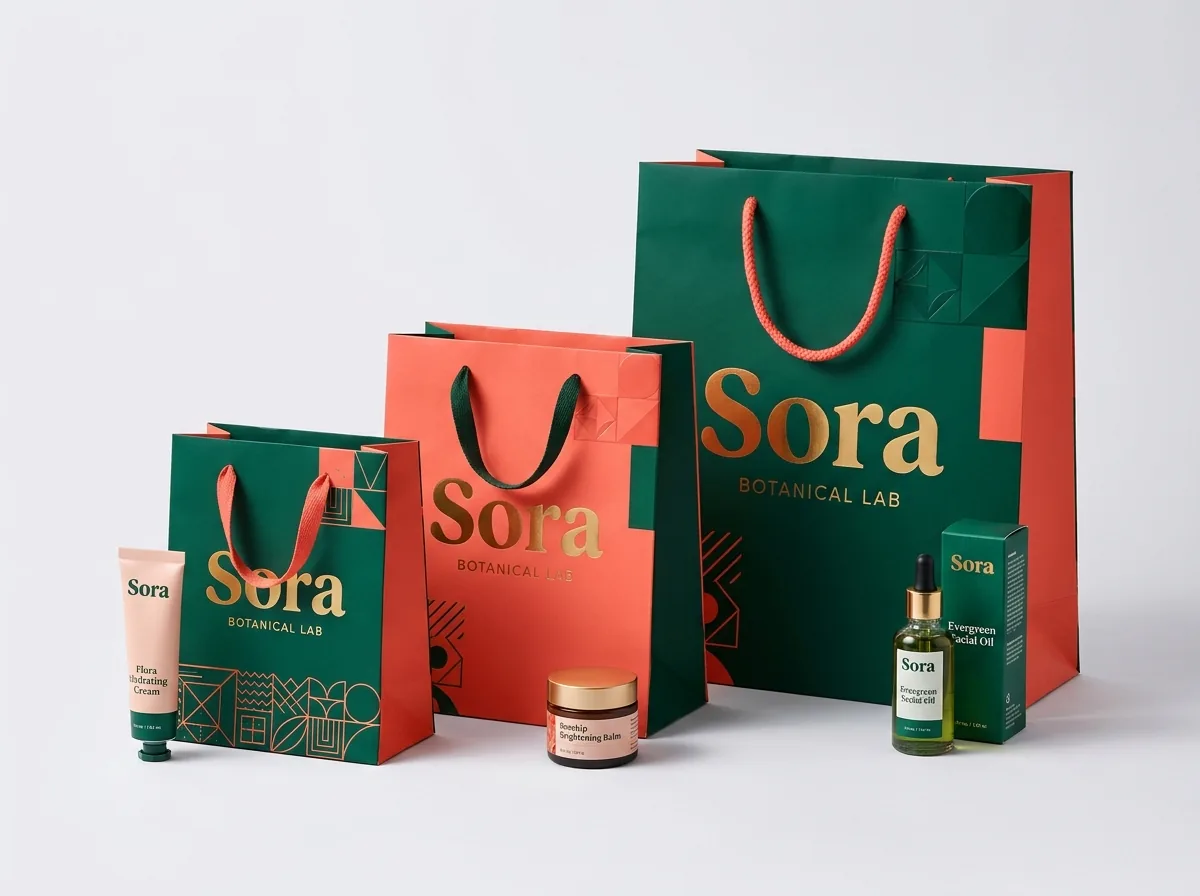
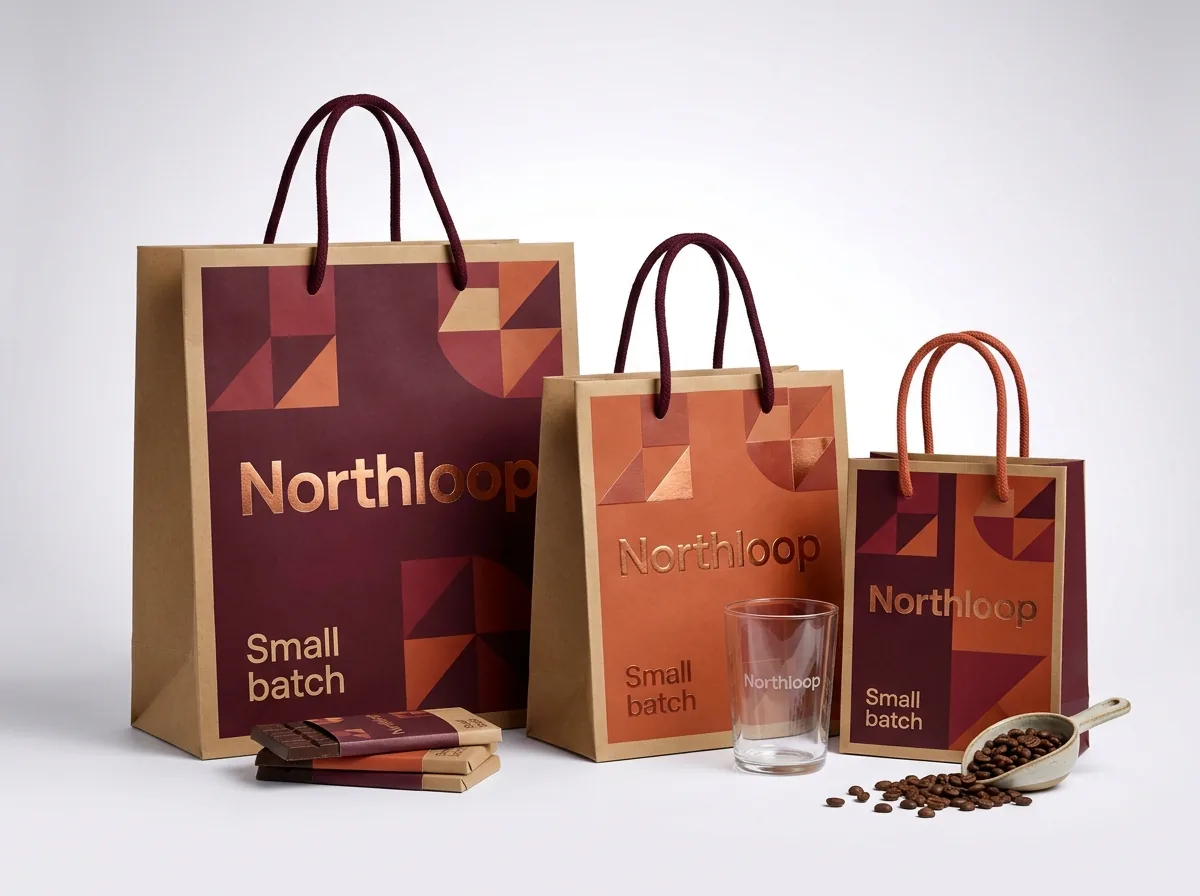
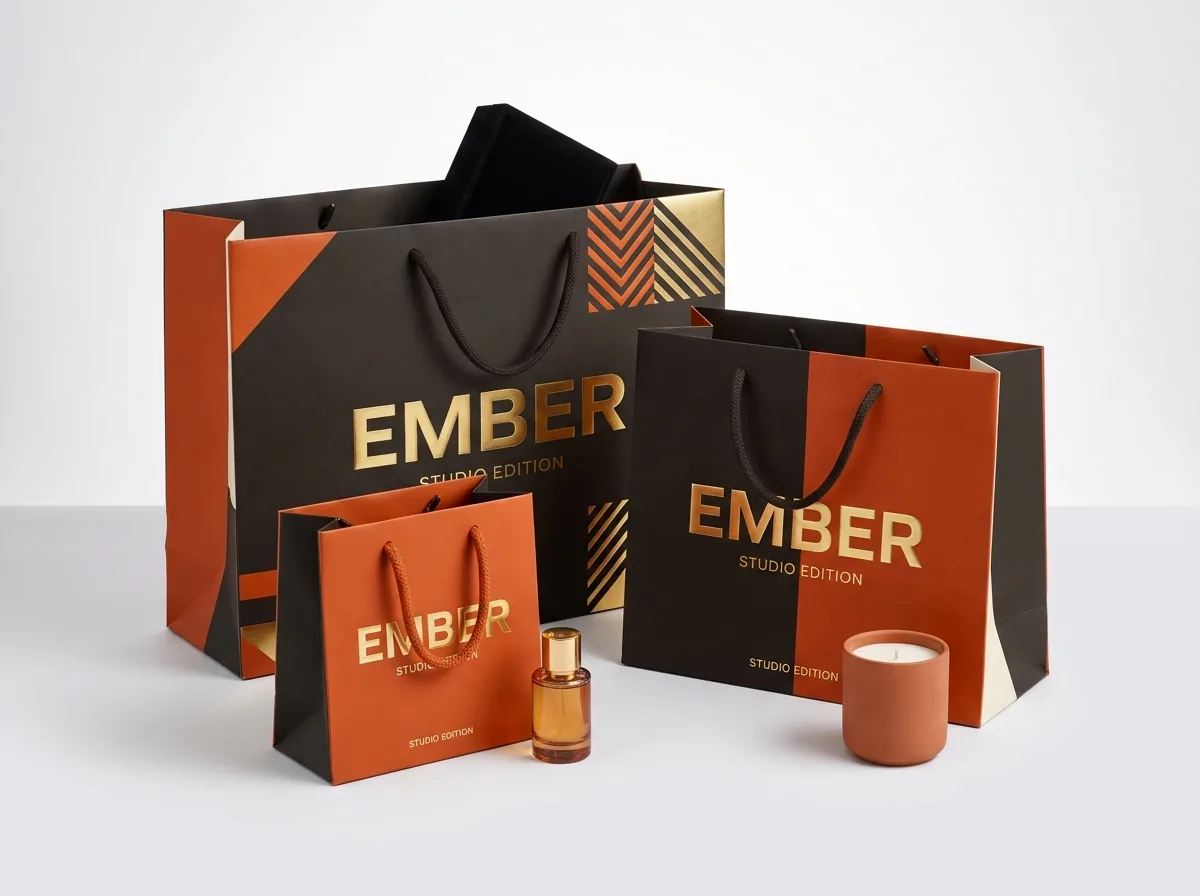
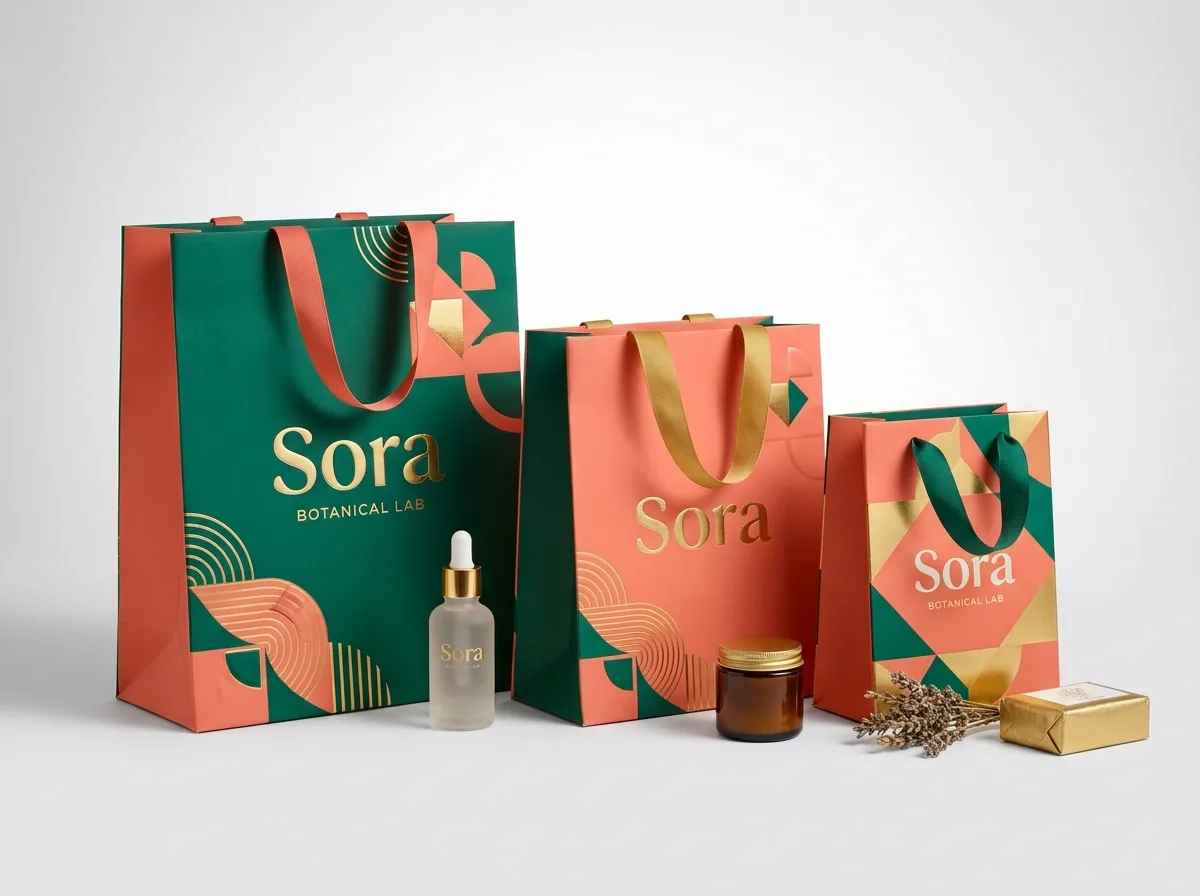
On heavy coated art board bags with rope or ribbon handles, adding a protective film lamination (either matte lamination, gloss lamination or velvety soft-touch lamination) does more than change the surface sheen. Lamination binds the outer paper fibers together so heavy ink coverage never cracks along the sharp 180-degree side-gusset creases or corners, and it sheds light rain droplets when customers carry the bag outdoors. Once a bag is laminated in matte or soft-touch film, selective contrast finishes stand out dramatically. Hot foil stamping presses metallic gold, silver, copper or rose-gold foil into your logo; blind embossing raises a tactile crest above the paper surface; and spot UV lays a glossy step-and-repeat monogram pattern across a matte background so the pattern catches the light as the bag swings.
What drives the unit cost of custom paper shopping bags, and how can I save?
Because CubitPack never charges die or plate fees, your per-bag cost comes down to four levers: open paper sheet dimensions, paper stock and lamination, handle labor, and total run quantity. Machine-made unlaminated brown or white kraft bags with glued twisted or flat paper handles run on automated high-speed web lines, making them the most budget-friendly option for high-volume restaurants, grocery stores and everyday retail. Hand-finished laminated art board bags with folded cuffs, bottom base cards and hand-threaded ribbon handles involve more material and assembly steps, so their unit price drops most steeply when you move up to higher quantity tiers or group your small, medium and large store bag sizes into one combined production order. You can also keep unit cost low on natural kraft bags by printing a bold 1-color or 2-color Pantone layout with matching dyed paper twist handles instead of full-coverage multi-layer lamination.
- Machine-made kraft + twisted handles: fastest automated production and lowest unit cost for high-volume retail and takeout.
- Laminated art board + ribbon handles: boutique presentation with turnover cuffs and bottom base cards; best ordered across higher quantity tiers.
- Multi-size order grouping: quote your small, medium and large store bags together to optimize press scheduling and shipping.
What are the most common custom paper shopping bag artwork mistakes?
Our prepress specialists check every file for free before printing, and these are the five layout issues we fix most often on paper shopping bags
- Placing the main logo within 1.5 inches of the top edge, where the interior twisted-handle glue patch or ribbon eyelets press into the lettering.
- Running small horizontal text or a barcode across the center vertical crease of the side gusset, where the inward accordion fold splits the text in half.
- Printing light pastel CMYK colors directly onto unbleached brown kraft paper without specifying an opaque white ink underbase.
- Flooding heavy dark ink across unlaminated coated card without protective lamination, which causes white fold-cracking along the sharp corner scores.
- Submitting low-resolution raster logos instead of vector outlines (AI, PDF or EPS), resulting in soft edges on large 12 to 16 inch bag faces.
Packaging for this
Ready to order paper shopping bags? Compare up to 3 quantities with a free 3D mockup.
Request a Quote →Questions about paper shopping bags
Do I need a finished dieline template before I request a quote for paper shopping bags?
No. Enter your desired Width × Height × Gusset Depth in the quote form and upload your logo or rough layout. Our design team builds your exact dieline template for free and sends back a 2D proof and 3D mockup before payment.
How much bleed and safe margin should I leave on a paper shopping bag dieline?
Extend all background colors and patterns 0.125 inches (⅛ inch) past the outer cut lines for bleed, and keep all logos, text and QR codes at least 0.5 inches away from vertical fold scores and 1.5 inches below the top handle edge.
Can I print different artwork on the front, back and side gussets of the same bag?
Yes. Because the entire paper sheet prints in one pass before the bag is folded and glued, you can put your main logo on the front, a tagline or store list on the back, and a bold pattern or contrast color inside both side gussets at no extra die cost.
What file format should I upload for foil stamping or spot UV on a shopping bag?
Upload a vector PDF, Adobe Illustrator (.ai) or EPS file with fonts outlined and a separate vector spot layer labeled for foil stamping, embossing or spot UV. If you only have a PNG or AI-generated image, our designers will vectorize and separate it for free.
Where should the barcode or SKU number go on a retail paper shopping bag?
If you sell the bag itself or scan bags at inventory, place the barcode on the flat exterior underside of the bottom gusset, away from the diagonal diamond fold flaps, so the front and side panels stay clean.
How do you guarantee my brand's exact Pantone color on kraft or white paper bags?
Specify your Pantone (PMS) Coated or Uncoated color code on your quote. We mix spot inks to your exact formula, show a digital proof and 3D mockup before payment, and guarantee an accurate Pantone match on the finished run.
Still have a question? Ask a packaging specialist.
Request a Quote →Request your paper shopping bags quote
Tell us your size and quantities, and one dedicated account manager prepares pricing for each tier.
- Free design & AI-to-print studio + 3D mockup
- No die or plate charges · 4–5 day rush available
- Free shipping to all 50 states
- 10% off your first order
The prepress and structural rules in this guide come from SOS gusseted bag folding geometry, handle-patch placement clearances and offset/flexo ink behavior on kraft and coated boards. Reviewed by a CubitPack packaging specialist. Spot an error? Tell us and we will fix it.
Sources
What changed
- October 22, 2026: First published.
- October 22, 2026: Updated specifications, terminology, and verified source links.
More guides
New packaging guides by email
Sizes, materials and design tips. Unsubscribe anytime.