
How do I design custom toy boxes with windows, tie-down inserts and safety labels?
Short answer: Leave at least a 0.50 to 0.625 inch board border around window cutouts, anchor the toy onto a folded scenic paperboard backer card with foot locks and paper-tie slots, and place required CPSC choking warnings on the front panel. Every order of custom toy boxes includes free dielines.

On this page
- How do I size front, panoramic corner and open touch windows on a toy box
- Where do age badges, CPSC choking hazard warnings and CPSIA tracking marks go
- How do paperboard stage inserts hold figures and accessories without PVC blisters
- What are the exact prepress rules for CPSC small-parts warnings and battery notices
- How do you make collectible blind boxes tamper-proof against retail weight and squeeze tests
- Common mistakes
- FAQs
Request a custom quoteFree dieline & 3D mockup
Designing retail toy packaging is a three-part engineering job: cutting a clear panoramic window or open touch cutout that frames the toy without weakening the carton walls, building a plastic-free internal paperboard stage that holds the figure and accessories upright at eye level, and laying out outer artwork that satisfies US toy aisle expectations and federal safety labeling rules. If the window opening runs too close to a vertical fold crease, the window patch film can lift or the front frame can buckle when boxes stack on store shelves. If a required CPSC 16 CFR 1500.19 small-parts choking hazard statement is tucked onto the back panel instead of the principal front display panel, retail compliance buyers can reject the shipment. When you order printed toy boxes from CubitPack, our structural and prepress specialists set up your window margins, tie-down backer dielines and label zones for free.
How do I size front, panoramic corner and open touch windows on a toy box?
The window opening on a custom window box acts as the picture frame for your toy, while the surrounding paperboard border carries the glue track for the clear window film and the vertical stacking strength of the carton. On a standard front-panel window, keep at least 0.50 to 0.625 inch (13 to 16 mm) of solid board between the die-cut window edge and every outer fold score line. When you design a panoramic wrap-around corner window for a die-cast vehicle, fashion doll or 6-inch action figure, the window cutout crosses right over one vertical crease line onto the side panel. Our dieline team pre-scores the clear window patch along that corner crease and reinforces the top header and bottom sill so the corner folds cleanly at 90 degrees without bowing outward.
- Glue-flap border: leave at least 0.50 to 0.625 in of solid board around all sides of a filmed window so the adhesive patch bonds flat.
- Rounded window corners: use at least a 0.1875 to 0.25 in corner radius on die-cut window openings to prevent corner tearing.
- Bottom podium sill: keep the bottom window edge 1.0 to 1.25 in above the box floor to hide the internal foot-lock platform.
- Character die-cut silhouettes: shape the top edge of the window around your brand logo, speech bubble or character crest at zero extra die cost.
Where do age badges, CPSC choking hazard warnings and CPSIA tracking marks go?
Children's toys sold in the United States must follow specific outer-packaging placement rules under ASTM F963, 16 CFR 1500.19 (small parts, small balls, marbles and balloons) and CPSIA Section 103 (permanent tracking labels). Putting those required elements in the right places from day one prevents last-minute artwork redraws before retail onboarding. Use the panel-by-panel checklist below when laying out artwork on your free dieline for custom retail toy boxes.
| Carton panel or zone | Required & recommended toy elements | Prepress & layout rule |
|---|---|---|
| Front panel (Principal Display Panel) | Brand logo, toy name, window/cutout, Age Grade badge (e.g., 3+, 6+, 8+), piece count, CPSC choking hazard box (if applicable) | 16 CFR 1500.19 warning must sit on the front Principal Display Panel with sharp exclamation triangle and minimum type size |
| Inside scenic backer card | Full-color diorama backdrop, accessory callout labels, die-cut foot locks and paper-tie holes | Print in bright CMYK with matte or low-glare varnish so store spotlights do not reflect off the backdrop |
| Back panel | Toy action callouts, 'What's in the Box' contents list, cross-sell roster of other characters in Wave 1 | Show kids or hands interacting with the scale of the toy; list included vs non-included batteries |
| Side panels | Wrap-around corner window (one side) + vertical character portrait and series number (opposite side) | Lets collectors identify the character number when boxes are shelved spine-out |
| Bottom panel (Compliance & SKU zone) | CPSIA Section 103 tracking label (manufacturer, city/country, date, batch/run code), company address, UPC-A barcode | Leave an unvarnished white rectangle on the batch box so factory date/lot stamps or thermal stickers adhere |
| Inside box walls (Play bonus) | Cut-out trading cards, punch-out targets, board game track or coloring scene printed inside the carton | Turns the empty carton into part of the toy and eliminates separate printed paper inserts |
How do paperboard stage inserts hold figures and accessories without PVC blisters?
Parents hate wrestling with heat-sealed plastic clamshells and sharp wire twist ties on birthday morning, and major retail chains actively reward plastic-free toy packaging. Instead of a thermoformed PVC tray, we engineer a folded custom cardboard insert that slides into the carton as a rigid stage. The base of the stage folds up into a 0.75-inch podium with die-cut foot slots or wheel wells that lock the bottom of the toy in place. Behind the toy, the vertical scenic backer wall includes pairs of 0.125-inch pinhole slots spaced around the figure's waist, shoulders and accessories so soft paper cords, cotton twine or flat kraft paper bands hold every piece upright against drop shocks.

Know your size? Compare pricing across up to 3 quantities.
Request a Quote →What are the exact prepress rules for CPSC small-parts warnings and battery notices?
When a toy is intended for children ages 3 to 6 (or contains small parts, small balls or marbles that trigger 16 CFR 1500.19), federal rules specify that the safety statement ('WARNING: CHOKING HAZARD - Small parts. Not for children under 3 yrs.') must appear on the Principal Display Panel (the front face of the box), blocked together within a square or rectangular border, preceded by the safety alert triangle with an exclamation point. The type size of the word 'WARNING' and the body text scales directly with the area in square inches of your front panel. If your toy uses button-cell, coin-cell or AA/AAA batteries, also reserve space for the required battery safety icon and compartment notice. Note that CubitPack prints your provided warning text and symbols at crisp vector resolution; your compliance lab or safety specialist confirms which specific ASTM F963 / CPSC statements apply to your toy.
- Principal Display Panel placement: place 16 CFR 1500.19 choking hazard warnings on the front face, never hidden on the back or bottom.
- Sharp border & alert triangle: enclose the warning statement inside a ruled rectangular box with the exclamation-point triangle.
- Unvarnished CPSIA batch window: leave a coating-free white rectangle on the bottom panel so factory date and run stamps bond permanently.
- Vector barcode & age icon: supply your age-grade circle (3+, 6+, 8+) and UPC-A barcode as 100% vector line art.
How do you make collectible blind boxes tamper-proof against retail weight and squeeze tests?
In collectible vinyl blind-box series, savvy shoppers in retail stores often try to squeeze the sides of the carton, peek under tuck flaps, or weigh boxes on a pocket scale to hunt for the rare 1-in-72 chase figure. To keep every blind box fair, use a factory-glued custom seal end box with a perforated top zipper tear strip rather than a tuck-end flap. Inside the box, wrap the figure in an opaque printed foil bag and include a printed custom insert card (collector trading card). If one character sculpt is noticeably lighter than the rest of the wave, many studios add a thicker cardboard spacer or coin card inside that SKU so every sealed box feels uniform in the hand.
- Glue-sealed top and bottom flaps: prevents shoppers from opening tuck flaps and swapping figures in the aisle.
- Zipper tear strip: a double-perforated pull tab across the top lid lets buyers rip the box open cleanly without scissors.
- Inner stiffener collar: a folded card ring inside the blind box stops shoppers from squeezing the walls to feel the sculpt shape.
- Weight-balancing insert card: use a heavier collector card or card spacer on lighter sculpts to deter pocket-scale weighing in stores.
What are the most common toy box design and compliance mistakes?
A great toy design can be held up at retail onboarding or damaged in shipping if the window border is too narrow or the warning box is on the wrong panel. Check these five items before approving your proof
- Hiding a required 16 CFR 1500.19 choking hazard small-parts warning on the back or bottom panel instead of placing it on the front Principal Display Panel.
- Leaving less than 0.50 inch of paperboard frame between a die-cut window opening and the vertical fold creases, causing the window film to lift.
- Applying high-gloss lamination to the internal scenic backer card, which creates harsh white glare spots under retail store spotlights.
- Forgetting to leave an unvarnished white zone on the bottom panel where the factory stamps or sticks the CPSIA batch and production date code.
- Designing small accessories without dedicated friction slots or paper-tie holes on the backer card so they fall to the bottom of the window.
Find your size
Suggested inside size: 3.0 × 3.0 × 4.0 in
A starting point. Your account manager confirms the size with you before the proof.
Quote this size →Packaging for this
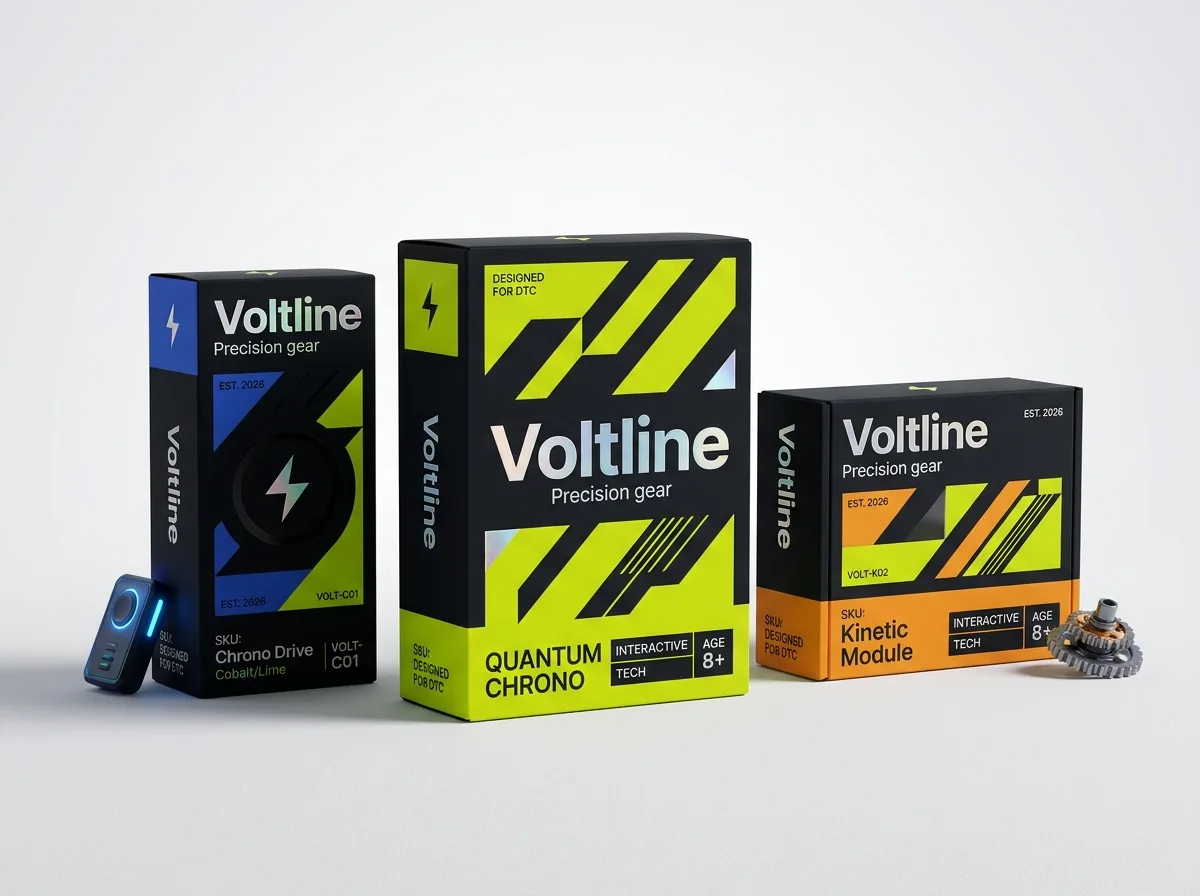
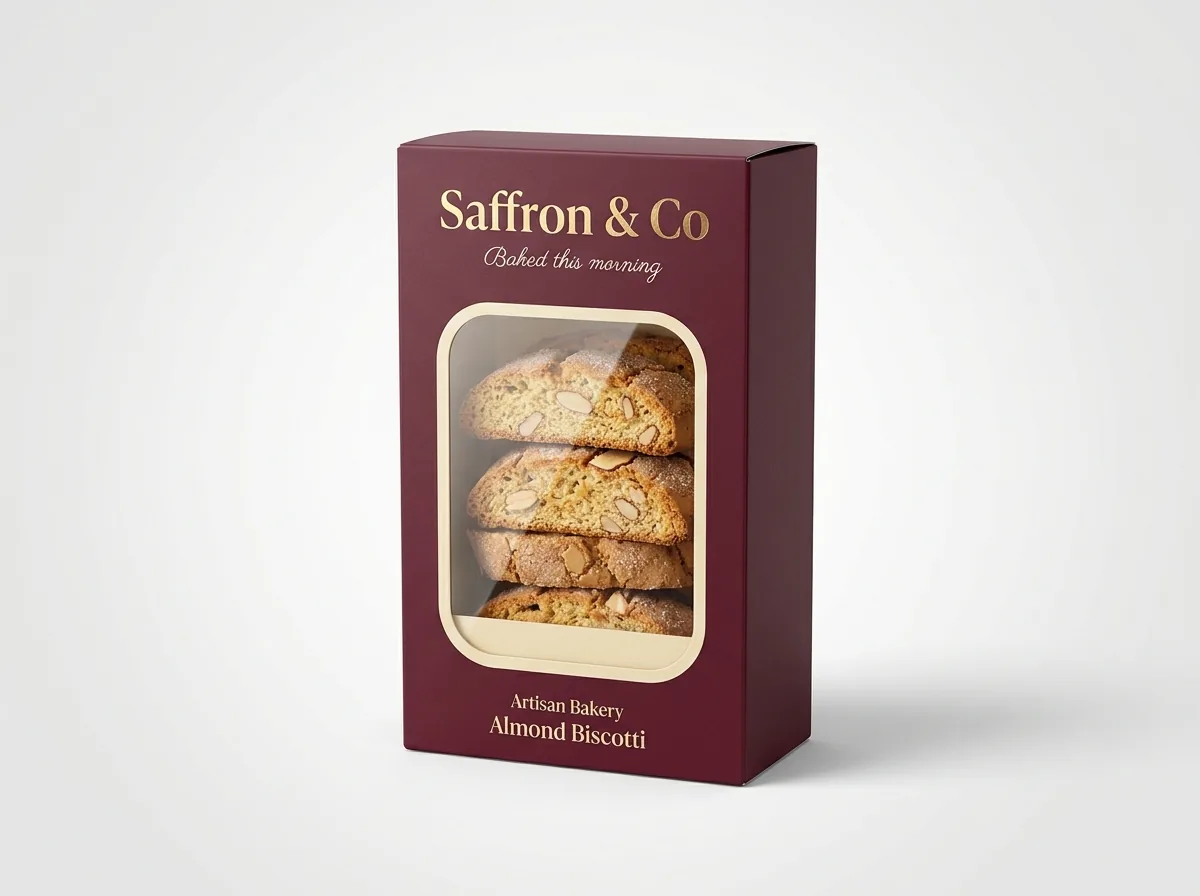




Ready to order toy boxes? Compare up to 3 quantities with a free 3D mockup.
Request a Quote →Questions about toy boxes
Will CubitPack engineer the inner tie-down backer card along with the outer toy window box?
Yes. Send us your toy dimensions (or a physical sample) and accessory list, and our design team will create matched vector dielines for the outer window carton, the inner foot-lock podium and the scenic tie-down backer card for free.
How close can a clear window cutout come to the fold lines of a toy box?
Keep at least 0.50 to 0.625 inch (13 to 16 mm) of solid paperboard between the edge of the window cutout and any non-wrapping fold score. That margin gives the window patching glue strip a flat surface to bond to and keeps the frame rigid.
Can the window cutout wrap around the front and side corner of the box?
Yes. On a panoramic corner window, the cutout crosses one vertical fold line so the toy is visible from both the front and side. We pre-crease the clear window film along that score line so the corner folds at a crisp 90-degree angle.
Does CubitPack provide legal toy safety certification or CPSC warning determination?
Your team or accredited CPSC third-party testing lab determines the exact age grade and ASTM F963 / 16 CFR 1500.19 warnings required for your toy. Our prepress team then checks that your warning box, triangle icon and CPSIA tracking zone print at sharp, compliant dimensions.
Can I print a play diorama or punch-out game pieces on the inside of the toy box?
Yes. Inside printing lets you turn the interior walls of the carton or the back of the tie-down card into a colorful play backdrop, garage or punch-out token sheet so children keep and play with the box.
Can I see a 3D mockup of my toy box window and inner backdrop before paying?
Yes. Every order includes a free 2D digital proof and an interactive 3D mockup showing your outer artwork, window cutout shape and inner scenic backdrop before you pay. You can also request a physical prototype to test-fit your toy.
Still have a question? Ask a packaging specialist.
Request a Quote →Request your toy boxes quote
Tell us your size and quantities, and one dedicated account manager prepares pricing for each tier.
- Free design & AI-to-print studio + 3D mockup
- No die or plate charges · 4–5 day rush available
- Free shipping to all 50 states
- 10% off your first order
The window border tolerances, plastic-free tie-down stage geometry and front/bottom panel labeling rules in this guide are based on CPSC 16 CFR 1500.19, CPSIA Section 103 and standard window-patching prepress specs. A CubitPack packaging specialist checked every section. Spot an error? Tell us and we will fix it.
Sources
What changed
- October 22, 2026: First published.
- October 22, 2026: Updated specifications, terminology, and verified source links.
More guides
New packaging guides by email
Sizes, materials and design tips. Unsubscribe anytime.