
How do I design multi-cavity inserts and spec panels for custom electronics boxes?
Short answer: Build your unboxing from the inside out: cradle the main device in a top paperboard or EVA foam tray with thumb notches, tuck the USB cable and adapter in a hidden lower well, highlight the front 1:1 device render with Spot UV, and leave an unvarnished bottom zone on custom electronics boxes for serial/IMEI labels.
On this page
- Folded paperboard tray vs EVA foam vs EPE foam: which insert suits your hardware
- How do you engineer a two-level tray so devices and cables lift out cleanly
- How do you set up a Spot UV product render and spec badges on the front panel
- How should you lay out back-panel specs, compliance icons and serial/IMEI barcode zones
- How can inside printing replace a separate paper quick-start booklet
- Common mistakes
- FAQs
Request a custom quoteFree dieline & 3D mockup
Great consumer electronics packaging solves two jobs at once: inside the box, a multi-cavity insert immobilizes the hardware, charging cord and power adapter so nothing rattles or scratches during parcel drops; outside the box, a clean information hierarchy turns technical specs, connector icons and regulatory markings into an instant purchase decision. Start by choosing between a mono-material folded paperboard tray (which ships flat and recycles in curbside paper bins) and a die-cut EVA or EPE foam cradle (which cushions heavier metal enclosures and camera optics). Then organize your exterior artwork so the front panel shows a 1:1 product render with three hero callouts, the side panels display ”What's in the Box” icons and port diagrams, the back panel carries the multilingual spec table and compliance marks, and the bottom panel reserves an unlaminated window for serial/IMEI/MAC barcode stickers. At CubitPack, both insert engineering and prepress help for printed electronics boxes are free.
Folded paperboard tray vs EVA foam vs EPE foam: which insert suits your hardware?
The internal insert is what your customer's fingers touch the moment the lid lifts, and it does 90% of the work protecting glass screens, aluminum shells and soldered USB ports during transit. Rather than stuffing accessories into loose polybags, a custom-cut insert gives every part a dedicated home. Use the table below to choose the right insert material for your device weight, sustainability goals and unboxing style. Our structural team engineers the insert dieline alongside your outer carton for free so both pieces lock together with zero rattle.
| Insert type | Best hardware applications | Cost, storage & recycling |
|---|---|---|
| Two-tier folded paperboard tray | TWS earbuds, chargers, cables, trackers, phone cases | Lowest unit cost; ships flat; 100% curbside paper recyclable |
| E-flute corrugated partition / cradle | Smart home hubs, Wi-Fi routers, multi-piece starter kits | High crush strength; ships flat; recyclable corrugated board |
| Die-cut EVA foam (dense fine-cell) | Flagship audio, portable SSDs, action cameras, metal enclosures | Velvety, dense studio presentation; superior multi-drop cushioning |
| Die-cut EPE foam (lightweight closed-cell) | Heavier routers, studio mics, webcams and industrial sensors | Economical shock absorption for heavier devices in transit |
| Paperboard-topped foam tray | Smart watches, wearables and collector edition hardware | Printed paperboard face laminated over a shock-absorbing foam core |
How do you engineer a two-level tray so devices and cables lift out cleanly?
Nothing spoils a hardware unboxing faster than a device wedged so tightly into a cavity that the user has to pry at the screen with a fingernail or shake the box upside down. When our design team builds a custom cardboard insert or EVA foam insert, we design three small ergonomic details into the dieline at no extra cost. First, we add two opposed 0.6-inch semi-circular thumb notches on the left and right edges of the main device recess so two fingers can grip the sides of the hardware immediately. Second, we add a die-cut finger pull tab or ribbon slot on the upper tray deck so the customer knows to lift the tray to reach the braided USB-C cable and adapter underneath. Third, we add a small paperboard cable band or retaining flap in the lower well so the coiled cord cannot spring upward and push the top tray crooked.
How do you set up a Spot UV product render and spec badges on the front panel?
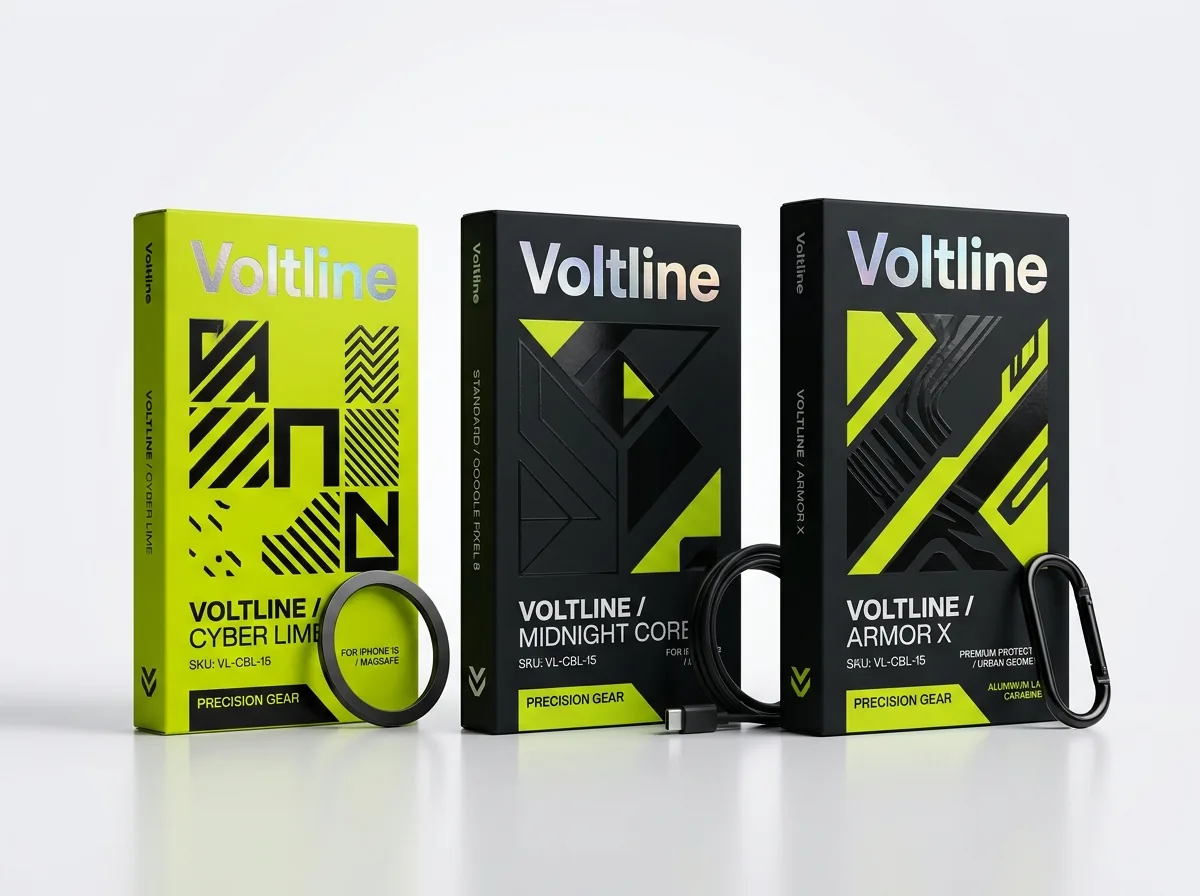
Walk down any consumer electronics aisle and you will see one finish combination used by the most recognizable hardware brands in the world: a low-glare matte or velvety soft-touch laminated carton paired with a high-gloss Spot UV coating traced directly over the 1:1 product photograph on the front face. When store lights hit the package, the matte background absorbs glare while the gloss Spot UV mask makes the device screen, anodized aluminum bevels or earbud silhouette pop in three dimensions. To set this up in your artwork file, place a 300+ DPI product render on your CMYK print layer, and create a separate vector spot-color layer named Spot UV (set to 100% magenta or cyan with Overprint Stroke/Fill turned on) that traces the exact outer contour of the hardware and your hero wattage or Bluetooth badge. Don't have a vector mask? Our free design help team will trace your product photo and build the Spot UV plate for free.
- Front hero photo: size the render at 1:1 actual scale whenever the box face allows so shoppers see the true device size.
- Three-badge rule: limit the front bottom bar to 3 or 4 scannable spec icons (e.g., '65W GaN · Dual USB-C · Foldable Prongs').
- Colorway coding: if you sell Black, White and Silver versions of the same hardware, swap only the front render and a top Pantone color tab on one shared dieline.
- Foil accents: pair silver or gunmetal foil stamping with Spot UV for 'Pro' or 'Ultra' model designations.
Know your size? Compare pricing across up to 3 quantities.
Request a Quote →How should you lay out back-panel specs, compliance icons and serial/IMEI barcode zones?
Electronics boxes carry two types of barcodes: the static retail UPC-A or EAN-13 barcode (which is identical on every unit of that SKU and printed directly in the artwork), and the unit-specific factory tracking sticker carrying the Serial Number (S/N), MAC address or cellular IMEI barcode applied at the end of the assembly line. If your assembly crew applies that thermal-transfer serial label over soft-touch lamination, the sticker edges can curl or peel off in humid warehouses. Tell us the exact millimeter or inch size of your serial/IMEI label, and we will print a crisp L-bracket alignment box on the bottom or lower back panel with lamination and UV coating knocked out inside the rectangle so the label bonds into raw paperboard. On the back spec panel, set your 6-point technical table, input/output voltage ratings (5V⎓3A, 9V⎓3A, 20V⎓3.25A), and vector FCC, CE, RoHS, WEEE and UL markings in 100% single-color black (K:100) on white, or 100% opaque white ink on dark charcoal board, so thin lines stay razor sharp.
How can inside printing replace a separate paper quick-start booklet?
Most users toss a 20-page folded paper manual aside the second they lift their new earbuds, charger or smart sensor out of the box, until they need the companion app link or the Bluetooth pairing button sequence two minutes later. Printing your 3-step onboarding diagram and a high-contrast app download QR code directly on the inside of the top lid or the upper inner tray flap solves both problems at once. Because the quick-start steps are part of the box itself, they face the user at the exact moment they unbox the hardware, cannot get lost during assembly, and eliminate the cost and packing labor of a separate printed insert booklet for non-regulated accessories. If you also include a warranty registration card or sticker pack, pair your carton with custom insert cards or QR code stickers printed in the same order.
- Inside top lid flap: print your 1-2-3 Bluetooth pairing or Wi-Fi bridge setup diagram right where the customer looks first.
- Upper tray deck flap: print a 0.6 × 0.6 in high-contrast QR code linking directly to your iOS/Android companion app or firmware portal.
- Lower accessory door: print small vector icons for 'USB-C Cable', 'Wall Adapter' and 'Ear Tips' so every accessory is easy to find.
- Bottom outer panel: keep a 1.5 × 0.75 in unlaminated white rectangle for assembly-line Serial Number (S/N), MAC and IMEI barcode stickers.
What are the most common electronics box insert and artwork mistakes?
A few prepress and structural checks prevent stuck devices, peeling serial labels and blurry back-panel specs. Avoid these five mistakes
- Forgetting thumb-notch cutouts around a flush-mounted device cavity, making it hard for customers to lift the hardware out.
- Flooding soft-touch lamination over the bottom serial/IMEI/MAC sticker rectangle where assembly-line thermal labels must adhere.
- Placing low-resolution PNG screenshots of FCC, CE, RoHS or USB-IF logos on the back panel instead of crisp vector paths.
- Setting 6-point input/output voltage tables and pinout text in 4-color CMYK black instead of 100% single-plate K black.
- Forgetting to set the Spot UV product render layer to 'Overprint' in Illustrator, which would accidentally knock out the CMYK photo underneath.
Find your size
Suggested inside size: 3.25 × 1.25 × 4.5 in
A starting point. Your account manager confirms the size with you before the proof.
Quote this size →Packaging for this

Ready to order electronics boxes? Compare up to 3 quantities with a free 3D mockup.
Request a Quote →Questions about electronics boxes
Do you engineer both the outer electronics box dieline and the inner insert dieline for free?
Yes. Send us your device and accessory dimensions (or physical samples) and our design team will create matched vector dielines for both the outer carton and the internal paperboard or foam insert at no cost.
Can I print artwork on the internal paperboard insert tray as well as the outer box?
Yes. Many tech brands print their internal paperboard cradle in a solid matte black or brand Pantone color with clean white icons pointing to the finger notch and lower cable compartment.
How do I prepare my file if I want gloss Spot UV over the front product photo?
Include a separate vector layer in your PDF or Illustrator file labeled 'Spot UV' that traces the exact shape of the device photo and any text you want glossy, or ask our free design team to create the Spot UV mask for you.
Can I split a 1,000-box order across Black, White and Silver colorways of my device?
Yes. As long as all colorways use the exact same box and insert dimensions, we can gang-run your SKU artworks together so you benefit from the combined quantity price break with zero die or plate charges.
What size should a quick-start or app download QR code be on an electronics box?
Make the QR code at least 0.6 × 0.6 inches (15 × 15 mm) with a 0.1-inch white quiet border and print the bars in 100% black on a matte white background so smartphone cameras scan it without glare.
Will I see a 3D mockup of my electronics box before paying for production?
Yes. Every CubitPack order includes a free 2D digital proof (showing cut lines, fold scores, Spot UV and serial-label knockouts) and an interactive 3D mockup that you approve before you pay.
Still have a question? Ask a packaging specialist.
Request a Quote →Request your electronics boxes quote
Tell us your size and quantities, and one dedicated account manager prepares pricing for each tier.
- Free design & AI-to-print studio + 3D mockup
- No die or plate charges · 4–5 day rush available
- Free shipping to all 50 states
- 10% off your first order
The insert engineering and prepress guidelines in this article follow standard offset lithography rules (overprinted vector Spot UV masks, 100% K micro-type, unlaminated thermal-transfer serial barcode windows) and multi-cavity hardware cushioning practices. A CubitPack packaging specialist reviewed every step. Spot an error? Tell us and we will fix it.
Sources
What changed
- October 22, 2026: First published.
- October 22, 2026: Updated specifications, terminology, and verified source links.
More guides
New packaging guides by email
Sizes, materials and design tips. Unsubscribe anytime.