
How do I design custom board game boxes and component inserts?
Short answer: Build your cover wrap with 0.75 inch of turn-in bleed past the bottom edge of the lid, orient side-spine titles both horizontally and vertically for Kallax shelves, show an open component map on the back panel, and match a paperboard trench or EVA foam tray to your custom board game boxes.
On this page
- How do you set up artwork and wrap turn-in bleed on a two-piece telescoping game box
- Which internal component insert works best: paperboard trench, multi-well card tray or EVA foam
- How should you lay out the four side spines and the back-of-box component map
- Which surface finishes protect dark fantasy and sci-fi game boxes from shelf scuffing
- How can inside-lid printing, ribbons and age warnings improve the unboxing experience
- Common mistakes
- FAQs
Request a custom quoteFree dieline & 3D mockup
Designing a board game box is a two-part engineering and merchandising project: the outside wrap has to sell the theme in five seconds on a hobby-shop shelf or crowdfunding page, while the inside base and insert have to organize dozens of cards, tokens, dice and miniatures so setup takes two minutes instead of twenty. On a two-piece telescoping rigid box, the outer printed wrap does not stop at the bottom edge of the lid; it wraps around the four vertical side walls and turns 0.625 to 0.75 inch inside the lid rim. Meanwhile, the internal insert must support the heavy quad-fold board on a recessed perimeter ledge so the board cannot crush the card decks underneath. Every order of printed board game boxes from CubitPack includes free vector dielines for both the outer box and internal insert plus free design help.
How do you set up artwork and wrap turn-in bleed on a two-piece telescoping game box?
If you have only designed flat postcards or folding tuck cartons before, a two-piece rigid setup box dieline looks slightly different because you are designing the flat paper wrap sheet that gets glued around the rigid chipboard (gray board) core. Your artwork flows continuously from the top lid face across the four vertical score lines down the four side spines, and then continues an extra 0.625 to 0.75 inch (16 to 19 mm) into the turn-in flaps that fold over the bottom rim into the inside of the lid. Never stop your background color or illustration right at the bottom edge of the side spine, or a thin sliver of white paper or chipboard (gray board) will peek out at the bottom rim. Our prepress specialists provide a pre-measured vector template for your custom two-piece board game boxes with every fold, corner V-cut and turn-in zone clearly marked.
- Top lid face safe zone: keep title logos and key character faces at least 0.375 in inside the four outer score lines so they do not wrap around the edge.
- Four vertical side spines: extend background art smoothly across the top score lines onto all four side panels so the box looks unified from every angle.
- Bottom turn-in wrap (+0.75 in): continue background texture or solid brand color 0.75 in past the bottom edge of the side panels to wrap cleanly inside the lid rim.
- Corner V-notch allowance: avoid placing small text within 0.25 in of the four vertical corner seams where the wrap paper miters and folds together.
- Side thumb notches: if your base or lid includes half-moon thumb cutouts, keep spine text at least 0.375 in above the cutout arc.
Which internal component insert works best: paperboard trench, multi-well card tray or EVA foam?
The internal insert does two jobs at once: it keeps cards, dice, wooden meeples and miniatures from scrambling into a heap when the box is stored vertically on a Kallax shelf, and its outer perimeter supports the folded game board and rulebook so they sit flush with the top of the base. Compare the four most popular tabletop organizer setups below, and pair your game box with custom cardboard inserts or custom EVA foam inserts engineered to your exact component list.
| Insert type | Best component mix | How it supports the game board | Cost & customization |
|---|---|---|---|
| Single-trench paperboard insert | 1-2 card decks, bagged wooden meeples & dice | Wide raised left/right wings with a recessed ledge for the board | Most economical; prints in full CMYK or Pantone |
| Double or H-trench paperboard insert | 3-6 card decks, tiles, resource tokens & trackers | Four-sided perimeter step holds quad-fold board + punchboards | Low unit cost; separates cards from token bags |
| Multi-well folded paperboard grid | Deck-building games, trivia sets (300-800 cards) | Full-height divider walls with ribbon lifts or finger scoops | No tooling fees; sized for bare or sleeved cards |
| Die-cut EVA foam miniature tray | Painted resin/plastic miniatures, metal coins, polyhedral dice | Plush closed-cell foam layers with a top protective foam topper | Premium collector feel; custom cavity per sculpt |
How should you lay out the four side spines and the back-of-box component map?
Board gamers store their collections in two different ways: stacked horizontally like pancakes, or stood vertically like books inside square shelving cubes. If you print all four side spines horizontally, the title will read sideways whenever a player or retailer shelves the box vertically. The industry best practice is to orient two opposite side spines horizontally and the other two opposite side spines vertically, placing your publisher logo at the consistent bottom/left end so a row of your games lines up cleanly. On the bottom base wrap (the back of the box), shoppers immediately flip the game over to see what is inside and how a round plays. Dedicate the center 60% of the back panel to an isometric 3D diagram or photo of the unfolded board, cards and miniatures in action, flanked by a bulleted component count and the three universal tabletop icons: player count (e.g., 2-4 Players), play time (e.g., 45-60 Min) and age rating (e.g., Ages 10+).
Know your size? Compare pricing across up to 3 quantities.
Request a Quote →Which surface finishes protect dark fantasy and sci-fi game boxes from shelf scuffing?
Tabletop artwork frequently uses deep midnight blues, dungeon blacks and rich forest greens that show every fingerprint and white corner rub if left unlaminated. Applying a protective lamination film over the litho wrap before wrapping the rigid chipboard (gray board) prevents the paper fibers from cracking along the 90-degree edges. Most strategy and Euro game publishers pair matte lamination with a fine crosshatch linen embossing texture, which eliminates overhead light glare when players photograph the box on the table. To make the title logo and faction emblems pop off that matte linen background, add registered Spot UV gloss or metallic foil stamping. You can inspect all of these textures side by side in our $50 material sample kit before finalizing your print files.
How can inside-lid printing, ribbons and age warnings improve the unboxing experience?
Because a two-piece rigid game box stays on the table throughout the session, printing the inside of the bottom base or the inside of the top lid turns the box into an active game component. Many publishers print a dice-rolling arena, a victory-point track, a lore map or a quick-setup diagram inside the box base, and add a satin ribbon pull anchored under the quad-fold board and card wells so tight-fitting components lift out effortlessly. Finally, if your game is marketed for children under 12 and contains small dice, marbles or plastic pawns that fit inside a CPSC small-parts cylinder, reserve a high-contrast zone on the front cover for the 16 CFR 1500.19 choking hazard triangle and place your permanent CPSIA batch tracking mark near the barcode on the back wrap.
- Inside lid lore or quick-start rules: prints on an inner liner glued inside the lid or base so players never lose the setup guide.
- Printed trench walls: print resource icons (wood, gold, mana, discard) inside each paperboard insert well to speed up cleanup.
- Satin lift ribbons: place 0.5-inch ribbons under tight quad-fold boards and deep sleeved-card wells.
- Barcode & publisher block: leave a 1.5 × 1.0 in high-contrast white box on the back bottom corner for the UPC/EAN barcode, SKU and batch code.
What are the most common board game box and insert design mistakes?
A great cover illustration can still fail in production if the wrap turn-ins, spine orientations or insert ledges are off. Check these five mistakes before approving your proof
- Stopping side-spine artwork right at the bottom edge of the lid without including the 0.75-inch turn-in wrap that folds inside the lid rim.
- Printing all four side spines in the same horizontal direction, leaving the title sideways when the game is stored vertically in a Kallax shelf.
- Writing a wall of flavor text on the back of the box instead of showing an open component layout, player count, play time and age rating.
- Designing a flat paperboard insert without a recessed perimeter step, allowing the heavy folded game board to slide and crush the card decks.
- Using unlaminated dark ink across the 90-degree rigid box edges, which causes white crease cracking and corner scuffing during shipping.
Find your size
Suggested inside size: 5.0 × 3.75 × 1.5 in
A starting point. Your account manager confirms the size with you before the proof.
Quote this size →Packaging for this
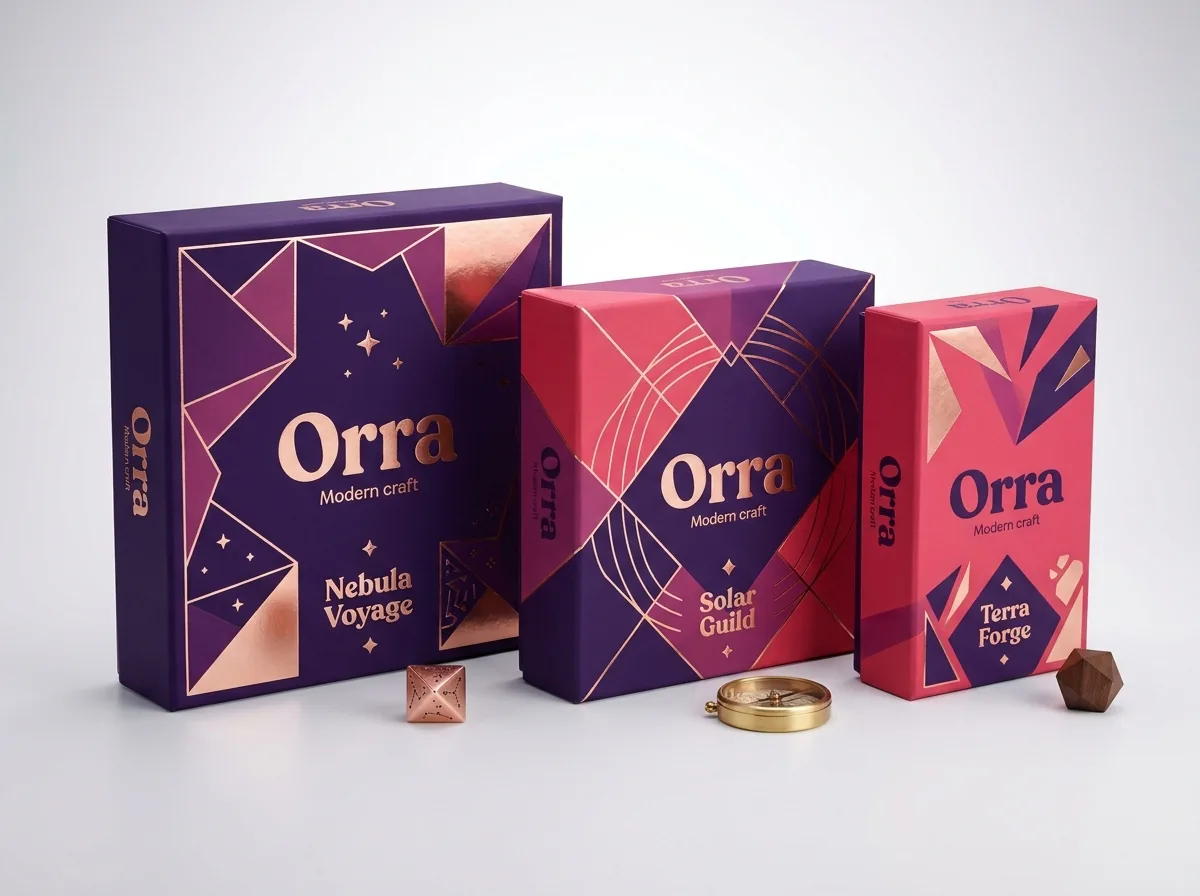
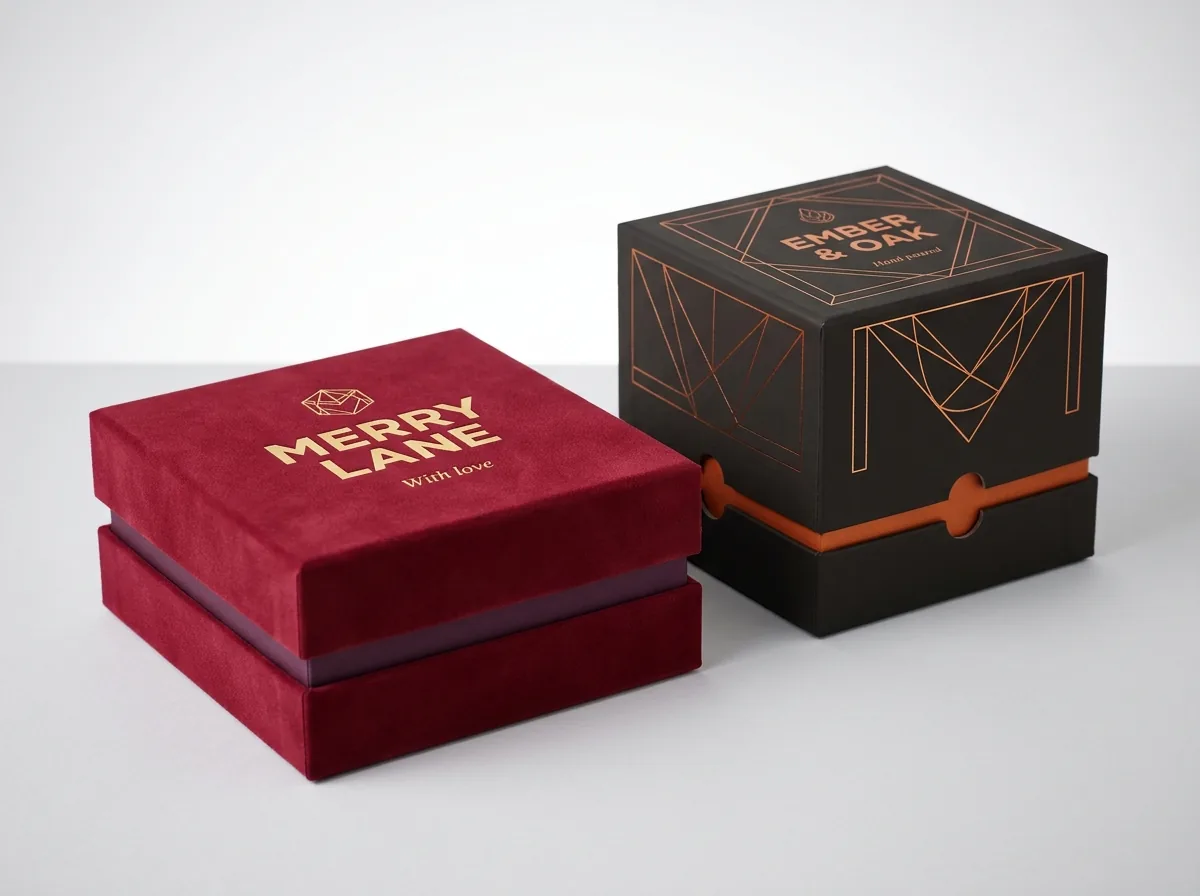

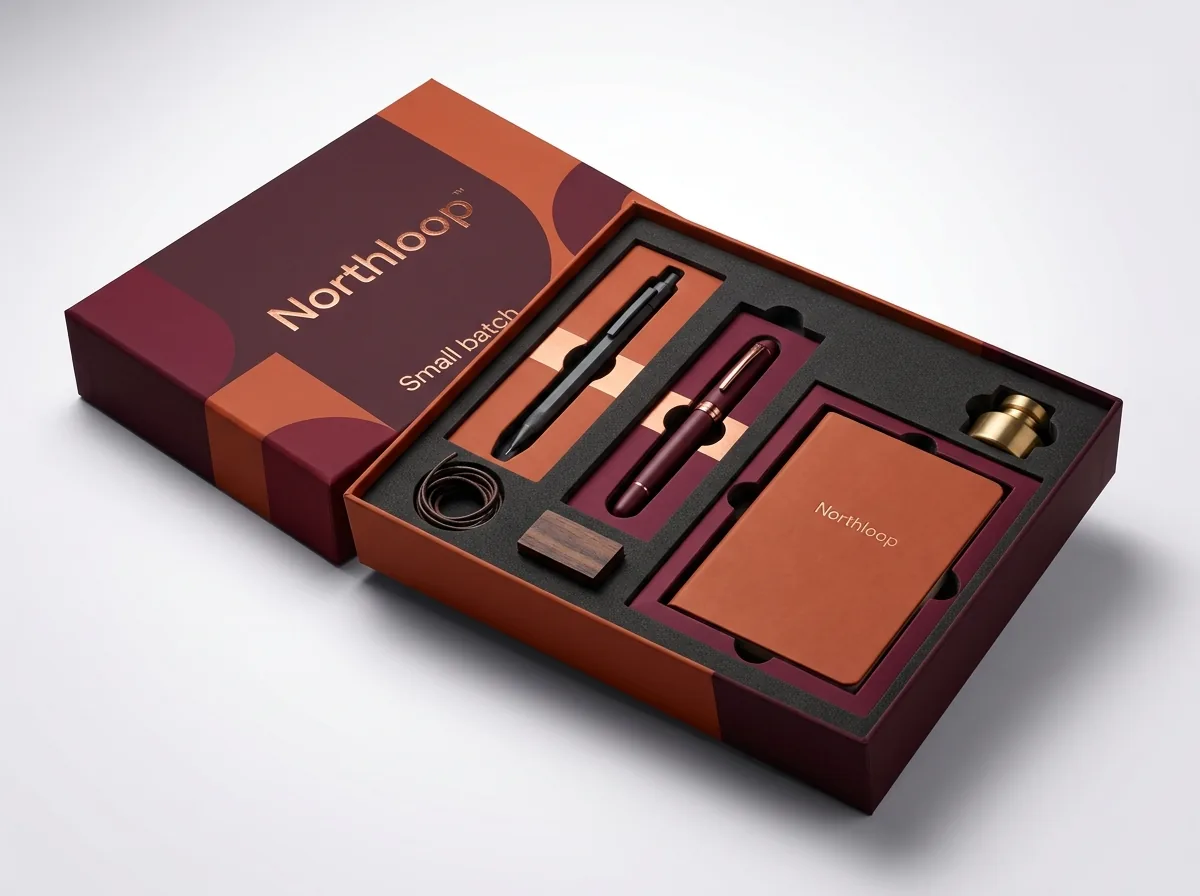
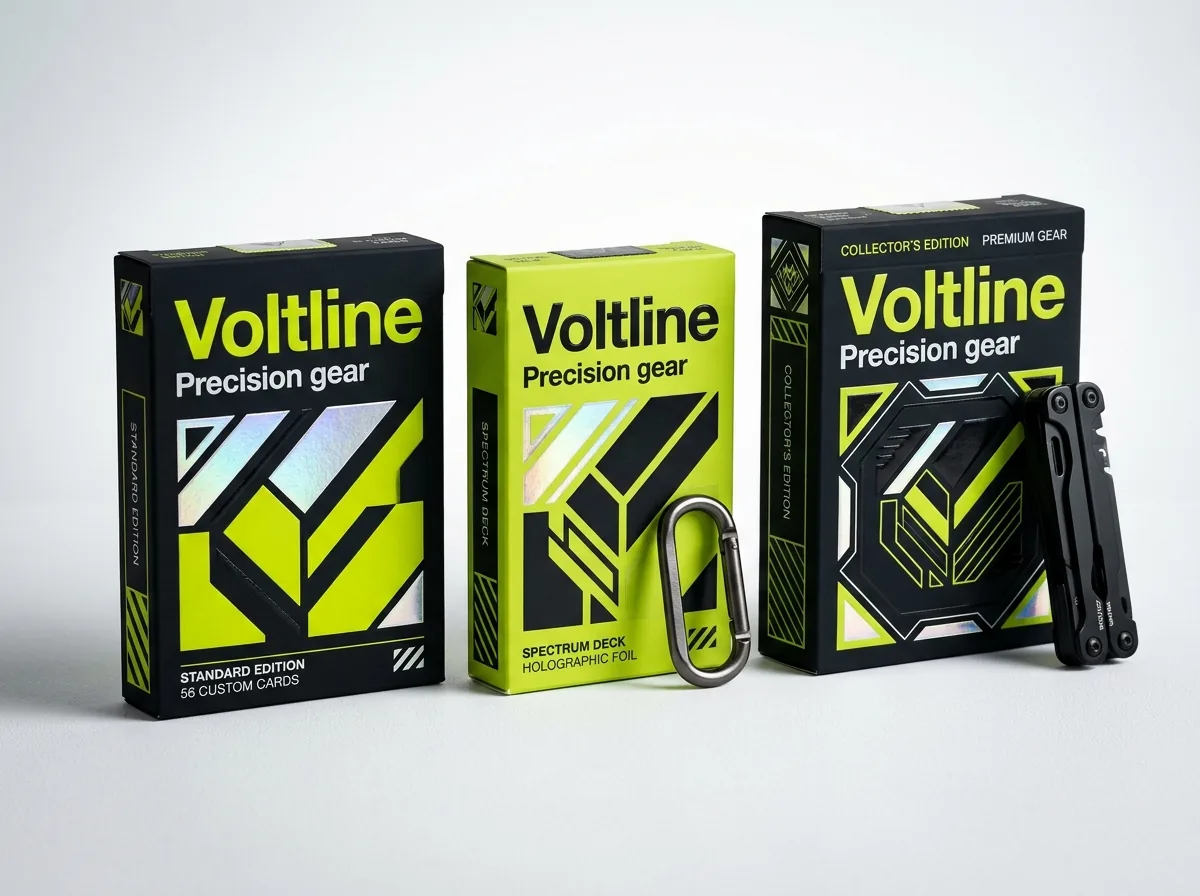
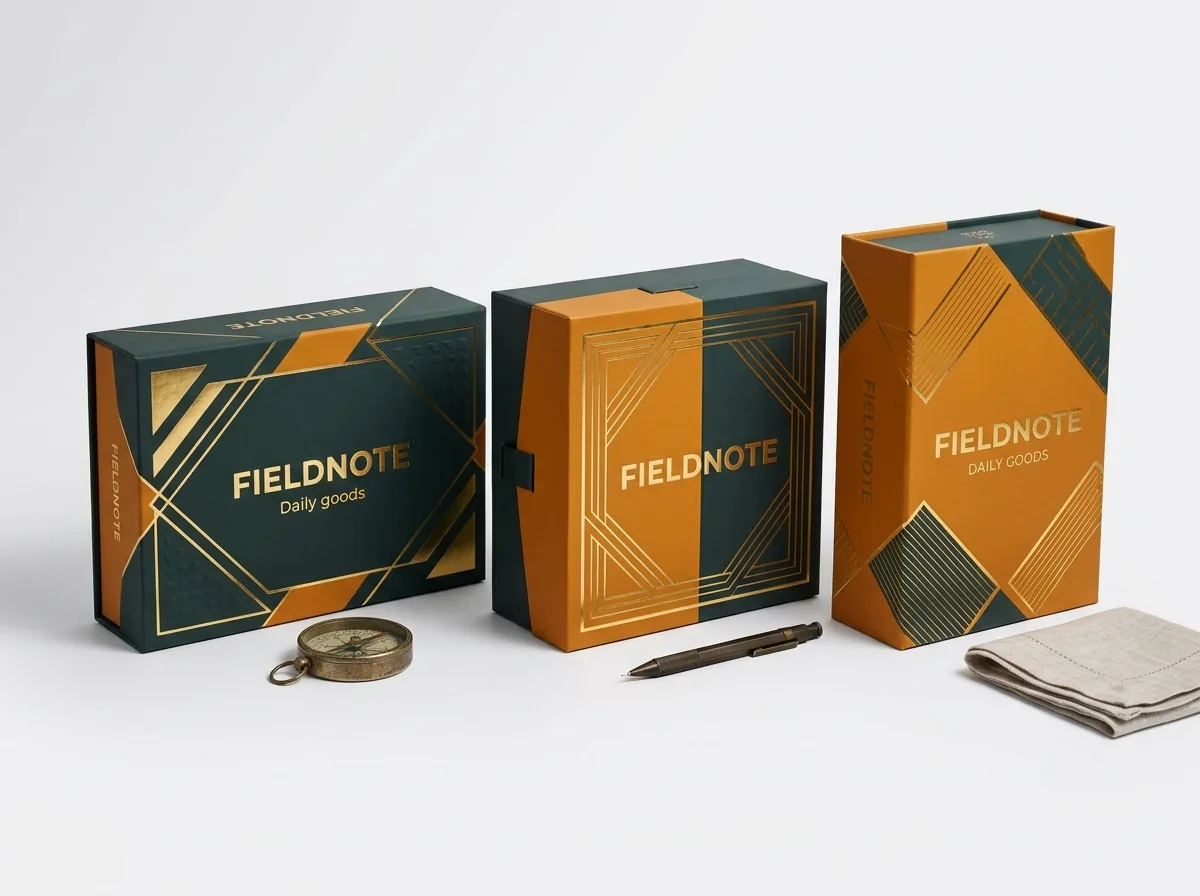
Ready to order board game boxes? Compare up to 3 quantities with a free 3D mockup.
Request a Quote →Questions about board game boxes
How much bleed and turn-in margin do I need on a two-piece rigid board game box?
Extend your artwork 0.625 to 0.75 inch (16 to 19 mm) past the bottom score lines of the four side walls so the printed paper wraps around the bottom rim and glues cleanly inside the lid and base. On folding expansion cartons, standard 0.125-inch (1/8 in) bleed applies.
Can I use an AI-generated fantasy or sci-fi illustration on my board game box?
Yes. Send us your AI cover concept or character artwork, and our prepress team will upscale the resolution to 300 DPI, extend the background across the four side spines and 0.75-inch turn-ins, set vector typography and build Spot UV or foil masks for free.
How does a paperboard trench insert keep cards from spilling when the box stands vertically?
We engineer the recessed outer ledge of the trench insert so the folded game board and rulebook rest directly on top of the central card and token wells. When the telescoping lid closes, the board acts as a flat inner cover over the compartments.
Can you print artwork inside the lid or inside the bottom component trench?
Yes. We can print full-color CMYK or Pantone artwork across the paperboard trench insert (such as card slot labels, faction icons or a dice tray) and line the inside of the rigid lid or base with a printed lore map or quick-reference sheet.
Do I have to pay extra for custom EVA foam miniature cavity dies or paperboard insert dielines?
No. CubitPack never charges die or plate fees. Our design team builds your outer rigid or folding box dieline, paperboard trench insert dieline and custom EVA foam cavity layout for free, and you review a 3D mockup before paying.
Should I choose linen embossing or soft-touch lamination for a collector edition game box?
Crosshatch linen embossing paired with matte lamination gives the classic, scratch-resistant tabletop feel that holds up to hundreds of game nights. Soft-touch lamination gives a velvety, suede-like feel favored on deluxe Kickstarter boxes and magnetic RPG tomes.
Still have a question? Ask a packaging specialist.
Request a Quote →Request your board game boxes quote
Tell us your size and quantities, and one dedicated account manager prepares pricing for each tier.
- Free design & AI-to-print studio + 3D mockup
- No die or plate charges · 4–5 day rush available
- Free shipping to all 50 states
- 10% off your first order
The dieline rules, wrap turn-in margins and trench insert layouts in this guide follow standard rigid setup box manufacturing and tabletop merchandising conventions. A CubitPack packaging specialist reviewed every section. Spot an error? Tell us and we will fix it.
Sources
What changed
- October 22, 2026: First published.
- October 22, 2026: Updated specifications, terminology, and verified source links.
More guides
New packaging guides by email
Sizes, materials and design tips. Unsubscribe anytime.