
How do I design custom puzzle boxes for glare-free tabletop reference and bookshelf storage?
Short answer: Use a glare-free matte, soft-touch or linen-embossed finish on the lid so overhead room lights do not reflect off the artwork, keep logos and piece counts off the four corners of the image, and orient opposite side spines for both vertical and horizontal shelving when ordering custom puzzle boxes.
On this page
- Why do matte, soft-touch and linen finishes beat gloss lamination on puzzle lids
- Where should the brand logo and piece count sit so they never block the puzzle art
- How do you lay out the four side spines for both horizontal and vertical shelving
- How do you match lid colors to the puzzle board and size the inner poster
- What dieline bleed, corner wrap and safety details should you check before printing
- Common mistakes
- FAQs
Request a custom quoteFree dieline & 3D mockup
Designing a jigsaw puzzle box is fundamentally different from designing a standard retail carton because the box lid serves as an active optical reference tool for six to twelve hours of gameplay. When puzzlers gather around a dining room table at night under overhead pendant lights, a high-gloss laminated lid acts like a mirror, washing out dark foliage or sky gradients. Equally frustrating is a brand logo or '1,000 Pieces' badge stamped right over a corner of the cover illustration where players look first to assemble the border. To build a puzzle box that collectors keep and recommend, specify a low-sheen matte, soft-touch or linen-embossed wrap, frame the cover illustration inside a clean border margin, include a folded reference poster inside compact boxes, and lay out the four side spines with thumbnail images for both horizontal stacking and vertical bookshelf storage.
Why do matte, soft-touch and linen finishes beat gloss lamination on puzzle lids?
Most jigsaw puzzles are assembled indoors during the evening under warm overhead dining lamps or angled desk lights. When a box lid is coated in standard high-gloss film lamination or UV flood varnish, incoming light bounces straight back into the player's eyes as a bright white hotspot. Anyone sitting across the table has to pick up the lid and tilt it every few seconds just to distinguish navy blue water from charcoal shadow. When you order custom printed puzzle boxes from CubitPack, choosing matte lamination, soft-touch lamination or fine linen embossing scatters overhead light softly across the surface so the cover image stays readable from every seat at the table. If you still want eye-catching contrast on a retail store shelf, add selective Spot UV or metallic foil stamping only on your brand wordmark, outer border frame or side spine while leaving the puzzle reference image 100% matte.
- Matte lamination: smooth, scuff-resistant anti-glare coat that keeps fine brush strokes sharp.
- Soft-touch lamination: velvety, low-reflection finish favored by gallery, museum and artist puzzle series.
- Linen embossing: crosshatch canvas texture pressed into the paper wrap to match linen-textured puzzle pieces.
- Selective Spot UV or foil: apply shine only to the logo or border frame, never across the puzzle artwork.
Where should the brand logo and piece count sit so they never block the puzzle art?
Ask any dedicated puzzler for their number-one packaging pet peeve and they will point to a giant logo medallion or '1,000 PIECES' sticker covering the bottom-right corner of the front illustration. Because almost every puzzler starts by sorting the four corner pieces and building the outer border frame, hiding even one square inch of the perimeter artwork forces players to guess until the final minutes of the build. Instead of floating text badges directly on top of a full-bleed illustration, frame the puzzle artwork inside a clean 0.4 to 0.6 inch border margin on the top face of the lid, or place a dedicated header/footer band above or below the complete rectangular crop of the puzzle. If your aesthetic calls for a full-bleed cover with a small centered or top-center logo, always print the 100% unobstructed puzzle image on the bottom of the base tray or include a folded reference poster inside.
| Cover & panel element | Where to place it | What to avoid |
|---|---|---|
| Full puzzle reference art | Centered on the lid top inside a 0.5 in frame, or repeated unobstructed on the back/poster | Cropping off the outer 5% of the puzzle edges or wrapping critical border art around the box sides |
| Brand logo & puzzle title | Inside the top border margin, on a dedicated header band, or on the side spines | Placing a solid badge over any of the four corners of the puzzle illustration |
| Piece count & finished size | Bottom border bar and all four side spines (list both inches and centimeters, e.g., 27 × 20 in / 68.6 × 50.8 cm) | Omitting the finished flat dimensions so buyers do not know if it fits their table |
| Artist bio & story | Inside the telescoping lid or on a dedicated insert card / reference poster back | Crowding the front cover with paragraphs of text |
| Barcode, age badge & CPSIA zone | Bottom base panel (plus front panel for CPSC choking warnings on kids' puzzles) | Putting retail barcode stickers over the back-panel reference image |
How do you lay out the four side spines for both horizontal and vertical shelving?
A puzzle box gets displayed and stored in two completely different orientations: stacked flat horizontally on gift-shop tables, and shelved vertically spine-out on living room bookcases. If you orient the text on all four side walls of a two-piece lid horizontally, the title will read sideways when a customer slides the box upright onto a bookshelf. Conversely, if all four sides are vertical, the box reads sideways on a flat retail display table. The clean solution used by top publishing houses is a 2-and-2 spine layout. Format the left and right long spines vertically (like a hardcover book spine) with the brand emblem at the top, the puzzle title and artist name down the center, the piece count, and a small 1.25 × 1.25 inch thumbnail preview of the artwork near the bottom. Then format the top and bottom short spines horizontally so the title and thumbnail read upright when the box lies flat in a stack.
Know your size? Compare pricing across up to 3 quantities.
Request a Quote →How do you match lid colors to the puzzle board and size the inner poster?
Nothing throws a puzzler off faster than a box cover where a terracotta roof looks bright orange while the actual die-cut puzzle pieces inside look muted burgundy. Color drift happens when the puzzle sheets and the outer box wrap are printed with different CMYK color profiles or coated with mismatched films (for example, an uncoated puzzle sheet inside a gloss-laminated box whose wet-look film darkens and saturates ink tones). When we prepare your dieline and prepress proof at CubitPack, our specialists calibrate the CMYK curves and guarantee Pantone spot colors across both your outer box wrap and your inner custom insert cards or folded reference posters. Print your folded reference poster on heavy matte or uncoated paper so it lies flat on the table without curling, and use the back of the poster or the inside of the rigid lid to showcase the illustrator's portrait, biography and collection checklist.
What dieline bleed, corner wrap and safety details should you check before printing?
On a wrapped two-piece rigid puzzle box, the printed paper wrap folds around the outside edges of the 1.5 to 2.0 mm chipboard (gray board) walls and turns 0.625 to 0.75 inch inside the lip of the lid and base tray. When setting up your artwork on our free vector dieline, extend your background color or pattern across the entire wrap turn-in plus 0.125 inch of bleed so no raw white paper strip shows along the inside rim when the lid is lifted. Finally, check your target age grade. Adult 500-piece and 1,000-piece art puzzles are typically labeled for ages 14+ or 12+. However, if you are designing a children's puzzle intended for ages 3 to 6 that contains small pieces, US CPSC regulations (16 CFR 1500.19) require the standard small-parts choking hazard triangle on the principal front display panel, and CPSIA Section 103 requires a permanent batch tracking label on the bottom panel.
- Rigid wrap turn-in: extend background color 0.75 inch past the side wall edge so the inside lip looks finished.
- Finished puzzle size callout: print both imperial (inches) and metric (cm) finished dimensions clearly on the box.
- Plastic-free seal zone: leave two 1.0 inch clear zones on opposite side seams if sealing with custom seal stickers.
- Free 3D mockup check: inspect every spine orientation and corner crop on your CubitPack 3D proof before paying.
What are the most common custom puzzle box design mistakes?
A great puzzle illustration can be undermined by a cover layout that fights the player during assembly. Check these five prepress details before approving your proof
- Choosing high-gloss lamination over dark or detailed puzzle artwork, creating mirror-like glare under evening dining room lights.
- Placing a logo badge or piece-count circle over one of the four corners of the puzzle image where players look first.
- Wrapping the outer 0.5 inch of the puzzle artwork around the vertical side walls of the lid so players cannot see the border pieces from the top view.
- Forgetting to print the finished flat puzzle dimensions (such as 27 × 20 in) on the outside of the box so buyers know if it fits their table.
- Orienting all four side spines in the same direction without a thumbnail preview, making the box unreadable when shelved vertically.
Find your size
Suggested inside size: 4.0 × 3.0 × 1.5 in
A starting point. Your account manager confirms the size with you before the proof.
Quote this size →Packaging for this
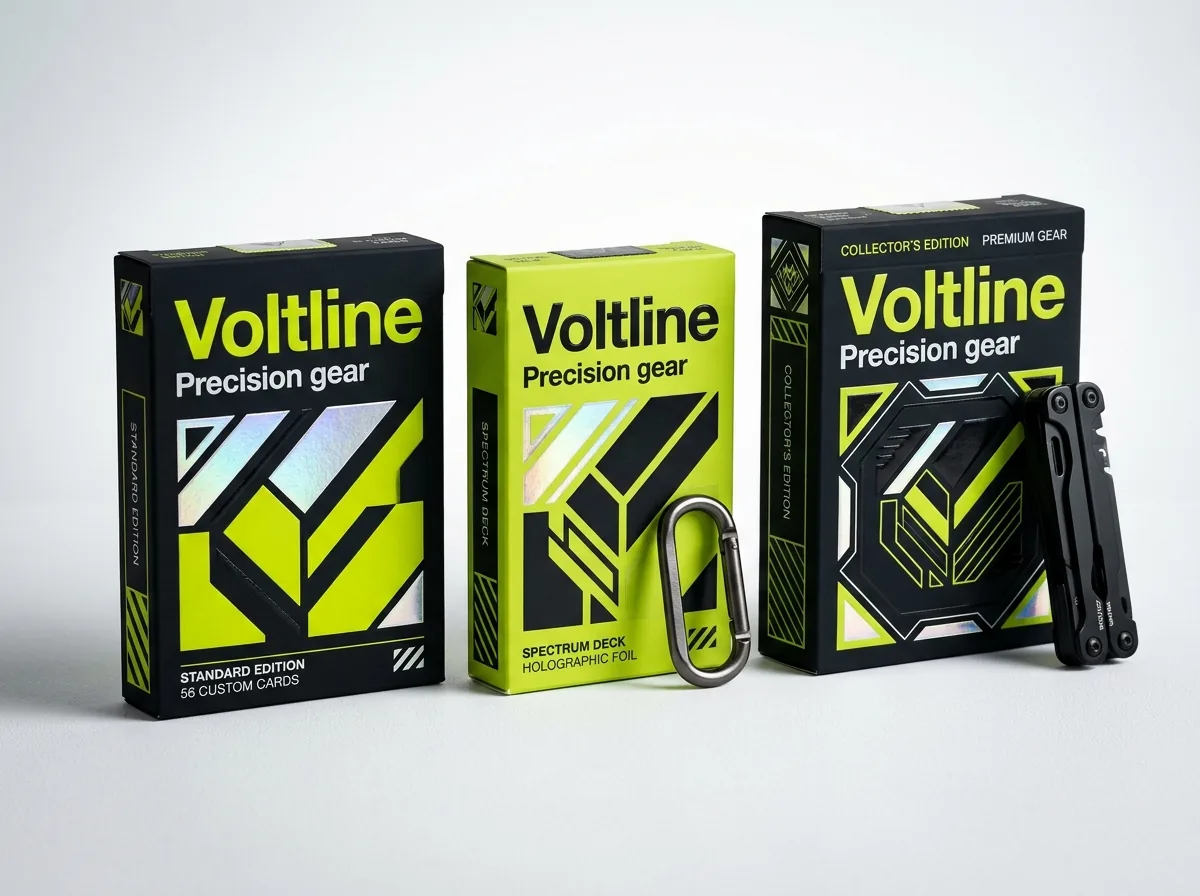
Ready to order puzzle boxes? Compare up to 3 quantities with a free 3D mockup.
Request a Quote →Questions about puzzle boxes
What is the best finish for an adult jigsaw puzzle box lid?
Matte lamination, soft-touch lamination or linen embossing are the best finishes for adult puzzle boxes. All three diffuse overhead dining room light so puzzlers can study dark or subtle color gradients on the lid from any angle without glare.
Should the puzzle artwork bleed over the side edges of the lid?
No. If you wrap the outer edges of the puzzle illustration around the 90-degree corner onto the side walls of the lid, players cannot see the border pieces clearly when looking at the top of the box. Keep the full 100% crop on the flat top panel.
How can I make my brand logo stand out without covering the puzzle image?
Frame the puzzle illustration inside a 0.5 inch cream, white or colored border on the top of the lid and place your logo in the top border band, or stamp your logo in metallic gold or Spot UV on a small header tab.
Do I need to include a reference poster inside the puzzle box?
If you use a compact 8 × 8 inch square box or place any branding over the cover art, including a folded reference poster is highly recommended. It lets two or more people work on different sections of the puzzle at the same time.
Can I print an artist biography or collection map inside the puzzle box lid?
Yes. Inside-lid printing on a two-piece rigid box or magnetic book box is a great place to share the illustrator's story, a QR code to a curated playlist, or thumbnails of other puzzles in your series without cluttering the outside.
Will CubitPack set up the dieline and check my spine orientations for free?
Yes. Every order includes a free custom vector dieline, free design support, and a 2D digital proof plus an interactive 3D mockup before you pay. You get 10% off your first order, zero die or plate charges, and free 50-state shipping.
Still have a question? Ask a packaging specialist.
Request a Quote →Request your puzzle boxes quote
Tell us your size and quantities, and one dedicated account manager prepares pricing for each tier.
- Free design & AI-to-print studio + 3D mockup
- No die or plate charges · 4–5 day rush available
- Free shipping to all 50 states
- 10% off your first order
This design guide combines prepress rules for wrapped two-piece rigid boxes and folding cartons with tabletop ergonomics (glare diffusion, unobstructed border framing and 2-and-2 spine orientation). A CubitPack packaging specialist checked every section. Spot something wrong? Tell us and we will fix it.
Sources
What changed
- October 22, 2026: First published.
- October 22, 2026: Updated specifications, terminology, and verified source links.
More guides
New packaging guides by email
Sizes, materials and design tips. Unsubscribe anytime.