
How do I design custom playing card tuck boxes with foil, embossing and tax seals?
Short answer: Bevel the top inner dust flaps so card corners never snag, leave a 2 mm quiet margin between border frames and fold scores, put foil and embossing on separate vector spot layers, and bridge the top flap with a custom tax-stamp seal. Every order of custom playing card boxes includes free prepress.
On this page
- What makes a playing card tuck box dieline different from a standard retail carton
- How should I lay out artwork, inside printing and tax seals across every tuck panel
- How do you set up registered metallic foil stamping and 3D embossing on a tuck box
- How do I size and design a custom tax-stamp seal sticker for the top tuck flap
- Why do dark playing card tuck boxes need lamination and how does inside printing work
- Common mistakes
- FAQs
Request a custom quoteFree dieline & 3D mockup
Collector playing card tuck boxes pack more print craftsmanship into 15 square inches of paperboard than almost any other package on earth. A flagship poker, magic, cardistry or tarot tuck box often combines soft-touch lamination, two colors of metallic foil stamping, sculpted 3D embossing, hidden interior printing, a back-rim thumb cutout and a perforated postage-style tax seal sticker across the top flap. Because the front face of a poker box is only 2.56 inches wide, a 1-millimeter artwork shift or an un-beveled inner dust flap stands out right away in a collector's hand. Setting up your dieline geometry, score clearances, vector foil and emboss masks, and seal sticker dimensions properly from the start guarantees that your printed playing card boxes open and close with a crisp casino feel, and our prepress engineers send a free vector dieline and 3D mockup before payment.
What makes a playing card tuck box dieline different from a standard retail carton?
If you put a 54-card poker deck inside a standard cosmetic or supplement straight-tuck carton, two mechanical problems happen immediately: the top cards catch on the square shoulders of the inner side dust flaps every time you slide the deck back in, and you have to shake the box upside down because your thumb cannot reach the top of the card stack. A dedicated playing card tuck dieline fixes both issues on the cutting die. First, we angle and recess the top inner dust flaps (anti-snag bevels) and taper the side glue flap so the interior walls are completely smooth. Second, we die-cut a clean half-moon thumb notch centered on the top rim of the back panel, never on the front panel where the top tuck tongue slides down.
- Anti-snag beveled dust flaps: angled top side flaps guide the 54-card stack straight down without nicking card corners.
- Back-panel thumb cutout: a 0.75-inch wide by 0.35-inch deep half-moon notch on the back rim lets fingers grip the cards.
- Extended top tuck tongue: a 0.65 to 0.75 in friction tongue keeps the lid snapped shut after the outer cello wrap is removed.
- Glue-free interior contact: the side seam glue track is inset so wet adhesive never squeezes onto the edge of the deck.
How should I lay out artwork, inside printing and tax seals across every tuck panel?
Every panel of a playing card tuck box has a traditional role recognized by poker players, magicians and tarot collectors. Keeping ornamental borders, edition numbers and barcodes in their expected zones makes the deck feel authentic while protecting fine linework from fold creases. Use the panel-by-panel checklist below when preparing your vector artwork on our free dieline for custom poker and tarot tuck boxes.
| Tuck box zone | Traditional collector & game elements | Prepress & finish rule |
|---|---|---|
| Front panel (65 × 90.5 mm) | Deck title crest, court or emblem centerpiece, ornate border frame | Keep border lines at least 2.0 mm (0.08 in) inside all four fold scores |
| Back panel + thumb notch | 1:1 scale preview of the card back design + top-center half-moon thumb cutout | Keep key focal art 0.45 in below the top back score to clear the thumb cutout and tax seal |
| Left & right side spines (18 mm) | Stock & finish callout (left spine) + studio name & edition year (right spine) | Center spine text vertically with at least 2.0 mm clearance from front/back creases |
| Top tuck flap (18 × 65 mm) | Edition name, custom family crest or Roman numerals, bridged by the tax-stamp seal | Leave a 0.75 in central zone where the tax seal bridges across onto the back panel |
| Bottom tuck flap | Studio copyright, artist credit, print run size (e.g., 1 of 1,000), UPC barcode | Print barcode in high-contrast 100% black on a light rectangle (or stick on outer cello) |
| Interior tuck walls | Repeating geometric pattern, constellation map, secret magic reveal or metallic foil | Extend inside artwork across the inner front, back, sides and dust flaps |
How do you set up registered metallic foil stamping and 3D embossing on a tuck box?
The hallmark of a collector playing card tuck box is the combination of foil stamping and embossing over a dark soft-touch or matte laminated background. You can even layer two separate foil colors (such as antique gold and bright silver, or copper and holographic foil) before pressing the sheet with a sculpted brass embossing die. To avoid muddy details on a small 2.56 × 3.56 inch panel, keep minimum metallic foil line weights at 0.4 pt (0.14 mm) or thicker, and leave at least 0.5 pt (0.18 mm) of open gap between two parallel foil lines so the heated foil does not bridge across the gap. In your Adobe Illustrator file, place each finish on its own named vector layer ('Gold Foil', 'Silver Foil', 'Emboss') using 100% spot-color fills.
- Minimum foil stroke width: 0.4 pt (0.14 mm) for clean metallic release without flaking or pinholes.
- Minimum reverse gap between foil lines: 0.5 pt (0.18 mm) so adjacent gold or silver lines never bridge together.
- Score clearance for embossing: stop raised 3D embossing 2.0 mm inside the fold crease so corners fold crisp and flat.
- Multi-level brass dies: sculpted embossing dies can raise court armor, dragon scales or typography at two distinct heights.
Know your size? Compare pricing across up to 3 quantities.
Request a Quote →How do I size and design a custom tax-stamp seal sticker for the top tuck flap?
Originating from historic US playing card revenue stamps, the top seal sticker is the finishing jewel of a custom deck. The sticker applies onto the center of the top tuck flap, folds 90 degrees over the back top edge (right across the thumb cutout), and adheres 0.75 to 1.0 inch down the upper back panel. A classic vertical stamp seal measures 0.75 × 1.625 inches (19 × 41 mm) or 0.80 × 1.75 inches with die-cut postage-stamp scalloped edges, printed on matte wine-label paper or metallic foil stock. We can add a micro-perforated tear line right along the top back rim of the custom seal sticker so players can slice the seal cleanly with a thumbnail without peeling the sticker off the box.
- Standard vertical stamp size: 0.75 × 1.625 in (19 × 41 mm) bridging across the top flap and down the back panel.
- Wide horizontal tax band: 1.75 × 0.625 in wrapping horizontally across the top flap and onto both side spines.
- Postage-edge die cut & micro-perf: scalloped stamp perimeter with a horizontal perforation line over the thumb notch.
- Sequential edition numbering: variable-data printing from 0001/1000 to 1000/1000 on limited collector runs.

Why do dark playing card tuck boxes need lamination and how does inside printing work?
Many playing card designers love deep obsidian black, midnight navy or burgundy backgrounds. If you print heavy dark ink directly onto uncoated paperboard and fold it 90 degrees along the four tight tuck scores, the outer ink layer can split and show a jagged white paper line along the box corners. Applying matte lamination or velvety soft-touch lamination over the outside of the sheet binds the surface fibers together so dark tuck boxes fold with razor-clean edges. Meanwhile, the uncoated inside of the board takes full-color CMYK, Pantone ink or interior metallic foil stamping, turning the inside of the tuck box into a hidden gallery when the cards are drawn.
- Score-safe outer lamination: prevents white edge cracking on black, navy, forest green and burgundy tuck cartons.
- Full-bleed inside printing: print intricate patterns, story lore or gaff card reveals across all interior walls.
- Unprinted glue tab: keep the 0.5-inch side seam glue flap free of ink and lamination so the side seam bonds permanently.
What are the most common playing card tuck box design and prepress mistakes?
Because a poker tuck box is small and held six inches from the player's eyes, tiny prepress oversights stand out immediately. Check these five mistakes before approving your proof
- Placing a rectangular front border frame closer than 1.5 to 2.0 mm to the vertical fold scores, which makes the border look lopsided if the fold shifts slightly.
- Designing ultra-thin 0.15 pt metallic foil filigree with zero gap between lines, causing the heated foil stamp to fill in fine details.
- Centering critical back-panel artwork right at the top rim where the half-moon thumb cutout and the 1-inch tail of the tax-stamp seal cover it up.
- Printing solid black or dark blue flood ink on unlaminated board, leading to white paper cracking along the four vertical fold edges.
- Extending ink, varnish or lamination over the narrow side-seam glue tab, which prevents the folding-carton glue from bonding into the board fibers.
Find your size
Suggested inside size: 2.31 × 0.70 × 3.56 in
A starting point. Your account manager confirms the size with you before the proof.
Quote this size →Packaging for this
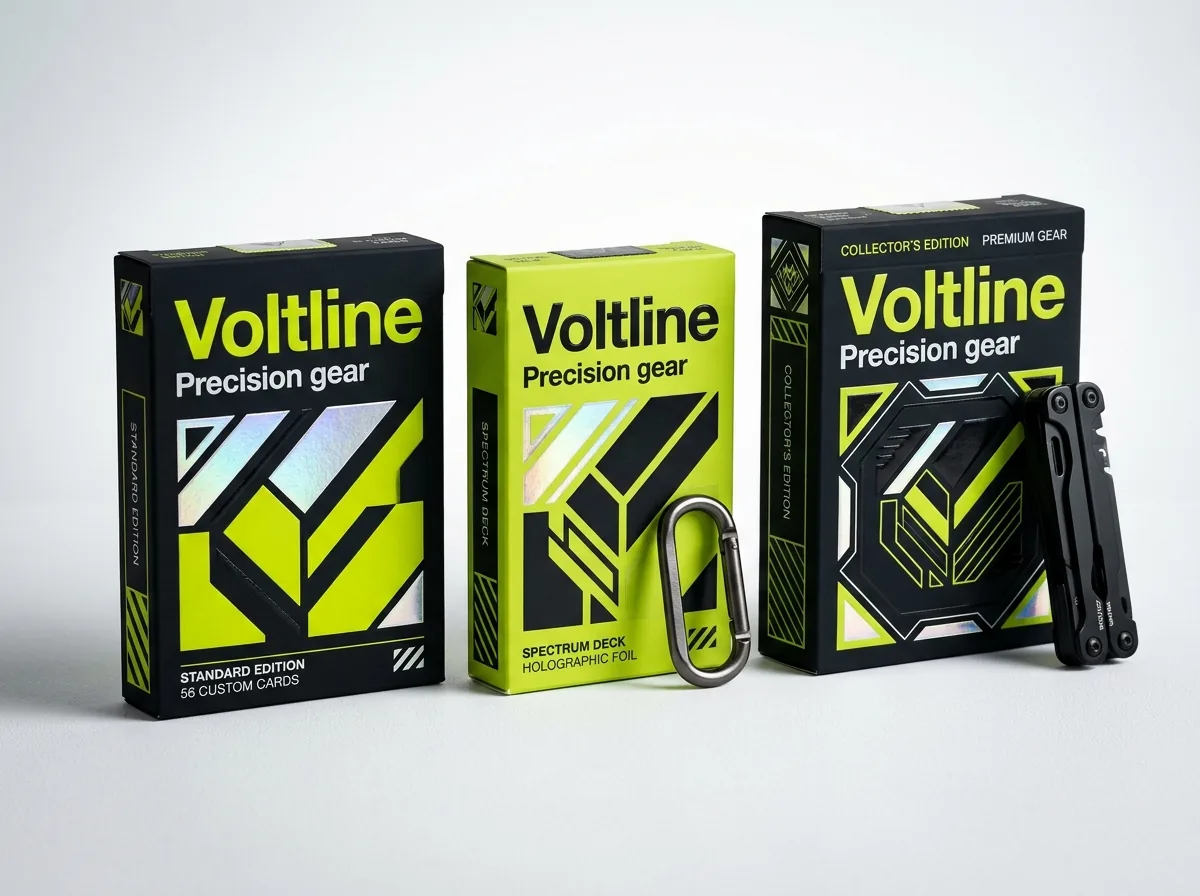
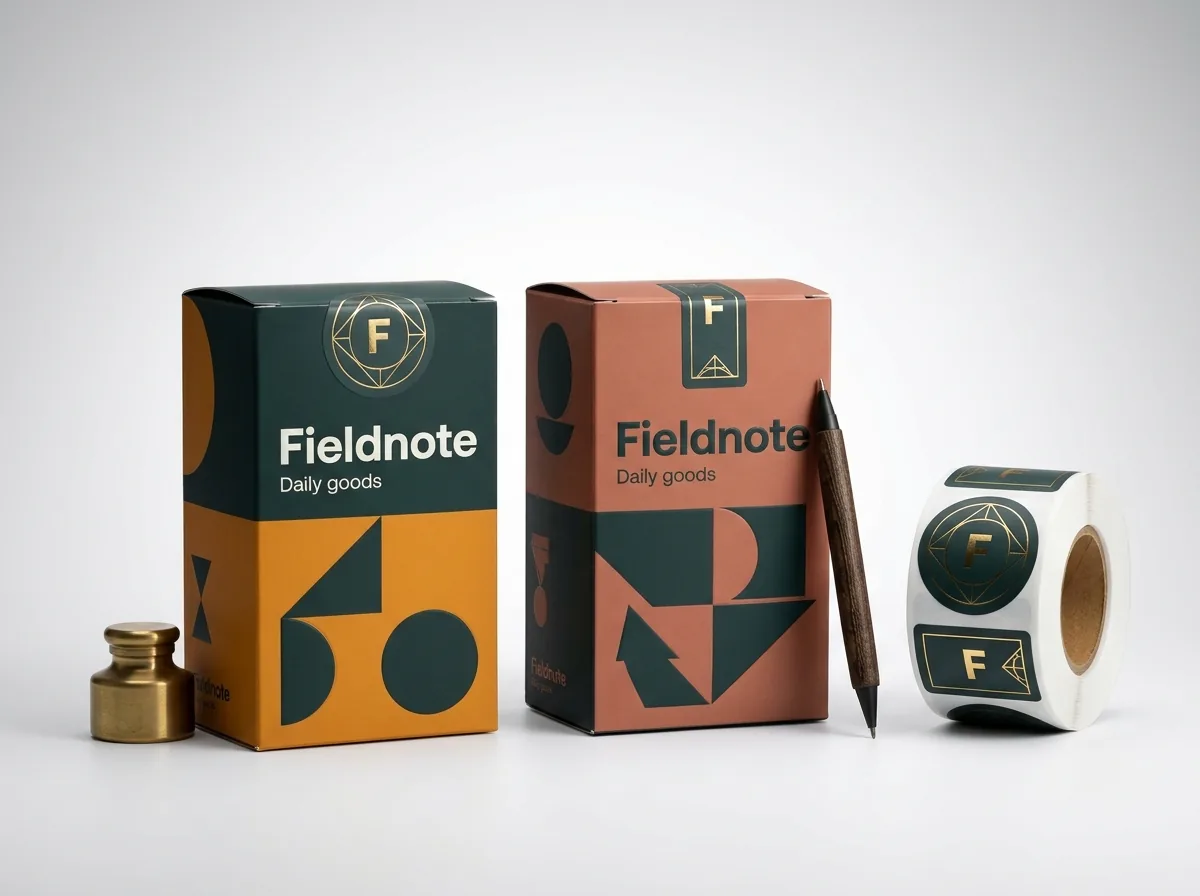



Ready to order playing card boxes? Compare up to 3 quantities with a free 3D mockup.
Request a Quote →Questions about playing card boxes
Will CubitPack send me a precision vector tuck box dieline with beveled dust flaps and a thumb notch?
Yes. Tell us your card size (such as Poker 2.5 × 3.5 in or Tarot 2.75 × 4.75 in), card count and paper gsm, and our design team will send you a free custom vector PDF/AI dieline with anti-snag dust flaps and a back thumb cutout.
Can I combine two colors of metallic foil stamping plus embossing on one tuck box?
Yes. Multi-pass collector tuck boxes, such as gold foil + silver foil + 3D embossing over soft-touch black board, are one of our specialties. Place each foil color and the embossing mask on separate named vector spot layers in your file.
Can you print or foil stamp on the inside of the playing card tuck box?
Yes. We print or foil stamp the flat inside sheet before the tuck box is die-cut and folded, so your interior pattern covers the entire inside front wall, back wall, side walls and inner dust flaps without gaps.
What is the standard size for a playing card tax-stamp seal sticker?
A classic vertical postage-style deck seal measures 0.75 × 1.625 inches (19 × 41 mm) or 0.80 × 1.75 inches. That gives enough length to cover the center of the top tuck flap, bridge over the thumb notch, and reach 0.85 inch down the back panel.
How close to the fold lines can I place a foil or printed border frame?
Keep rectangular border frames at least 2.0 mm (0.08 inch) inside all four outer fold scores of the front, back and side panels. Background colors and patterns should bleed 3.0 mm (0.125 inch) past the outer cut lines.
Do I see a 3D mockup of my foil, embossing, inside print and seal before I pay?
Yes. Every order includes a free 2D prepress proof and an interactive 3D mockup showing your outer artwork, metallic foil reflection, inside print and seal placement before payment. You can also request a physical prototype.
Still have a question? Ask a packaging specialist.
Request a Quote →Request your playing card boxes quote
Tell us your size and quantities, and one dedicated account manager prepares pricing for each tier.
- Free design & AI-to-print studio + 3D mockup
- No die or plate charges · 4–5 day rush available
- Free shipping to all 50 states
- 10% off your first order
The tuck dieline geometry, 2 mm border clearances, minimum 0.4 pt foil line weights and 19 × 41 mm tax-seal standards in this guide come from collector playing card production and offset/foil prepress specifications. A CubitPack packaging specialist checked every section. Spot an error? Tell us and we will fix it.
Sources
What changed
- October 22, 2026: First published.
- October 22, 2026: Updated specifications, terminology, and verified source links.
More guides
New packaging guides by email
Sizes, materials and design tips. Unsubscribe anytime.