
How do you design custom health product boxes for retail pharmacies and clinics?
Short answer: Lead the front panel with the target symptom or biomarker, print 1-2-3 usage or sample-collection diagrams inside the lid, and reserve an unvarnished knock-out rectangle for UDI and lot coding. Build your artwork on our custom health product boxes page with free prepress help.
On this page
- How should you organize the panels on a personal health carton or test kit
- How do Pantone symptom bands prevent shelf and kitting mix-ups
- Why should at-home health test kits print 1-2-3 steps inside the lid
- How do you set up UDI, lot-code knock-out windows and tamper seals
- What drives the cost of custom health product boxes and how can you save
- Common mistakes
- FAQs
Request a custom quoteFree dieline & 3D mockup
Designing high-trust health product packaging for pharmacy shelves, practitioner clinics and telehealth kits requires strict visual hierarchy and prepress discipline. On the front Principal Display Panel, shoppers scan in three seconds for four things: brand identity, primary health use or biomarker panel, delivery format (spray, patch, device or saliva test), and net quantity. Assign the full back panel to your Drug Facts, Supplement Facts or kit contents table set in crisp 100% black ink on a high-contrast matte white surface. On at-home diagnostic test mailers, use inside-lid printing to display numbered 1-2-3 sample registration and collection diagrams so patients never misread a step. Finally, mask a 1.5 × 0.6 inch unvarnished knock-out zone on the bottom or side flap for thermal inkjet lot, expiration and UDI barcodes. CubitPack prints from 1,000 units with free prepress help.
How should you organize the panels on a personal health carton or test kit?
Whether a customer is standing in a brightly lit pharmacy aisle comparing sinus sprays or opening an at-home hormone test kit at their kitchen table, visual clutter breeds hesitation. Clinical packaging works best when every panel has one clear responsibility, high contrast between text and background, and generous white space around regulatory typography. When shoppers can verify what the product does, how it is used, and how many doses or tests are inside without turning the box three times, shelf conversion rises. Use the panel-by-panel blueprint below when laying out artwork on your dieline for custom printed health product cartons.
| Carton panel or surface | Information to place here | Prepress & legibility rule |
|---|---|---|
| Front panel (Principal Display Panel) | Brand mark, symptom/test title, delivery format, net quantity or count | Use Pantone symptom color bar; keep text 0.125 in inside fold scores |
| Back panel (Information Panel) | Drug Facts, Supplement Facts, device specs or kit component list | Print 6 pt text in 100% K black ink over matte white/light background |
| Left side panel | Step-by-step usage directions, age group & storage temperature note | Use numbered line-art icons (1, 2, 3) for fast visual scanning |
| Right side panel | Warnings, tamper-evident statement, distributor address & UPC/GTIN barcode | Keep barcode quiet zone 0.25 in clear of creases; test scan contrast |
| Inside lid / interior walls | QR code for kit activation + 1-2-3 sample collection or device setup guide | Included via inside printing without adding extra paper sheets |
| Bottom or side coding flap | Unvarnished white knock-out window for LOT, EXP and UDI barcode | Hold back lamination and UV coating so co-packer inkjet dries instantly |
How do Pantone symptom bands prevent shelf and kitting mix-ups?
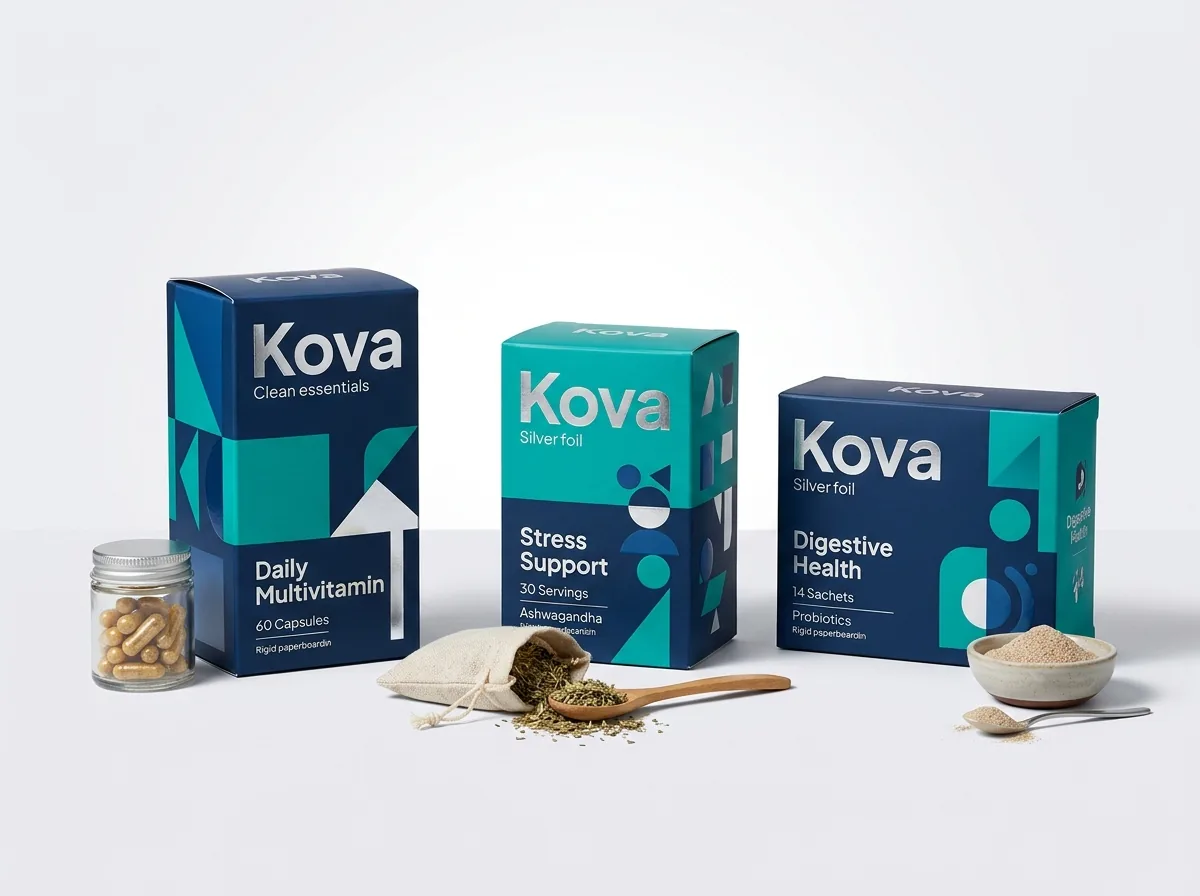
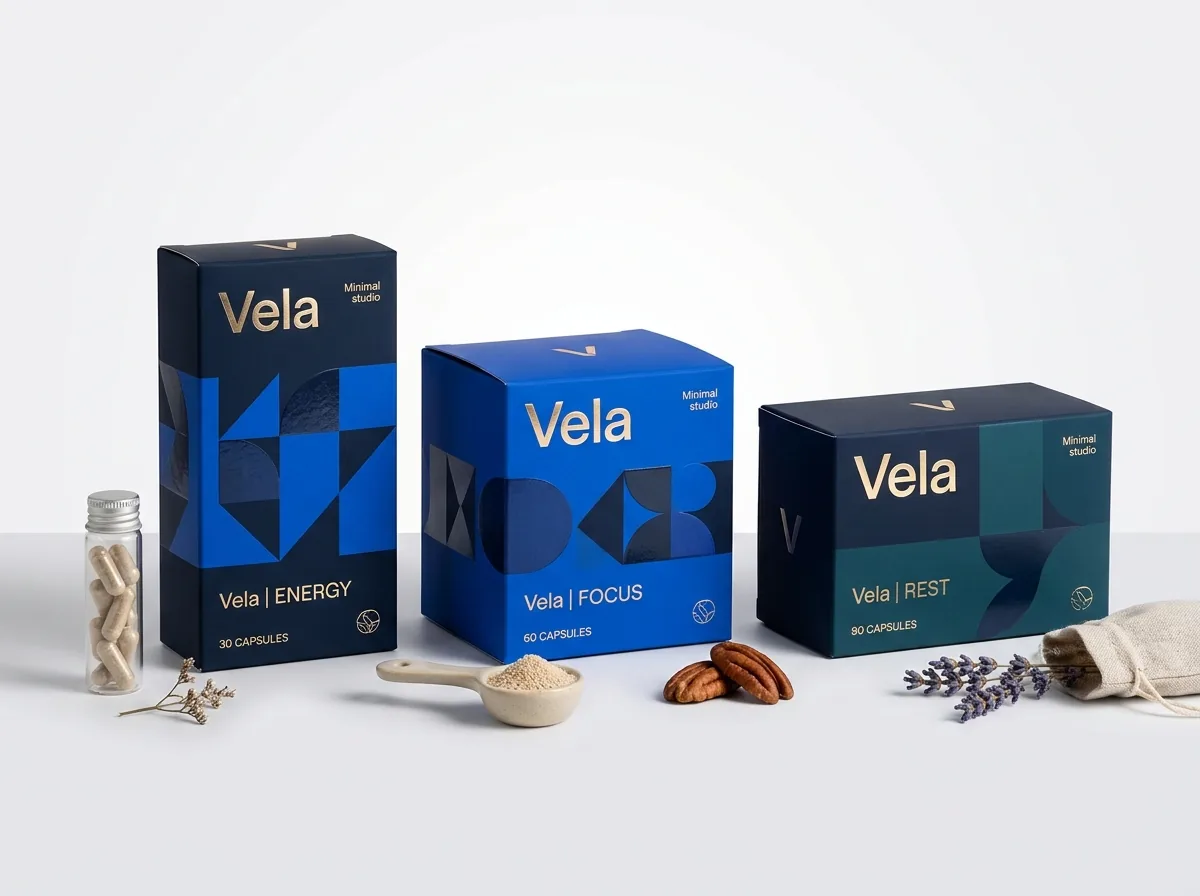
Most personal health and diagnostics brands carry multiple SKUs that share the exact same box size: for example, Daytime vs Nighttime Sinus Mist, Hydrocolloid Blemish vs Scar Patches, or five different at-home blood-spot biomarker kits. If every box is 95% white with only a tiny text change, warehouse pickers pull the wrong SKU and retail shoppers struggle to spot the formula they need. Instead, anchor your brand identity with a clean 65% clinical neutral zone (bright SBS white, warm ivory or unbleached kraft) and dedicate the lower 35% of the front panel, plus the top tuck flap, to a distinct Pantone spot color band for each symptom or test category (such as cool teal for respiratory, deep indigo for sleep, coral for women's health, and forest green for gut health). Because CubitPack guarantees Pantone color matching across boxes, custom roll labels and insert cards, the vial or pouch inside matches the outer carton.
- Repeat the SKU's Pantone color band on the top flap so kitting operators can identify cartons from above in master cases.
- Use distinct geometric icons (droplet, moon, shield, heart) alongside color bands for color-blind accessibility.
- Keep the dieline dimensions identical across all SKUs in a product family so you pool your order volume with zero die fees.
- Set all fine-print regulatory tables in one-color 100% black (K) plate so changing a flavor or panel plate never blurs small type.
Why should at-home health test kits print 1-2-3 steps inside the lid?
In direct-to-patient diagnostics, the biggest operational cost is a rejected lab specimen caused by a patient forgetting to activate their kit online before mailing the sample back, or collecting the sample at the wrong time of day. When instructions are buried in a dense 12-page folded paper leaflet, many users skip reading them. Using inside printing on the interior lid of your E-flute mailer box turns the open lid into an unavoidable onboarding billboard. Place a bold 'STOP: Activate your kit first' callout with a scannable QR code on the left third of the inside lid, followed by three simple illustrated steps ('1. Register kit ID', '2. Collect sample in tube', '3. Place in biohazard bag & mail back in this box'). Pairing those lid graphics with numbered cavities on your custom cardboard insert guides the patient from start to finish and cuts down on customer support tickets.
Know your size? Compare pricing across up to 3 quantities.
Request a Quote →How do you set up UDI, lot-code knock-out windows and tamper seals?
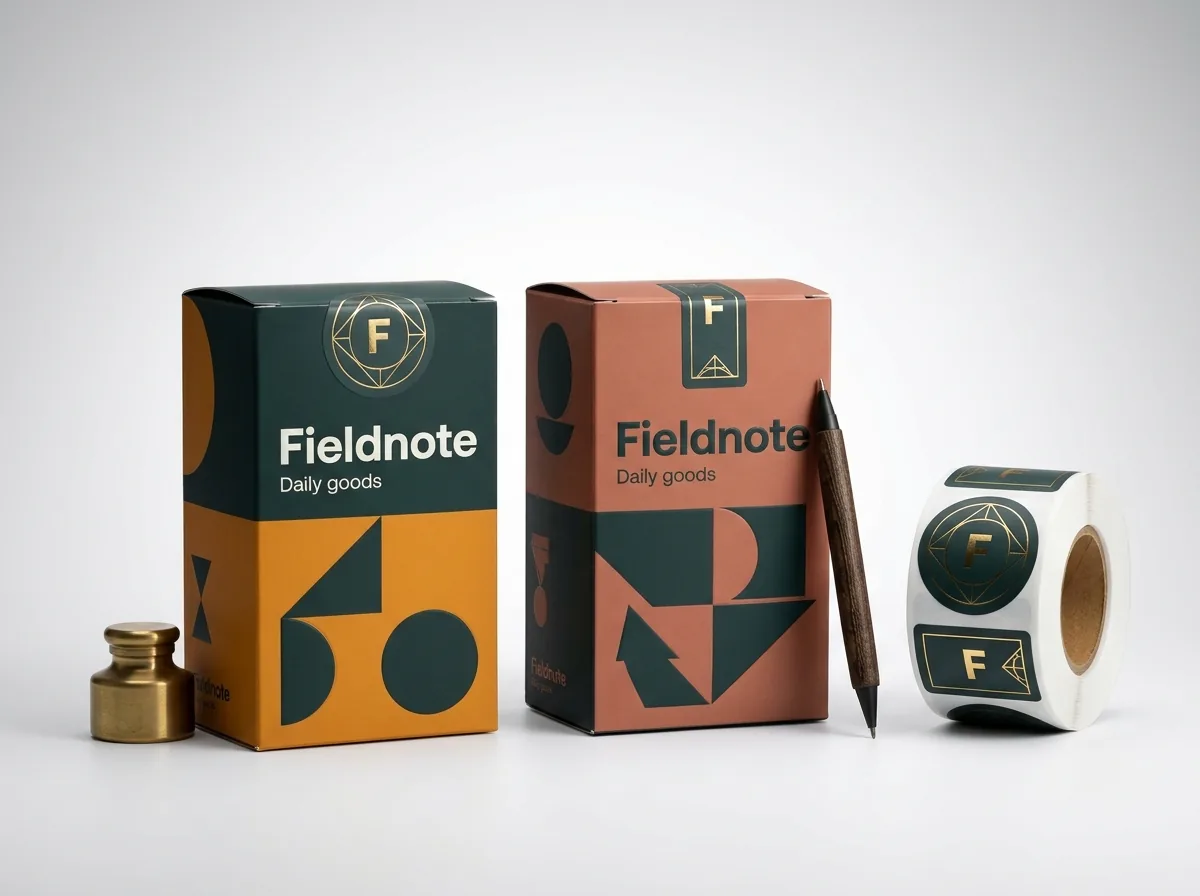
Medical devices, OTC sprays and diagnostic kits require variable production coding (including Lot Number, Expiration Date, and often a GS1 DataMatrix or linear Unique Device Identifier (UDI)) applied on the kitting line via high-speed thermal inkjet (TIJ) or laser coders. If your carton is covered end-to-end in matte lamination, gloss lamination or soft-touch film, inkjet droplets sit on top of the plastic film and smudge when cartons rub together. To prevent smudged codes, add a dedicated non-printing 'VARNISH / LAMINATION KNOCK-OUT' rectangle (typically 1.5 × 0.6 inches for lot/expiry or 2.0 × 1.0 inches if printing a full UDI DataMatrix + human-readable lines) on the bottom or side panel. If your carton also uses tamper-evident wafer seals over the top and bottom tuck flaps, we can supply matching custom seal stickers or configure glued seal-end flaps.
- Matte lamination: eliminates overhead store glare so patients and pharmacists can read 6 pt warnings effortlessly.
- Spot UV + Embossing: highlights device silhouettes, anatomical icons or Braille/tactile markers without cluttering text.
- Unvarnished coding window: raw paperboard patch that absorbs thermal inkjet ink in milliseconds on high-speed kitting lines.
- Glue-free zones on tuck flaps: if applying tamper-evident wafer seals, avoid heavy silicone slip coatings on the landing zone.
What drives the cost of custom health product boxes and how can you save?
The unit price of custom health packaging is driven by four factors: total box quantity, board structure (single-wall SBS folding carton vs E-flute corrugated mailer with die-cut insert), print coverage (outside only vs outside + inside lid), and post-press finishes. Because CubitPack never charges cutting die or printing plate fees, you can standardize one master spray carton, one patch carton or one universal test-kit mailer across your entire product line to reach 2,500, 5,000 or 10,000 unit pricing tiers while keeping kitting line changeovers fast. Every order includes a free 2D digital proof and interactive 3D mockup before payment so your regulatory, clinical and marketing teams can verify every panel, barcode and knock-out zone before press. You can also order our $50 sample kit to inspect paperboard weights and matte or soft-touch finishes in person, or request a custom printed prototype whose cost is credited toward your full production order. First-time orders receive 10% off, and we beat written quotes from US competitors for matching specs.
What are the most common health product box artwork mistakes?
Healthcare packaging has zero margin for unreadable directions or smeared lot numbers. Avoid these five prepress mistakes before approving your digital proof
- Laminating over the entire bottom or side coding flap without masking an unvarnished knock-out rectangle, causing thermal inkjet UDI, lot number and expiration stamps to smudge off during packing.
- Burying critical 'Activate your kit online first' instructions in a folded paper pamphlet instead of printing a bold 1-2-3 visual onboarding guide inside the mailer lid.
- Printing 6-point Drug Facts, Supplement Facts or ingredient tables in reverse white text over a 4-color rich black background where slight ink spread reduces clinical legibility.
- Using high-gloss lamination over dense back-panel directions where overhead pharmacy and clinic fluorescent lights create blinding surface glare.
- Designing slightly different box dimensions for each spray formula, patch count or diagnostic test panel instead of sharing one master dieline and color-coding each SKU with Pantone bands.
Find your size
Suggested inside size: 1.625 × 1.625 × 4.5 in
A starting point. Your account manager confirms the size with you before the proof.
Quote this size →Packaging for this
Ready to order health product boxes? Compare up to 3 quantities with a free 3D mockup.
Request a Quote →Questions about health product boxes
Can I combine multiple health formulas or diagnostic test panels in one box order?
Yes. Our minimum order starts at 1,000 boxes, and when your nasal sprays, patch counts or diagnostic panels share the exact same box size and dieline, select 2 designs or 3+ designs in the quote form to have your multi-SKU run quoted together.
How do you set up the unvarnished window for our kitting line's lot, expiry or UDI printer?
Tell us the exact width, height and flap location your kitting line requires, and our prepress team masks all film lamination and UV varnish off that rectangle on your digital proof so inkjet or laser codes adhere cleanly.
Can you print both the outside and inside of our at-home health test kit mailer?
Yes. We offer full-color CMYK and Pantone printing on both the exterior walls and the interior lid and tray of folding cartons and E-flute mailers, letting you print step-by-step patient instructions and activation QR codes inside.
Do you charge extra for custom dielines, cutting dies or printing plates?
No. CubitPack provides free structural dielines, free design help, and zero die or plate charges on every order. You also review a flat 2D digital proof and interactive 3D mockup before paying.
Can we order matching vial labels, pouch labels and tamper-evident wafer seals from CubitPack?
Yes. Because we produce custom roll labels, seal stickers, insert cards and pouches alongside boxes, our prepress team keeps your Pantone colors and typography consistent across every piece inside your kit.
Can we inspect paperboard and E-flute material samples before placing our full order?
Yes. You can order our $50 sample kit to feel our paperboard stocks, corrugated flutes, laminations and special finishes in person, or request a custom printed prototype whose cost is credited toward your full production order.
Still have a question? Ask a packaging specialist.
Request a Quote →Request your health product boxes quote
Tell us your size and quantities, and one dedicated account manager prepares pricing for each tier.
- Free design & AI-to-print studio + 3D mockup
- No die or plate charges · 4–5 day rush available
- Free shipping to all 50 states
- 10% off your first order
The four-panel clinical hierarchy, inside-lid diagnostic onboarding layouts and UDI/lot knock-out prepress rules in this guide come from OTC/personal healthcare labeling practices and commercial offset lithography standards. A CubitPack packaging specialist verified every detail. Spot an error? Tell us and we will fix it.
Sources
What changed
- October 22, 2026: First published.
- October 22, 2026: Updated specifications, terminology, and verified source links.
More guides
New packaging guides by email
Sizes, materials and design tips. Unsubscribe anytime.