
How do I lay out dosage panels, lot windows and dividers on custom pill boxes?
Short answer: Give each vertical wall a single job: brand and pill count on the front, Supplement or Drug Facts on the back, dosage directions on the right, and story plus barcode on the left. On custom pill boxes, print fine text in 100% black and leave an unvarnished bottom lot-code window.
On this page
- Which information belongs on each panel of a custom pill box
- How do I keep 6-point Supplement Facts and dosage text razor sharp
- How do you set up an unvarnished window for lot and expiration coding
- How do fifth-panel dividers and inside printing replace separate leaflets
- How can I group multiple pill strengths or formulas to reduce unit cost
- Common mistakes
- FAQs
Request a custom quoteFree dieline & 3D mockup
Designing a pill carton is different from designing a gift box because a compact 2 to 4 inch paperboard surface must carry dense, mandatory regulatory copy without looking cluttered or becoming unreadable. A clean layout divides the carton into six functional zones across its panels: the front principal display panel (brand, formula name, delivery form and tablet count), the back facts panel (Supplement Facts or Drug Facts table plus other ingredients), the right side panel (dosing schedule, storage temperature and warnings), the left side panel (brand credentials, certifications and vertically or horizontally oriented UPC barcode), the top lid flap (strength badge or color bar), and the bottom flap (unlaminated lot and expiry coding window). When you order printed pill cartons from CubitPack, our prepress team supplies your exact dieline and checks every text margin, knockout and fold score for free before you pay.
Which information belongs on each panel of a custom pill box?
Shoppers and pharmacists inspect a pill carton in a predictable sequence: they spot the formula name and strength band on the front shelf face, flip the box to read the active ingredients and facts table on the back, and check the side panel for daily dosage instructions. Giving each wall one clear role keeps your front face clean and trustworthy while leaving plenty of flat vertical space for mandatory tables. Use the panel map below when laying out artwork on your flat dieline. Always keep text and rule boxes at least 1/8 inch (0.125 in) inside every purple fold score line so letters never crack or wrap around a corner when the carton is erected.
| Carton panel | Primary content to place here | Prepress layout rule |
|---|---|---|
| Front panel (Principal Display) | Brand logo, product name, strength (mg/mcg) and net pill count | Keep 1/8 in safe margin inside all four fold scores |
| Back panel | Supplement Facts or Drug Facts table, other ingredients, distributor address | Set table rules and 6 pt text in 100% black (K only) on white |
| Right side panel | Suggested use / dosage by age, caution statements, storage note | Use high-contrast dark ink on light background; avoid metallic type |
| Left side panel | Quality icons, batch testing note, QR code and UPC-A / EAN barcode | Leave a 0.25 in white quiet zone on left and right of barcode bars |
| Top tuck or seal lid | Pantone color band and strength callout for top-down drawer viewing | Extend background color 1/8 in past cut line for full bleed |
| Bottom flap | Unvarnished rectangular window for lot number and expiration date | Knock out ink, lamination and UV coating in coding window |
How do I keep 6-point Supplement Facts and dosage text razor sharp?
The number-one prepress error on health and supplement cartons is building small 6-point to 7-point ingredient text out of four-color CMYK process black (or white reversed text knocked out of a four-color dark background). On an offset press, cyan, magenta, yellow and black plates print one after another. Even a microscopic 0.002-inch sheet stretch between units will give tiny four-color letters a colored halo that makes fraction bars and milligram numbers hard to read. Always set fine regulatory copy, hairlines and barcode bars in 100% single-color black ink (C:0 M:0 Y:0 K:100) over a solid white or pale paperboard background, or use a single dark Pantone spot ink. If your brand uses natural brown kraft for custom supplement boxes or herbal capsules, print a solid opaque white ink block behind the facts table or use dark espresso/black ink with slightly bolder stroke weights, and choose a glare-free matte lamination so pharmacy overhead lights never wash out the text.
How do you set up an unvarnished window for lot and expiration coding?
Almost every tablet and capsule product requires a batch lot number and an expiration date applied during filling. Contract packagers apply these codes onto the bottom or side flap of the carton using one of four methods: continuous inkjet (CIJ), thermal inkjet (TIJ), laser ablation, or mechanical deboss/ink stamping. If the entire exterior of your pill box is covered in polypropylene lamination (matte, gloss or soft-touch) or flood UV coating, water-based and solvent inkjet inks can bead up and smear when cartons rub together on the conveyor. Tell our prepress team the size and location of your coding window (typically a 1.5 × 0.5 inch rectangle on the bottom outer flap) and we create a coating knockout layer on the dieline so that exact rectangle stays bare, absorbent paperboard.
- Inkjet coding (CIJ/TIJ): leave a white, unlaminated, unvarnished rectangle so ink absorbs and dries in milliseconds.
- Laser coding: print a solid dark ink patch (dark blue or black); the laser vaporizes the top ink layer to reveal crisp white paperboard letters underneath.
- Deboss coding (steel type pins): keep critical barcode bars away from the opposite side of the deboss zone.
- Glue flap knockouts: we also strip lamination and ink from side seams and seal-end flaps so carton glue bonds into the board fibers.
Know your size? Compare pricing across up to 3 quantities.
Request a Quote →How do fifth-panel dividers and inside printing replace separate leaflets?
When your pill bottle packs alongside a folded paper direction leaflet, top-loading the bottle down into the carton can catch the top edge of the leaflet and crumple it at the bottom of the box. Rather than buying a separate insert piece, we can extend the carton's side glue flap into an integral fifth panel that folds across the interior of the box, dividing the cavity into a main square compartment for the bottle and a slim 3/16-inch slot that holds the leaflet upright. For DTC wellness brands that do not require a multi-page regulatory outsert, printing inside the carton is a clean way to eliminate a separate paper insert altogether. You can print a 30-day checkoff calendar, morning/evening routine tips or a refill QR code on the inside of the top lid or across the interior walls of your custom medicine boxes so customers see it every time they open the flap.
How can I group multiple pill strengths or formulas to reduce unit cost?
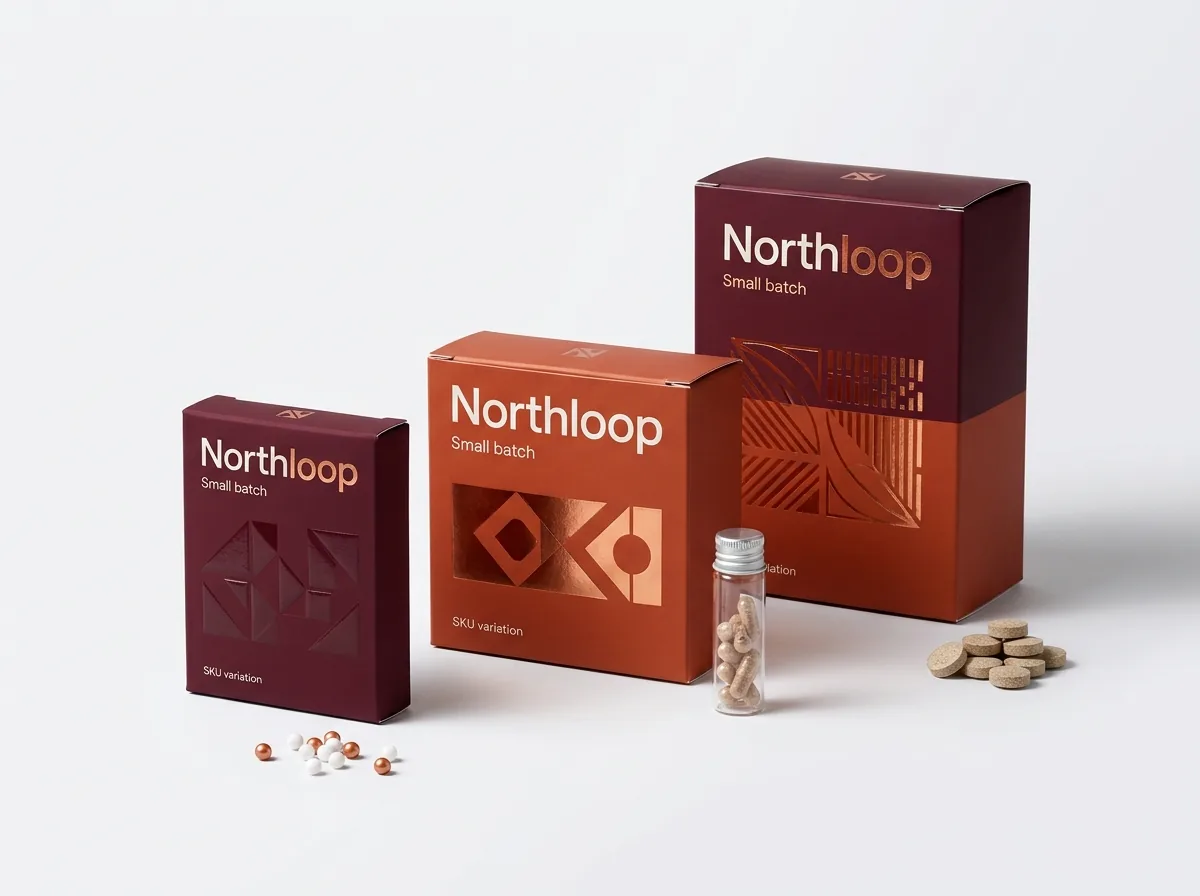
Most supplement and OTC lines sell several products that use the exact same 100 cc bottle or 10-count blister card, such as 25 mg, 50 mg and 100 mg strengths, or Daytime, Nighttime and Immune formulas. If you design each SKU with a different carton height or width, each one has to run as a separate structural setup. Instead, standardize your bottles or blister cards onto one shared inside dimension (for example, 2.125 × 2.125 × 3.875 inches) and use a master layout grid where only the Pantone color band, product title and facts panel change from SKU to SKU. Because all SKUs share the same dieline, we can gang-run your designs together on the press sheet. You get volume price breaks across the combined run, zero die or plate fees, and 10% off your first CubitPack order. Have an AI-generated concept or a rough sketch? Use our print your AI design and free design help services to turn it into press-ready vector artwork at no extra cost. When building that shared master grid, lock your logo position, net quantity line, barcode block and bottom lot-code knockout in the exact same coordinates across every file. That way your filling line never has to readjust its inkjet coder head or barcode scanner when switching from your morning formula to your evening formula.
- Standardize bottle or blister sizes so 2 to 6 SKUs share one identical folding carton dieline.
- Use a distinct Pantone header or bottom band per formula so warehouse pickers and shoppers spot strengths immediately.
- Keep the bottom lot-code knockout in the exact same position on every SKU to speed up filling line changeovers.
What are the most common custom pill box artwork and dieline mistakes?
A quick prepress check prevents blurred dosage tables, unreadable barcodes and smeared lot stamps on the filling line. Watch out for these five artwork errors
- Setting 6-point Supplement Facts or Drug Facts text in 4-color CMYK rich black instead of 100% single-plate K black.
- Flooding matte or soft-touch lamination over the bottom lot-code window and side glue flap so inkjet ink and carton glue cannot bond.
- Placing text or border rules closer than 1/8 inch to a fold score line, causing letters to wrap onto the adjacent panel.
- Printing a barcode with low-contrast metallic ink or cropping off the white quiet zone on the left and right of the bars.
- Designing artwork on a generic rectangle instead of the real CubitPack vector dieline for your exact board thickness.
Find your size
Suggested inside size: 2.5 × 0.75 × 3.75 in
A starting point. Your account manager confirms the size with you before the proof.
Quote this size →Packaging for this
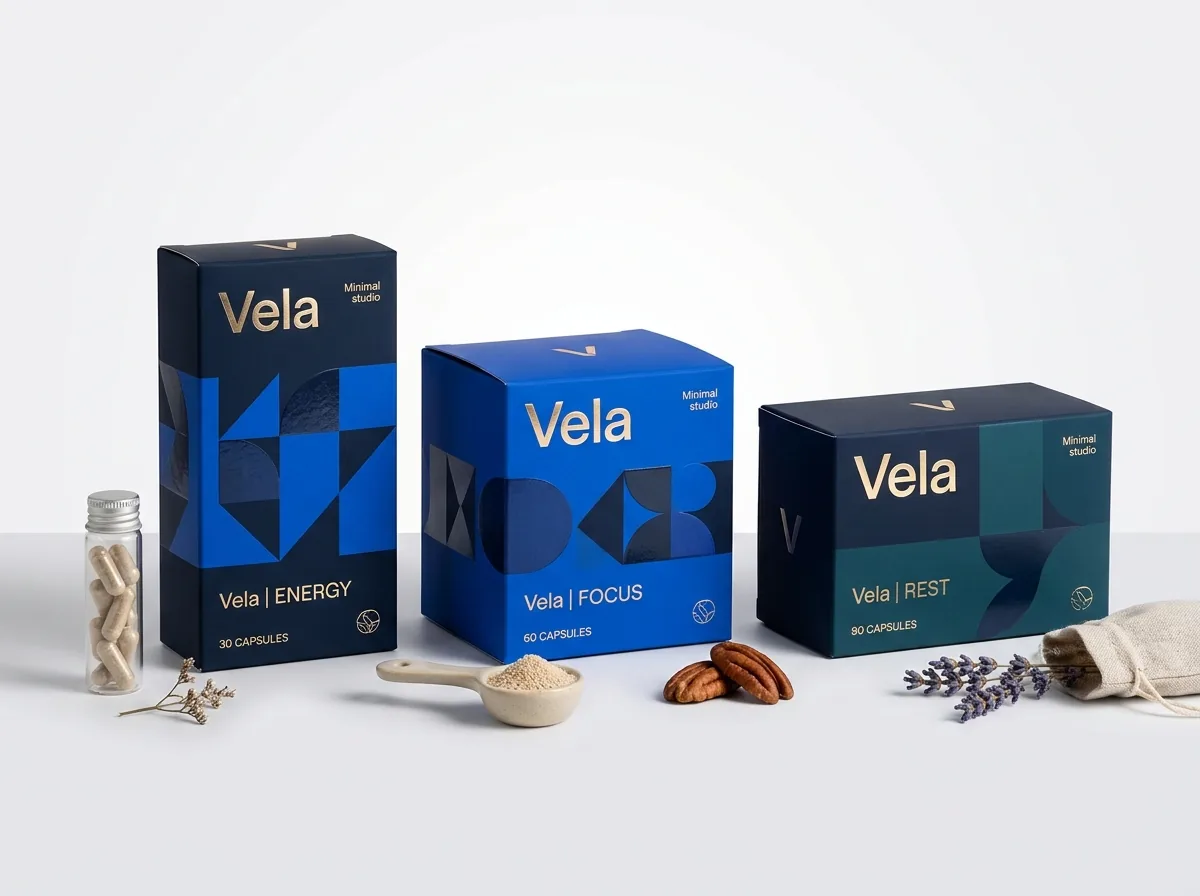
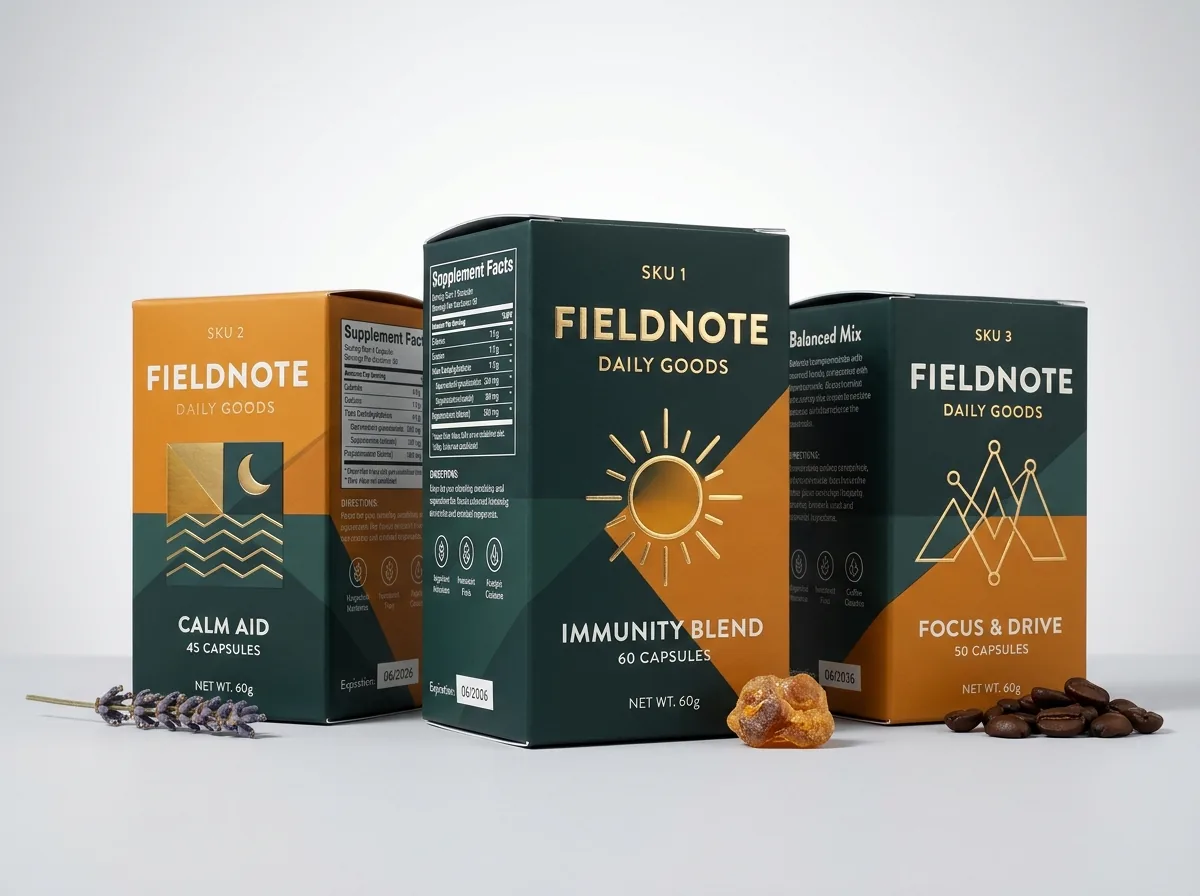
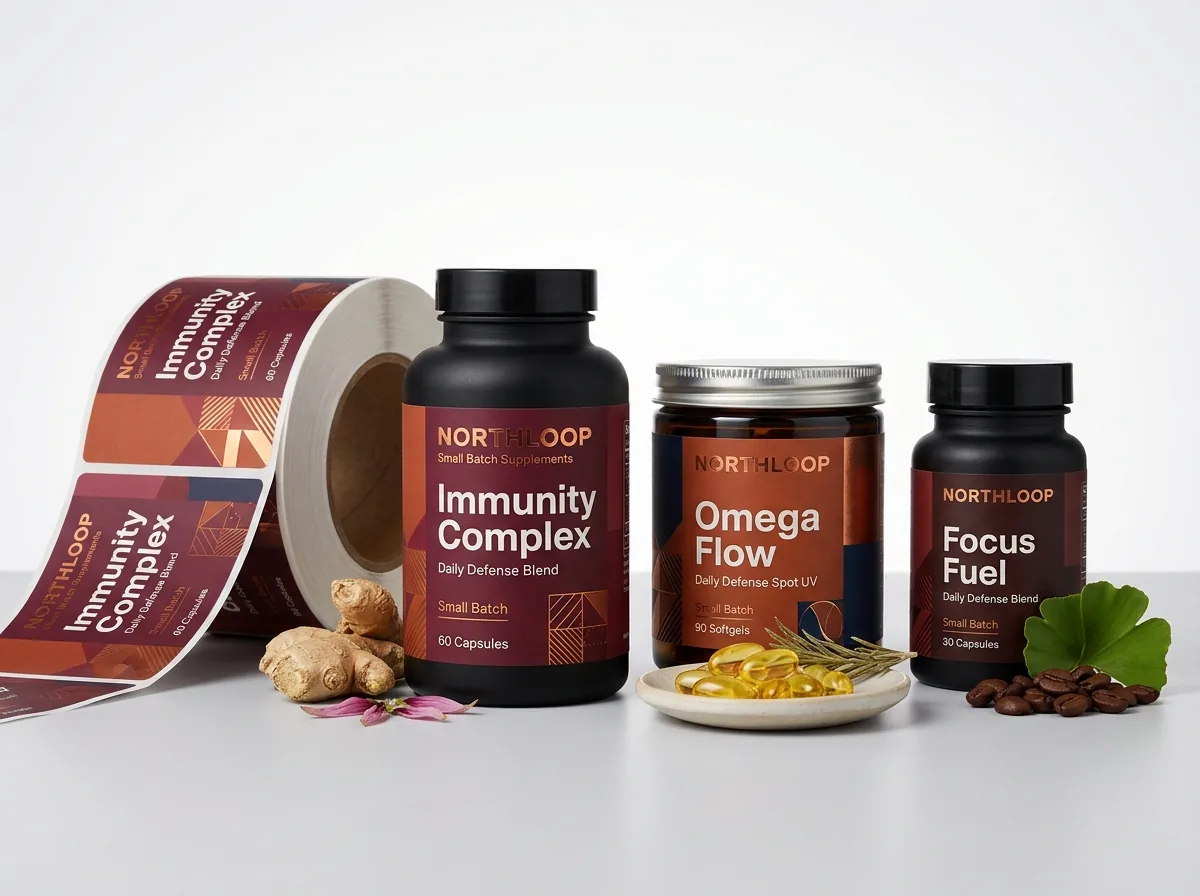
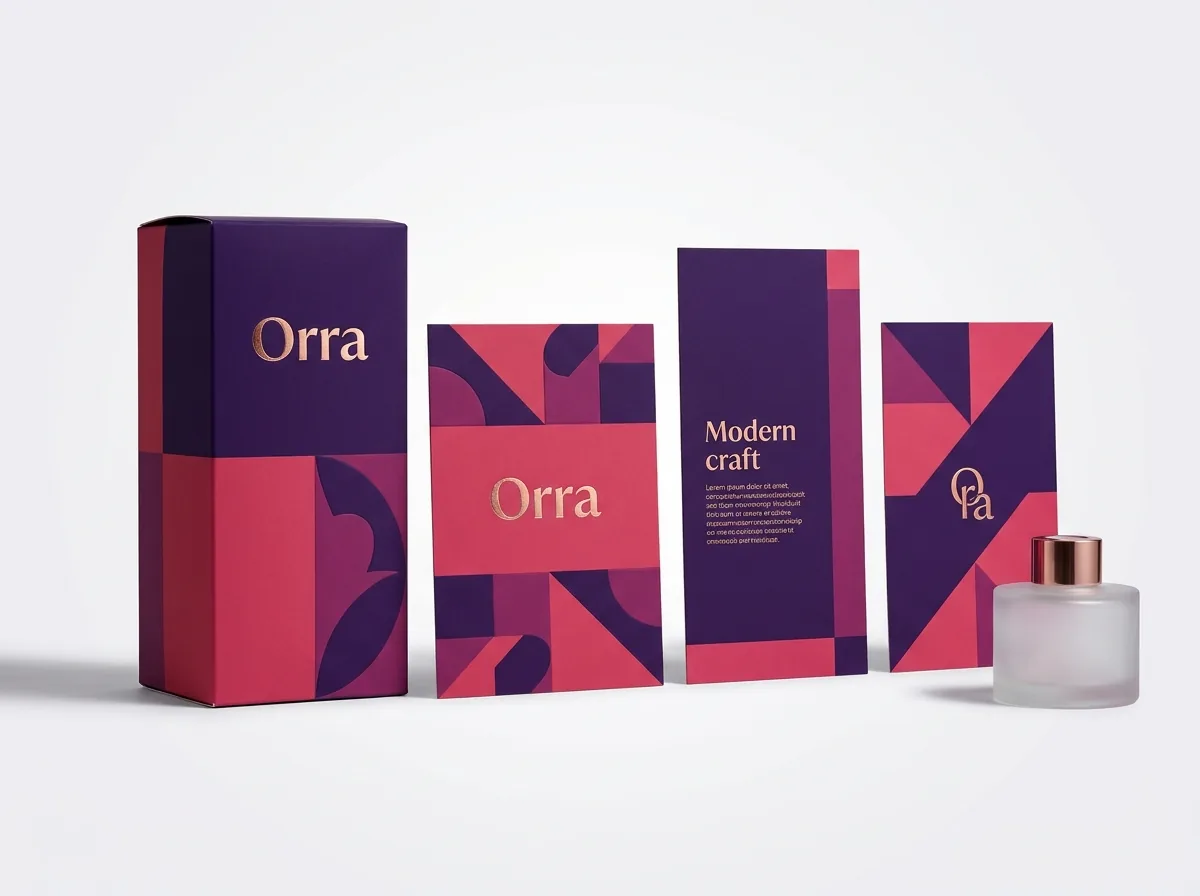
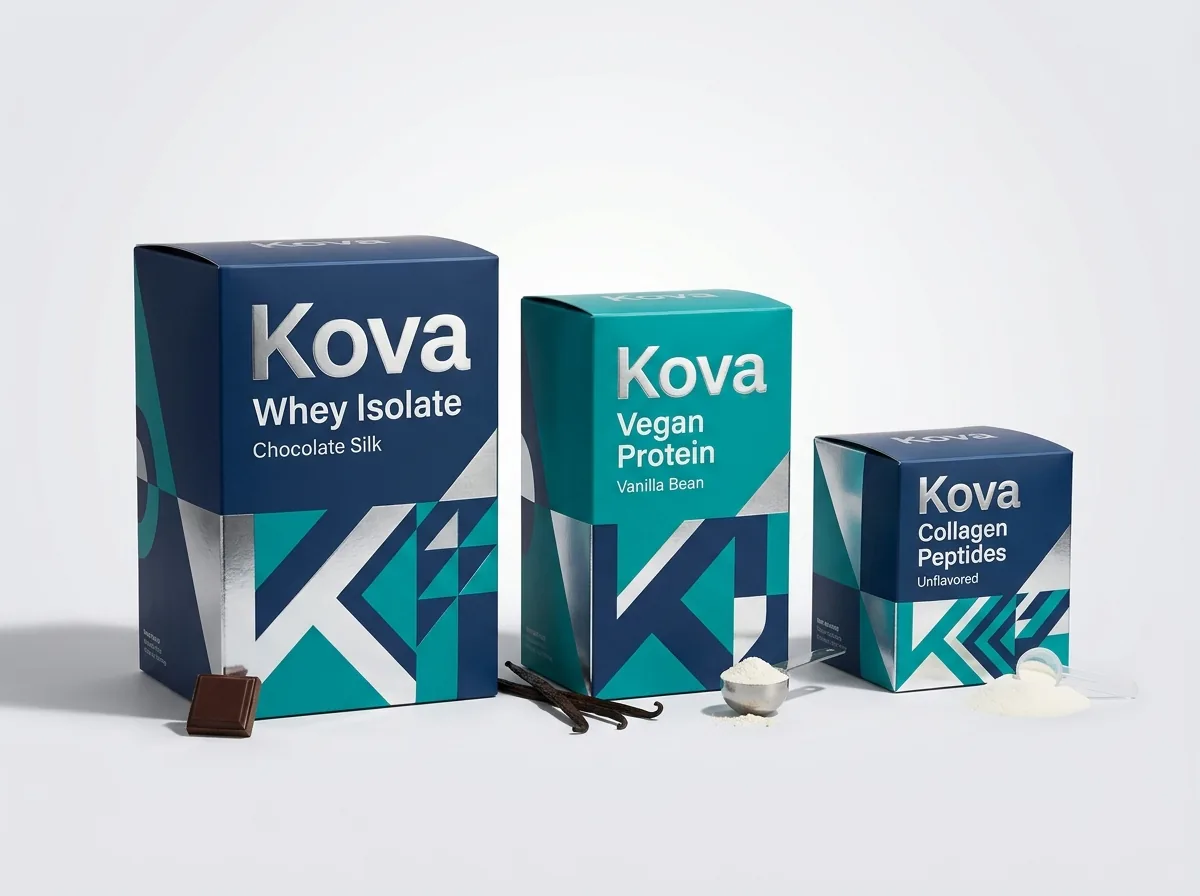
Ready to order pill boxes? Compare up to 3 quantities with a free 3D mockup.
Request a Quote →Questions about pill boxes
Do you provide a custom dieline template before I lay out my pill box artwork?
Yes. Send us your inside dimensions (or your bottle/blister measurements) and preferred closure style, and our structural team will send you a free custom vector dieline PDF with cut lines, fold scores, bleed and glue zones clearly marked.
What file format and bleed do you need for custom pill box printing?
Vector PDF, AI (Adobe Illustrator) or EPS files with fonts converted to outlines work best, with 1/8 inch (0.125 in) bleed extended past all outer cut lines and at least 300 DPI for any embedded raster photos.
Can your design team lay out my pill box if I only have a logo and text?
Yes. Design help is free on every CubitPack order. Send us your logo, brand colors and panel copy (or an AI-generated concept image), and our designers will lay out your dieline and send a digital proof and 3D mockup.
How do you guarantee that my brand's exact color matches across reorders?
We print both full-color CMYK and Pantone (PMS) spot inks, and Pantone color matching is guaranteed. Using a Pantone spot ink for your brand header or strength band keeps every reorder identical.
Can I add raised embossing or Braille-style tactile dots to a custom pill box?
Yes. We offer custom embossing and debossing on folding cartons, with no die or plate charges. Tell us which panel needs raised lettering or tactile markings and we will include the embossing layer on your proof.
Will I see how the panels fold in 3D before I pay for production?
Yes. Before you pay, you receive both a flat 2D digital proof (showing exact trim, fold scores, spot UV and lot-code knockouts) and an interactive 3D mockup so you can inspect every face of the closed box.
Still have a question? Ask a packaging specialist.
Request a Quote →Request your pill boxes quote
Tell us your size and quantities, and one dedicated account manager prepares pricing for each tier.
- Free design & AI-to-print studio + 3D mockup
- No die or plate charges · 4–5 day rush available
- Free shipping to all 50 states
- 10% off your first order
The prepress and dieline specifications in this guide follow standard offset litho tolerances (1/8 in bleed and safe zone, 100% K micro-text, unvarnished inkjet/laser coding windows) and FDA dietary supplement panel conventions. A CubitPack packaging specialist checked every step. Spot something wrong? Tell us and we will fix it.
Sources
What changed
- October 22, 2026: First published.
- October 22, 2026: Updated specifications, terminology, and verified source links.
More guides
New packaging guides by email
Sizes, materials and design tips. Unsubscribe anytime.