
What size custom mylar bag with a window do I need?
Short answer: Size custom mylar bags with a window by matching outside Width × Height × Bottom Gusset to your product's settled cubic volume, then place the clear window in the lower-middle third of the front panel. Keep the bottom of the window 1 inch above the base and the top ½ inch below the settled fill line.
On this page
- Why do window mylar bags require both bag sizing and fill-line mapping
- What are the standard bag and window sizes from 1 oz to 2 lb
- How does product settling during shipping affect window height
- How do bottom gussets and side seals restrict window placement
- How can I test my window position on a sample pouch before printing
- Common mistakes
- FAQs
Request a custom quoteFree dieline & 3D mockup
Sizing a window mylar pouch requires two separate measurements: the outer bag footprint (Width × Height × Bottom Gusset in inches) and the vertical safe zone for the clear viewing window. On any stand-up or flat pouch, side heat seals consume ½ to ¾ inch of total width, and the top zipper track, tear notches and impulse seal header consume the upper 1.25 to 1.5 inches of height. Once your product is poured in and vibrated during parcel transit, loose snacks, gummies, tea leaves and bath salts settle downward by 10% to 15%. To make sure shoppers always see a full, appetizing display through the clear film, position the top edge of your window at least ½ inch below that settled product level, and keep the bottom edge at least 1 inch above the pouch base so the internal W-folded bottom gusset never shows through the window.
Why do window mylar bags require both bag sizing and fill-line mapping?
When you order an opaque pouch, a little extra empty headspace below the zipper is invisible from the outside. On printed window mylar pouches, however, the clear viewing zone acts like a fuel gauge on the retail shelf. If you pick a bag that is too tall for your fill weight, or if you center the clear window too high on the front panel, shoppers look right into an empty air gap above the product and assume the bag is underfilled. Flexible pouches are always specified by their flat outside dimensions: Width (left edge to right edge) × Height (bottom edge to top lip) × Bottom Gusset (expanded depth of the base fold). Inside those outside borders, three structural zones reduce usable product capacity and limit where a clear window can sit. Left and right vertical side welds take ¼ to ⅜ inch per side. The top header holding the press-to-close zipper, tear notches and heat-seal strip takes 1.25 to 1.5 inches at the top. Finally, the W-folded bottom gusset rises up inside the lower 0.75 to 1.75 inches of a stand-up pouch when flat, creating a double-walled seam that looks messy if exposed behind a clear window.
- Outside Width (W): total horizontal width from outer left edge to outer right edge, including side seals.
- Window Safe Width: Outside Width minus 1 inch (keeps the window at least ½ inch away from each outer edge and side seal).
- Outside Height (H): total vertical height from bottom fold to top open lip.
- Gusset Floor Buffer: keep the bottom of the window at least half of the gusset depth (minimum 1 inch) above the bottom edge.
- Settled Fill Ceiling: keep the top of the window at least ½ inch below the settled product level after shipping vibration.
What are the standard bag and window sizes from 1 oz to 2 lb?
Use the benchmark chart below to pair common outside pouch footprints with proportional clear window dimensions. The recommended window zones leave a clean printed frame around the left, right, top and bottom edges so your brand logo fits comfortably above the window and your net-weight line fits cleanly below it. Every order at CubitPack is built to your custom Width × Height × Gusset with no die or plate charges. Because windows on clear high-barrier film are formed by knocking out the opaque white ink layer rather than punching with a steel cutting die, you can use these exact window dimensions or reshape them into a fruit, leaf, bone or badge outline at zero extra tooling cost.
| Nominal size tier | Outside bag W × H × G | Safe window W × H | Window bottom offset | Typical medium-density fills |
|---|---|---|---|---|
| Sample flat or mini (1–2 oz) | 3.5 × 5 × 1.5 in | 1.75 × 1.25 in | 1.0 in from bottom | Sample gummies, loose tea sachets, travel bath salts, trail bites |
| Quarter-pound pouch (3–4 oz) | 4 × 6 × 2 in | 2.25 × 1.75 in | 1.125 in from bottom | Pectin gummies, chocolate almonds, jerky bites, dried berries |
| Retail snack pouch (6–8 oz) | 5 × 8 × 2.5 in | 3.25 × 2.25 in | 1.25 in from bottom | Granola clusters, dried mango, cookies, crunchy pet treats |
| Pantry & bath size (10–12 oz) | 6 × 9 × 3 in | 4.0 × 2.75 in | 1.5 in from bottom | Artisan pasta, biscotti, Epsom bath soaks, whole nuts |
| Large retail pouch (14–16 oz) | 7 × 10 × 3.5 in | 4.75 × 3.0 in | 1.75 in from bottom | 1 lb trail mix, pretzel twists, freeze-dried fruit, rolled oats |
| Family & bulk size (1.5–2 lb) | 8 × 11 × 4 in | 5.5 × 3.5 in | 2.0 in from bottom | Bulk dog kibble, family snack mixes, baking ingredients, bath salts |
How does product settling during shipping affect window height?
When you pour granola, gummies, nuts or pet biscuits into custom stand-up pouches with a window on your packing line, pieces bridge against each other and trap air pockets, making the bag look 85% full. Once that master case rides on a parcel truck, vibration causes small pieces to slide into the gaps and expands the bottom gusset outward. By the time the pouch reaches a grocery shelf or a customer's doorstep, the top surface of the product typically drops by 10% to 20%. Product bulk density also changes where that settled fill line lands. Four ounces of airy freeze-dried strawberries or whole chamomile blossoms will fill a 5 × 8 × 2.5 inch pouch almost to the zipper, whereas four ounces of dense mineral bath salts or sour gummies will sit in the bottom third of that same bag. Always match the bag size to cubic volume first, then place the top edge of your clear window at least ½ inch below the post-vibration settled level.
- Fluffy / low-density items (freeze-dried fruit, whole-leaf herbal teas, puffed snacks): low settling (5%–10%), high volume; can use a taller vertical window.
- Chunky / medium-density items (granola clusters, cookies, nuts, pet biscuits, gummies): moderate settling (10%–15%); keep window height in the lower-middle third.
- Fine / high-density items (bath salts, coarse sugars, seeds, small candies): heavier settling (15%–20%) as granules pack tightly into the expanded bottom gusset; use a wider, lower horizontal strip window.
Know your size? Compare pricing across up to 3 quantities.
Request a Quote →How do bottom gussets and side seals restrict window placement?
A stand-up mylar bag gets its flat base from a W-shaped bottom gusset folded upward into the lower body of the pouch. Before the bag is filled, that folded gusset sits flat between the front and back walls to a height equal to half of the total gusset depth. On a 6 × 9 × 3 inch pouch with a 3 inch bottom gusset, the internal fold reaches 1.5 inches up from the bottom edge. If your clear window extends into that lower 1.5 inch zone, shoppers looking at the bottom of the window will see the curved heat-seal weld of the gusset rather than a clean wall of product. Even worse, on a clear-front / foil-back pouch, the metallic inner fold of the gusset will peek through the bottom of the clear window. Leaving a solid printed bottom band at least equal to half your gusset depth (and never less than 1 inch) hides the internal fold completely and gives you a high-contrast footer for net weight icons and flavor calls.
How can I test my window position on a sample pouch before printing?
You can verify both your pouch capacity and your exact window coordinates in five minutes before approving your production proof. Take a clear zip-top bag or a stock pouch from our $50 sample kit, mark your planned usable width (outside width minus ⅝ inch), and pour in your exact net weight of product. Tap the bottom of the filled bag firmly on a table fifteen times to simulate parcel shipping vibration and let the bottom gusset open fully. Use a marker to draw a horizontal line across the front of the bag along the top of the settled product pile, and another line along the top of the internal bottom gusset fold. Your clear window should sit inside the band between those two marker lines, with a ½ inch safety buffer below the top product line. Share those measurements on your quote, and our pre-press team will build your free 2D dieline and 3D mockup to match.
- Step 1: Fill a test bag of the target width with your exact net weight of product.
- Step 2: Tap the base 15 times on a flat counter so granules or pieces settle fully into the gusset.
- Step 3: Measure from the bottom edge up to the settled product surface and subtract ½ inch for the maximum window top.
- Step 4: Confirm the window on your free 2D digital proof and 3D mockup (or order a paid custom sample, credited to your full order).
What are the most common window mylar bag sizing mistakes?
Checking these five dimension rules on your dieline proof guarantees your clear window frames product from edge to edge
- Placing the top edge of the window at the initial loose-fill height instead of the post-vibration settled height, which exposes empty headspace on store shelves.
- Extending the bottom of the window into the lower 1 to 1.5 inches of a stand-up bag where the folded W-gusset seam rises up inside the pouch.
- Running a horizontal strip window all the way through the ¼ to ⅜ inch left and right side heat seals without accounting for the crimped weld texture at the edges.
- Choosing a bag footprint by dry ounce weight alone without adjusting for bulk density, leaving dense bath salts or gummies sitting below the window.
- Making the window so tall that there is no solid printed header left below the zipper track for your brand logo and flavor name.
Packaging for this
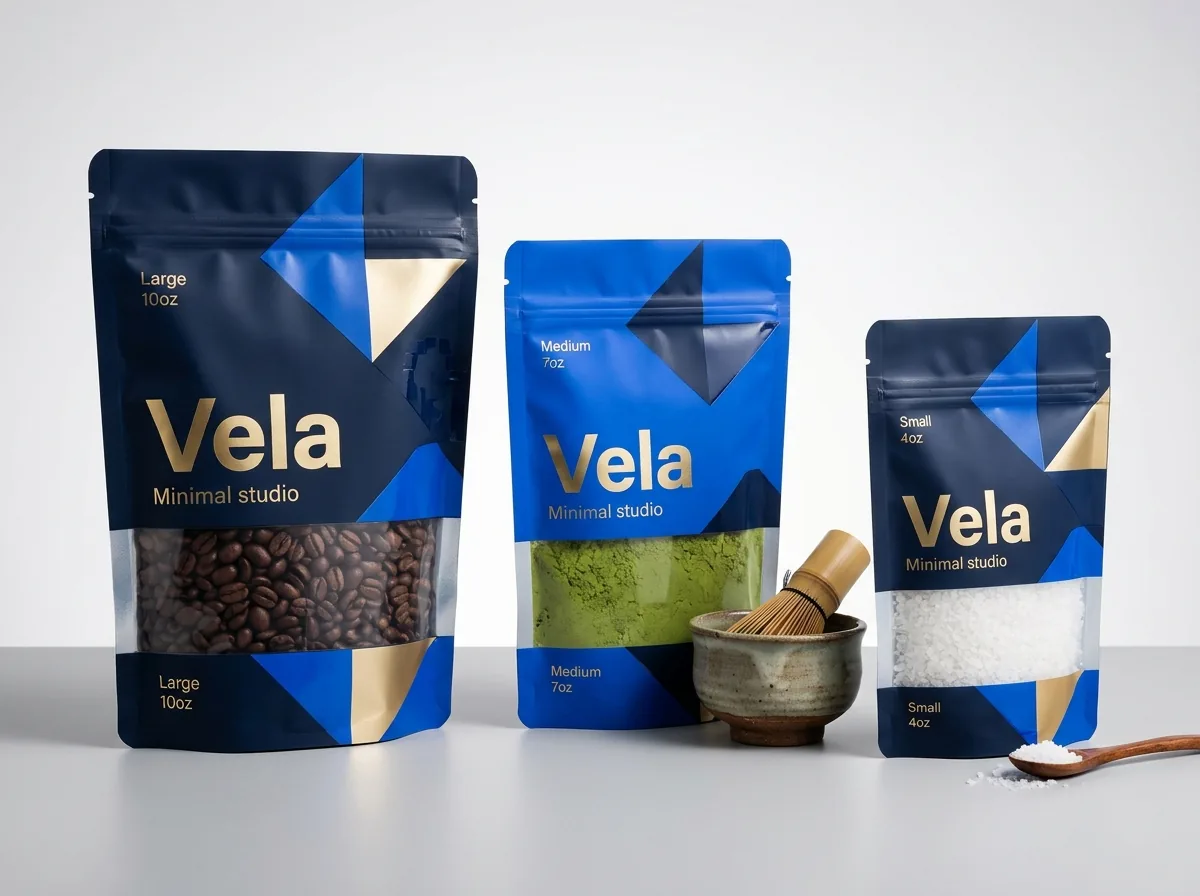
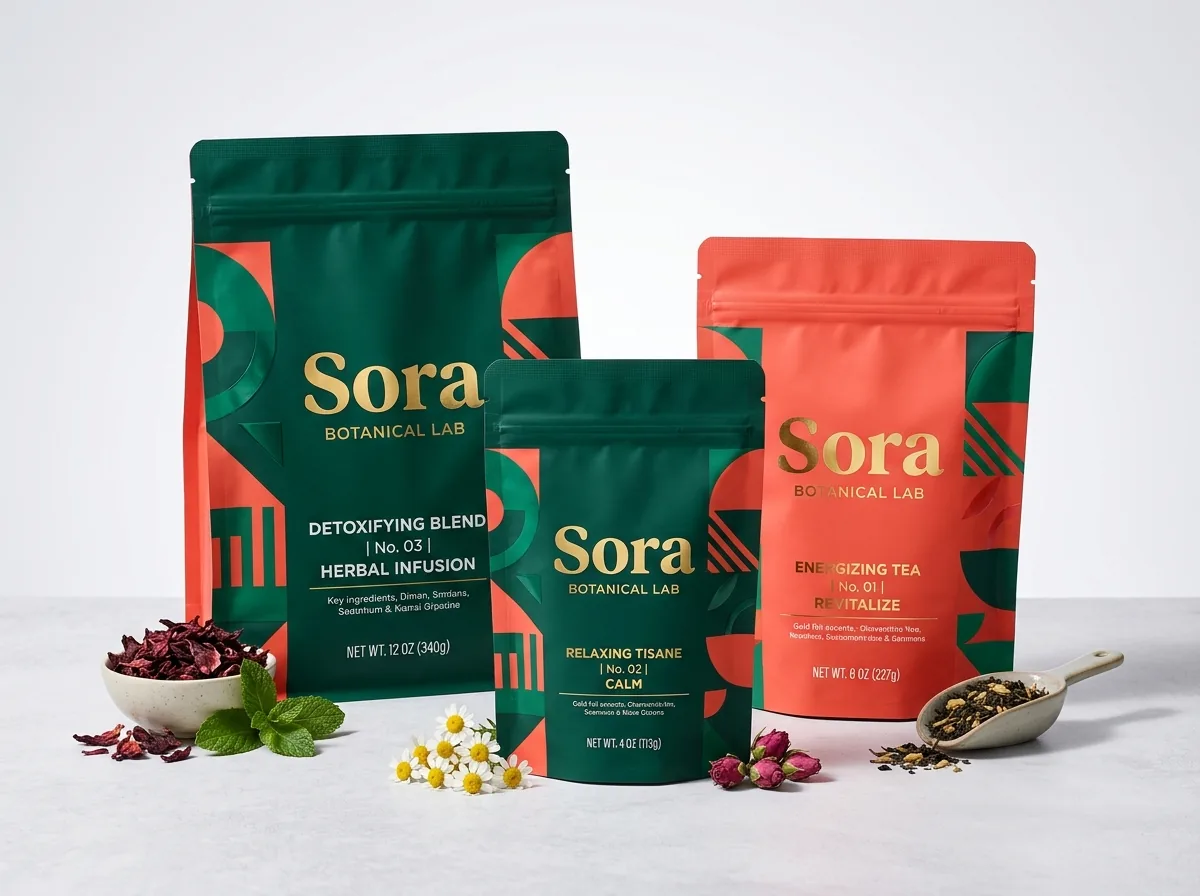
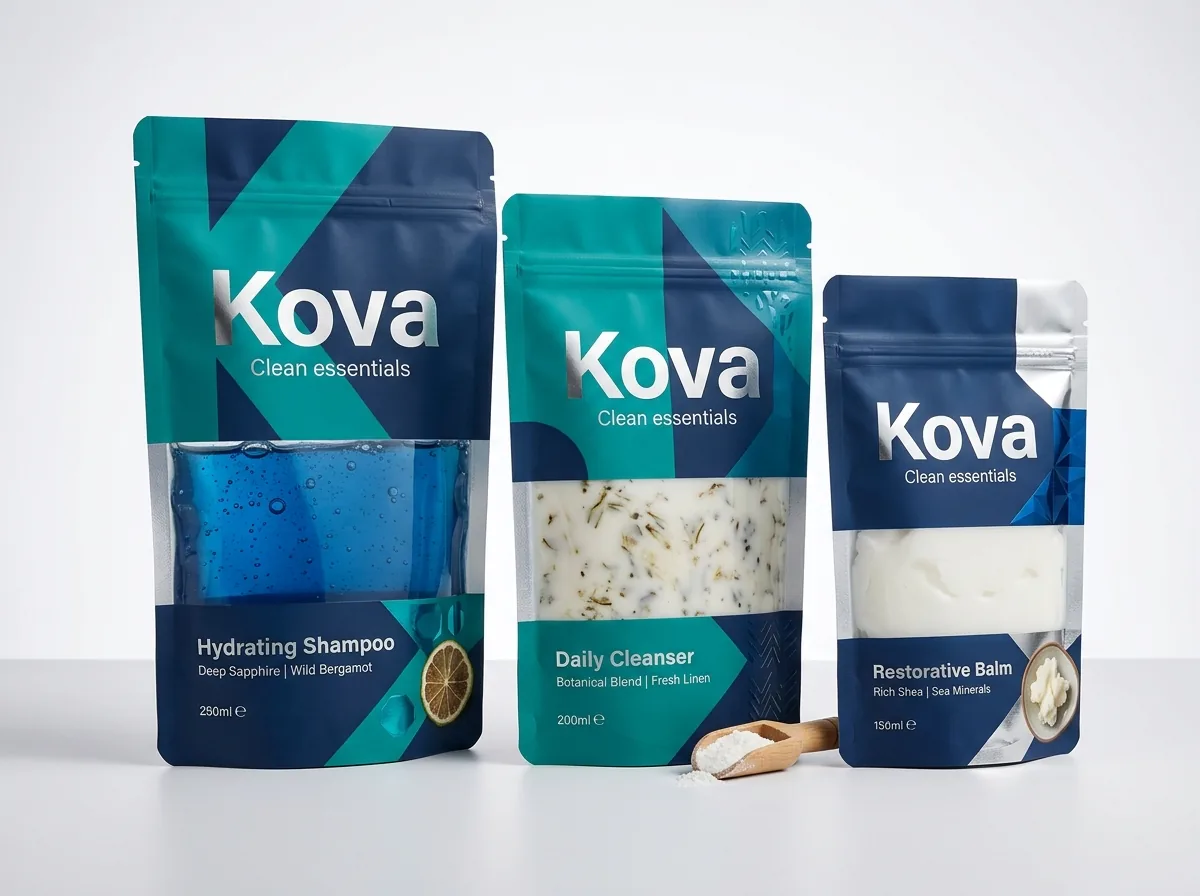
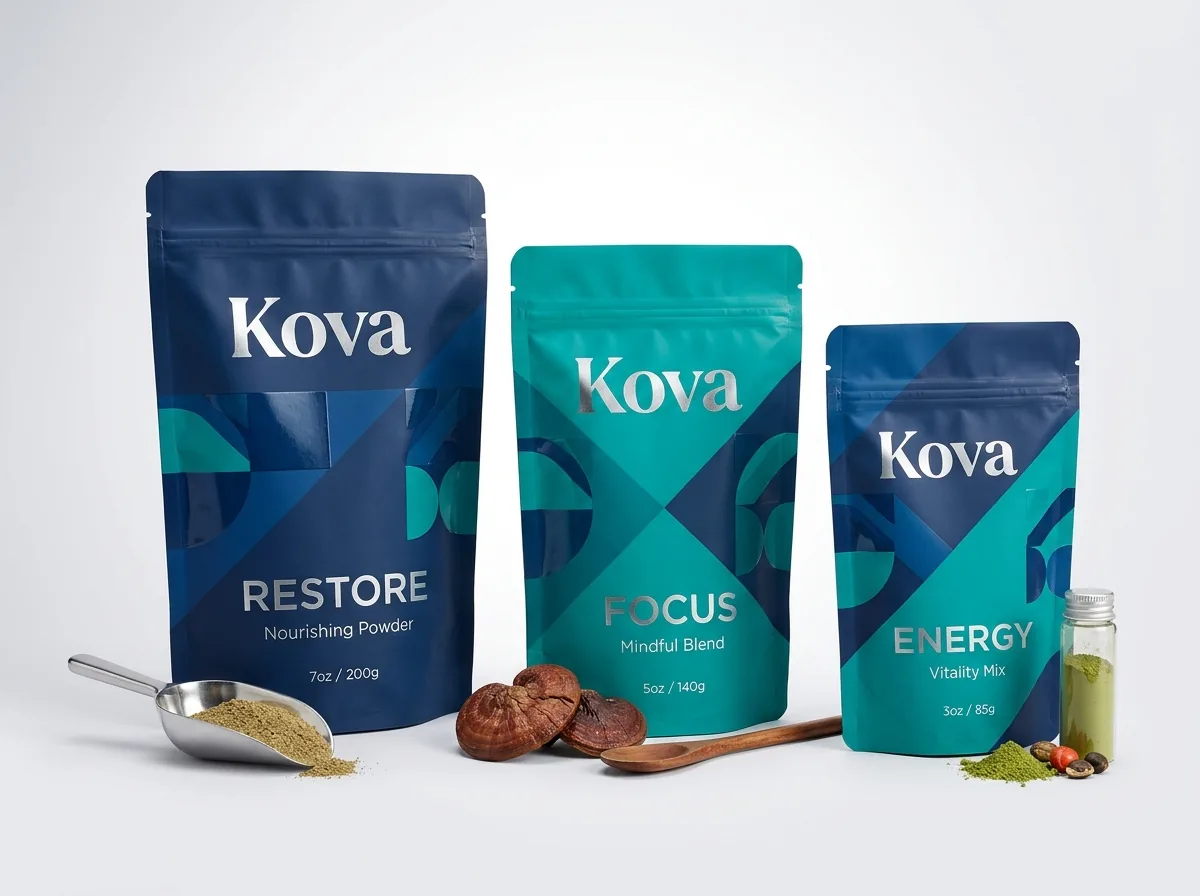
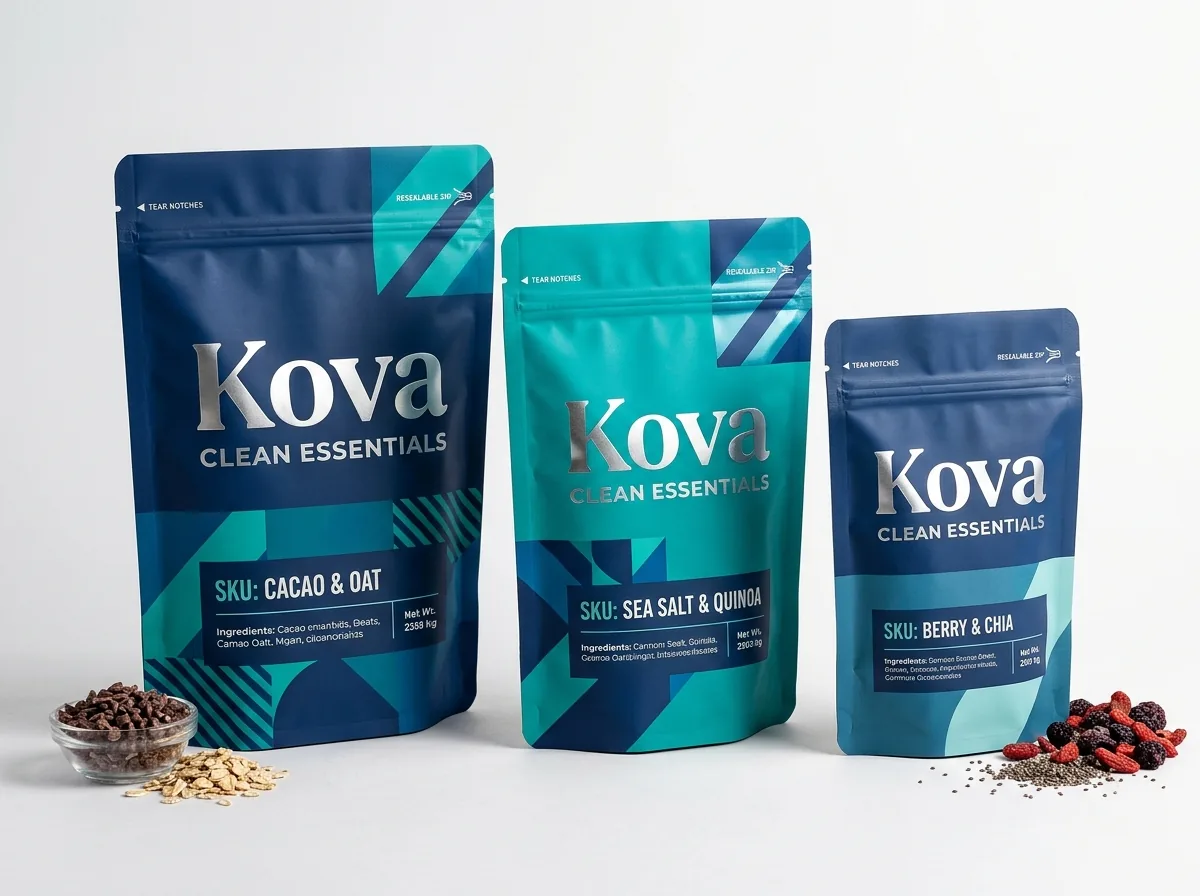
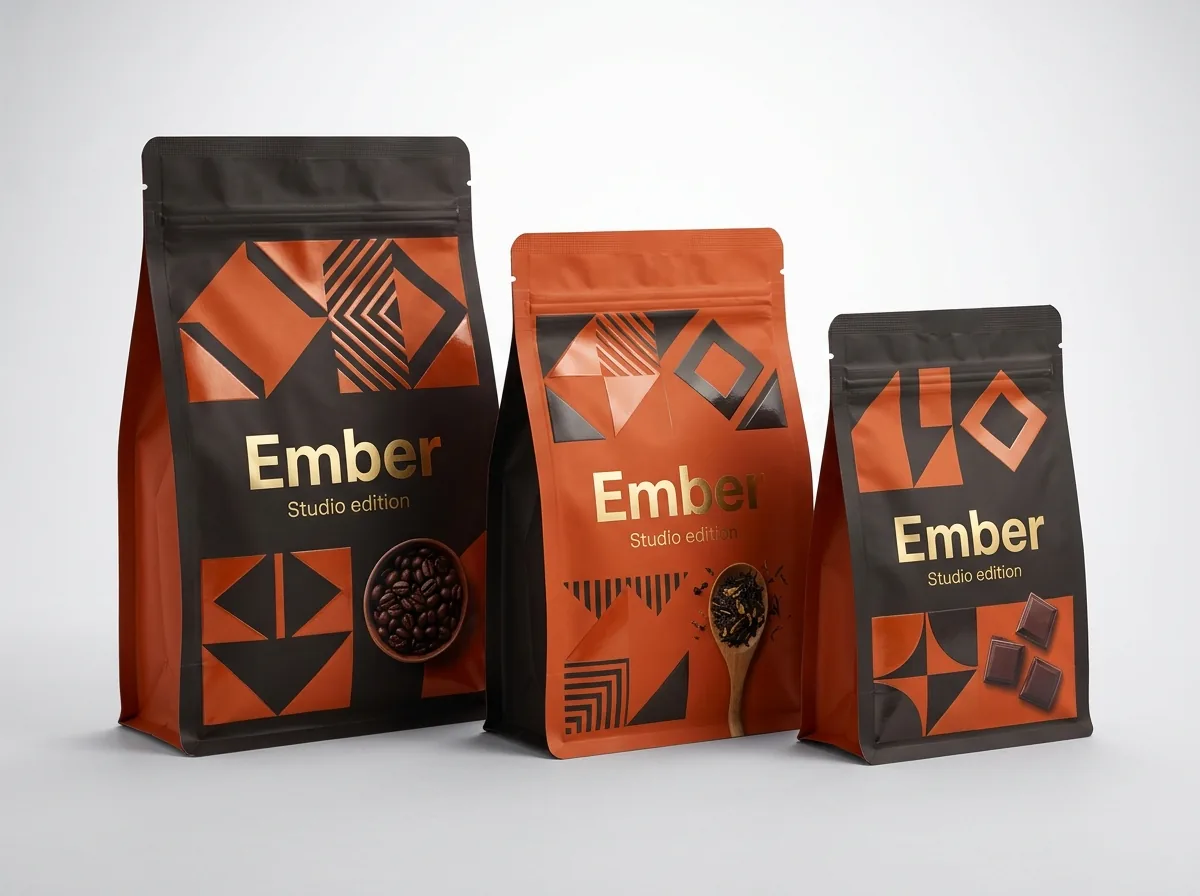
Ready to order mylar bags with window? Compare up to 3 quantities with a free 3D mockup.
Request a Quote →Questions about mylar bags with window
How far from the bottom of a stand-up mylar bag should the window start?
Start the bottom edge of your clear window at least 1 inch above the bottom edge on small pouches, or at a height equal to half of the bottom gusset depth on larger bags (for example, 1.5 inches up on a bag with a 3 inch gusset) so the internal gusset fold stays hidden.
How far below the zipper should a clear window sit?
The resealable zipper track, tear notches and top heat-seal header occupy the top 1.25 to 1.5 inches of the pouch, and you also need room for your logo and product headspace. In practice, the top of a clear window usually sits at least 2.5 to 3.5 inches below the top edge.
Does a larger window weaken the barrier or structure of a mylar bag?
No. Because ink-knockout windows are formed by leaving a section of continuous high-barrier clear film unprinted rather than cutting a hole in the bag, a larger window has the exact same tensile strength and seam integrity as the printed panels around it.
Can a flat 3-side-seal mylar bag have a lower window than a stand-up pouch?
Yes. Flat 3-side-seal pouches have no folded bottom gusset, only a ¼ to ⅜ inch bottom heat seal. On a flat mylar bag, your clear window can start as low as ½ inch above the bottom edge.
Do custom window dimensions or shapes cost extra die fees?
No. At CubitPack there are no die or plate charges on custom mylar bags with a window. Whether your window is a standard 3 × 2 inch oval or a custom fruit outline sized to the sixteenth of an inch, setup is free.
Can I test-fill real pouches before finalizing my window height?
Yes. Order our $50 sample kit to test-fill stock pouch sizes on your packing table, or order a paid custom printed sample of your exact bag and window layout. Both are credited toward your full production order.
Still have a question? Ask a packaging specialist.
Request a Quote →Request your mylar bags with window quote
Tell us your size and quantities, and one dedicated account manager prepares pricing for each tier.
- Free design & AI-to-print studio + 3D mockup
- No die or plate charges · 4–5 day rush available
- Free shipping to all 50 states
- 10% off your first order
Bag dimension rules, side-seal deductions, bottom-gusset fold clearances and post-shipping settle buffers in this guide follow standard flexible pouch converting practices. A CubitPack packaging specialist checked every size row. Spot something wrong? Tell us and we will fix it.
Sources
What changed
- October 22, 2026: First published.
- October 22, 2026: Updated specifications, terminology, and verified source links.
More guides
New packaging guides by email
Sizes, materials and design tips. Unsubscribe anytime.