
How do you design subscription box inside printing and dielines that keep subscribers?
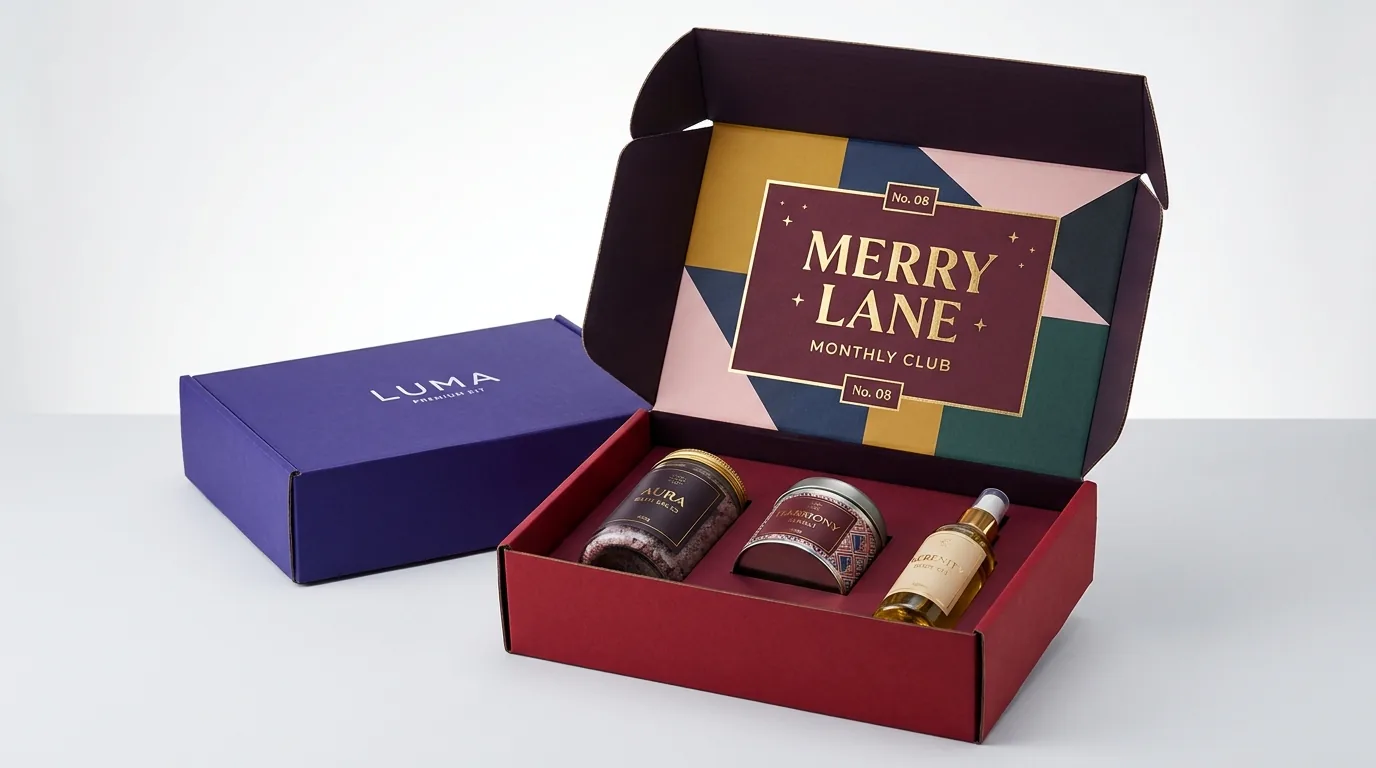
Short answer: Supply two separate CMYK or Pantone artwork layers on your FEFCO 0427 dieline: an exterior sheet with a 4 × 6 inch shipping-label safe zone and scuff-resistant matte or gloss lamination, plus an upside-down-oriented interior lid panel featuring welcome copy, QR onboarding, and foil accents.
On this page
- How do outside and inside artwork sheets map onto a FEFCO 0427 subscription dieline
- Which interior print elements actually reduce 60-to-90-day subscriber churn
- How do laminations, foils, and board liners survive parcel sorting chutes
- What is the 5-step prepress checklist before approving your 3D subscription proof
- Common mistakes
- FAQs
Request a custom quoteFree dieline & 3D mockup
For a recurring membership brand, the underside of the hinged lid on custom subscription boxes is the highest-attention billboard you own. While external courier handling batters the outside of every parcel with thermal 4 × 6 inch shipping labels, conveyor belt friction, and porch weather, the interior print surface arrives pristine every single month. Setting up a two-sided Roll End Tuck Front (FEFCO 0427) dieline properly requires understanding panel orientation flips between the outside and inside die-cut sheets, keeping vital artwork clear of cherry-lock ear slots and double-rolled crease zones, and pairing rich exterior ink coverage with protective film lamination so dark backgrounds never crack along 180-degree folds. CubitPack prepares your two-sided vector CAD dieline and interactive 3D digital proof free of charge starting at 250 boxes, with zero die or plate setup fees and free shipping across all 50 US states.
How do outside and inside artwork sheets map onto a FEFCO 0427 subscription dieline?
A Roll End Tuck Front corrugated mailer starts as a single flat sheet printed on one or both linerboard faces before rotary or flatbed steel-rule die-cutting. Because the hinged top lid folds backward 180 degrees when a subscriber opens the box on a table, artwork placed on the interior sheet does not share the same 'up' direction across every panel. Review the zone-by-zone prepress table below before placing logos, QR codes, or full-bleed color blocks onto your template
- Check inside-lid head orientation on a folded paper dummy: The number-one prepress error on DIY two-sided mailers is printing the interior lid message upside down so it reads away from the customer when opened. Always print a scaled 8.5 × 11 inch paper dummy, fold it along every crease, and verify reading direction before final upload.
- Move the 4 × 6 inch thermal shipping label off your hero artwork: Warehouse label applicators love flat panels. Placing a dedicated subtle corner crosshair on the bottom base panel (or one side of a wide apparel lid) stops fulfillment staff from slapping thermal labels directly across metallic foil logos.
- Extend flood colors across glue-free roll turnovers: When side walls roll 180 degrees over floor locking tabs, 6 to 10 mm of the exterior sheet wraps onto the top rim of the interior wall; matching or contrasting your exterior and interior flood colors deliberately creates a crisp architectural border.
| Dieline panel zone | Sheet side | Reading orientation when open | Prepress bleed & safe-zone rule |
|---|---|---|---|
| Exterior top lid | Outside sheet | Reads toward front tuck edge | Reserve a 4.25 × 6.25 in shipping label zone or place label on bottom base |
| Exterior bottom base | Outside sheet | Facing table surface | Ideal spot for 4 × 6 in carrier label, recycling copy, and social handles |
| Interior hinged lid (stage) | Inside sheet | Reads upright facing viewer when open 100 deg | Keep text 10 mm clear of top dust-flap creases and spine score |
| Interior floor & rolled walls | Inside sheet | Framed around product insert | Extend flood background bleed 3.5 mm (0.125 in) past all outer cut lines |
| Front cherry-lock ears & slots | Both sheets | Tucked into double front wall | Keep fine type and foil 8 mm away from high-friction locking tabs |
| Side dust flaps (ears) | Inside / outside | Visible as lid lifts open | Great spot for short cheeky micro-copy ('Month 04', 'Open slowly') |
Which interior print elements actually reduce 60-to-90-day subscriber churn?
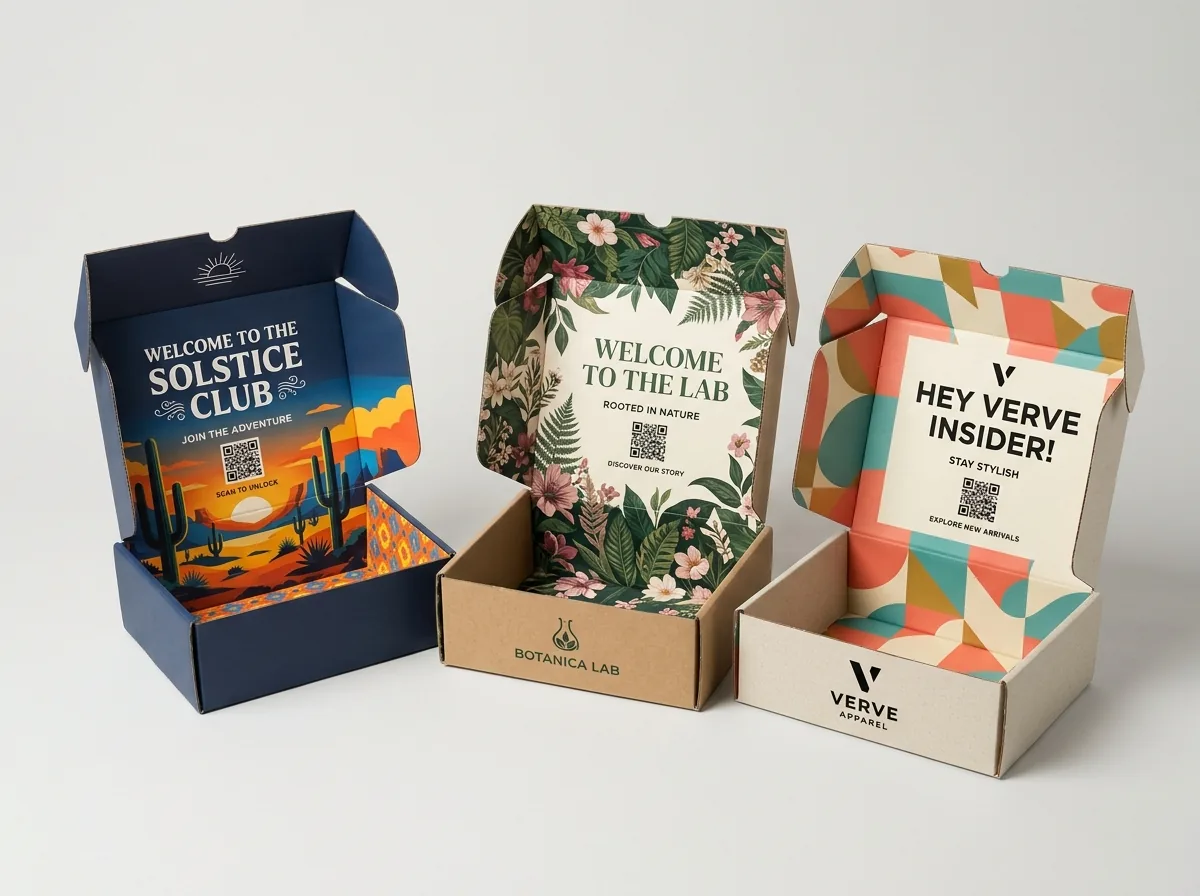
Decoration for decoration's sake rarely moves retention metrics; structured onboarding does. Subscription cohorts churn fastest between Month 1 and Month 3 when members either forget how to use the products, accumulate an unused backlog on their kitchen counter, or feel no emotional connection to next month's drop. By printing clear usage steps, streak milestones, and scan-to-customize QR codes directly onto the inside lid where members look for sixty uninterrupted seconds, you guide new habits without adding loose paper flyers that blow into the recycling bin. Turning custom printed inside mailer boxes and custom unboxing boxes into an interactive retention dashboard solves all three friction points without printing expensive multi-page manuals
| Interior touchpoint | Where to print it | Retention job it performs | Technical spec to follow |
|---|---|---|---|
| 3-step routine or ritual map | Center of interior hinged lid | Prevents product backlog & confusion | High-contrast 14 pt+ sans-serif type |
| Dynamic QR portal code | Lower-right corner of inside lid | Links to monthly playlist, recipe, or skip/swap portal | Minimum 22 × 22 mm with 4 mm white quiet zone |
| Dust-flap milestone copy | Left & right interior dust flaps | Rewards subscriber streak & sparks UGC clips | Bold geometric phrase, zero tiny body text |
| Numbered insert cavity callouts | Top face of die-cut card insert | Guides tasting or skincare application order | Foil or high-contrast knockout numbers 1–4 |
| Tamper seal + tissue reveal | Parted inside tray below lid | Adds tactile gift anticipation before items appear | Pair branded sticker with custom tissue paper |

How do laminations, foils, and board liners survive parcel sorting chutes?
Unlike retail folding cartons that travel safely inside master brown shippers, two-sided custom printed subscription boxes, custom colored mailer boxes, and custom mailer boxes with inserts slide down steel UPS and USPS chutes alongside heavy cartons, rubber diverter arms, and abrasive conveyor belts. Without the right surface barrier, rich ink floods can pick up gray rub marks before reaching the customer's doorstep. Choosing the right corrugated outer liner, protective film coating, and strategic accent placement keeps deep saturated colors looking studio-fresh on every subscriber's porch
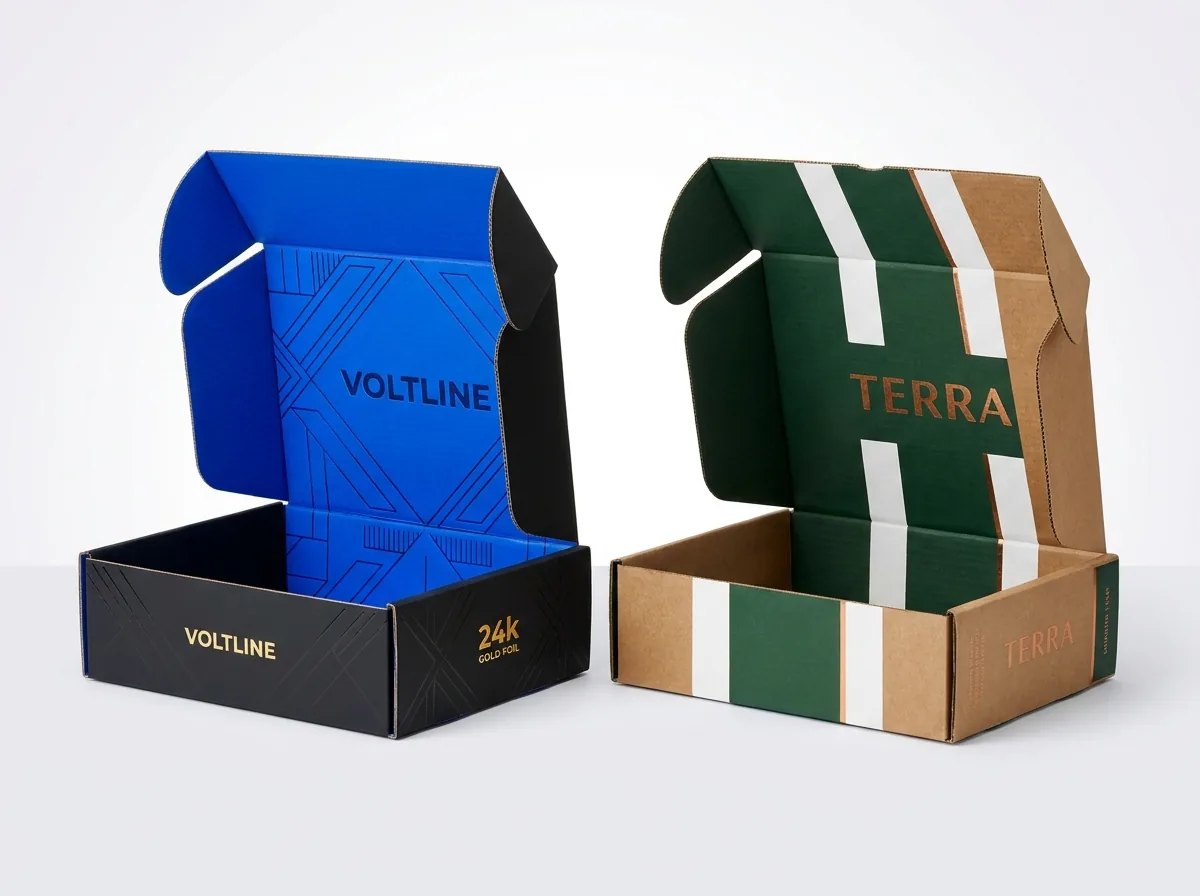
- Specify film lamination over dark exterior ink floods: Uncoated aqueous ink on midnight navy, espresso charcoal, crimson, or forest green corrugated board can rub or crack slightly along 180-degree rolled creases. Matte or gloss film lamination locks pigment down, sheds light porch rain, and prevents score-line cracking.
- Use white mottled or bleached outer linerboard for vivid color accuracy: Printing bright royal violet, coral, or teal directly onto brown kraft shifts hues warm and muddy. Start with white-top E-flute or B-flute whenever Pantone vibrancy matters, or pair natural brown kraft with deep forest green, burgundy, black, and opaque white ink.
- Place metallic foil and raised Spot UV strategically: Hot-stamped gold, silver, copper, or holographic foil on the interior lid never touches a postal conveyor belt, arriving mirror-bright every time. On the exterior lid, frame foil wordmarks away from the front tuck edge where thumbs press hardest.
- Keep interior food-adjacent surfaces low-odor: For custom pet treat boxes, coffee clubs, and gourmet snack curations, water-based interior inks or clean matte aqueous coatings ensure zero trapped solvent aroma when subscribers lift the lid.
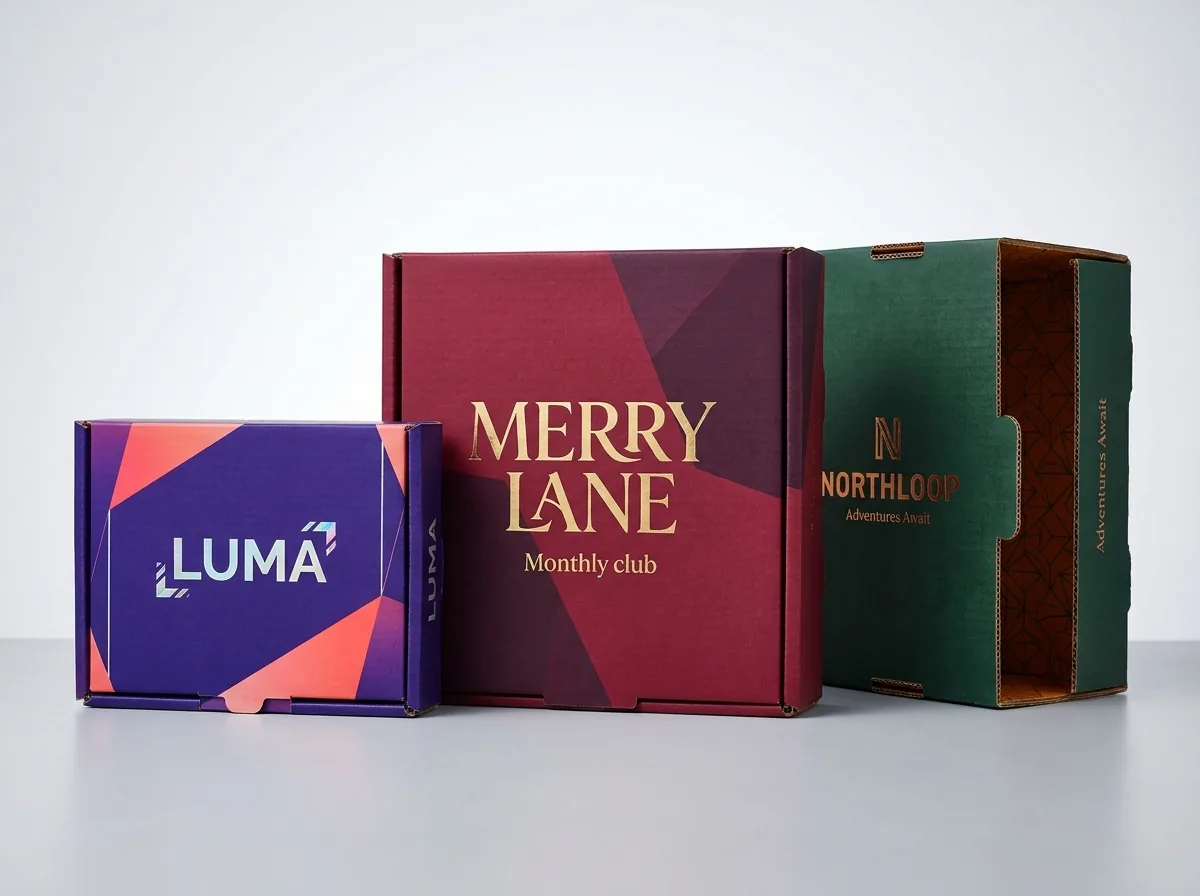
- Refresh seasonal colorways without tooling penalties: Because CubitPack charges zero die or plate setup fees from 250 boxes, clubs frequently keep one proven CAD dieline all year and rotate autumn, holiday, spring, and summer collector artwork editions.
Know your size? Compare pricing across up to 3 quantities.
Request a Quote →What is the 5-step prepress checklist before approving your 3D subscription proof?
Walk through these five artwork and dieline checks alongside our companion guides on sizing custom subscription boxes for cubic shipping and inserts and comparing custom subscription boxes vs standard mailers, poly mailers, and RSC cartons, as well as our structural walkthrough on Roll End Tuck Front mailer box dielines explained
- Step 1: Request your exact two-sided vector CAD dieline from CubitPack (free with your quote) built around your usable inside L × W × H and chosen E-flute or B-flute caliper rather than drawing approximate rectangles in Illustrator.
- Step 2: Keep cut lines, crease lines, outside artwork, inside artwork, metallic foil masks, and Spot UV masks on separate named vector layers, converting all fonts to outlines and embedding 300 DPI CMYK or Pantone linked imagery.
- Step 3: Pull full-bleed backgrounds 3.5 mm (0.125 in) past outer cut edges, hold critical logos and QR codes 10 mm inside score lines, and confirm your 4 × 6 inch shipping-label zone sits clear of hero graphics.
- Step 4: Spin your free interactive 3D digital mockup 360 degrees (both closed and open) to double-check that the interior lid headline reads right-side-up toward the front locking wall and roll-over rim colors align.
- Step 5: Order CubitPack's $50 material & finish sample kit (credited toward your first order) or approve your 3D proof for 10–14 business day standard production (4–5 business day rush available) with free delivery across all 50 US states and flat KDF palletized bundling.
What artwork and dieline mistakes ruin subscription box unboxings?
Catch these five common two-sided mailer prepress mistakes during 3D proofing before going to press
- Orienting interior hinged-lid artwork the same direction as the exterior lid so the welcome headline appears upside down when the subscriber opens the box.
- Designing edge-to-edge exterior artwork with nowhere for a 4 × 6 inch carrier label, forcing fulfillment teams to cover your center foil logo.
- Printing heavy dark ink coverage on unlaminated corrugated board, leading to white crease cracking along rolled double walls and conveyor scuff marks.
- Making inside-lid QR codes smaller than 20 mm or omitting a high-contrast light quiet border on dark interiors so phone cameras fail to scan.
- Placing critical micro-text right across the 180-degree double-wall rollover score or front cherry-lock ear slots where board folds hide copy.
Packaging for this
Ready to order subscription boxes? Compare up to 3 quantities with a free 3D mockup.
Request a Quote →Questions about subscription boxes
Does two-sided outside and inside printing require two separate dieline files?
CubitPack supplies a coordinated two-sheet vector CAD template (Outside View and Inside View) in a single Illustrator/PDF package so you can align roll-over borders, dust flaps, and interior lid orientation accurately before our prepress specialists generate your interactive 3D proof.
Are there extra plate setup charges for adding inside printing or seasonal editions?
No. CubitPack charges zero die or printing plate setup fees on custom subscription boxes from our 250-box minimum, making two-sided printing and quarterly seasonal artwork refreshes straightforward.
Can you print metallic foil or Spot UV inside the lid of a corrugated subscription box?
Yes. Both hot foil stamping (in gold, silver, copper, rose gold, or holographic finishes) and tactile Spot UV gloss can be applied to laminated E-flute or B-flute interior and exterior surfaces to highlight your monthly reveal, frame welcome headlines, and remain completely shielded from postal conveyor friction during transit.
What file format and color mode should my designer export for subscription boxes?
Export vector PDF or Adobe Illustrator (.ai) files in CMYK (plus named Pantone PMS swatches or vector 100% K masks for foil and Spot UV), with 0.125-inch (3.5 mm) bleed, outlined fonts, and 300 DPI embedded images.
What if I do not have a structural or graphic designer to lay out our subscription box?
Every order includes free CAD dielines and prepress checks, and if you need full creative branding from scratch, CubitPack offers our $250 brand identity package (+$50 per extra round) alongside our $50 credited sample kit.
Still have a question? Ask a packaging specialist.
Request a Quote →Request your subscription boxes quote
Tell us your size and quantities, and one dedicated account manager prepares pricing for each tier.
- Free design & AI-to-print studio + 3D mockup
- No die or plate charges · 4–5 day rush available
- Free shipping to all 50 states
- 10% off your first order
We verified two-sided FEFCO 0427 Roll End Tuck Front sheet orientation, 3.5 mm bleed and 10 mm crease safe zones, 4 × 6 inch parcel label placement, QR scan contrast rules, and corrugated film lamination practices against FEFCO codes, Fibre Box Association (FBA) prepress guidelines, and USPS/UPS parcel labeling standards. Spot something wrong? Tell us and we fix it.
Sources
What changed
- November 5, 2026: First published with two-sided FEFCO 0427 panel orientation map, 5-element onboarding retention table, and scuff-armor coating guide.
More guides
New packaging guides by email
Sizes, materials and design tips. Unsubscribe anytime.