
How do I read a roll end tuck front mailer box dieline and set up artwork?
Short answer: A roll end tuck front (RETF) mailer dieline maps one flat sheet of corrugated board into a central spine (front tuck flap, hinged lid, back wall, base floor, front wall) flanked by side dust flaps and rolled double side-wall wings. Keep text 0.25 inches inside score lines on custom mailer boxes.
On this page
- What are the main panels and flaps on a roll end tuck front mailer dieline
- What do cut lines, score lines, bleed, and safe zones mean on a mailer proof
- How do the rolled side walls and cherry-lock ears work on the dieline
- How do I orient artwork for outside printing and inside printing
- Where should the 4 × 6 inch shipping label and tamper sticker sit on the dieline
- How do I get a custom mailer dieline and 3D proof for my size
- Common mistakes
- FAQs
Request a custom quoteFree dieline & 3D mockup
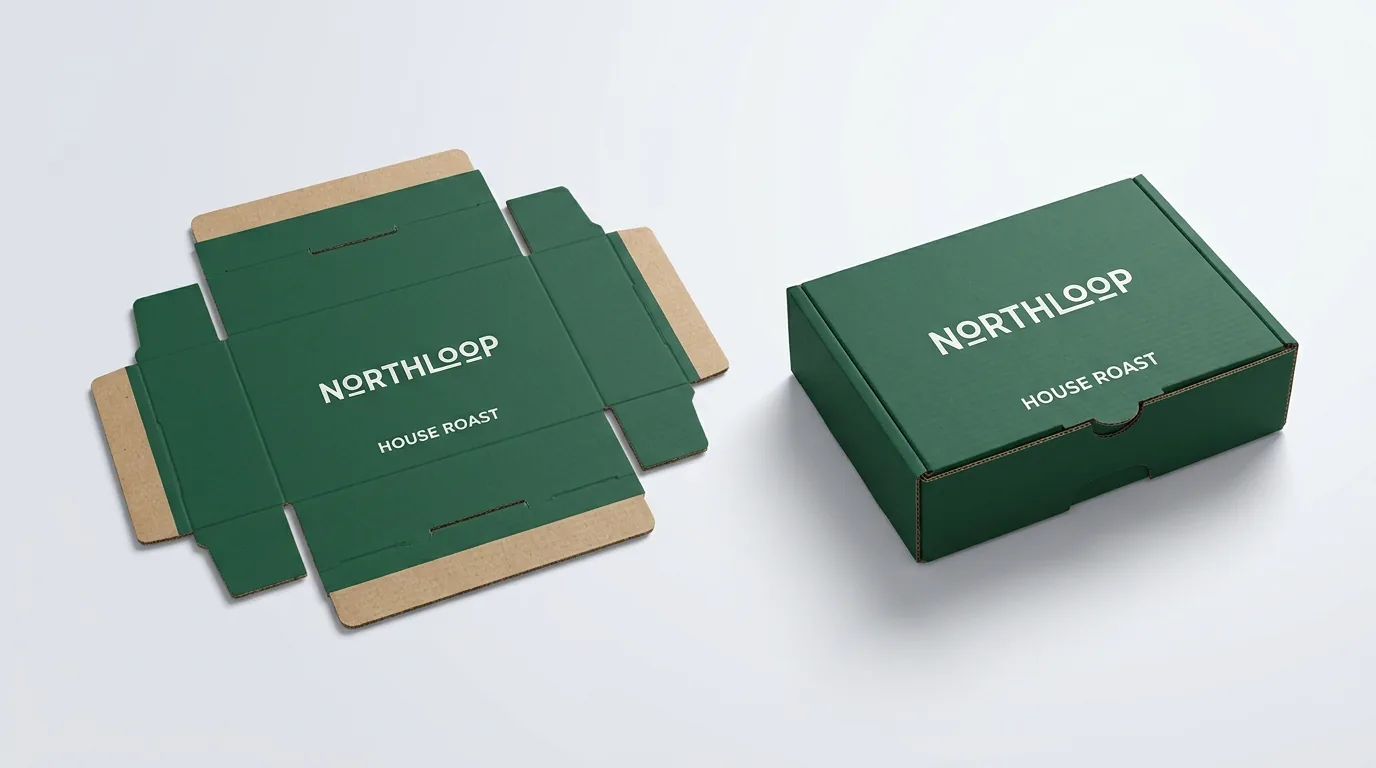
Before a custom mailer box is printed and die-cut, your artwork is laid out on a flat 2D technical template called a dieline. Standardized internationally as FEFCO 0427, a roll end tuck front (RETF) mailer dieline uses solid lines to mark where the steel rule die cuts completely through the corrugated board (including the floor locking slots and rounded cherry-lock ears) and dashed lines to mark where creasing rules press fold hinges into the flute. Because a mailer box folds its side walls 180 degrees over the corner flaps and hinges its lid forward over the tray, panel orientation and inside-versus-outside print alignment behave differently than on a simple folding carton. Understanding which panels stay visible on the exterior, which panels roll into the interior tray, and where bleed and safe margins sit guarantees your proof approves cleanly on the first pass.
What are the main panels and flaps on a roll end tuck front mailer dieline?
When you open a flat FEFCO 0427 dieline file in Adobe Illustrator or inspect your CubitPack PDF proof, the template reads vertically along a central spine with symmetrical left and right wings. Tracing from the top of the dieline down to the bottom reveals how a single corrugated blank forms a double-walled tray and hinged cover without a single drop of glue. Review the panel table below alongside our printed roll end tuck front mailer boxes dieline sketch.
| Dieline part | Where it sits on the flat template | What it does when folded | Artwork and print role |
|---|---|---|---|
| Front tuck flap + locking ears | Topmost strip above the hinged lid, with rounded cherry-lock tabs at both ends | Folds down 90 degrees over the front wall; ears slot into the front wall corners | Great for a short tagline, website URL, or alignment graphic across the front lip |
| Hinged top lid (top cover) | Upper large rectangle matching the Length × Width footprint | Swings forward from the back wall to cover the top opening of the tray | Primary exterior brand canvas on the outside; main unboxing billboard on the inside |
| Side dust flaps | Left and right tapered flaps hinged to the sides of the top lid | Fold down 90 degrees and slide inside the rolled tray walls when the lid closes | Flood-coat in your brand color so no plain board shows when the lid opens |
| Back wall + corner flaps | Narrow horizontal band between the top lid and the base floor, with left/right wings | Stands upright at the rear hinge; corner flaps fold in 90 degrees into the side walls | Exterior back panel; corner flaps are hidden inside the rolled side walls once locked |
| Base floor + lock slots | Central lower rectangle with die-cut rectangular slots along its left and right edges | Forms the flat bottom floor of the box; slots catch the locking tabs of the rolled walls | Inside floor sits under your product or insert; outside bottom holds the shipping label |
| Outer & rolled inner side walls | Double-wide wings attached to the left and right edges of the base floor, ending in tabs | Outer wall folds up 90 degrees; inner wall rolls 180 degrees over the corner flaps to lock | Outer wall shows on the exterior sides; rolled inner wall faces the inside of the tray |
| Front wall + corner flaps | Bottom horizontal band below the base floor, with left and right corner wings | Folds up 90 degrees at the front; corner wings tuck inside the rolled side walls | Carries the front exterior strip visible below or behind the front tuck flap |
What do cut lines, score lines, bleed, and safe zones mean on a mailer proof?
Corrugated board is thicker than paperboard card, and its wavy fluted middle layer compresses along every crease line when folded. Because flatbed and rotary die-cutters have a small mechanical registration tolerance across corrugated sheets, every production dieline uses four distinct technical guides to protect your artwork from white edge slivers or clipped letters.
- Cut line (solid dark or magenta line): The exact path where steel blades slice the outer perimeter, the cherry-lock ear profiles, and the floor locking slots.
- Score / fold line (dashed purple or green line): Where rounded rules crush the flute so the board bends cleanly at 90 or 180 degrees.
- Bleed zone (0.25 in outside the cut line): Extend all background colors and patterns at least 0.25 inches past every outer cut edge and slot.
- Safe zone (0.25 in inside cut and score lines): Keep all logos, text, QR codes, and borders at least 0.25 inches clear of creases and slots.
How do the rolled side walls and cherry-lock ears work on the dieline?
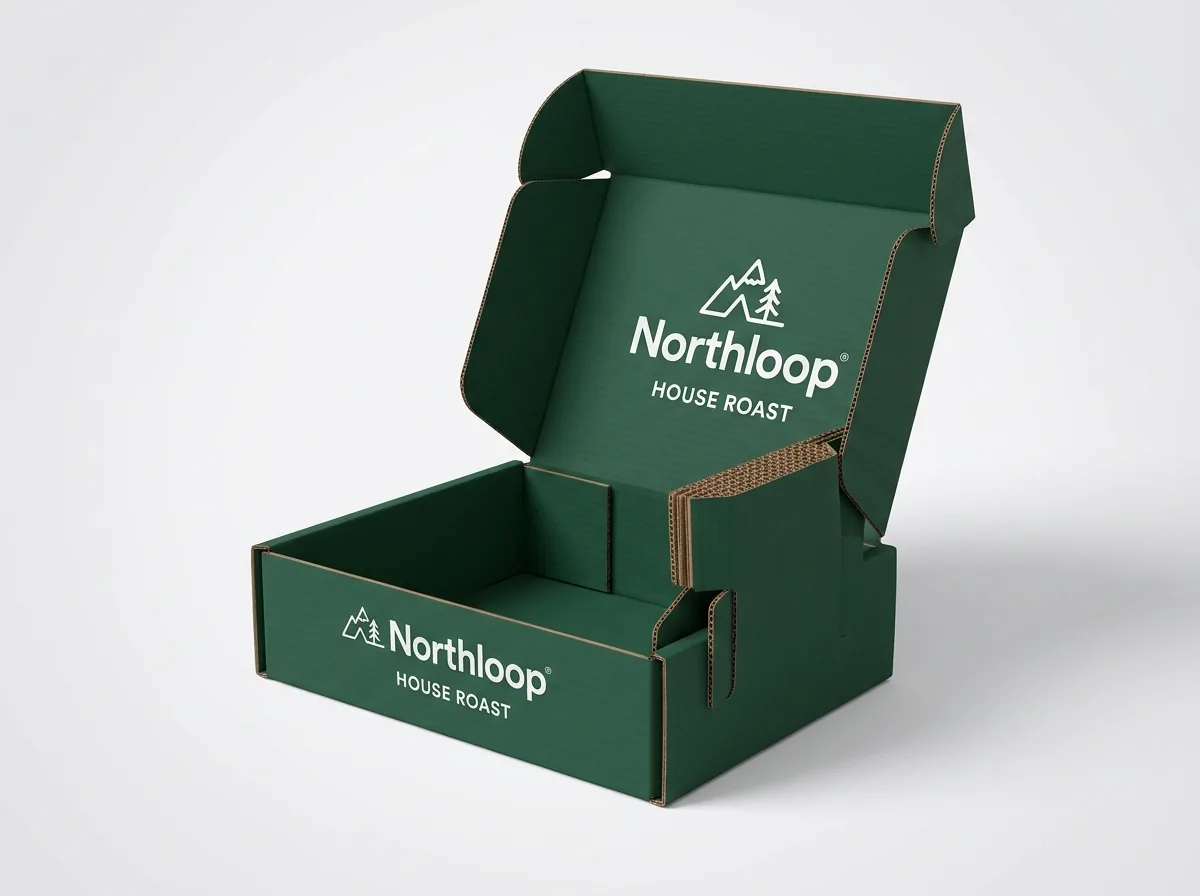
First-time mailer designers are often puzzled by why the left and right wings attached to the base floor look twice as wide as the box height, and why the back and front walls have extra square flaps on their ends. When you assemble the box, you first fold the front and back walls up 90 degrees and fold their four corner flaps inward so they run along the left and right edges of the tray. Next, you fold the outer side walls up and roll the inner side-wall panels 180 degrees over the top of those corner flaps, pushing the small rectangular tabs at the tips of the inner walls straight into the die-cut slots in the floor. That clever geometry traps the corner flaps inside a double-thick corrugated sandwich. Notice also that the rolled inner side wall on the outside dieline sheet actually folds into the interior of the finished tray!
- Hidden panels: The four square corner flaps attached to the front and back walls are completely concealed inside the rolled walls once assembled.
- Crossover panels: The inner half of each side-wall wing on the exterior sheet rolls over the rim to become the inside left and right wall of the tray.
- Cherry-lock ear slots: Keep small text away from the two corner junction slots where the front tuck ears slide in.
Know your size? Compare pricing across up to 3 quantities.
Request a Quote →How do I orient artwork for outside printing and inside printing?
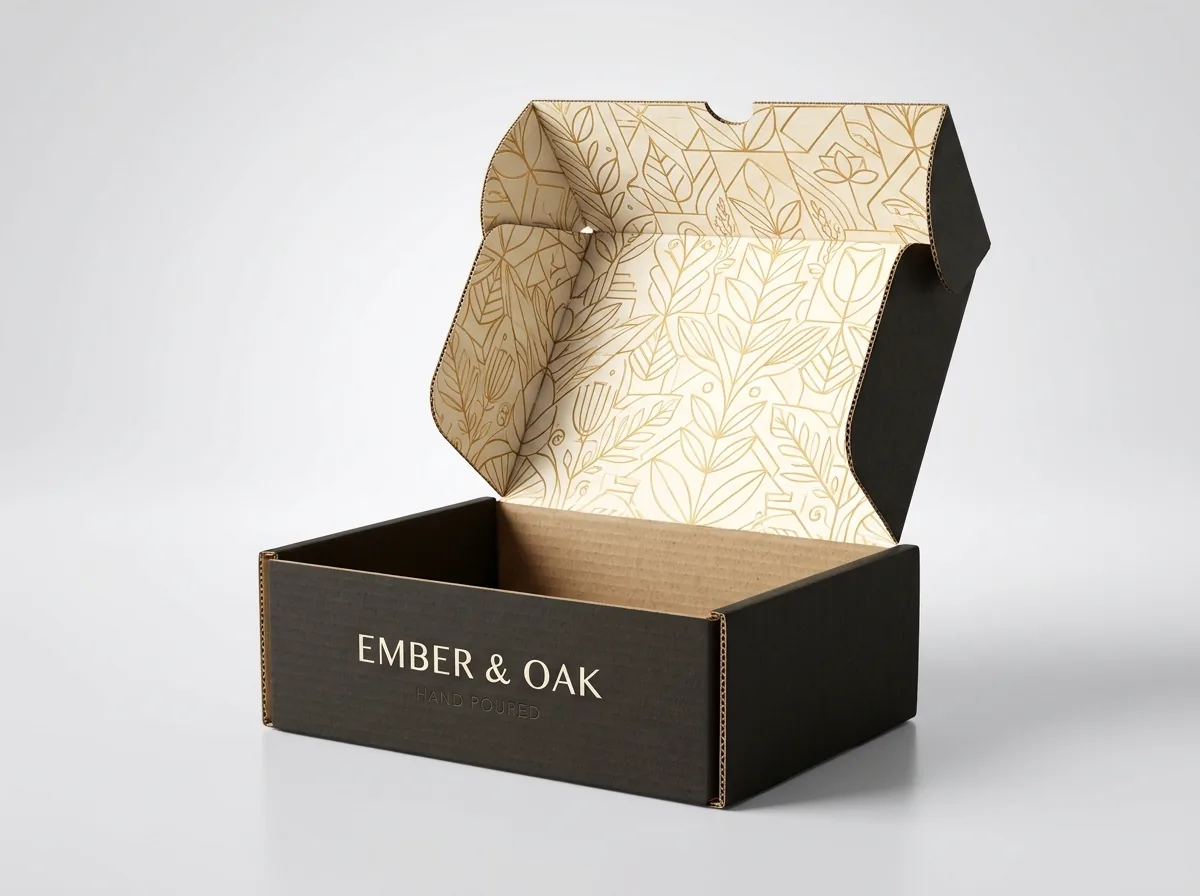
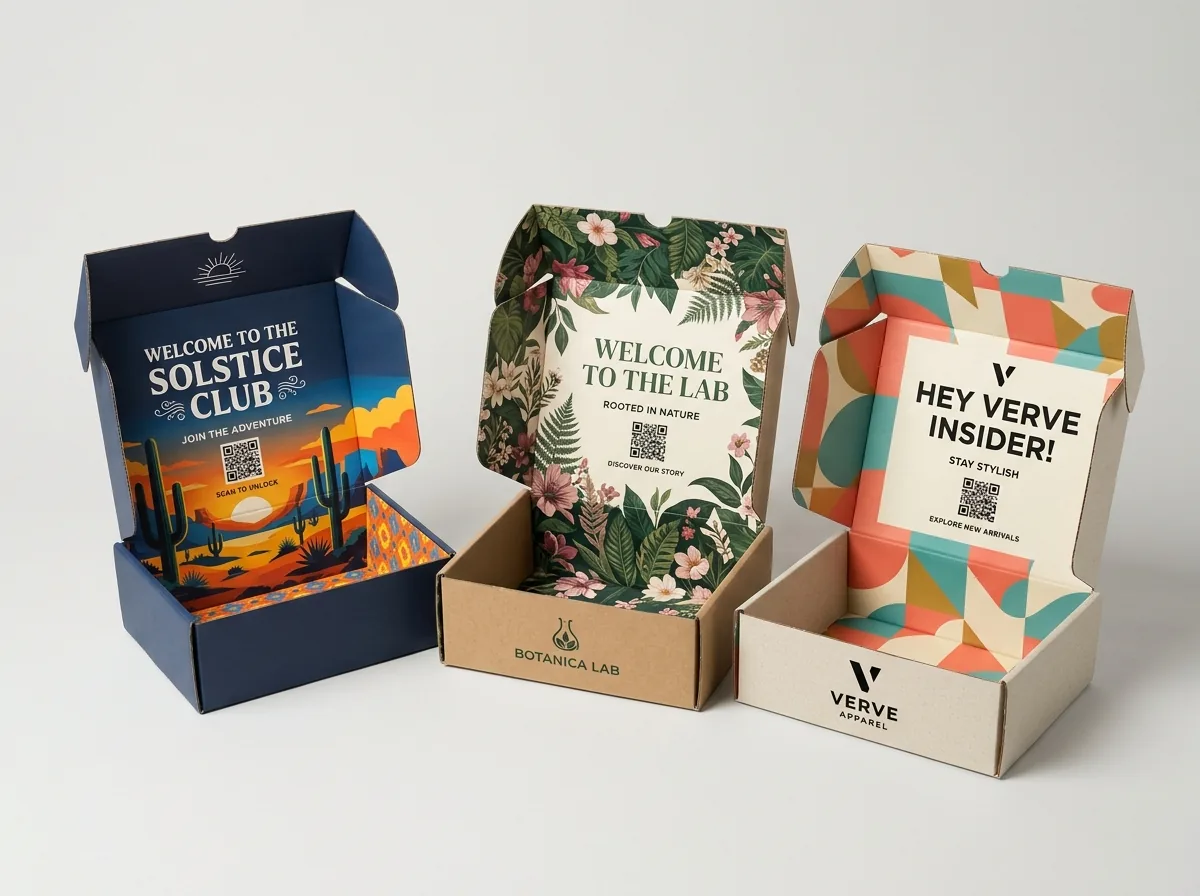
When your order includes both outside and inside printing (as featured on our custom printed inside mailer boxes and custom subscription boxes), your dieline package includes two linked views: the Outside Surface and the Inside Surface. On the Outside Surface, artwork on the hinged top lid should read right-side up when a customer stands in front of the closed box with the front tuck flap facing them. On the Inside Surface, when the customer lifts the lid open 100 degrees, the inside of the lid stands upright above the tray floor. That means your welcome headline on the inside lid and your graphic on the inside tray floor should both read right-side up from the front of the open box.
- Outside top lid: Orient the main logo so its bottom edge faces the front tuck flap.
- Front tuck flap (outside): Orient text right-side up when the flap is folded down 90 degrees across the front wall.
- Inside top lid: Orient your welcome message or QR code so the bottom of the letters sits toward the rear hinge crease.
- Kraft versus white board: On custom kraft mailer boxes, dark Pantone inks and white ink print crispest; on custom white mailer boxes, full-color CMYK gradients and photographs shine.
Where should the 4 × 6 inch shipping label and tamper sticker sit on the dieline?
If your custom mailer box travels directly through USPS, UPS, or FedEx without an outer poly mailer, the parcel carrier requires a flat, uncreased 4 by 6 inch area for the thermal shipping label and barcode. Placing a shipping label across a score line or over the front tuck seam makes the barcode hard to scan and forces the recipient to slice through the label. On boxes 10 × 8 inches or larger, most brands reserve a clean 4.25 × 6.25 inch zone on the outside bottom floor panel for the carrier label, leaving the top lid 100 percent dedicated to brand artwork. On smaller mailers (such as 6 × 4 × 2 inches), keep the top lid artwork tucked into one corner so the thermal label fits flat beside it.
- Bottom panel label zone: Ideal on medium and large mailers so the top lid arrives completely free of carrier stickers.
- Front lip tamper seal: Leave a 1.5 to 2 inch spot centered across the crease between the top lid and front tuck flap if you apply a branded security sticker.
- Keep barcodes off dark flood coats: If you print a retail UPC barcode directly on the box, place black bars inside a solid white box at least 0.5 inches from any score line.
How do I get a custom mailer dieline and 3D proof for my size?
You never have to draw a FEFCO 0427 dieline from scratch or guess how thick the rolled side-wall offsets should be. At CubitPack, every quote includes a free custom structural dieline engineered to your exact inside dimensions (starting from 250 boxes), plus free design help to place your logo, patterns, or AI-generated artwork onto the panels. Before you pay a cent, we send a full digital proof and an interactive 3D mockup so you can spin the closed and open mailer around and verify every panel, fold, and locking ear.
What are the most common mailer box dieline and artwork mistakes?
Check your artwork file against these five prepress errors before approving your proof
- Upside-down inside lid artwork. Always verify that inside-lid text reads right-side up when the lid is swung open from the back hinge.
- Forgetting that the outer side-wall wing rolls into the interior. Remember that the outer half of each side wing folds over 180 degrees to become the inside tray wall.
- Placing text or logos over the floor lock slots or cherry-lock cutouts. Keep all critical elements 0.25 inches inside every cut and crease line.
- Flattening or deleting the dieline layer. Keep the cut and score lines on their own locked vector layer named Dieline set to non-printing.
- Leaving no bleed past the outer cut lines. Extend background colors and patterns 0.25 inches past the cut path so no unprinted edge slivers appear.
Packaging for this

Ready to order mailer boxes? Compare up to 3 quantities with a free 3D mockup.
Request a Quote →Questions about mailer boxes
What is a FEFCO 0427 mailer box dieline?
FEFCO 0427 is the international standard code for a self-locking roll end tuck front (RETF) corrugated mailer box. Its flat dieline features a central spine for the lid, back wall, base floor, and front wall, plus side wings that roll over to lock into floor slots without glue.
Why do the side wings on a mailer dieline have two parallel panels on each side?
A roll end mailer builds double-thick side walls by folding the inner half of the wing up 90 degrees and rolling the outer half 180 degrees over the corner flaps until its tabs click into the floor slots. That means one panel shows on the outside and the second shows on the inside.
How much bleed and safe margin should I use on a corrugated mailer dieline?
Extend background colors and patterns at least 0.25 inches outside all solid cut lines for bleed, and keep text, logos, and QR codes at least 0.25 inches inside all cut lines, score lines, and floor lock slots so nothing gets clipped or creased.
How do I know if my inside lid artwork is oriented the right way?
When the mailer box sits open in front of you, the lid hinges upward from the back wall. On your Inside Surface dieline, the bottom of your welcome message on the lid should point toward the back-wall score line, and we always confirm orientation on a 3D mockup before payment.
What file format should I send for custom mailer box printing?
Vector PDF, Adobe Illustrator (.ai), or EPS files with fonts outlined and images embedded at 300 DPI or higher work best. If you only have a PNG, JPEG, Canva file, or AI-generated image, our design team preps the print-ready dieline for you for free.
Does CubitPack charge for custom mailer dielines or printing plates?
No. Custom dielines, free design help, digital proofs, and 3D mockups are included with every order, and there are no die or plate charges. Custom mailer boxes start at 250 units with free shipping across all 50 US states.
Still have a question? Ask a packaging specialist.
Request a Quote →Request your mailer boxes quote
Tell us your size and quantities, and one dedicated account manager prepares pricing for each tier.
- Free design & AI-to-print studio + 3D mockup
- No die or plate charges · 4–5 day rush available
- Free shipping to all 50 states
- 10% off your first order
We verified the FEFCO 0427 panel anatomy, rolled side-wall crossover behavior, cherry-lock ear geometry, and corrugated prepress bleed/safe standards against independent structural dieline documentation. A packaging specialist checked every rule. Spot something wrong? Tell us and we fix it.
Sources
What changed
- October 24, 2026: First published with FEFCO 0427 panel table, rolled side-wall explanation, and outside/inside orientation rules.
More guides
New packaging guides by email
Sizes, materials and design tips. Unsubscribe anytime.