
How do I set up shrink sleeve artwork for 3D pre-distortion, white ink, seams, and perforations?
Short answer: When preparing artwork for custom shrink sleeves, stretch graphics horizontally in high-shrink neck zones by 1 divided by (1 minus local shrink ratio), mirror-print CMYK backed by double-hit opaque white ink, leave a 4 to 8 mm ink-free vertical seam margin, and rotate UPC barcodes 90 degrees into vertical ladder orientation.
On this page
- What are the six core prepress layers on a custom shrink sleeve dieline
- How does 3D artwork pre-distortion keep logos and circles round on contoured bottles
- How do reverse printing, opaque white ink backing, and clear peek windows work
- Where should the ink-free seam strip and vertical ladder UPC barcode sit
- When should I specify a horizontal neck tamper perforation vs a vertical recycling tear strip
- Common mistakes
- FAQs
Request a custom quoteFree dieline & 3D mockup
Designing a heat-shrink sleeve differs fundamentally from laying out a flat pressure-sensitive sticker because the printed polymer tube deforms non-uniformly across every millimeter of container height. While the straight cylinder wall of a 16 oz beverage bottle may contract only 6% to 10% circumferentially in a steam tunnel, the tapered shoulder and 28 mm cap neck on that exact same bottle can contract 55% to 70%. Without compensating horizontal pre-distortion, any circular crest, QR code, or headline crossing the shoulder compresses into a tall, unreadable oval, while ink accidentally bled into the solvent weld margin can pop the back seam open mid-tunnel. At CubitPack, custom shrink sleeves start at 500 units in 10–14 business days (with 4–5 business day rush available) and include free prepress setup, 3D shrink mockups before payment, zero plate charges, and free 50-state US shipping.
What are the six core prepress layers on a custom shrink sleeve dieline?
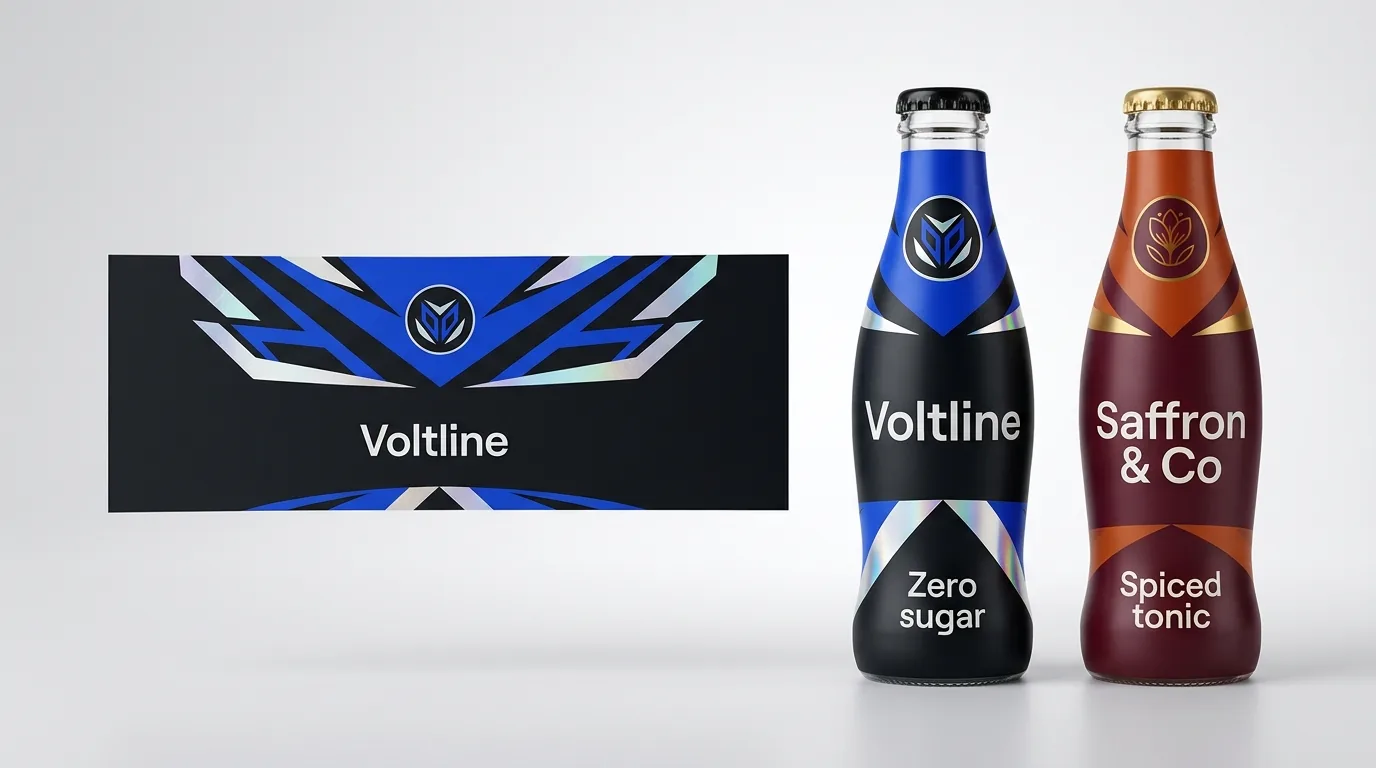
Before sending vector files to press, or uploading an AI-generated concept through our AI packaging prepress checker or Print Your AI Design service, every dieline for reverse-printed 360-degree shrink sleeves separates graphics, functional ink knockouts, and mechanical tooling into six distinct prepress zones
| Dieline zone / ink plate | Standard converting spec | Prepress rule & visual result |
|---|---|---|
| 1. Reverse CMYK + Pantone | 300+ DPI vector/raster, mirrored | Printed on inner film surface so clear polymer protects exterior |
| 2. Opaque white ink backer | Double-hit spot white (-0.15 mm choke) | Prevents dark liquids or gray aluminum cans from dulling colors |
| 3. Clear window knockouts | 0% ink + 0% white spot layer | Leaves bare transparent film for fill-level strips and product views |
| 4. Solvent T-seam overlap | 4 to 8 mm vertical bare-film strip | Kept 100% free of white and color ink so solvent fuses film cleanly |
| 5. Exterior tactile varnishes | Spot matte, Spot UV, metallic foil | Applied to outer film face for velvety grip and specular contrast |
| 6. Perforation callout lines | Non-printing spot vector paths | Guides rotary/laser blades for cap tamper rings or APR tear strips |
How does 3D artwork pre-distortion keep logos and circles round on contoured bottles?
Once you calculate your base tube dimensions using our layflat width and cut height sizing guide and select your polymer substrate from our PETG vs OPS vs PLA film comparison, prepress specialists map how much circumferential contraction occurs at every horizontal slice of your bottle
- Inverse horizontal stretch math: If a sleeve with a 72 mm open diameter shrinks onto a 36 mm bottle neck (a 50% local shrink ratio, or 0.50), horizontal elements at that height compress to half their flat width. Prepress software stretches artwork horizontally by 1 / (1 - 0.50) = 2.0x (200% width) on the flat web so tunnel heat pulls a 20 mm wide flat oval back into a crisp 10 mm circle.
- Physical 5 mm grid-test verification on complex molds: For custom asymmetrical trigger sprayers, pinched-waist carafes, or embossed glass bottles, printing a 5 x 5 mm numbered test grid sleeve and shrinking it through your actual steam tunnel reveals exact vertical and circumferential warp coordinates.
- Smart graphic zoning for crisp typography: Even with 3D warp software, avoid placing 5-point ingredient tables, scannable QR codes, or circular portrait illustrations directly across sharp 55%-plus shoulder Inflection bends where minor container height shifts (±1.5 mm) alter local shrink ratios.
- Free 3D mockup approval before payment: You do not need expensive 3D packaging CAD software in-house. Send normal unwarped vector artwork with your bottle drawing, and our design team builds the pre-distorted press file and shows you a 3D mockup before payment.
How do reverse printing, opaque white ink backing, and clear peek windows work?
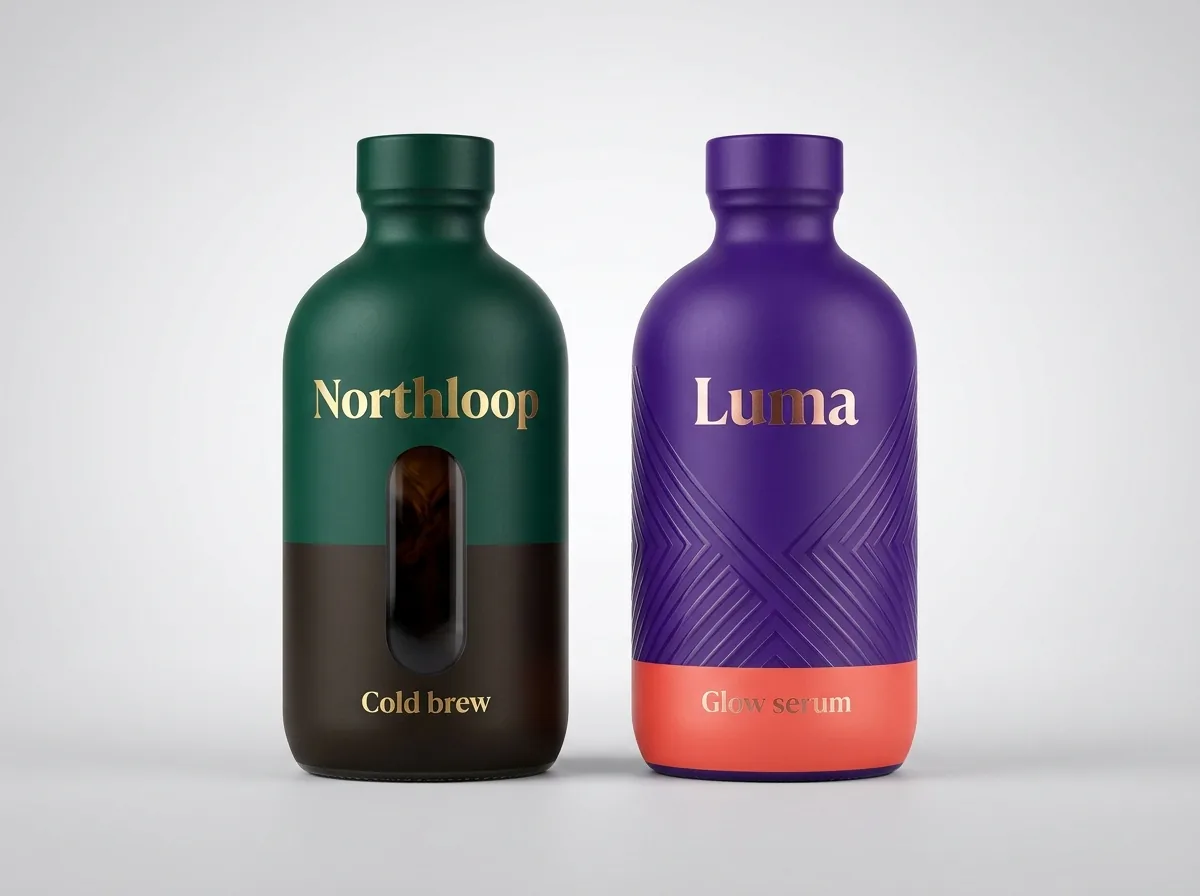
Unlike paper custom bottle labels where ink sits exposed on top of an opaque white sheet, heat-shrink film enters the press completely transparent, similar to custom clear labels and metallic custom foil labels. That transparency unlocks layered optical effects when your file separates color, white backer, and surface varnish plates cleanly
- Double-hit opaque white ink underbase: Without a dense white backing layer printed behind CMYK and Pantone inks, dark espresso cold brew, purple berry shots, or silver aluminum brite cans show right through translucent process pigments and muddy bright colors.
- Choking white ink 0.10 to 0.15 mm inside color edges: Pulling the spot-white plate slightly inward behind dark artwork borders prevents a hairline white halo from peeking around logos on press.
- Selective clear fill-level and product peek windows: Knocking out all CMYK and white ink along a vertical calibration strip or custom geometric shape leaves crystal-clear film so shoppers see real sauce texture, pulp, or remaining servings.
- Faux-metallic brite-can and foil effects: On silver aluminum cans, or when pairing translucent yellow and orange inks over metallic silver ink, knocking out the white plate lets raw metallic reflection shine directly through tinted colors.
Know your size? Compare pricing across up to 3 quantities.
Request a Quote →Where should the ink-free seam strip and vertical ladder UPC barcode sit?
Two mechanical details, the vertical T-seam weld and the retail UPC barcode, account for the vast majority of co-packer line stops and grocery retailer chargebacks when overlooked on press files
- Leave a 4 to 8 mm bare-film solvent seam margin per TLMI standards: During seaming, a precision needle applies seaming solvent along one edge of the folded web to chemically fuse the inner and outer film faces into a tube. If white or CMYK ink covers that weld strip, solvent dissolves ink pigment instead of fusing polymer, causing seams to split open inside the heat tunnel.
- Hide the vertical back seam on the rear panel seam line: Position the T-seam down the center of the back panel, or along the vertical edge between back nutrition facts and side branding, so front-facing retail display panels look completely continuous.
- Rotate UPC-A barcodes 90 degrees into vertical ladder orientation: Per GS1 US curved-surface guidelines, standard horizontal picket-fence bars narrow unevenly as the sleeve shrinks circumferentially, ruining bar-to-space width tolerances. Rotating the barcode 90 degrees so bars stack horizontally like ladder rungs means circumferential shrink only trims bar length slightly while bar widths stay 100% accurate.
- Anchor barcodes on straight, low-shrink walls (<20% TD shrink) over solid white: Always back black barcode bars with double-hit opaque white ink and maintain quiet zones away from perforations and seams.
When should I specify a horizontal neck tamper perforation vs a vertical recycling tear strip?
Precision rotary and laser micro-perforations turn a decorative shrink sleeve into an easy-open security seal and a recycling-friendly wrapper. Compare options alongside our Price Beat policy when finalizing your custom shrink sleeve order
- Single horizontal cap-skirt tamper perforation: Positioned 2 to 3 mm below the bottom edge of a threaded bottle cap or lug lid, this ring lets customers twist and snap off the upper cap band cleanly while leaving the lower body graphic intact.
- T-perforation (horizontal ring + short vertical pull tab): Combines the horizontal neck ring with a short vertical starter tab over the cap wall so consumers with wet hands peel off thick safety seals effortlessly on sauces, tinctures, and dairy bottles.
- Full-body dual vertical APR recycling tear strip: Runs two parallel vertical perforation lines from top edge to bottom heel on clear PET beverage bottles so consumers zip the entire sleeve off in one pull before tossing the bare PET bottle into curbside recycling.
- Zero tooling charges and 500-unit minimums: At CubitPack, custom perforations, pre-distortion setup, and printing plates carry zero die or plate charges, with orders starting at 500 sleeves and shipping free across all 50 US states in 10–14 business days.
What are the five most common shrink sleeve artwork and prepress mistakes?
Run this five-point preflight check on every shrink sleeve file before approving your proof
- Flooding white backer or CMYK background ink across the 4 to 8 mm solvent T-seam margin, causing weak welds that burst open inside steam tunnels.
- Leaving UPC barcodes in horizontal picket-fence orientation instead of rotating them 90 degrees into vertical ladder format on a low-shrink wall.
- Placing circular medallions, QR codes, or 5-point ingredient copy right across a 60%-shrink bottle shoulder without 3D horizontal pre-distortion.
- Forgetting an opaque white ink spot plate behind bright colors on dark cold-brew bottles or silver aluminum brite cans, leaving graphics dark and muddy.
- Drawing a horizontal tamper perforation too low below the cap skirt, causing the upper edge of the main body sleeve to tear jaggedly when opened.
Packaging for this
Ready to order shrink sleeves? Compare up to 3 quantities with a free 3D mockup.
Request a Quote →Questions about shrink sleeves
Do I need specialized 3D shrink-warp software to order custom shrink sleeves from CubitPack?
No. You can supply clean, unwarped 2D vector artwork in Adobe Illustrator or PDF format along with your container specification drawing or physical bottle samples. Our prepress team applies horizontal pre-distortion free of charge and sends a 2D proof and 3D mockup before payment.
Why must a 4 to 8 mm strip along the shrink sleeve edge remain completely unprinted?
To convert flat printed film into a cylindrical sleeve, seaming equipment overlaps both edges and applies liquid solvent to fuse the polymer layers together. Ink inside that 4 to 8 mm weld zone blocks direct film-to-film fusion and risks seam splitting under tunnel heat.
How do I set up clear windows and white ink backing in my Illustrator file?
Create a dedicated spot-color layer named 'WHITE_INK' set to overprint fill everywhere you want solid opaque color backing. Leave 0% white ink and 0% CMYK in any window area where you want clear liquid visibility, and choke white 0.15 mm inside sharp edges.
What is a ladder barcode and why is it mandatory on contoured shrink sleeves?
A ladder barcode is a standard UPC rotated 90 degrees so the dark bars run horizontally like rungs on a ladder. When film shrinks horizontally around a bottle, ladder bars shorten slightly in length while keeping exact bar-to-space thickness ratios for retail laser and camera scanners.
Can one shrink sleeve include both a cap tamper perforation and a full-body recycling tear strip?
Yes, depending on container profile and film gauge. Many RTD beverage brands run a horizontal neck perforation so buyers twist off the cap seal at opening, paired with a vertical tear strip on the body for post-consumer PET recycling.
Are there extra printing plate or perforation die charges on multi-flavor shrink sleeve orders?
No. CubitPack charges zero printing plate or rotary die fees on custom shrink sleeves. Orders start at 500 sleeves, ship free across all 50 US states in 10–14 business days (with 4–5 business day rush available), and include 10% off your first order.
Still have a question? Ask a packaging specialist.
Request a Quote →Request your shrink sleeves quote
Tell us your size and quantities, and one dedicated account manager prepares pricing for each tier.
- Free design & AI-to-print studio + 3D mockup
- No die or plate charges · 4–5 day rush available
- Free shipping to all 50 states
- 10% off your first order
We verified solvent T-seam overlap tolerances, reverse-printed white ink choke rules, 3D horizontal distortion equations, ladder UPC specifications, and tear-strip designs against TLMI, FINAT, GS1 US, and APR Design Guide standards. A packaging specialist checked every prepress rule and diagram. Spot something wrong? Tell us and we fix it.
Sources
- 4 to 8 mm ink-free solvent T-seam overlap margins, white ink choke tolerances, and reverse-printing layer order.
- Horizontal pre-distortion stretch factor math, 5 mm grid-test calibration, and horizontal vs T-perforation design.
- 90-degree vertical ladder UPC-A orientation, quiet zones, and opaque white ink reflectance backing.
- Dual full-height vertical consumer tear perforations on PET beverage bottles.
What changed
- November 16, 2026: First published with 6-layer reverse-print cross-section, horizontal pre-distortion formula, 4–8 mm T-seam rules, ladder UPC specs, and perforation guide.
More guides
New packaging guides by email
Sizes, materials and design tips. Unsubscribe anytime.