
How do you prepare print-ready artwork on a custom box dieline (bleed, safe zones, DPI, and layers)?
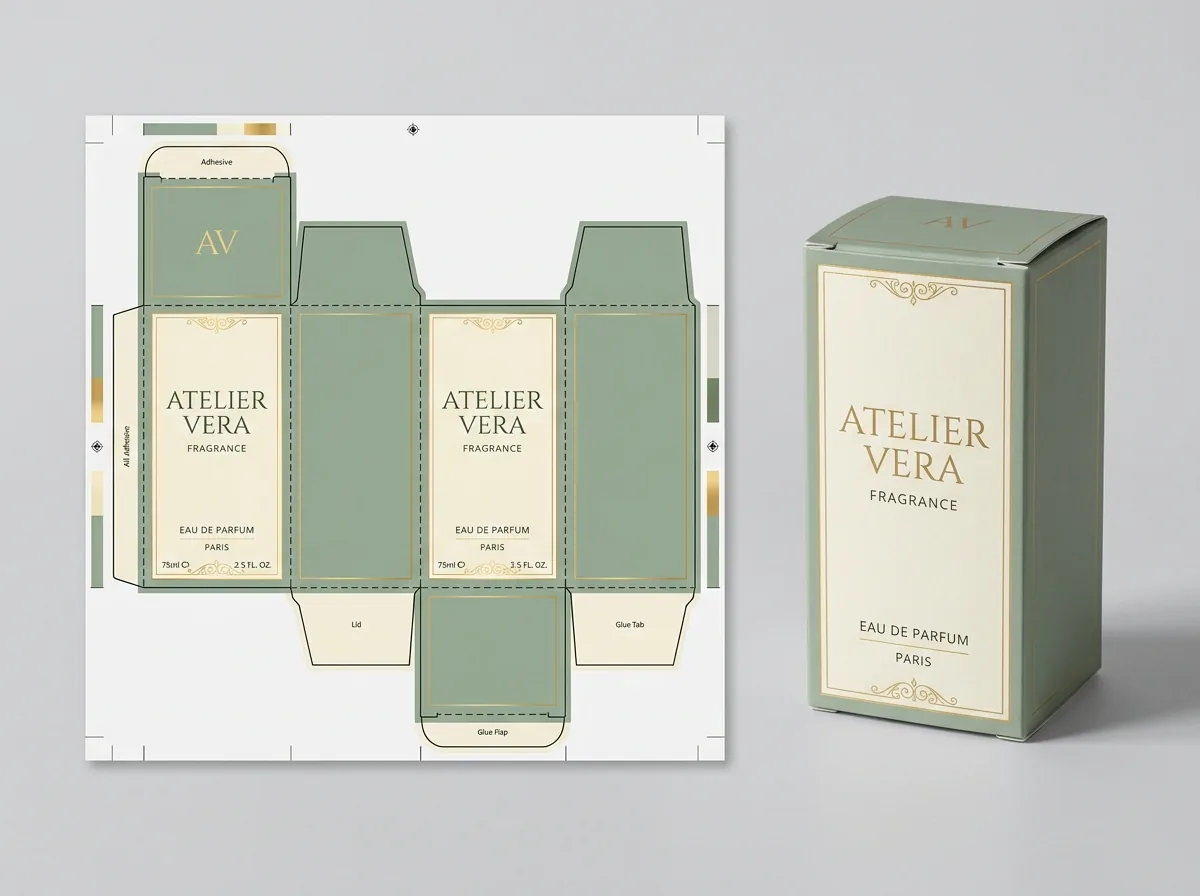
Short answer: Place your artwork on a separate layer beneath the locked CAD dieline in CMYK mode, extend background colors +0.125 in (3.175 mm) past all outer cut lines for bleed, keep text and logos at least 0.125 in inside cut and fold lines, convert all fonts to vector outlines, and embed images at 300 DPI.
On this page
- What do the bleed, cut, crease, safe-zone, and glue-flap lines mean on a box dieline
- How do you prepare fonts, 300 DPI images, barcodes, and foil/UV masks
- What if you only have a PNG logo, Canva draft, or AI-generated box concept
- How do you request your free custom 2D CAD dieline and 3D proof
- Common mistakes
- FAQs
Request a custom quoteFree dieline & 3D mockup
Preparing print-ready artwork for custom printed boxes is straightforward when you follow six commercial prepress rules on your free CubitPack 2D vector CAD dieline: (1) work in CMYK document color mode (with optional PMS Pantone spot swatches); (2) keep the CAD dieline layer locked on top (Thru-Cut in solid green/black and Crease/Fold in dashed red); (3) extend all background colors and patterns +0.125 in (3.175 mm) past outer cut lines for bleed; (4) keep critical text, logos, and QR/UPC codes at least 0.125 in (3.175 mm) inside all cut and crease lines; (5) convert all typography to vector outlines (Create Outlines) and embed raster photos at 300 DPI; and (6) leave manufacturer side-seam glue flaps ink-free. Even better, if you don't have a graphic designer, our prepress team will place your logo or rebuild your AI mockup onto the dieline for free, and send an interactive 3D digital proof before payment.
What do the bleed, cut, crease, safe-zone, and glue-flap lines mean on a box dieline?
When you request a quote across custom product boxes, custom mailer boxes, or custom rigid boxes on our custom printed boxes platform, our CAD team sends a custom 2D vector PDF/AI template sized to your exact Inside Dimensions (L × W × H). Every line color on your CubitPack CAD dieline corresponds to a specific mechanical action on the die-cutting platen press: Why is the +0.125 in (3.175 mm) outer bleed mandatory whenever your box has a colored background or full-bleed pattern? After the flat parent sheet is printed and laminated, it moves to a steel-rule platen die-cutter that punches out the box contour at high speed. Mechanical sheet registration varies by ±0.5 mm to 1.0 mm; extending your background ink 3.175 mm past the cut line guarantees the steel blade always cuts through solid color, preventing an unprinted white hairline along the edge of your box. When planning inventory across seasonal drops, retail wholesale rollouts, and recurring subscription shipments, keeping your master Illustrator dieline organized in clean, named layers allows your team to swap seasonal colors or flavor copy in minutes.
- Never unlock, scale, rotate, or delete the DIELINE layer in Adobe Illustrator.
- Place all customer artwork on a separate ARTWORK_OUTSIDE (and optional ARTWORK_INSIDE) layer below the dieline.
- Let background colors cross smoothly over internal crease lines from one wall to the next, while keeping text inside each panel's safe zone.
| Dieline layer / zone | Line convention | Required margin / tolerance | Prepress rule for your artwork |
|---|---|---|---|
| Outer Bleed Line | Dashed Red / Magenta outer border | +0.125 in (+3.175 mm) past cut line | Extend all background colors & photos out to this line |
| Cut / Trim Line | Solid Green or Black contour | 0.0 mm (steel knife blade path) | Never delete or move; keep locked on top layer |
| Crease / Fold Score Line | Dashed Red or Green inner lines | 90° or 180° rounded creasing rule | Keep small text & barcodes ≥0.125 in clear of folds |
| Inner Safe Text Zone | Dashed Blue inner margin | -0.125 in (-3.175 mm) inside cut/fold | Keep all logos, headlines, ingredients & QR codes inside |
| Glue Flap (Knock-Out Zone) | Cross-hatched diagonal area | Manufacturer side-seam glue tab | Keep 100% free of ink, varnish, and lamination |
How do you prepare fonts, 300 DPI images, barcodes, and foil/UV masks?
Even a perfectly sized dieline will pause in prepress if font files are missing or a web-resolution PNG logo looks pixelated at actual box size. Run through this four-point technical checklist before exporting your press-ready PDF (PDF/X-1a or PDF/X-4): Our prepress specialists inspect every uploaded file against these four rules and send a full report plus an interactive 3D digital proof before payment.
- 1. Convert All Fonts to Vector Outlines: Select all text (Cmd+A / Ctrl+A) and click Type > Create Outlines (Shift+Cmd+O). That turns every letter into a mathematical vector path so zero font substitution can occur.
- 2. Embed Raster Photos at 300 DPI at 100% Scale: Any photographic image placed in Illustrator must have an effective resolution of at least 300 PPI/DPI at actual print size, and be embedded (Window > Links > Embed Image(s)).
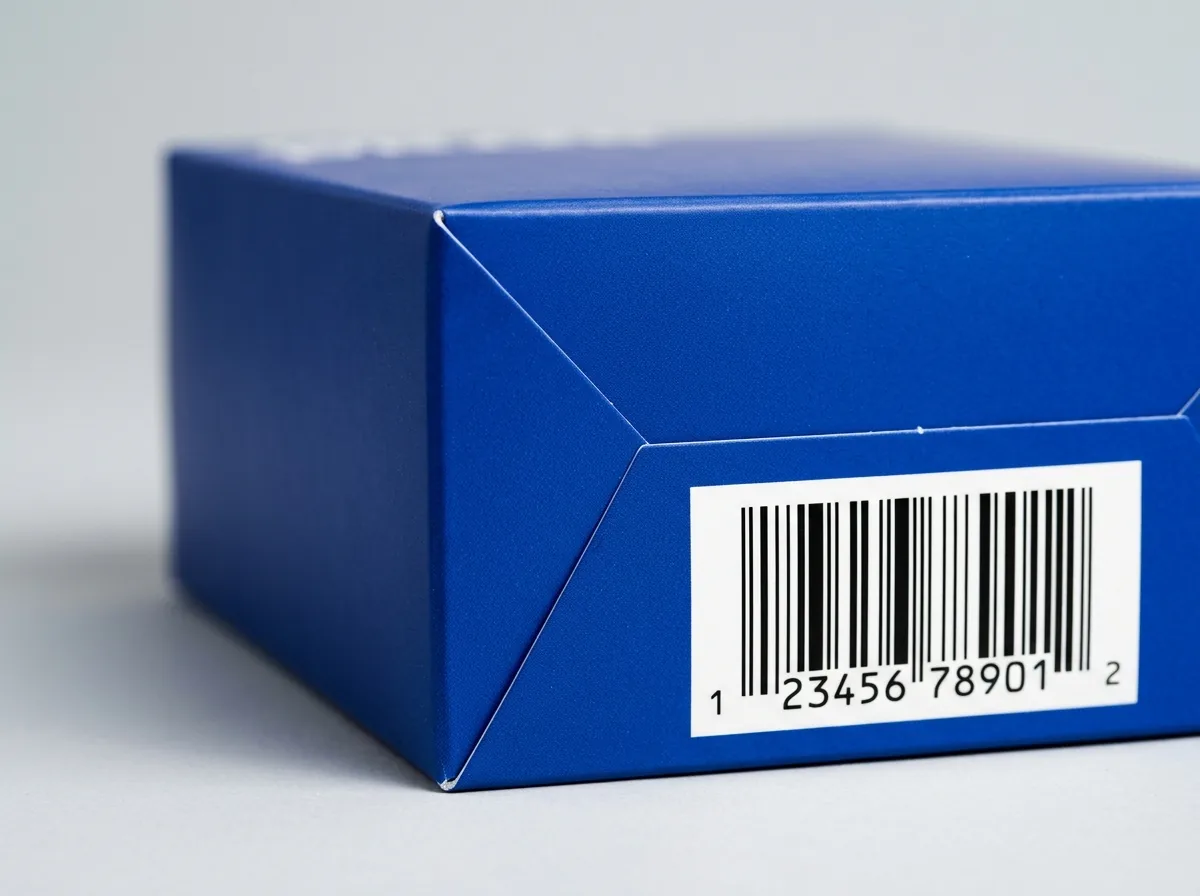
- 3. Format UPC Barcodes & QR Codes at High Contrast: Print barcodes in 100% K (black) only - never 4-color rich black - inside a solid white quiet-zone box at least 20 × 20 mm (QR) or 80%–100% nominal GS1 magnification (UPC-A).
- 4. Separate Spot Layers for Foil, Emboss & Spot UV: Put metallic foil, embossing, or Spot UV elements on dedicated 100% vector spot-color layers set to Overprint Fill.
What if you only have a PNG logo, Canva draft, or AI-generated box concept?
You do not need Adobe Illustrator or a packaging engineer on staff to order custom printed boxes from CubitPack. Our in-house prepress team supports three fast paths from rough idea to press-ready vector dieline: Every production order is backed by our zero-plate-fee policy, free 2D vector CAD dieline engineering, and an interactive 3D digital proof so your team can inspect every panel before production begins.
- Try our Print Your AI Design service if you generated a packaging concept with AI and want it turned into a real box.
- Pair this setup guide with our CMYK process vs Pantone spot-color printing guide.
- Compare press options in our digital vs offset litho printing guide.
| What you have today | How to submit to CubitPack | What our prepress team delivers |
|---|---|---|
| Logo File + Brand Colors Only | Upload your SVG/PDF/PNG logo & Pantone/HEX codes in the RFQ | We place your logo, set your background color, and send a 2D + 3D proof for free |
| Canva Layout or Rough Sketch | Share your exported PDF/PNG and panel notes | We rebuild the layout onto our locked vector CAD dieline with proper 0.125 in bleed |
| AI-Generated Concept (Midjourney / Gemini) | Use our 'Print Your AI Design' service or upload in the RFQ | We translate your 3D AI render into real printable vector panels, fonts, and foil layers |
Know your size? Compare pricing across up to 3 quantities.
Request a Quote →How do you request your free custom 2D CAD dieline and 3D proof?
Size your product in our box size calculator and get your custom dieline in four steps: Whether you are launching your first 100 printed mailers or scaling to 10,000 retail cartons, our prepress team checks every file for free. Before exporting your final print-ready PDF/X-4 package, conduct a systematic preflight audit of every layer, font, and linked raster asset in Adobe Illustrator. First, verify that your structural dieline template sits on its own dedicated top layer named Dieline or Thru-Cut, that every cut, crease, and perforation line is assigned a 100% spot color stroke set to Overprint Stroke, and that all artwork layers sit underneath the structural layer. If overprint is accidentally disabled on the dieline stroke, the press RIP will knock out a thin white hairline right where the steel rule die strikes the sheet, leaving visible unprinted flashes along your box edges if the die-cutter shifts by even half a millimeter. Second, inspect all black text, barcodes, and large dark background panels separately. Body copy, ingredient tables, and UPC or EAN-13 barcode bars under 18 pt should always be set to 100% K-only black (C0 M0 Y0 K100) set to overprint so that microscopic registration shifts between four-color plates never blur fine serifs or narrow barcode spaces. Conversely, large black flood-coated panels and structural flaps should use a balanced rich black formula - typically C60 M40 Y40 K100 - so the printed surface looks deep velvety jet black rather than washed-out charcoal gray. Finally, leave all glue flaps and bottom dust-flap glue zones completely free of ink, varnish, and film lamination, or mask them with a dedicated knock-out rectangle, so hot-melt and cold PVA folder-gluer adhesives penetrate directly into the raw paperboard fibers for a permanent structural bond.
- Step 1: Enter your box style, usable Inside Dimensions (L × W × H), and quantities in CubitPack's 3-step quote form.
- Step 2: Upload your finished artwork - or just your logo/mockup if you want us to set up the dieline for you.
- Step 3: Inspect your free 2D vector prepress proof and interactive 3D digital mockup from every angle before payment.
- Step 4: Approve for 10–14 business day production (4–5 day rush) with zero plate/die fees and free US ground shipping.
What 5 dieline setup mistakes delay custom box printing?
Our prepress specialists catch and fix these five common file setup errors before your boxes go to press
- Clipping background artwork right at the green cut line instead of extending +0.125 in (3.175 mm) bleed past all exterior edges.
- Forgetting to convert live typography to vector outlines (Create Outlines), causing fonts to substitute when opened on prepress RIPs.
- Linking external photos without embedding them in the Illustrator/PDF file (or using 72 DPI web screenshots that print blurry).
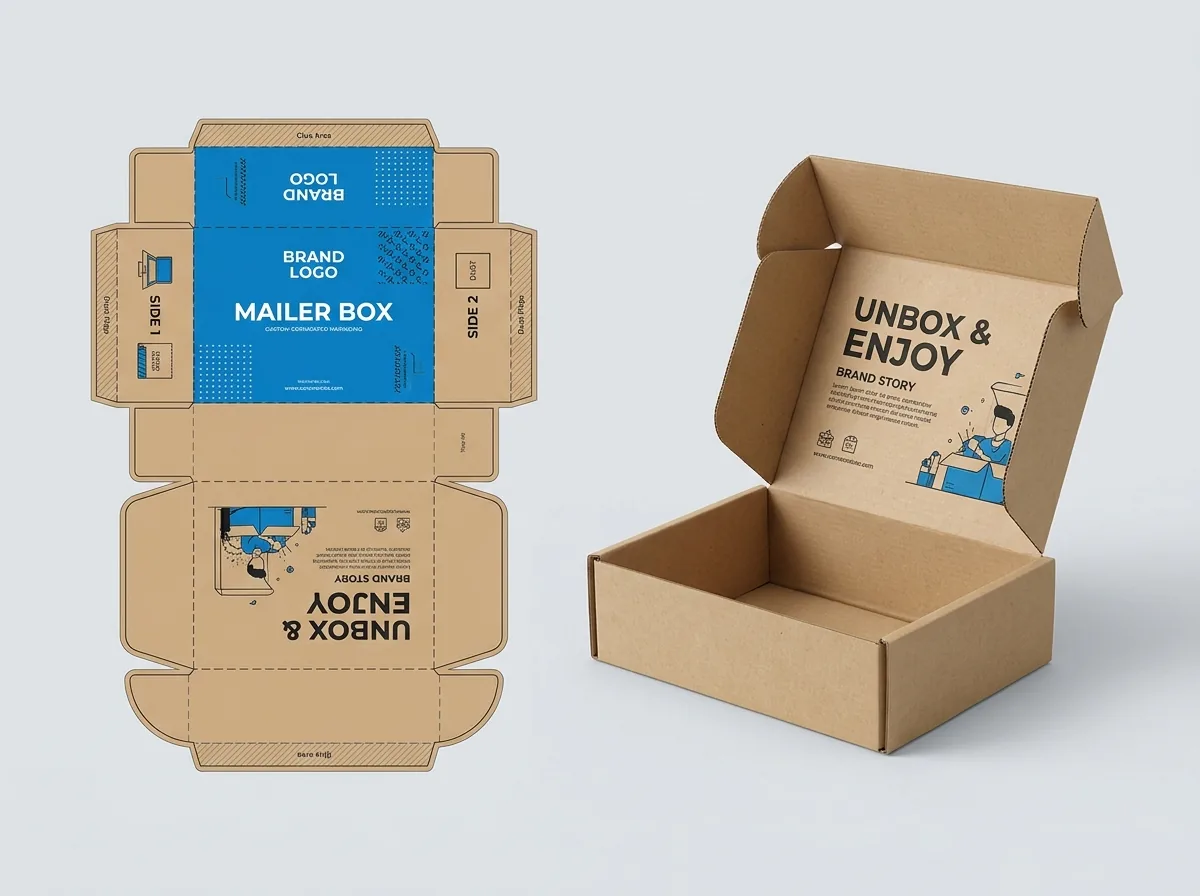
- Leaving back-panel or inside-lid artwork right-side-up on the flat sheet when that panel folds 180 degrees over in 3D assembly.
- Flattening the CAD dieline lines directly into the raster artwork layer instead of keeping the DIELINE layer separate and vector.
Packaging for this
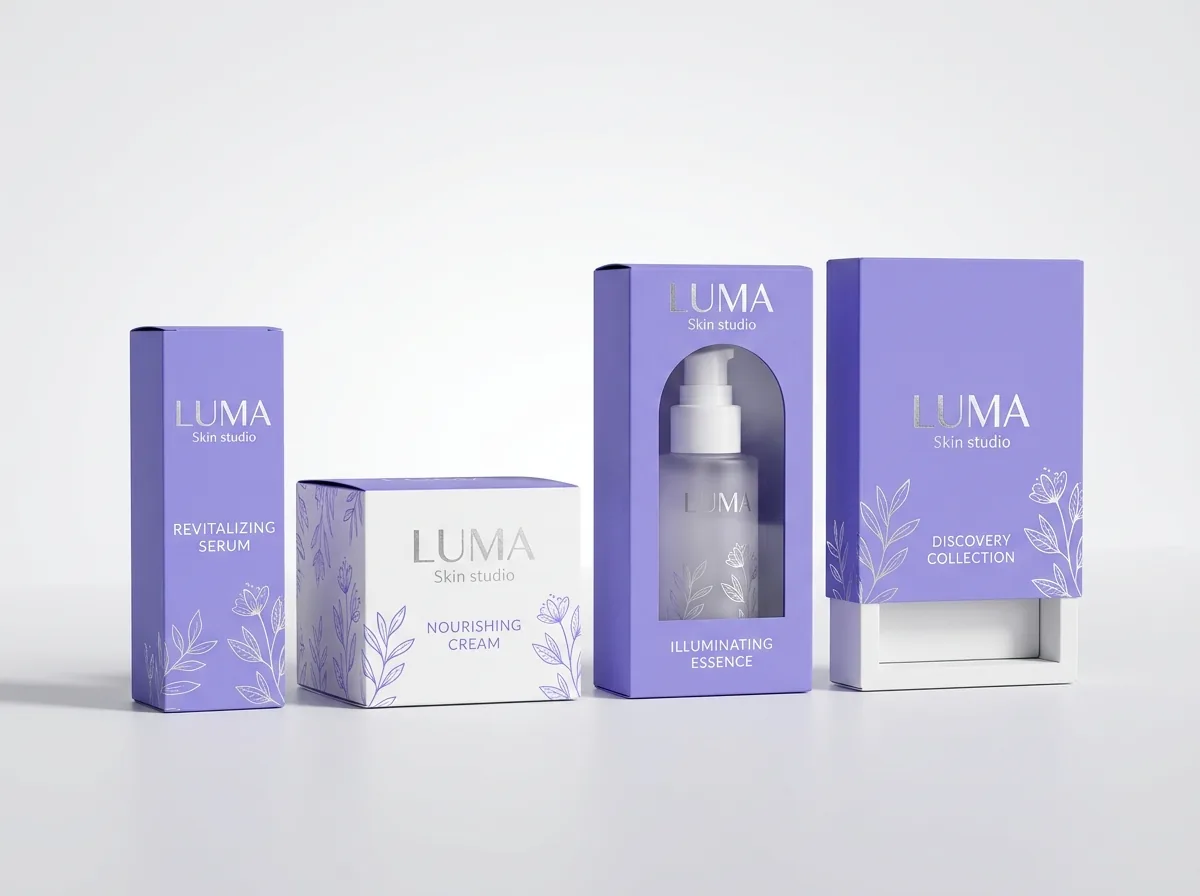
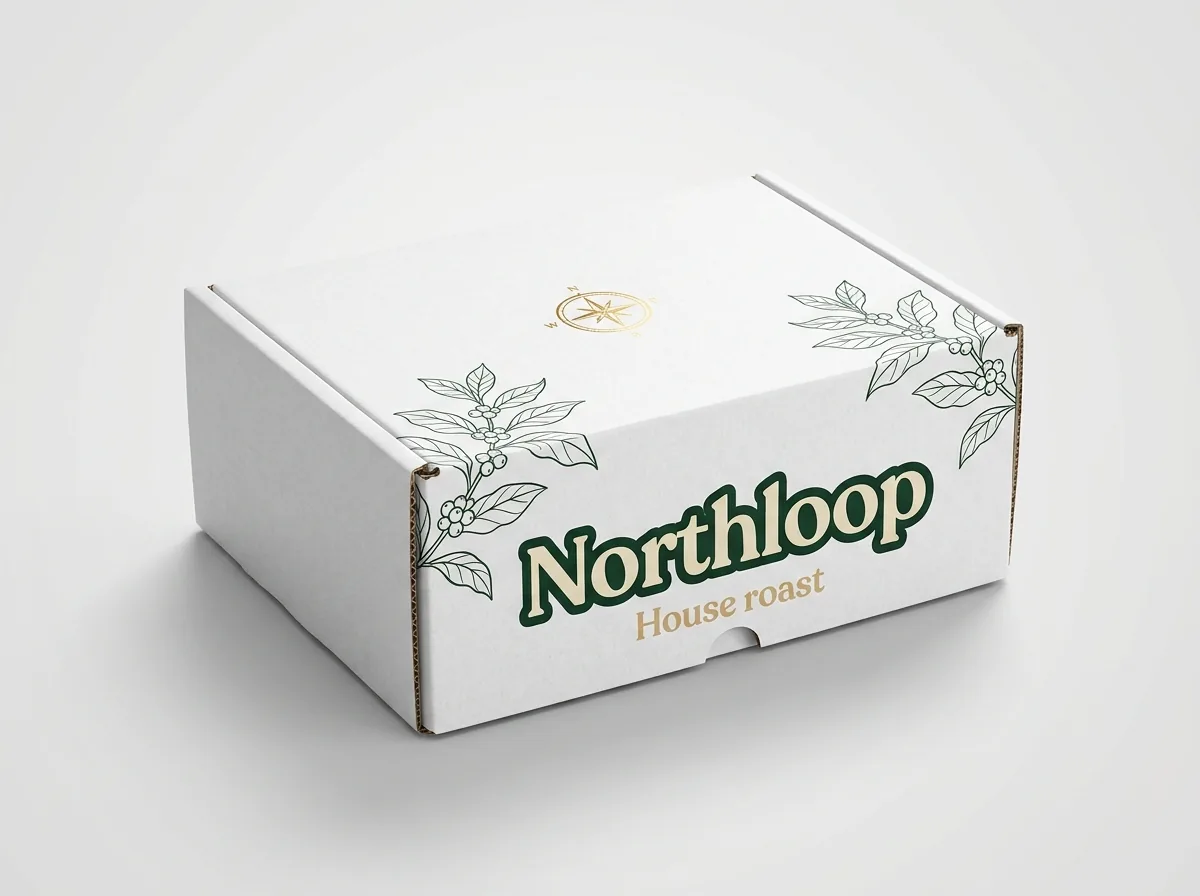
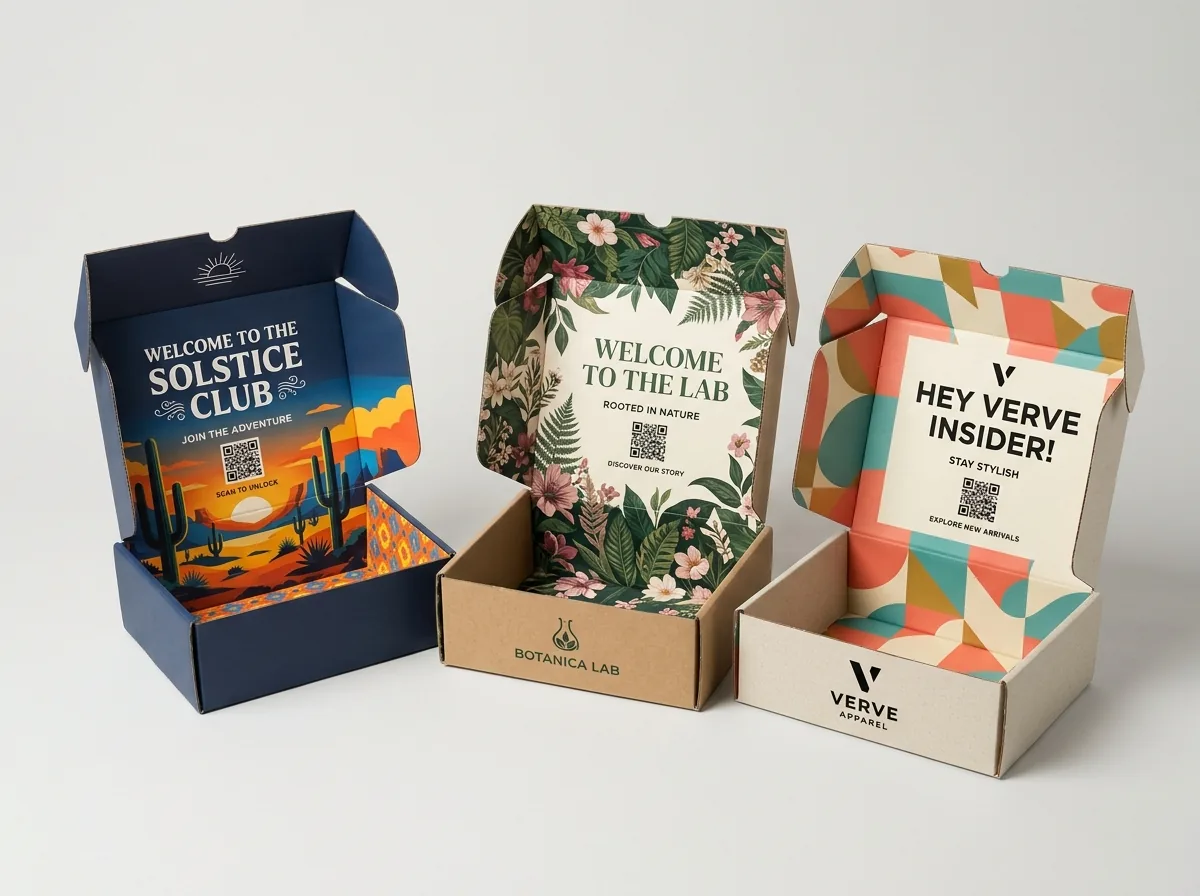
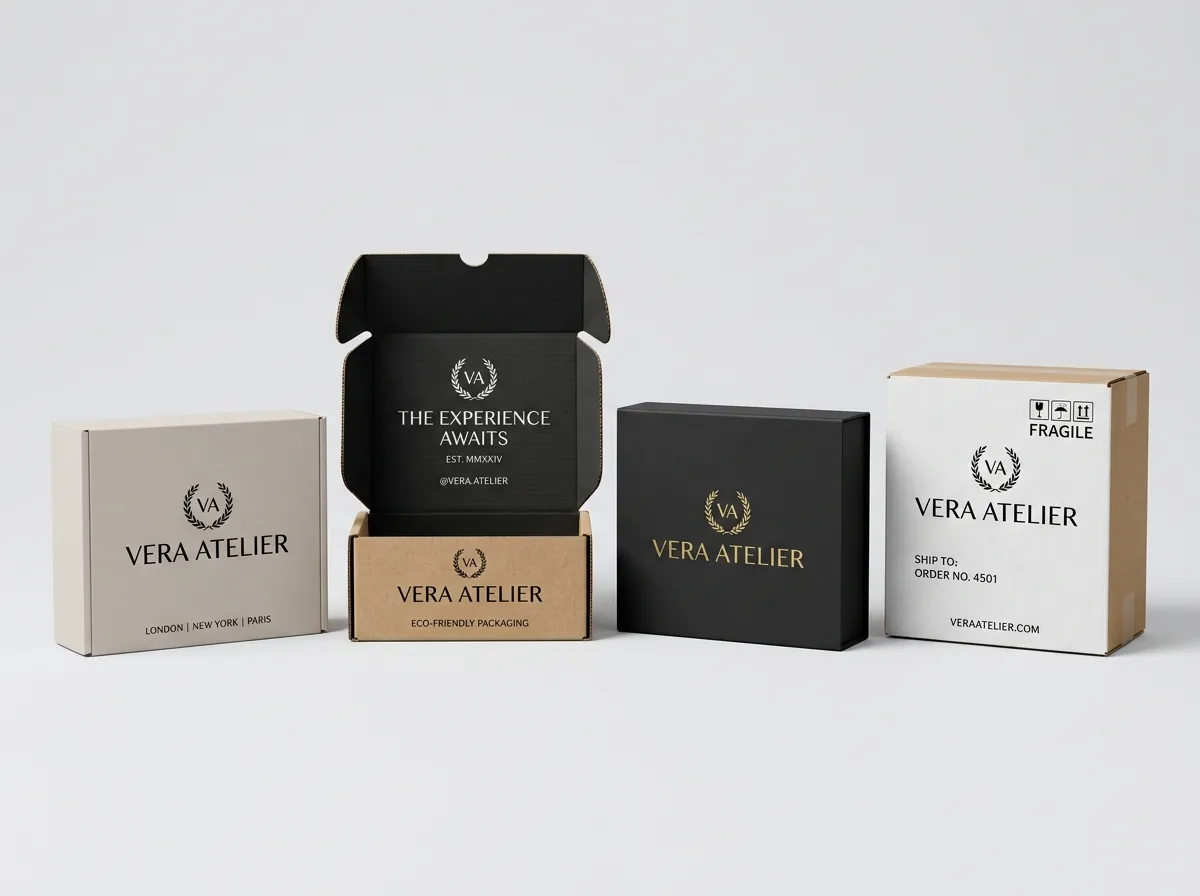
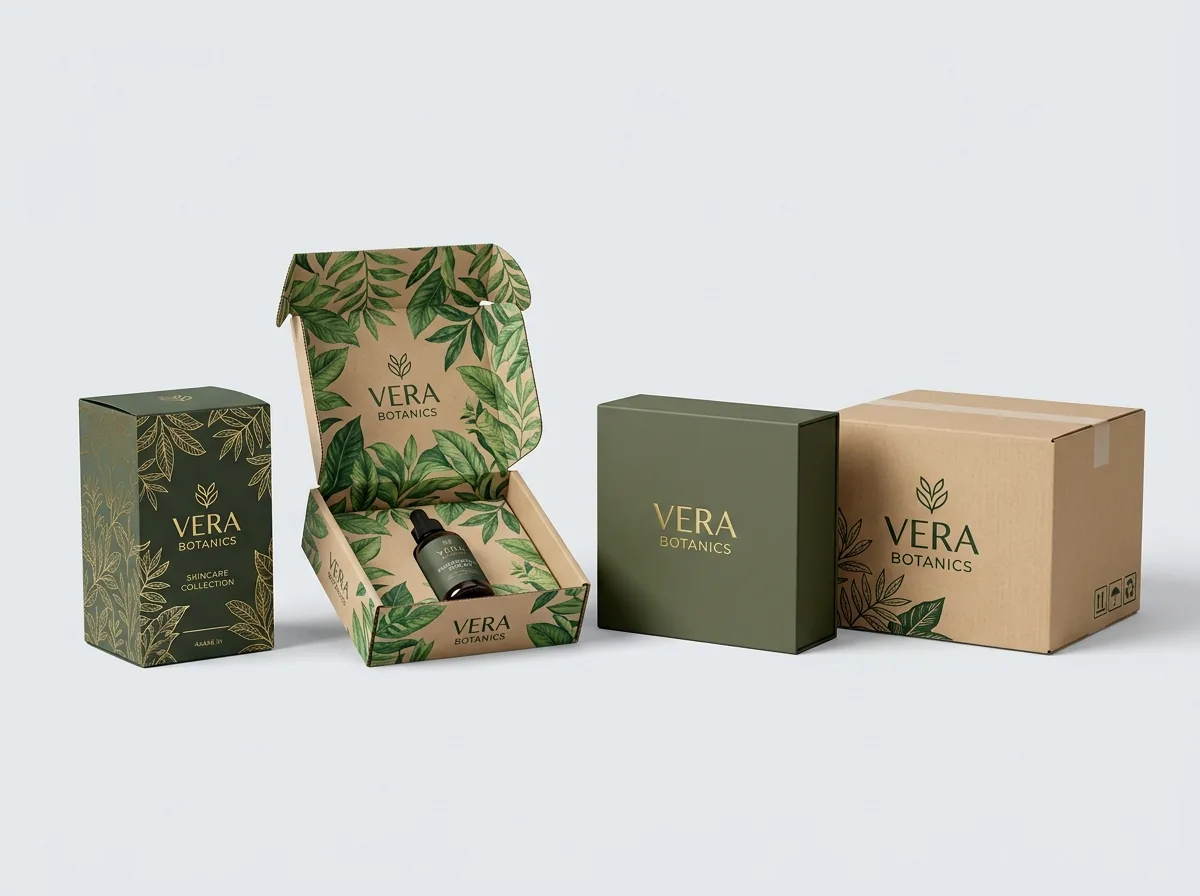
Ready to order printed boxes? Compare up to 3 quantities with a free 3D mockup.
Request a Quote →Questions about printed boxes
What bleed (+0.125 in / 3.175 mm) and safe-zone margins are required on a custom printed box dieline?
Extend all background colors, flood coats, and full-bleed photos at least +0.125 in (+3.175 mm) past all outer cut lines, and keep all important text, logos, and barcodes at least 0.125 in (3.175 mm) inside cut and fold crease lines. Every order includes a free 2D vector CAD dieline and interactive 3D proof before payment.
How should I organize Adobe Illustrator layers for cut lines, crease folds, artwork, and foil/UV masks?
Keep the locked vector DIELINE layer on top, place your CMYK/Pantone graphics on Separate ARTWORK_OUTSIDE and ARTWORK_INSIDE layers underneath, and put any Hot Foil, Emboss, or Spot UV masks on dedicated 100% vector spot-color layers set to Overprint Fill. Every order includes a free 2D vector CAD dieline and interactive 3D proof before payment.
Why must fonts be converted to vector outlines and raster images embedded at 300 DPI?
Converting fonts to vector outlines (Create Outlines) guarantees your typography never changes if a font license is missing, while 300 DPI embedded images ensure photographic graphics print razor-sharp at actual box dimensions. Every order includes a free 2D vector CAD dieline and interactive 3D proof before payment.
What if I only have a PNG logo, Canva layout, or AI-generated mockup instead of an Illustrator file?
Upload whatever you have in Step 3 of our quote form (or use our Print Your AI Design page). Our packaging designers will place your logo or rebuild your concept onto our exact vector CAD dieline and send a free 2D and 3D proof before you pay.
How do I verify that my outside and inside panels fold in the right reading orientation?
Before you pay a cent, CubitPack provides an interactive 3D digital proof alongside your flat 2D prepress proof so you can rotate the assembled box, open the lid, and verify that every panel reads right-side-up.
Still have a question? Ask a packaging specialist.
Request a Quote →Request your printed boxes quote
Tell us your size and quantities, and one dedicated account manager prepares pricing for each tier.
- Free design & AI-to-print studio + 3D mockup
- No die or plate charges · 4–5 day rush available
- Free shipping to all 50 states
- 10% off your first order
We verified +0.125 in (3.175 mm) die-cut bleed allowances, safe-zone text setbacks, 300 DPI effective resolution rules, GS1 barcode quiet-zone standards, and PDF/X prepress layer conventions against Paperboard Packaging Council (PPC) and Idealliance G7 prepress specifications. Spot something wrong? Tell us and we fix it.
Sources
What changed
- November 11, 2026: First published with 5-zone dieline map, 4-point Illustrator prepress checklist, and AI-mockup-to-dieline workflow.
More guides
New packaging guides by email
Sizes, materials and design tips. Unsubscribe anytime.