
How do you set up Outside (Side A) and Inside (Side B) artwork on a two-sided mailer box dieline?
Short answer: Place exterior graphics on Artboard 1 (Side A) and interior graphics on Artboard 2 (Side B), rotate inside-lid text 180 degrees relative to the outside lid so it reads upright when opened, and flood-color the outer side-wall roll-over flaps on Side A to match your interior cavity walls.
On this page
- How does each panel on the flat Side A and Side B dieline map to the assembled 3D mailer box
- What bleed, safety margins, and slot rules apply to two-sided corrugated dielines
- How do you prepare CMYK, Pantone, and ink-rub specs for interior flood coats
- How do you get a custom two-sided dieline and 3D unboxing proof from CubitPack
- Common mistakes
- FAQs
Request a custom quoteFree dieline & 3D mockup
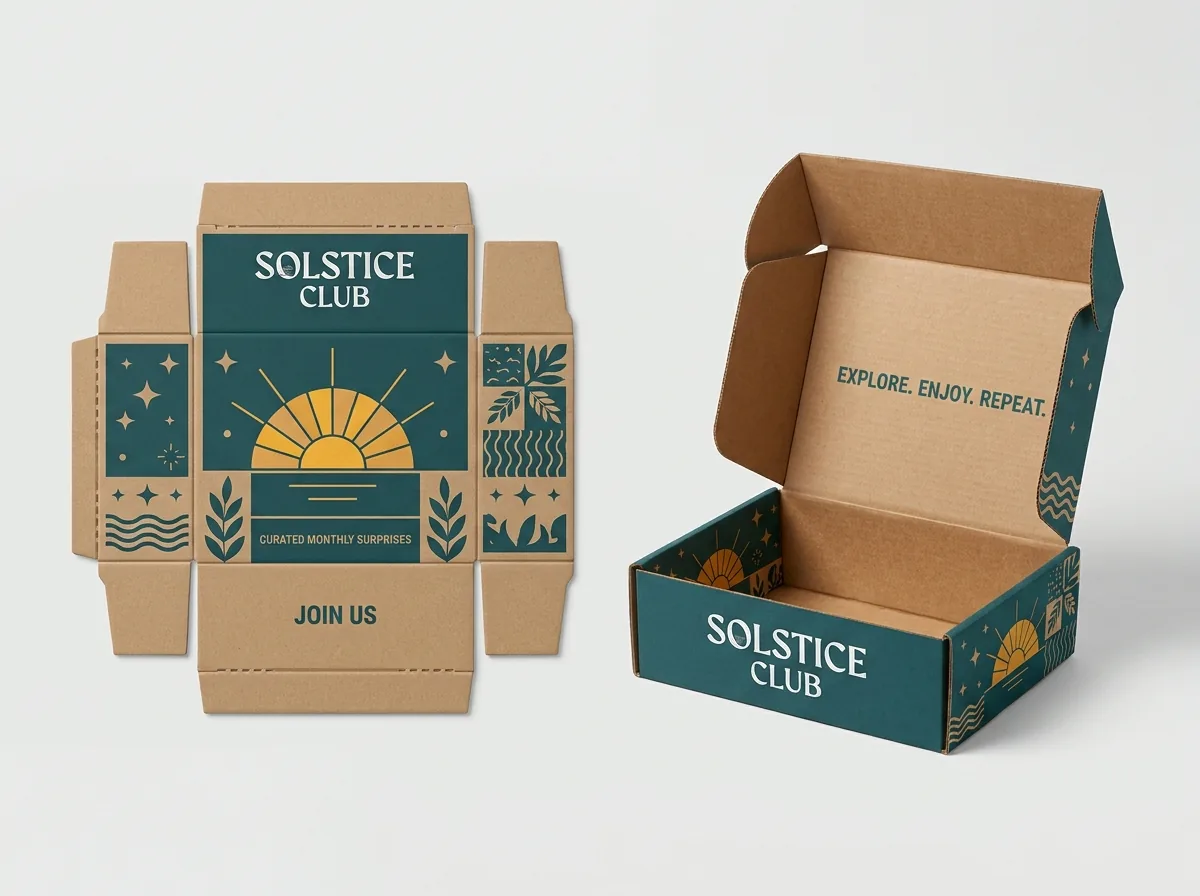
Preparing print-ready files for custom printed-inside mailer boxes requires mapping artwork across both faces of the flat FEFCO 0427 corrugated sheet before it is die-cut and folded into a 3D box. Because a roll-end tuck-front mailer hinges at the rear wall and rolls its left and right side walls 180 degrees inward into floor locking slots, two geometric rules surprise first-time designers: first, the inside lid panel on Side B must be oriented 180 degrees opposite the outside lid panel on Side A so your welcome message reads right-side up when the customer opens the lid toward themselves; second, the outer side-wall roll-over flaps located on the Side A sheet fold inside the box during assembly to become the visible left and right interior walls. When you request a quote from 250 boxes, CubitPack supplies a pre-labeled two-artboard vector CAD dieline and an interactive 3D inside/outside proof before payment.
How does each panel on the flat Side A and Side B dieline map to the assembled 3D mailer box?
When you open a two-sided vector dieline for two-sided printed mailer boxes in Adobe Illustrator, you see two mirrored flat outlines side by side: Side A (Outside View) and Side B (Inside View). Every panel on Side A sits directly behind its corresponding panel on Side B, just like the front and back of a playing card. Use this panel-by-panel mapping table to verify where every exterior and interior element lands once the box is folded for custom subscription boxes, custom PR boxes, or custom unboxing boxes: When laying out a repeating geometric monogram, floral wallpaper pattern, or diagonal stripe across the interior cavity, pay close attention to the seam where the rear hinge wall meets the inside lid and the base tray. Because the rear wall connects the bottom tray and the hinged lid in one continuous vertical sheet on Side B, any background pattern placed across those three central panels flows uninterrupted from the floor up the back wall and across the open lid ceiling without a break. By contrast, the left and right interior walls roll inward from the Side A wing flaps, so we recommend using a solid complementary brand color on those rolled side rails rather than trying to align fine diagonal stripes across a 180-degree double-rolled fold.
- Rule 1 (The 180-Degree Lid Flip): Imagine holding a flat sheet of paper in front of you and folding the top half forward 90 degrees then down 90 degrees toward you. The back side of that flap is now facing you, which is why inside-lid text must be oriented opposite the outside lid on the flat template.
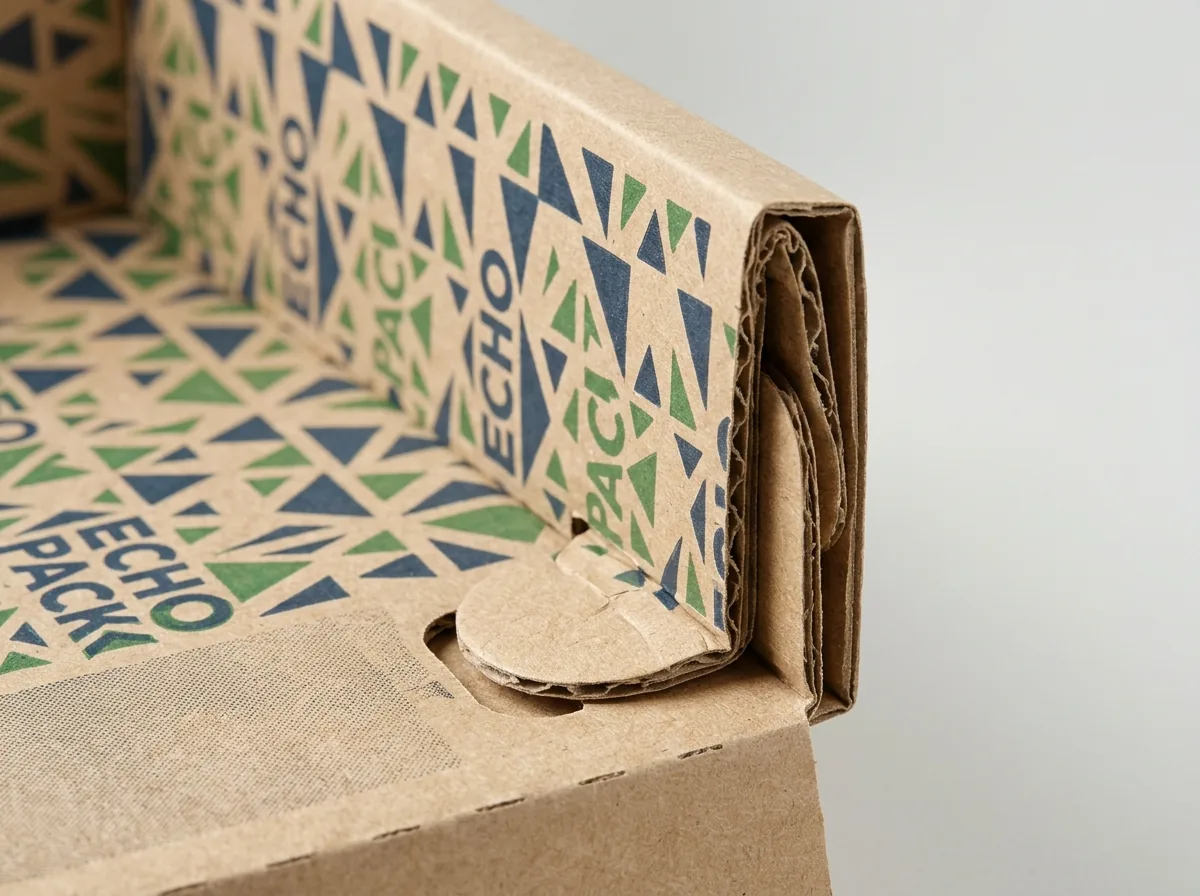
- Rule 2 (The Side-Wall Roll-Over Secret): On a FEFCO 0427 mailer, the left and right side walls are double-thick. The outer halves of those side walls sit on Side A when flat, then roll 180 degrees over the corner end flaps to lock into the floor slots, turning a Side A panel into your visible interior left and right walls.
- Rule 3 (Dust Wing Margin Clearance): The two side dust wings attached to the lid fold 90 degrees inward and rest against the outer 1.0 to 1.5 inches of the inside lid when partially open, so keep headlines and QR codes centered.
| Mailer box zone | Which artboard controls it? | Reading orientation on flat dieline | What happens during 3D assembly | Prepress design rule |
|---|---|---|---|---|
| Exterior Top Lid | Side A (Outside Sheet) | Bottom-to-top (or top-to-bottom) | Folds forward over the cavity | Center main logo; keep 0.25 in inside score lines |
| Interior Lid Billboard | Side B (Inside Sheet) | Rotated 180° opposite Outside Lid | Swings up to 105° eye-level angle | Keep text & QR codes in central 60% clear of dust wings |
| Visible Interior Side Walls | Side A (Roll-Over Flaps!) | Left & right outer wing panels on Side A | Roll 180° inward over corner flaps | Flood-color these Side A flaps to match Side B interior! |
| Interior Floor Tray | Side B (Center Base Panel) | Reads upright from front tuck lip | Forms the flat bottom stage under SKUs | Great for repeating monograms or step icons |
| Top Side Dust Wings | Side B (Inner Face of Wings) | Flank the lid panel on left and right | Tuck inside the rolled side walls | Flood-color to match the inside lid and side rails |
What bleed, safety margins, and slot rules apply to two-sided corrugated dielines?
Corrugated board passes through two separate mechanical steps after printing: laminating the printed liner sheet to the fluted medium, and platen or rotary steel-rule die-cutting. Because corrugated sheets have a normal ±1.5 mm (1/16 inch) mechanical registration tolerance between the print plate and the cutting die, following proper bleed and safety margins prevents white slivers along the edges of your custom mailer boxes
- Extend exterior and interior background colors 0.125 in to 0.25 in (3.2 to 6.0 mm) past all outer cut lines so die-cut tolerances never expose an unprinted paper edge.
- Keep critical typography, logos, and QR codes at least 0.25 in (6.0 mm) away from all dashed crease/score lines and die-cut locking slots.
- Continue your interior floor flood color right across the six rectangular bottom locking slots on Side B so no white halo surrounds the locked tabs.
- Leave glue-tab zones (if ordering a glued specialty insert) free of UV varnish or film lamination, though standard FEFCO 0427 mailers require zero glue.
How do you prepare CMYK, Pantone, and ink-rub specs for interior flood coats?
When printing heavy solid color across the interior of a mailer box that will carry folded apparel, tissue paper, or frosted cosmetic jars, prepress ink formulation and protective sealing are essential across custom apparel boxes and custom cosmetic boxes: Before exporting your final press-ready PDF for two-sided litho or digital production, toggle on Overprint Preview in Adobe Illustrator or Acrobat Pro to verify that white knock-out typography on dark interior flood coats is set to non-overprinting (knockout). Setting white text to Overprint Fill by mistake causes the white ink layer to disappear into the dark background flood on press. Our prepress team runs an automated and manual overprint check on every Side A and Side B file before generating your interactive 3D proof.
- Outline all fonts (Create Outlines) and embed high-resolution linked images before exporting your press PDF.
- Keep the dieline cut and crease lines on a separate non-printing top layer named DIELINE set to Overprint Stroke.
- Always check your 3D digital proof in both the closed and open states before approving press production.
| Prepress parameter | Recommended production spec | Why it prevents print defects |
|---|---|---|
| Color mode & spot inks | CMYK (300 DPI raster / vector) or Pantone PMS Uncoated/Coated | Prevents RGB neon shifts on pastel or saturated interior floods |
| Total Area Coverage (TAC) | Max 240%–280% total CMYK ink density on clay-coated white | Prevents slow drying, sheet blocking, and score-line cracking |
| Rich black interior flood | 60C / 40M / 40Y / 100K (never 100% in all four channels) | Delivers deep jet black without saturating paperboard fibers |
| Small text & QR codes | 100% single-channel black (0C / 0M / 0Y / 100K) or knockout white | Eliminates multi-plate registration blur on fine lines |
| Interior anti-rub coating | Aqueous satin seal or 18-micron matte BOPP lamination | Blocks ink transfer onto white garments or jars under parcel vibration |
Know your size? Compare pricing across up to 3 quantities.
Request a Quote →How do you get a custom two-sided dieline and 3D unboxing proof from CubitPack?
Combine this prepress setup guide with our comparison of kraft-outside vs all-white printed-inside mailer boxes and our creative playbook on inside-lid unboxing design, QR codes, and flood coats. You can also size your box in our box size calculator and dimensional weight calculator. Follow these four steps to launch your two-sided mailer from 250 units: When reviewing your interactive 3D digital proof before press sign-off, rotate the model through a full 360-degree turn in both the closed shipping state and the open unboxing state. Confirming that the interior lid welcome headline, side dust wings, and rolled side walls align cleanly on the 3D proof guarantees your production run arrives ready for immediate fulfillment.
- Step 1: Enter your usable Inside Dimensions (L × W × H) and quantity (from 250 boxes) in CubitPack's quote form.
- Step 2: Receive your custom two-artboard vector CAD dieline (Side A Outside + Side B Inside) with pre-marked orientation arrows and rollover callouts.
- Step 3: Place your artwork (or send us your logos and brand colors for free prepress layout help) and review your interactive 3D digital proof before payment.
- Step 4: Approve your proof for 10–14 business day production (4–5 day rush) with zero die or plate fees and free US ground shipping.

What 5 dieline setup mistakes happen most often on inside-printed mailers?
Our prepress specialists check every file before plating, catching and fixing these five common two-sided dieline mistakes
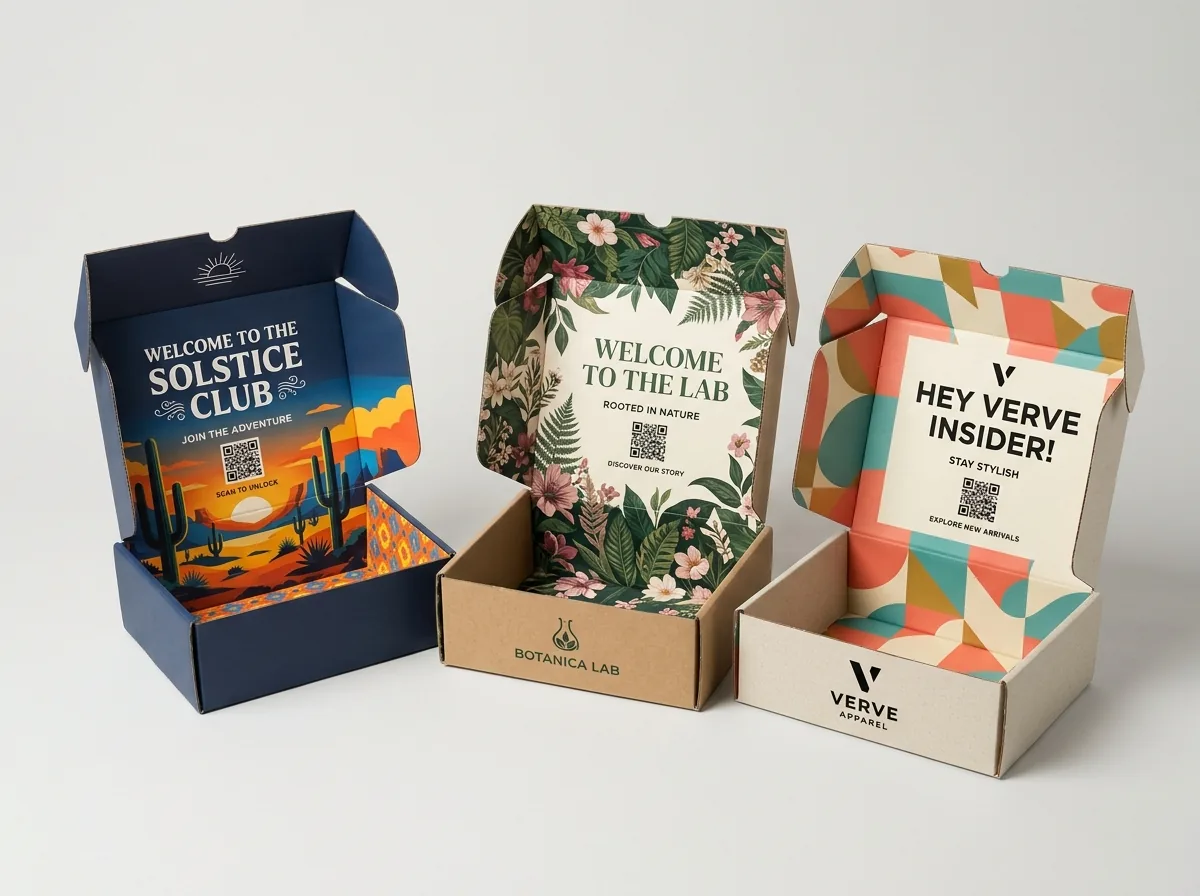
- Placing the inside-lid artwork in the same orientation as the outside lid, which makes the welcome message upside down when the lid hinges open.
- Leaving the outer side-wall roll-over flaps on Side A unprinted white while flooding Side B in color, resulting in two white side walls inside the assembled box.
- Putting QR codes or small text within 1.25 inches of the left and right edges of the inside lid where the folded dust wings cover them.
- Using four-color rich black for tiny 7 pt typography or barcodes instead of 100% K black-only.
- Forgetting to add an interior aqueous seal or matte lamination over dark interior flood coats when packing white apparel without polybags.
Packaging for this
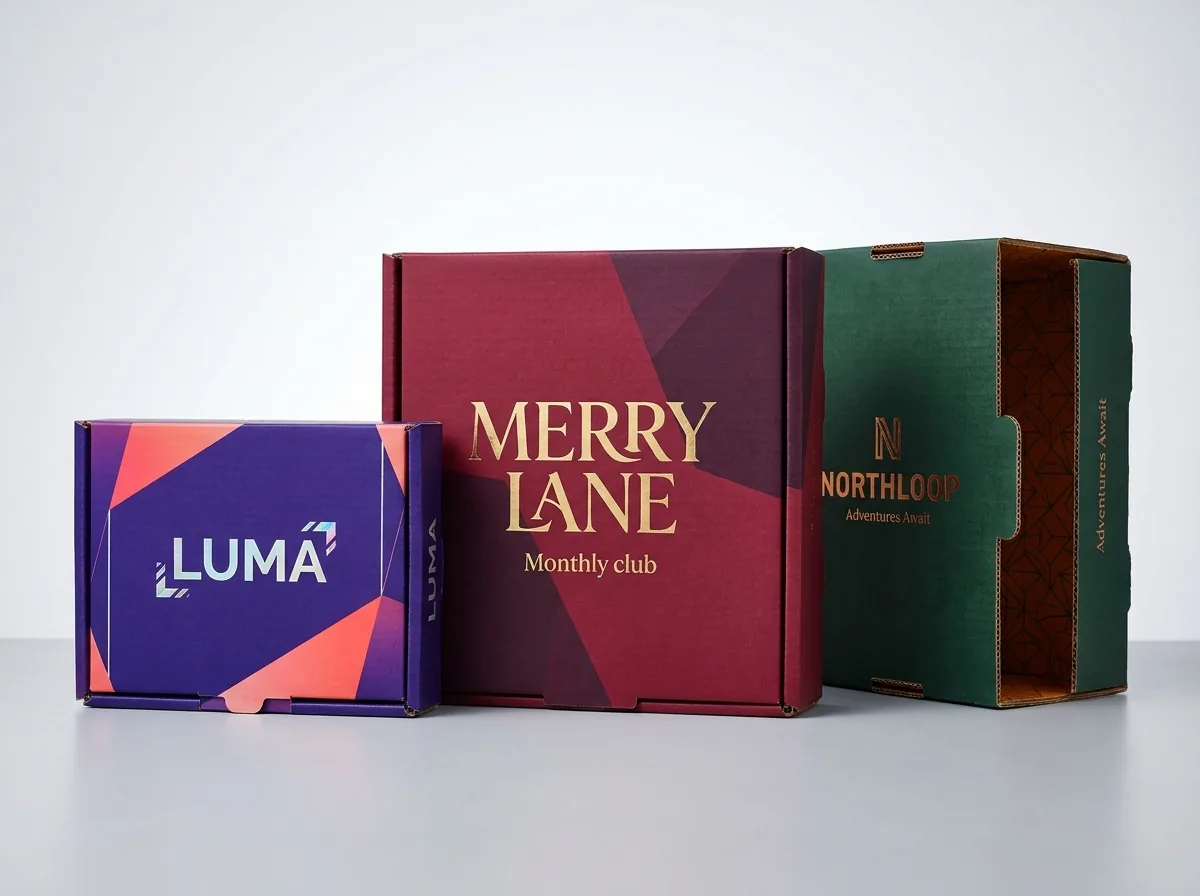

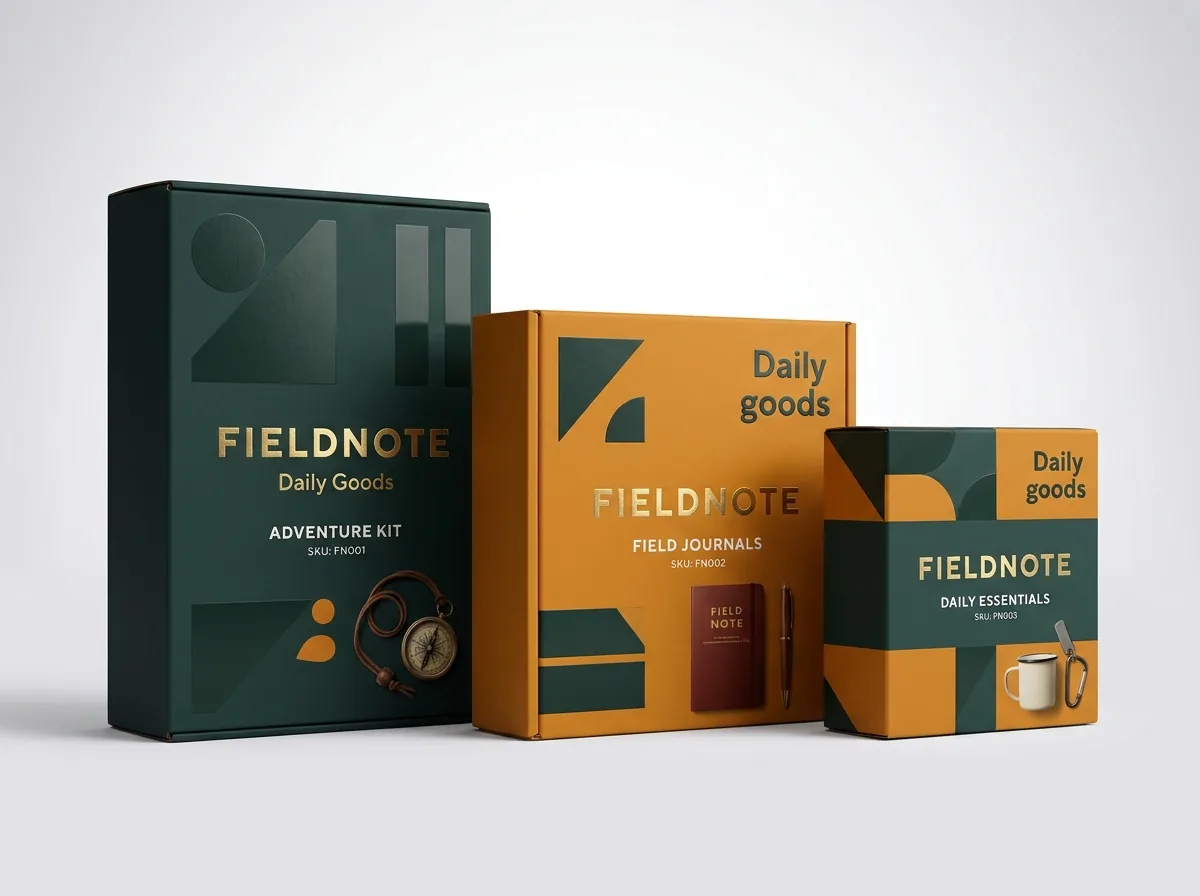
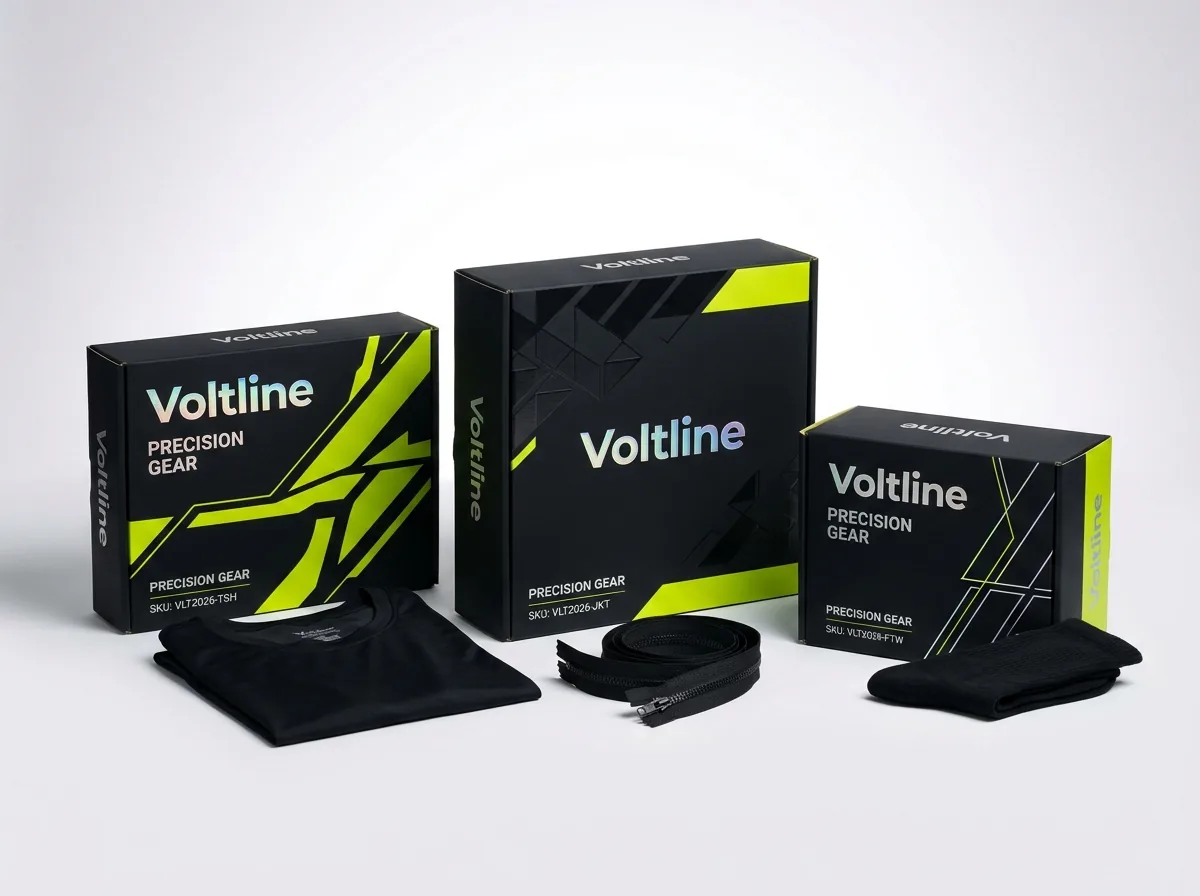
Ready to order printed inside mailer boxes? Compare up to 3 quantities with a free 3D mockup.
Request a Quote →Questions about printed inside mailer boxes
Which way should my inside-lid artwork face on a FEFCO 0427 mailer dieline?
On the flat Side B (Inside) dieline, rotate your inside-lid artwork 180 degrees opposite the outside-lid artwork. Because the lid hinges along the rear wall and swings up toward the viewer when opened, rotating it on the flat sheet makes it read right-side up in 3D.
Why are the interior left and right walls located on the Outside (Side A) dieline?
In a FEFCO 0427 roll-end tuck-front mailer, the side walls fold up 90 degrees and roll 180 degrees inward over the corner dust flaps to lock into the floor. That 180-degree roll brings the outer Side A wing flaps inside the box to form the visible left and right interior walls.
How much bleed do I need on a two-sided printed mailer box dieline?
Extend all full-bleed background colors and patterns at least 0.125 in to 0.25 in (3.2 mm to 6.0 mm) past the solid outer cut lines on both Side A and Side B, and keep text at least 0.25 in inside score lines.
Will dark ink inside the mailer box rub off onto my products?
Not when properly sealed. Whenever your interior design uses heavy dark CMYK or Pantone flood coats, we apply a clear aqueous satin seal or matte BOPP film lamination so the ink cannot rub off onto white garments, tissue paper, or cosmetic jars.
Can CubitPack set up the two-sided dieline and check my artwork orientation for free?
Yes. Every order from 250 boxes includes a free custom 2D vector CAD dieline, free prepress orientation and rollover checks, and a free interactive 3D digital proof showing both the closed outside and open inside before payment.
Still have a question? Ask a packaging specialist.
Request a Quote →Request your printed inside mailer boxes quote
Tell us your size and quantities, and one dedicated account manager prepares pricing for each tier.
- Free design & AI-to-print studio + 3D mockup
- No die or plate charges · 4–5 day rush available
- Free shipping to all 50 states
- 10% off your first order
We verified FEFCO 0427 two-sided panel geometry, 180-degree rollover side-wall mapping, die-cutting registration tolerances, and TAPPI T 830 ink rub resistance standards against FEFCO Case Code standards and Fibre Box Association (FBA) prepress guidelines. Spot something wrong? Tell us and we fix it.
Sources
What changed
- November 11, 2026: First published with Side A vs Side B panel mapping table, rollover wall rule, and two-sided prepress ink checklist.
More guides
New packaging guides by email
Sizes, materials and design tips. Unsubscribe anytime.