
How do you wrap fragile glass and ceramics with custom honeycomb paper?
Short answer: Anchor one end of custom honeycomb paper against your glass jar or ceramic piece, pull the far end lengthwise until the hexagonal cells stand fully upright at 90 degrees, roll two to three interlocking revolutions under tension, tuck the overhanging ends over the rims, and press the tail down to self-lock.
On this page
- What is the 4-step hand-pull method for wrapping jars and bottles without a dispenser
- How many layers and end-tucks do candles, wine bottles, mugs and stacked plates need
- How do you protect ceramic mug handles, stoneware stacks and box headspace
- How should you set up 1-Pantone, 2-Pantone or CMYK logo artwork for die-slit honeycomb paper
- How do you get a free repeating-logo layout and quote for custom honeycomb paper
- Common mistakes
- FAQs
Request a custom quoteFree dieline & 3D mockup
Expandable kraft honeycomb paper protects heavy glass candle tumblers, wine bottles, ceramic mugs and stoneware plates only when its staggered die-cut slits are pulled open into upright three-dimensional hexagonal cells. If a new warehouse packer rolls the sheet around a jar while the paper is still lying flat, the wrap behaves like ordinary kraft paper and offers almost zero drop absorption. Teaching your fulfillment team the proper four-step tension-pull technique takes less than two minutes and eliminates plastic bubble wrap and packing tape from your bench completely. Whether your staff pulls from pre-cut flat sheets by hand or draws continuous web from a tabletop tension dispenser, combining two to three interlocking revolutions with proper rim tucks and bold Pantone branding creates a sturdy, camera-ready cocoon that recycles right in your customer's household paper bin alongside your shipping box.
What is the 4-step hand-pull method for wrapping jars and bottles without a dispenser?
You do not need an expensive mechanical dispenser to pack with pre-cut flat sheets of expandable custom honeycomb paper. Any flat packing table gives your team enough leverage to open the 3D hexagonal mesh by hand in four smooth motions. The secret is using the weight and friction of the first half-turn around your jar as the anchor point, allowing your non-dominant hand to roll the jar forward while your dominant hand pulls the far tail of the sheet backward under steady tension. Once the packer completes the second revolution, the upright hexagonal ribs on the outer layer drop into the open cells of the inner layer and lock together automatically without a single strip of plastic tape. Even a busy seasonal packing crew can wrap a candle tumbler in under ten seconds.
- Step 1 (Anchor the leading edge): Lay the flat sheet on the bench in the stretch direction, place your jar 3 inches from the near edge, and fold the leading edge tightly over the body.
- Step 2 (Pull lengthwise to pop the cells): Hold the jar with one hand and pull the far end of the sheet backward until the hexagonal ribs stand upright at 90 degrees.
- Step 3 (Roll 2 to 3 revolutions under tension): Keep steady backward tension on the sheet as you roll the jar forward 2.5 to 3 full turns so each layer hooks into the cells below.
- Step 4 (Tuck the rims & press to lock): Fold or twist the 2-inch side overhangs into the open mouth and across the base, then press the tail firmly into the mesh (or add a logo sticker).
How many layers and end-tucks do candles, wine bottles, mugs and stacked plates need?
Different fragile silhouettes concentrate impact stress in different spots: a ceramic coffee mug breaks at the protruding C-handle, a 750 ml glass olive oil or wine bottle snaps at the narrow neck shoulder, and a stack of stoneware dinner plates cracks from center-to-center vibration. Use the packing-bench guide below to standardize how many revolutions and end-tucks your fulfillment staff apply across each product category. Posting a printed copy of this table above your kitting stations ensures seasonal staff use the exact same sheet count on every order.
| Fragile item type | Recommended flat sheet | Expanded wraps | Rim, handle or interleaf technique |
|---|---|---|---|
| 9–12 oz glass candle jar | 15 × 20 in sheet | 2.5 to 3 wraps | Tuck top overhang inside jar mouth; fold bottom tail flat under base |
| Ceramic mug with handle | 15 × 20 in sheet | 3 wraps | Thread first pass through/around handle, then wrap 2 full body layers |
| 750 ml wine / olive oil bottle | 15 × 30 in sheet or roll | 3 to 3.5 wraps | Twist top overhang tightly around narrow neck; crimp base into a ring |
| Stacked ceramic plates / bowls | 20 × 30 in sheet | Interleaf + outer wrap | Lay 2 expanded layers between each plate, then wrap the full stack twice |
| 1–4 oz glass serum / spice jars | 12 × 15 in sheet | 2 to 2.5 wraps | Roll into a snug cylinder and crimp both ends like a candy wrapper |
| Multi-jar gift mailer box | 15 × 20 in per jar | 2 wraps per jar | Wrap each jar separately so 4 layers of hex mesh separate colliding glass |
How do you protect ceramic mug handles, stoneware stacks and box headspace?
Pottery studios and home-goods brands shipping stoneware mugs and dinnerware sets face a unique challenge: rigid handles and wide flat rims cannot flex. When wrapping a ceramic mug, pull the first 6 inches of expanded honeycomb mesh and fold a double pad directly over the outer curve of the handle before rolling the mug body through two full revolutions. That extra pad keeps the handle from punching through the side wall of your custom mailer boxes or custom shipping boxes. For stacked ceramic plates or bowls, never nest bare ceramic against bare ceramic. Pull a 15 × 20 inch or 20 × 30 inch sheet open, fold it in half into a double-thick hexagonal cushion pad, and place one pad between every plate in the stack before wrapping the entire bundle around the perimeter. If any empty headspace remains at the top corners of your shipping carton, puff an extra sheet of expanded honeycomb paper into a loose 3D cloud to lock the bundle in place.
Know your size? Compare pricing across up to 3 quantities.
Request a Quote →How should you set up 1-Pantone, 2-Pantone or CMYK logo artwork for die-slit honeycomb paper?
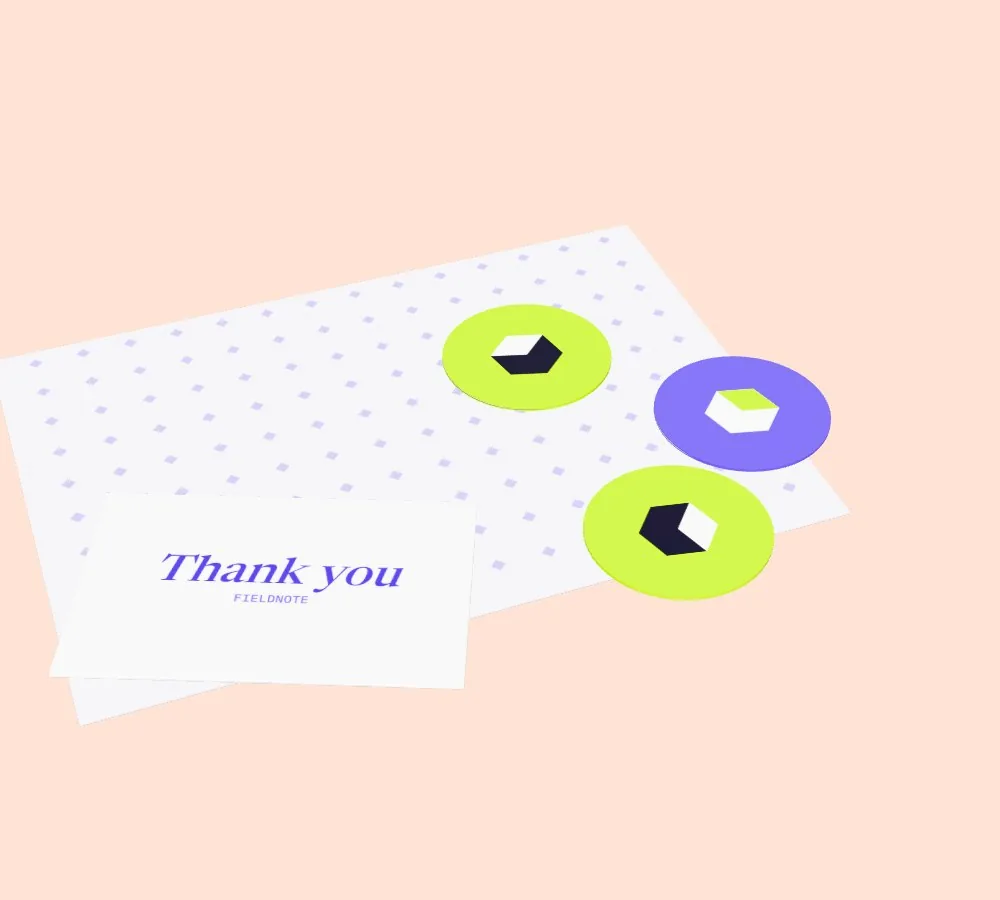
Custom honeycomb paper at CubitPack can be printed in 1 Pantone spot color, 2 Pantone spot colors or full-color CMYK. Because the flat kraft sheet is perforated with staggered rows of slits that pull open into a 3D mesh, artwork behaves differently on honeycomb paper than on flat custom tissue paper. When the paper is flat on the table, your repeating logo pattern looks continuous; once pulled open around a jar, the slits separate into angled ribs that create a textured, sculptural branding effect. For the cleanest visual recognition both flat and stretched, use bold logotypes, thick monograms or high-contrast icons rather than tiny 6 pt serif text or intricate thin hairlines. Many candle and skincare brands also apply a 2-inch round custom sticker or tuck a printed custom thank you card into the outer band of the honeycomb cocoon so fine typography and QR codes stay 100% flat.
How do you get a free repeating-logo layout and quote for custom honeycomb paper?
You do not need to calculate repeat step-and-repeat patterns yourself. Simply upload your vector logo (AI, EPS, PDF or SVG) in the quote form, pick Sheets or Rolls, select 1 Pantone, 2 Pantone or Full color (CMYK), and choose up to three quantity tiers (such as 500, 1,000, 2,500 or 5,000). Our prepress designers set up your repeating logo spacing, send a free 2D digital proof and 3D mockup before payment, and never charge cutting die or printing plate fees. Minimums depend on the product; we confirm yours with your quote. Standard production takes 10 to 14 business days (with 4 to 5 day rush available), and shipping to all 50 US states is always free.
- Upload a single vector logo and tell us your Pantone code (or let us match your brand colors for free).
- Compare pre-cut flat sheets against continuous dispenser rolls across up to 3 quantities on one quote.
- Take 10% off your first CubitPack order, backed by our US competitor price-beat guarantee.
What are the most common mistakes when wrapping glass and printing honeycomb paper?
Avoid these five packing-bench and artwork mistakes to get maximum drop protection and crisp branding
- Rolling the honeycomb sheet around a candle jar without pulling it lengthwise first, which leaves the cells flat and un-cushioned.
- Leaving the top and bottom glass rims sticking out of the wrap instead of tucking 2 inches of expanded overhang over both ends.
- Stacking ceramic plates or bowls together inside one outer honeycomb wrap without placing expanded interleaf pads between each plate.
- Designing tiny fine-line text or small QR codes directly across the die-slit perforation area where the slits pull open into 3D cells.
- Packing two wrapped glass bottles loosely inside an oversized shipping box without filling the remaining top void space.
Packaging for this
Ready to order honeycomb paper? Compare up to 3 quantities with a free 3D mockup.
Request a Quote →Questions about honeycomb paper
How do I keep pre-cut honeycomb paper sheets stretched while wrapping by hand?
Fold the first 3 inches of the flat sheet over your jar and hold it against the table with one hand to act as an anchor. Pull the far end of the sheet backward with your other hand until the hexagonal cells stand upright, then roll the jar forward under steady tension.
How many layers of honeycomb paper protect a glass candle or ceramic mug in the mail?
Wrap 2.5 to 3 full revolutions of expanded honeycomb paper around glass candle tumblers, ceramic mugs and wine bottles shipping through parcel carriers. On mugs, fold an extra double pad of expanded mesh over the handle first.
Should I seal wrapped honeycomb paper with a custom logo sticker?
While two to three layers of stretched honeycomb paper hook onto themselves mechanically and stay shut without tape, pressing a 2-inch round or oval custom logo sticker over the outer seam gives customers a clean focal point as they open the box.
What ink colors look best printed on natural brown vs white kraft honeycomb paper?
On natural brown kraft honeycomb, bold dark Pantone inks (charcoal black, espresso, forest green, navy or burgundy) and opaque white ink read sharpest. On bleached white honeycomb paper, any pastel, bright or metallic-look Pantone color pops cleanly.
Can I use expanded honeycomb paper as box void fill as well as a product wrap?
Yes. After wrapping your jars or boxes in 2 to 3 snug revolutions, you can pull an extra sheet of custom honeycomb paper open into a loose 3D web and tuck it into the top or side corners of your shipping carton to block any movement.
Do you charge plate fees for 1-Pantone or 2-Pantone printing on honeycomb paper?
No. CubitPack never charges cutting die or printing plate fees on any custom paper extra. Our designers create your repeating logo proof and 3D mockup for free before you pay a cent.
Still have a question? Ask a packaging specialist.
Request a Quote →Request your honeycomb paper quote
Tell us your size and quantities, and one dedicated account manager prepares pricing for each tier.
- Free design & AI-to-print studio + 3D mockup
- No die or plate charges · 4–5 day rush available
- Free shipping to all 50 states
- 10% off your first order
The 4-step hand-tension wrapping technique, product revolution counts (2.5 to 3.5 wraps) and die-slit artwork guidelines in this guide come from ISTA fragile-item packing standards and CubitPack prepress benchmarks. A packaging specialist verified every step. Spot an error? Tell us and we will fix it.
Sources
What changed
- October 22, 2026: First published.
- October 22, 2026: Updated specifications, terminology, and verified source links.
More guides
New packaging guides by email
Sizes, materials and design tips. Unsubscribe anytime.