
How do I size custom honeycomb inserts for glass jars, candles and bottles?
Short answer: Size the outer tray 1/16 to 1/8 inch smaller than your box's inside length and width, cut each pocket to exact product size or +1/32 inch clearance, and keep at least 0.625 to 0.75 inches of wall width around every cutout on custom honeycomb inserts.

On this page
- What panel thickness and wall buffer do glass jars, candles and bottles need
- Why do honeycomb inserts require a 0.625 to 0.75 inch minimum bridge wall
- Should honeycomb cavities be cut to exact size or +1/32 inch slip fit
- How do multi-layer honeycomb panels create stepped depths and bottom protection
- What measurements should I send CubitPack to engineer my honeycomb insert
- Common mistakes
- FAQs
Request a custom quoteFree dieline & 3D mockup
Sizing a structural kraft honeycomb insert differs from sizing stretchy polyethylene foam or thin folding paperboard in two important ways: cavity edge clearance and minimum divider wall width. Inside every honeycomb panel sits a grid of vertical six-sided kraft paper cells glued between two flat facing linerboards, and we confirm the exact cell size with your quote. Because those flat top and bottom linerboards do not stretch elastically like foam, cutting a cavity narrower than a glass candle jar can cause the firm paper edge to catch on your bottle label. Instead, we engineer honeycomb pockets at exact size (0.0 in) for a snug friction rub on bare glass or +1/32 inch (+0.8 mm) slip fit over paper-labeled jars, while keeping at least 0.625 to 0.75 inches of bridge width between wells so at least two complete hexagonal cells support every divider wall.
What panel thickness and wall buffer do glass jars, candles and bottles need?
Structural honeycomb boards are manufactured in standard panel thicknesses - commonly 10 mm (0.4 in), 15 mm (0.6 in), 20 mm (0.8 in), 25 mm (1.0 in), 30 mm (1.2 in) and 40 mm (1.6 in) - and can be laminated in two or three layers to reach any custom depth. To stop a heavy 12 oz glass candle tumbler or 750 ml spirit bottle from cracking during a 30-inch parcel drop, you need both a perimeter hex-cell buffer around the sides and a solid bottom pad underneath. Use the reference table below to benchmark your outer tray dimensions, panel stack depth and bridge spacing before requesting a quote on custom die-cut honeycomb inserts. Our design team verifyies these clearances on your free CAD dieline and 3D mockup.
| Product kit & weight | Suggested tray size & cavities | Panel depth, base pad & bridge |
|---|---|---|
| 30 ml serum dropper bottle (0.25 lb) | 4.5 × 3 × 1.5 in · 1 cavity | 0.8 in cutout layer + 0.4 in base · 0.625 in wall |
| 9 oz to 12 oz glass candle jar (1.2 lbs) | 5 × 5 × 4 in · 1 upright cradle | 1.5 to 2.0 in collar + 0.4 in base · 0.75 in wall |
| Candle jar + matchbox duo (1.5 lbs) | 7.5 × 5 × 3.5 in · 2 stepped wells | 2 stepped layers + 0.4 in base · 0.625 in bridge |
| 3-piece glass skincare set (1.8 lbs) | 9 × 6.5 × 2.5 in · 3 cavities | 1.2 in stepped stack + 0.4 in base · 0.625 in bridge |
| Two 750 ml glass bottles (6.0 lbs) | 10 × 9 × 4 in · 2 deep cradles | 2.5 in multi-layer + 0.6 in base · 0.875 in bridge |
| 4-jar gourmet honey or sauce pack (4.5 lbs) | 10 × 10 × 3.5 in · 4 grid wells | 2.0 in collar + 0.5 in base · 0.75 in bridge |
Why do honeycomb inserts require a 0.625 to 0.75 inch minimum bridge wall?
On a homogeneous solid foam sheet or a thin 20 pt folding carton insert, a 0.375 inch (9.5 mm) divider bridge is often wide enough for light items. Structural honeycomb board, however, derives 90% of its vertical and lateral stiffness from the closed six-sided geometry of its internal kraft core cells. When a flat-bed steel-rule die punches two cavities close together, the blade slices right through whatever hexagonal paper cells lie along the cut path. If the bridge wall between two cutouts is only 0.25 or 0.375 inches wide, the blade can sever both walls of a single hex cell, leaving a narrow strip of top and bottom linerboard with an unbonded half-cell flapping in the middle. By keeping inter-cavity bridges at 0.625 inches (16 mm) minimum for small cosmetics and 0.75 to 1.0 inch (19 to 25 mm) for heavy candle jars and bottles, our CAD engineers guarantee that complete, glued hexagonal columns stand intact between every product.
- Cosmetic droppers & vials (< 0.5 lb): minimum 0.625 in bridge wall and 0.625 in outer perimeter border.
- Candle tumblers & honey jars (1 to 3 lbs): minimum 0.75 in bridge wall and 0.75 in outer perimeter border.
- 750 ml wine/olive oil bottles & appliances (3+ lbs): 0.875 to 1.25 in perimeter wall plus top pad.
- Outer tray-to-box clearance: size the insert 1/16 to 1/8 in smaller than the true inside box floor.
Should honeycomb cavities be cut to exact size or +1/32 inch slip fit?
When pressing a jar into closed-cell EPE or EVA foam, the foam wall compresses outward by 1/16 inch and springs back. Kraft honeycomb behaves differently: while the upright hexagonal cells have high flatwise crush resistance from top to bottom, the horizontal top and bottom facing liners are stiff paperboard. If you cut a circular hole 1/16 inch smaller than a glass jar, forcing the jar through the rigid linerboard opening will either tear the paper liner or scrape the ink off your custom jar labels. For smooth, unlabelled glass tumblers, ceramic mugs or metal tins where you want a firm friction hold, we cut the honeycomb pocket to the exact 0.0 inch product dimension (or add small semicircular friction tabs along the inner wall that flex inward slightly when the jar is pushed down). For bottles and jars wearing matte paper labels, foil stamping or shrink sleeves, we add a +1/32 inch (+0.8 mm) slip-fit allowance so the container drops into the recess without scuffing.
Know your size? Compare pricing across up to 3 quantities.
Request a Quote →How do multi-layer honeycomb panels create stepped depths and bottom protection?
Just like laminated foam planks, structural honeycomb boards can be stacked and bonded with water-based adhesive to create multi-depth trays. First, never cut a heavy glass cavity all the way through to the bottom of a single panel and rest the jar directly on the outer box floor. Always place a solid uncut base layer - either a 0.4 inch honeycomb pad or a double-wall corrugated pad - underneath the die-cut cavity layer so bottom drops are cushioned. Second, if your kit combines a 2.2 inch thick glass candle jar with a 1.0 inch thick box of matches and a 0.6 inch brass wick trimmer inside a custom mailer box with inserts, we bond two or three die-cut honeycomb panels of graduated thicknesses. Each item rests on its own stepped paper shelf so all three tops sit level when the box opens.
What measurements should I send CubitPack to engineer my honeycomb insert?
You do not need to draw a CAD dieline yourself - our structural design team engineers your custom honeycomb dieline, digital proof and 3D mockup for free before payment. To give our design team everything they need on the first pass, measure your assembled outer box interior and each individual item with digital calipers or a rigid steel ruler. If you are ordering your outer customkraft mailer boxes or custom shipping boxes from CubitPack at the same time, simply give us your product dimensions and weights and tell us whether you want the items packed flat on their backs or standing upright. Our team will size both the honeycomb insert and the outer box together so the tray slides in with zero rattle.
- Box interior (if existing): measure inside Length × Width × Depth on a fully folded box sample.
- Product dimensions: measure length, width and height (plus neck and cap diameters on bottles).
- Item weights: note the weight of each filled jar or device so we can size the bottom pad and perimeter buffer.
- Thumb notches: tell us if items sit flush with the top deck so we add 0.75 in semicircular finger cutouts.
What are the most common honeycomb insert sizing mistakes?
Almost every honeycomb fit issue comes from treating rigid paperboard liners like stretchy foam or cutting divider walls narrower than a single hex cell. Avoid these five mistakes
- Specifying a 0.25 inch divider bridge between two heavy glass jars, which slices through a single hex cell and leaves a weak, unbonded paper strip.
- Applying a -1/16 inch foam-style pinch fit to a honeycomb pocket that holds a paper-labeled bottle, causing the stiff kraft liner edge to peel the label.
- Cutting a through-hole in a single honeycomb pad with no bottom cushion pad underneath, leaving the bottom of the glass jar exposed to flat drops.
- Measuring the outside width of a roll-end corrugated mailer box instead of the narrower inside width between the double-folded side walls.
- Omitting 0.75 inch semicircular thumb notches beside flush-mounted candle or skincare jars so customers cannot grip the glass.
Packaging for this


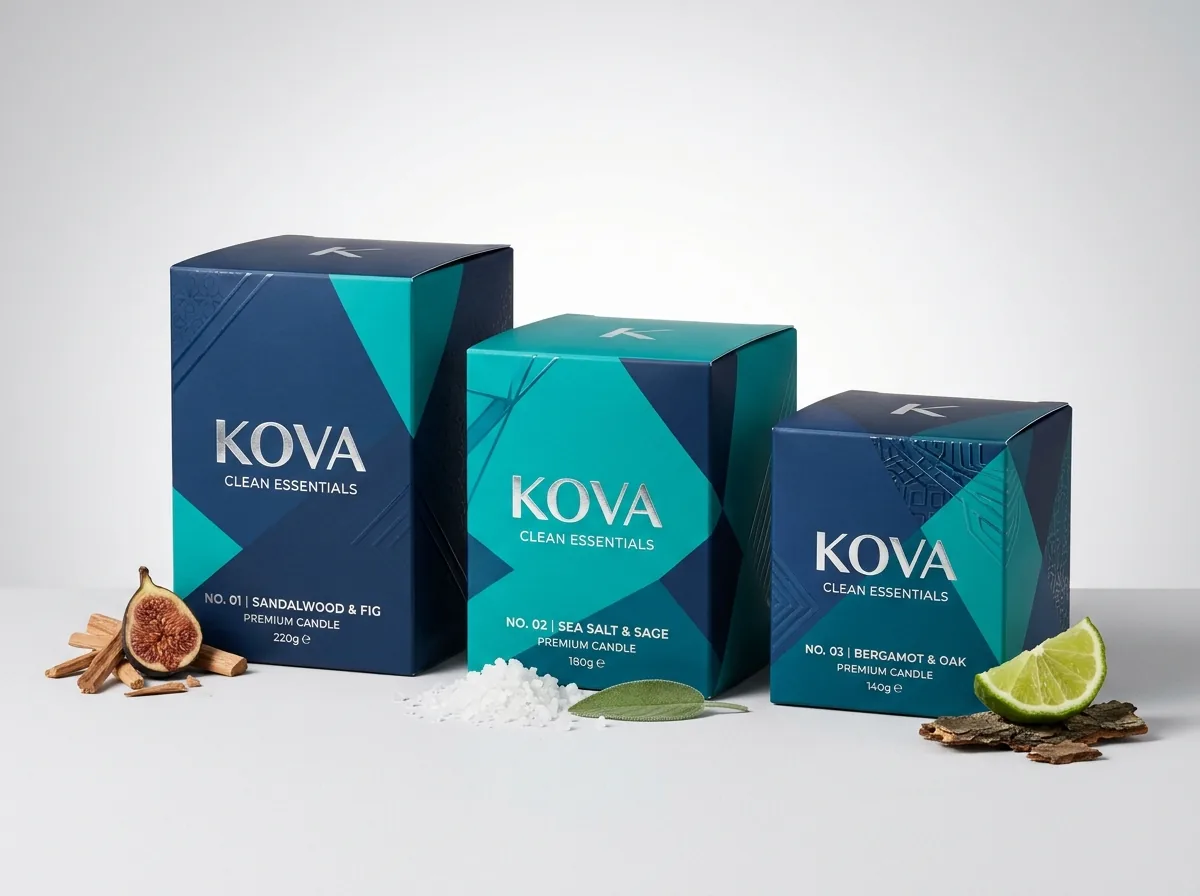

Ready to order honeycomb inserts? Compare up to 3 quantities with a free 3D mockup.
Request a Quote →Questions about honeycomb inserts
How thick are standard structural kraft honeycomb panels for box inserts?
Structural honeycomb panels typically come in thicknesses from 0.4 inches (10 mm) up to 1.6+ inches (40 mm), and we can bond multiple die-cut layers together to build deeper bottle collars or stepped trays.
Why does a honeycomb insert need a wider bridge wall than a cardboard insert?
A folding paperboard insert gets its strength from folded vertical flaps, whereas a honeycomb pad relies on the internal six-sided kraft cells glued between the top and bottom liners. A 0.625 to 0.75 inch bridge ensures whole, unbroken hex cells support the divider wall.
How do you keep a glass bottle from sliding out of a honeycomb insert without foam pinch fit?
We use three techniques: cutting the pocket to exact size on bare glass areas (like the bottle base and neck), adding small die-cut paper friction tabs that flex inward against the container, or pairing the base tray with a top pad under the box lid.
Can I send my glass jars or candle vessels to CubitPack for custom test-fitting?
Yes. For tapered candle tumblers, custom-molded perfume flacons or multi-item kits, sending physical product samples lets our CAD engineers dial in the exact cutout contour and test-fit a physical honeycomb prototype before full production.
How much smaller than the inside of my mailer box should a honeycomb insert be?
We size the outer Length × Width of a honeycomb insert 1/16 inch smaller than the interior of a rigid box or folding carton, and 1/8 inch smaller than the interior of a corrugated mailer or shipping box so it drops in smoothly.
Do you charge extra die fees for multi-cavity or stepped honeycomb inserts?
No. CubitPack never charges cutting die or printing plate fees, and our structural engineering team creates your custom CAD dieline, digital proof and 3D mockup for free before payment.
Still have a question? Ask a packaging specialist.
Request a Quote →Request your honeycomb inserts quote
Tell us your size and quantities, and one dedicated account manager prepares pricing for each tier.
- Free design & AI-to-print studio + 3D mockup
- No die or plate charges · 4–5 day rush available
- Free shipping to all 50 states
- 10% off your first order
The panel thickness, 0.625 to 0.75 inch hex-cell bridge width and +1/32 inch slip-fit tolerance guidelines in this post follow TAPPI paper honeycomb standards and ISTA parcel drop practices, verified by a CubitPack packaging specialist. Spot an error? Tell us and we will fix it.
Sources
What changed
- October 22, 2026: First published.
- October 22, 2026: Updated specifications, terminology, and verified source links.
More guides
New packaging guides by email
Sizes, materials and design tips. Unsubscribe anytime.