
How do you set up cut lines, bleed and corner radius for custom shape labels?
Short answer: Place your vector cut path on its own separate layer, extend background colors ⅛ inch outside that path for bleed, keep text ⅛ inch inside the safe zone, and round all corners to at least a 1/16 inch radius when ordering custom shape labels on rolls or sheets.
On this page
- What are the three boundary lines every custom shape label needs
- What are the prepress specs for custom shape roll and sheet labels
- Why does corner radius matter for roll matrix stripping and bottle adhesion
- How do you connect floating letters, stars or splashes into one label
- Can CubitPack create the custom cut line from my PNG or AI design
- Common mistakes
- FAQs
Request a custom quoteFree dieline & 3D mockup
A clean custom shape label starts with three concentric paths in your artwork file: the outer bleed line (+⅛ inch outside the cut), the exact vector cut line (dieline), and the inner safe margin (-⅛ inch inside the cut). Unlike a digital screen graphic, a physical label is kiss-cut out of a continuous web of paper, film or foil, and the surrounding waste material (called the matrix) is stripped away at high speed before the roll is wound. If your vector cut path has razor-sharp needle points, deep hair-thin V-notches or hundreds of jagged anchor nodes, the waste matrix can snag and tear during stripping, or sharp tips can lift off curved bottles later. Smoothing your cut path with a minimum 1/16 inch (0.0625 in) corner radius solves both problems. And if you do not use vector software, CubitPack draws the cut line and bleed for free.
What are the three boundary lines every custom shape label needs?
Whether you build your artwork in Adobe Illustrator, Affinity Designer or ask our prepress team to set it up for you, every custom die-cut shape label relies on three parallel paths that follow the contour of your shape. First is the vector cut line (often named CutContour or Dieline in a 100% magenta spot color on its own top layer), which tells the blade or laser the exact finished shape of the label. Second is the ⅛ inch (0.125 in) outer bleed: if your label has a colored, black or photographic background, that background must continue ⅛ inch past the cut line on all curves so tiny press shifts never expose an unprinted white sliver. Third is the ⅛ inch inner safe zone: keep all lettering, barcodes and border lines at least ⅛ inch inside the cut path so nothing ever gets clipped.
- Vector Cut Line (0 in): a single closed vector stroke on its own layer marking the exact finished outline.
- Outer Bleed Zone (+0.125 in / ⅛ in): extend background color, patterns or full-bleed foil ⅛ inch past every curve.
- Inner Safe Margin (-0.125 in / ⅛ in): keep all text, logos, QR codes and keylines ⅛ inch inside the cut path.
- Parallel border rule: if you print a decorative border ring that traces the cut shape, make the border at least ⅛ inch thick and inset it ⅛ inch from the edge.
What are the prepress specs for custom shape roll and sheet labels?
Use the specification table below as a quick pre-flight checklist before uploading your file. Remember that if you only have a PNG, JPEG, Canva export or AI-generated image, you can skip the technical setup completely: our designers build the vector cut path, bleed and 3D mockup for free before you pay. Each spec below is tuned so your labels strip cleanly on the press and stay flat on curved jars, bottles and flexible pouches.
| Prepress element | Recommended spec | Why it matters on the press & container |
|---|---|---|
| Outer bleed extension | 0.125 in (⅛ in) past cut line | Prevents unprinted white edges along curves and notches |
| Inner safe margin | 0.125 in (⅛ in) inside cut line | Protects small ingredient text and logos from blade drift |
| Minimum outer corner radius | 0.0625 in (1/16 in); ⅛ in on tight bottles | Stops sharp points from catching fingers or lifting on curved glass |
| Minimum inner notch radius | 0.0625 in (1/16 in) rounded valley | Prevents the waste matrix from tearing during high-speed roll stripping |
| Minimum bridge / neck width | 0.25 in to 0.375 in minimum width | Keeps narrow tails or connecting bars from stretching when peeled |
| Color mode & resolution | CMYK or Pantone vectors; 300 DPI images | Ensures crisp 6 pt text and guaranteed Pantone color matching |
Why does corner radius matter for roll matrix stripping and bottle adhesion?
When we produce custom roll labels, the press kiss-cuts your shape through the face stock and then pulls away the continuous web of waste material (the matrix) around your labels at high speed. If your cut line includes a razor-sharp inward V-notch or a needle-thin star point, the waste matrix can catch in that sharp corner and snap, or pull the tip of your label up off the silicone liner. Adding a tiny 1/16 inch (0.0625 in) to 1/8 inch (0.125 in) corner radius to every outer tip and inner valley transforms a fragile cut path into a production-friendly contour that strips cleanly on the press and peels smoothly in your hands. Even better, rounded tips resist corner memory when wrapped around narrow 1 oz dropper bottles, lip balm tubes, hot sauce necks or spice jars, so the outer edges never flag or lift over time even in humid kitchens or bathrooms.
Know your size? Compare pricing across up to 3 quantities.
Request a Quote →How do you connect floating letters, stars or splashes into one label?
Wordmark logos and illustrated mascots often include separate disconnected pieces, such as the dot over an 'i', a floating TM symbol, five separate stars above a crest, or decorative water splashes. Because product labels are peeled from a roll or sheet without transfer tape, any disconnected island would be left behind on the liner unless you unite the design inside a single closed cut path. You have two clean ways to unite floating elements. On white, kraft or metallic custom foil labels stocks, create an offset halo path (using Object > Path > Offset Path in Illustrator at 0.125 in to 0.1875 in with Round Joins) that flows smoothly around the whole lockup like a cloud or badge. If two islands sit slightly too far apart for a ⅛ inch offset to touch, increase the offset slightly or add a subtle connecting ribbon or background arch behind them. Or, if you want the letters and stars to look completely freestanding on glass, print the design on our custom clear labels stock with a simple rounded-arch or oval cut path around the group.
Can CubitPack create the custom cut line from my PNG or AI design?
You never need to hire a freelancer or learn vector software just to order custom shape labels. Every CubitPack order includes free design help and free custom dieline setup. Upload whatever file you have in Step 3 of the quote form (whether it is a layered Illustrator PDF, a flat Canva PNG, or an illustration you made with an AI tool; see our print your AI design service) and tell us what shape you want. Our prepress specialists trace a smooth, peel-ready vector cut line around your artwork, extend the ⅛ inch background bleed, check that all corner radii meet the 1/16 inch stripping standard, convert colors to CMYK or your exact Pantone codes, and send back a flat digital proof plus a 3D mockup on your container. You review and approve every curve before you pay a cent, and if you want to tweak the arch height or border thickness on the proof, revisions are free.
- Have a vector PDF/AI file? Put your cut path on a separate layer named CutContour and we will pre-flight it for free.
- Only have a PNG, JPG or Canva file? Upload it as-is and our designers draw the smooth vector dieline and bleed at no charge.
- Made your art with AI? We upscale the image, clean up text and build the custom cut path for free.
What are the most common custom shape cut-line and bleed mistakes?
Most prepress delays happen when a cut line is flattened into the artwork layer or drawn with sharp unpeelable notches that snag on the press. Avoid these five common prepress mistakes when preparing your file for production
- Flattening the pink cut line into the printable artwork layer instead of keeping it on its own separate vector layer (or letting our prepress team draw it for you).
- Clipping background color right at the cut path with zero bleed, which exposes unprinted white paper slivers along curved edges.
- Leaving disconnected floating letters, punctuation marks or stars outside the main cut path without an offset halo bridge or clear label stock.
- Using sharp 0-radius needle points or deep hairline V-cuts that snag during high-speed roll matrix stripping and lift on curved jars and bottles.
- Creating interior punch-outs (holes inside the middle of a label) where waste plugs stay stuck instead of using clear stock.
Find your label size
Suggested label size: 9⅛ × 2¾ in (width × height)
A typical starting point. Your account manager confirms the size on the proof.
Quote this size →Packaging for this
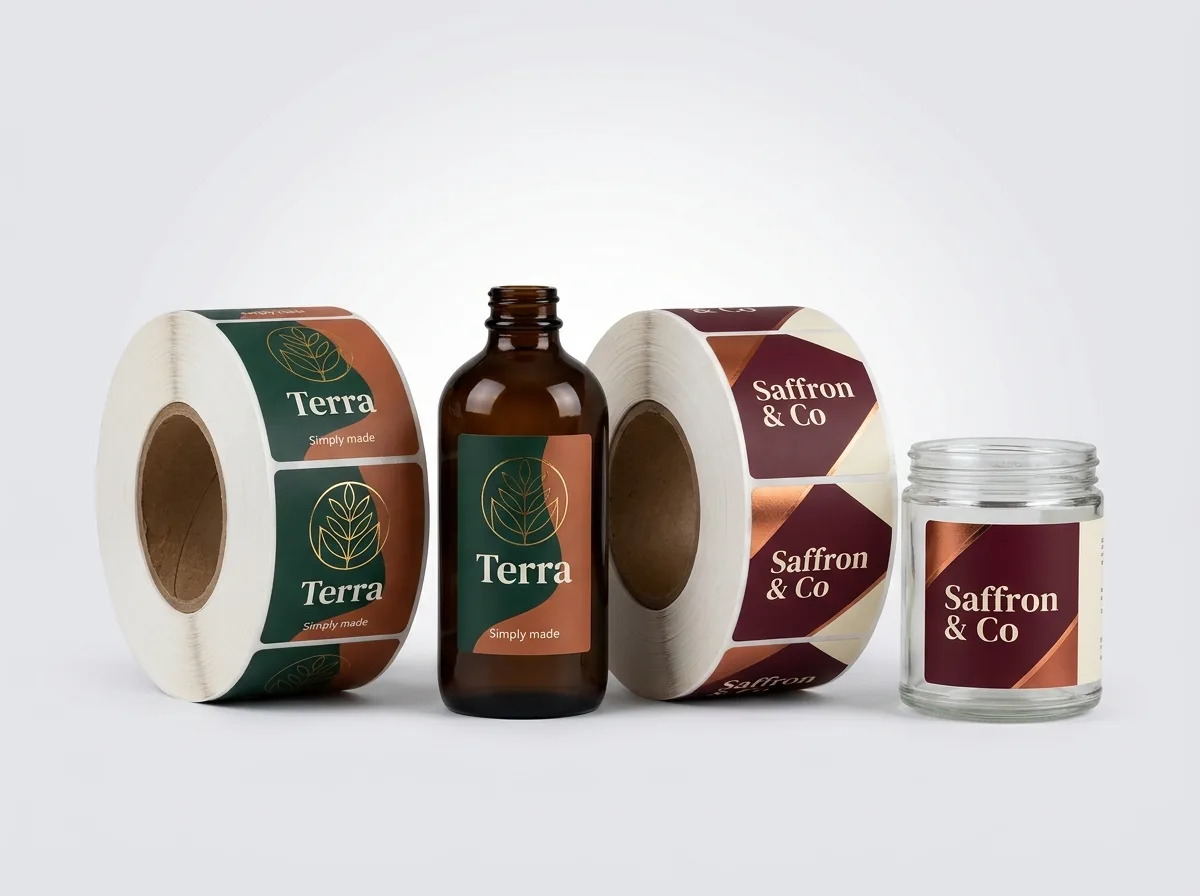
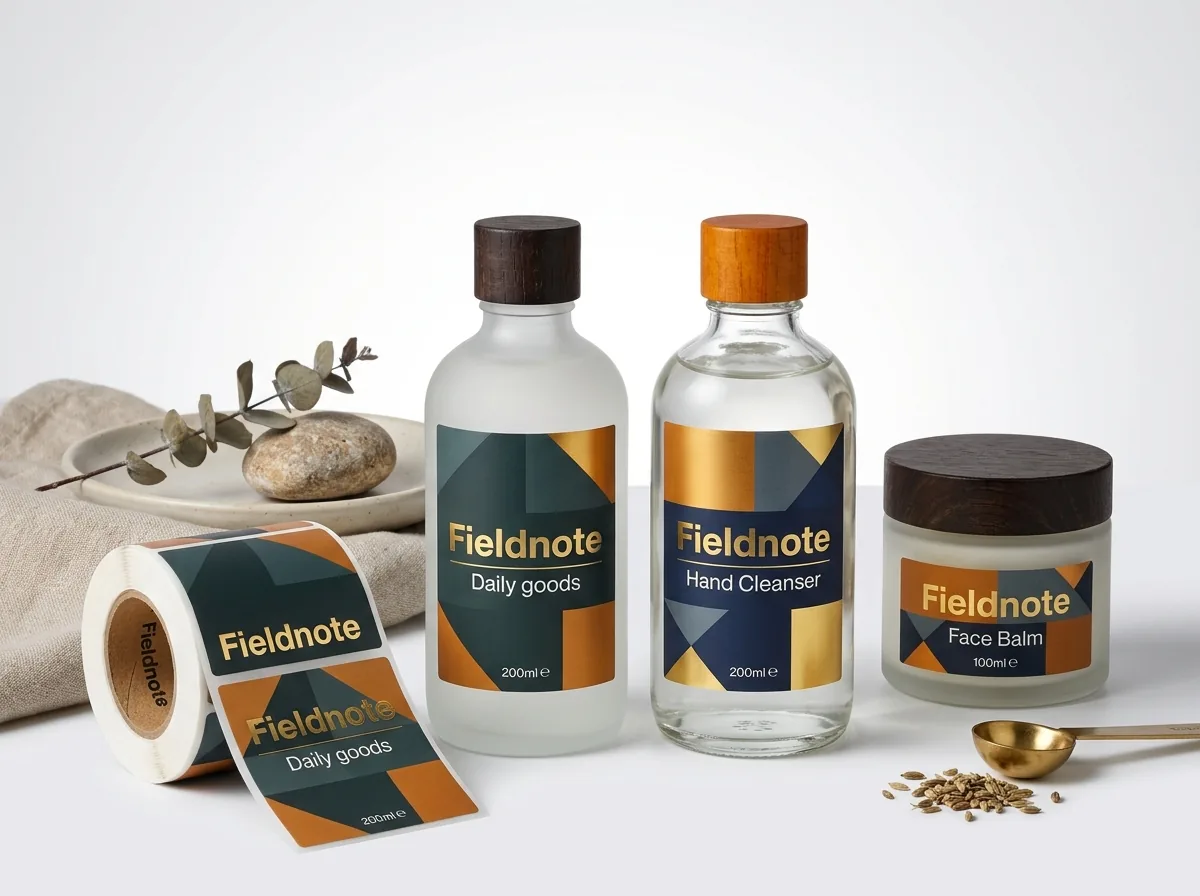
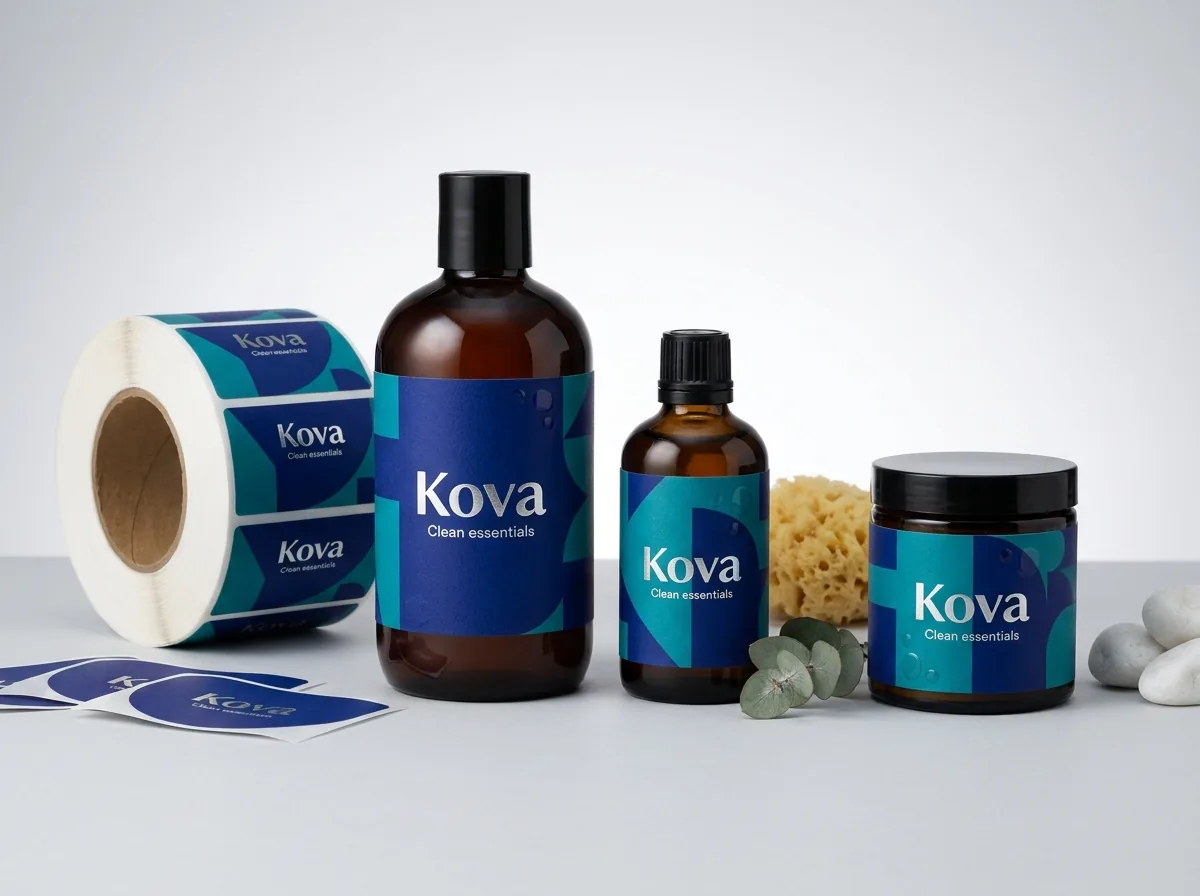
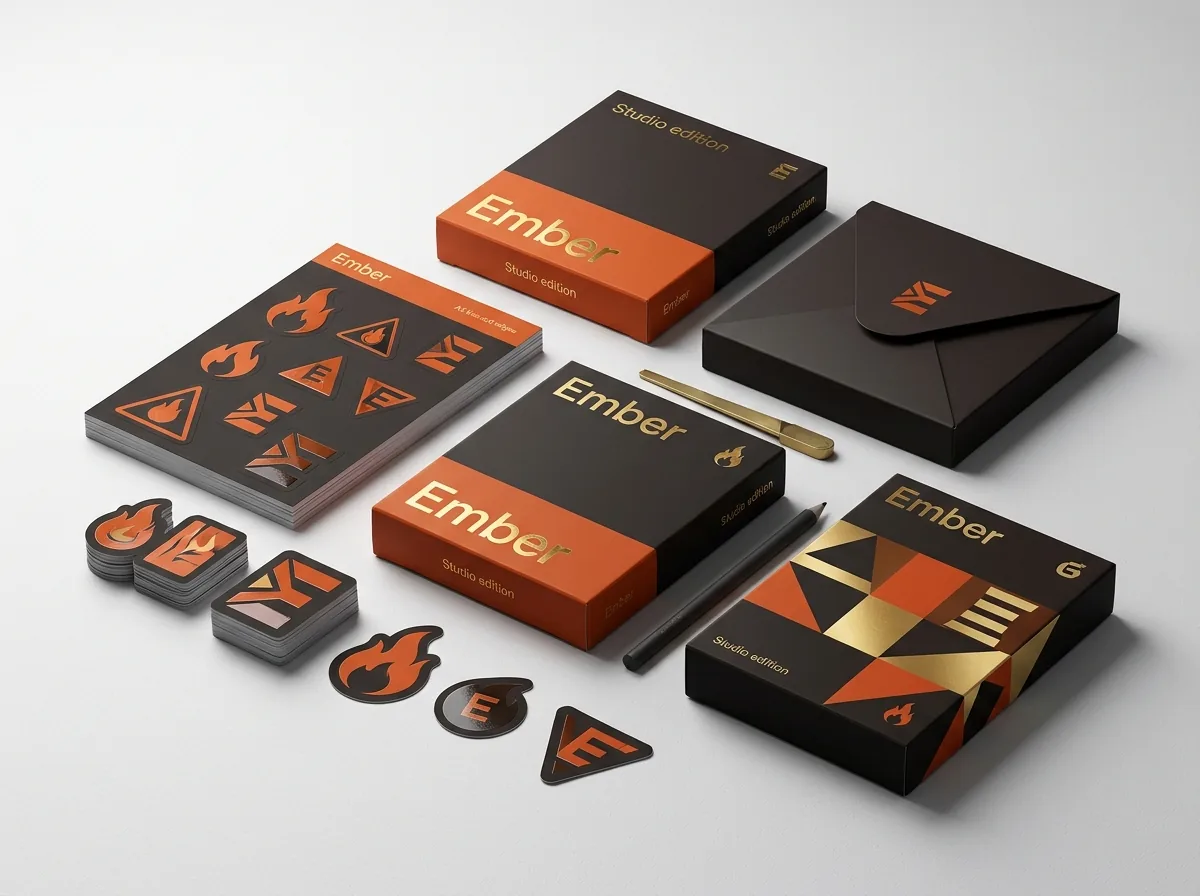
Ready to order custom shape labels? Compare up to 3 quantities with a free 3D mockup.
Request a Quote →Questions about custom shape labels
Do I have to supply a vector file with a dieline to order custom shape labels?
No. If you only have a high-resolution PNG, JPEG or flat PDF, upload it with your quote and our prepress team will draw the smooth vector cut line, add ⅛ inch bleed and send a 3D mockup for free.
How do I draw an offset contour cut line in Adobe Illustrator?
Duplicate your artwork onto a new layer named CutContour, unite the shapes using Pathfinder > Unite, then go to Object > Path > Offset Path and enter 0.125 in (⅛ in) with Joins set to Round.
Why can't a roll label have tiny internal cutout holes like a stencil?
When labels are kiss-cut on rolls, the outer waste matrix lifts off in one continuous web, but tiny enclosed holes inside the middle of a label have no connection to the outer web. Using clear label stock gives the exact same see-through look cleanly.
What is the minimum corner radius for custom shape labels?
We recommend at least a 1/16 inch (0.0625 in) radius on all outer tips and inner valleys, and a ⅛ inch (0.125 in) radius when the label wraps around a small curved bottle or jar.
How do I extend bleed around an irregular illustration or photo?
Extend your background color, texture or photo ⅛ inch (0.125 in) past the vector cut line on all sides. If your design has a solid white border around the artwork, the cut line sits at the outer edge of the white border.
Will I see exactly where the cut line sits before my labels are printed?
Yes. Every order includes a free digital proof and 3D mockup showing the exact cut path, bleed and safe margin before you pay. Nothing goes to press until you approve the proof.
Still have a question? Ask a packaging specialist.
Request a Quote →Request your custom shape labels quote
Tell us your size and quantities, and one dedicated account manager prepares pricing for each tier.
- Free design & AI-to-print studio + 3D mockup
- No die or plate charges · 4–5 day rush available
- Free shipping to all 50 states
- 10% off your first order
The ⅛ inch bleed and safe-margin standards, 1/16 inch minimum corner radius rules, Illustrator Offset Path workflow and roll matrix stripping guidelines in this guide were compiled and checked by a CubitPack packaging specialist. Spot something wrong? Tell us and we will fix it.
Sources
What changed
- October 22, 2026: First published.
- October 22, 2026: Updated specifications, terminology, and verified source links.
More guides
New packaging guides by email
Sizes, materials and design tips. Unsubscribe anytime.