
Custom shape labels vs standard rectangle and circle labels: when does contour win?
Short answer: Choose custom shape labels for front display panels where a unique arch, crest or logo silhouette frames the product inside the jar or pouch, and choose standard rectangles or circles when you need maximum ingredient text density on small bottles or orientation-free lid sealing.
On this page
- How do custom shape labels compare with standard rectangles and circles
- When does a custom contour outperform a standard rectangle
- When should I stick with a standard rectangle, square or circle
- Why do wine, sauce and cosmetic brands pair a custom front with a rectangular back
- Can automatic roll labeling machines apply custom shape labels
- Common mistakes
- FAQs
Request a custom quoteFree dieline & 3D mockup
In the past, small and growing brands avoided custom-shaped labels because traditional flexographic printers charged steep setup fees for every custom steel cutting die. Because CubitPack never charges cutting die or printing plate fees, a custom arch, apothecary shield, scalloped badge or mascot contour costs the exact same as a plain rectangle of the same outer width and height. That means choosing between a custom contour and a standard geometric shape comes down to function and container geometry rather than upfront tooling fees. Custom shapes win on front-of-pack branding, tapered containers and transparent glass jars where showing off the honey, sauce, wax or beverage around a sculpted border builds instant shelf recognition. Standard rectangles win when you need a single 360-degree wrap packed with dense nutrition tables, drug facts and barcodes, and circles win for fast lid seals.
How do custom shape labels compare with standard rectangles and circles?
Every label outline trades off visual silhouette against interior text capacity and application alignment. A rectangle uses 100% of its bounding box for typography and barcodes, whereas a sculpted crest, arch or mascot contour sacrifices 15% to 30% of the outer corners in exchange for an unmistakable brand shape that stands apart on crowded retail shelves. Use the table below to compare custom contour-cut labels with standard custom rectangle labels and custom circle labels across six practical packaging criteria, from tooling cost to automatic bottling-line compatibility.
| Decision factor | Custom shape labels (arch, crest, contour) | Standard rectangles & circles |
|---|---|---|
| Die & tooling charge at CubitPack | None (zero die or plate fee on any vector path) | None (zero die or plate fee) |
| Shelf silhouette & standout | High: breaks the grid of boxy competitors and reveals more container | Standard: relies on ink colors, foil and typography inside a familiar box |
| Usable text & barcode capacity | 70% to 85% of bounding box (corners trimmed by curves or notches) | 100% on rectangles; 78.5% on circles |
| Fit on tapered or sloped jars | Excellent: custom curved arc dieline wraps conical walls without creases | Poor on tall wraps: straight rectangles pucker on tapered walls |
| Hand-peeling & alignment | Easy with smooth ⅛ in curves; requires level top-to-bottom placement | Circles require zero rotational alignment; long wraps need straight starts |
| Automatic labeling machines | Works well when leading edge is smooth and gap sensor is set | Universal compatibility with all optical and mechanical gap sensors |
When does a custom contour outperform a standard rectangle?
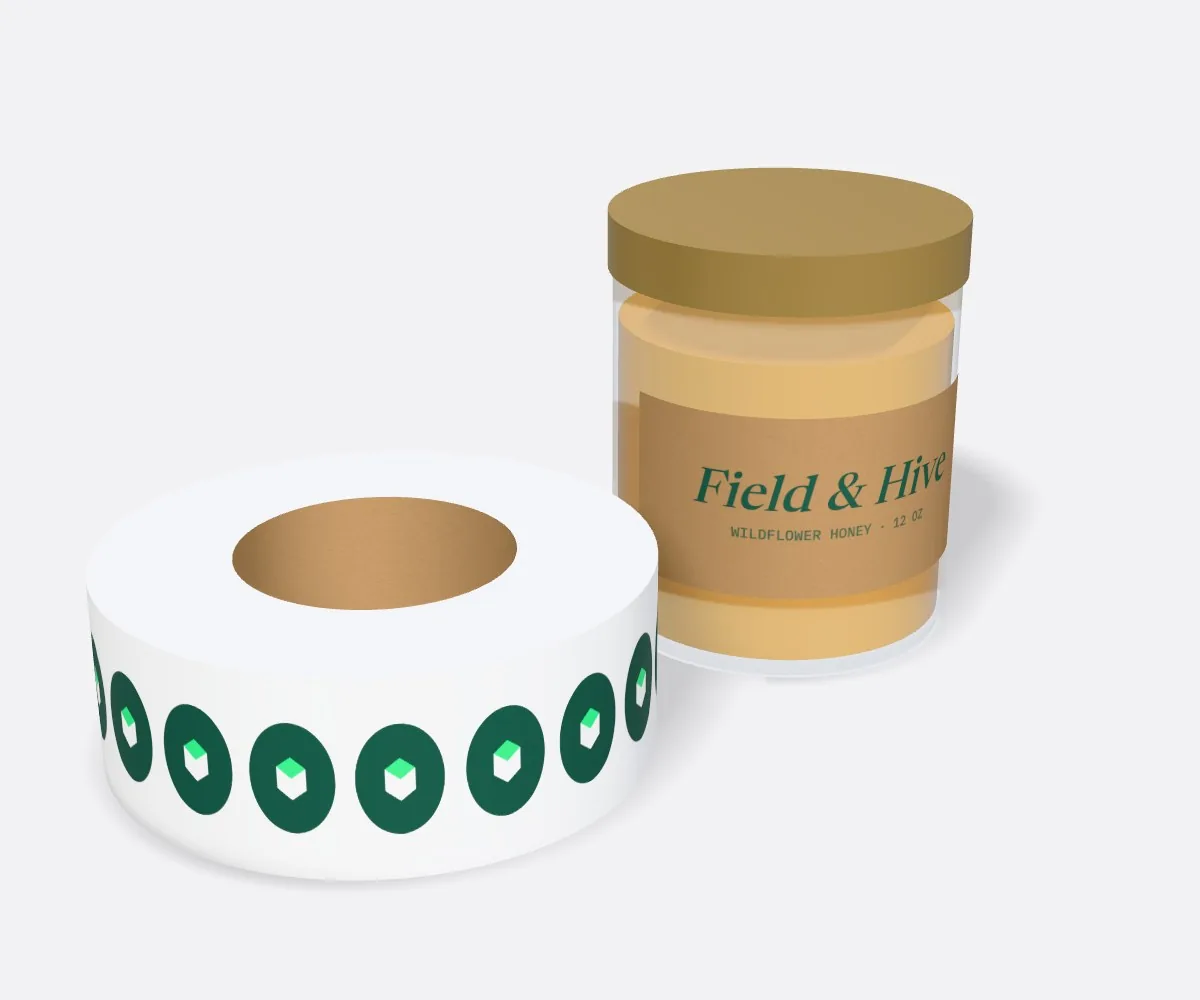
A custom shape label delivers the biggest return on containers where the product itself (or the vessel holding it) is part of the visual appeal. On clear flint glass jars of golden honey, artisan jam, salsa or pickled vegetables, a heavy rectangular wrap hides most of the food inside. Switching to a notched apothecary crest, a hexagonal honeycomb silhouette or an arched cathedral window frames the brand name in the center while letting shoppers see the color and texture of the food all around the perimeter. Custom shapes also solve three physical packaging problems that standard rectangles cannot handle: tapered walls, multi-surface closures and flexible pouch branding. On tapered candle tumblers and yogurt cups, a custom banana-shaped arc dieline lies completely flat. On jar caps, a one-piece lollipop contour seals the flat lid and vertical neck in a single peel. And on matte black or kraft custom stand up pouches, a die-cut mascot or cloud contour looks like part of the bag graphic rather than a pasted-on block.
- Clear glass jars & beverage bottles: arches, shields and crests let the liquid, honey or candle wax frame your logo.
- Blank pouches & mylar bags: mascot and cloud contours disguise the transition between the sticker and the bag.
- Tapered tubs & conical vessels: custom curved arc dielines eliminate edge bubbling and diagonal wrinkles.
- Jar lid-to-neck closures: one-piece lollipop and dumbbell shapes combine branding and tamper evidence.
When should I stick with a standard rectangle, square or circle?
Despite zero die fees on custom contours, standard geometric shapes remain the right engineering choice for two everyday jobs: small high-density regulatory wraps and high-speed orientation-free lid sealing. On narrow 0.5 oz lip balm tubes, 1 oz (30 ml) essential oil dropper bottles and small supplement vials, you often have less than 1.75 × 3.5 inches of total surface area to fit your front brand panel, ingredient deck, warnings, net weight, distributor address and UPC barcode. Trimming away the corners for a decorative shield leaves nowhere for required 6 pt text, so a full-wrap rectangle is the cleanest solution. Similarly, when sealing folded tissue paper, poly mailers or jar lids at high speed, a simple circle has no top, bottom or corner points, meaning a packer can slap it down at any angle and it never looks crooked. Standard squares and ovals also work well when you want a classic apothecary or gourmet look with clean symmetric margins around centered typography.
Know your size? Compare pricing across up to 3 quantities.
Request a Quote →Why do wine, sauce and cosmetic brands pair a custom front with a rectangular back?
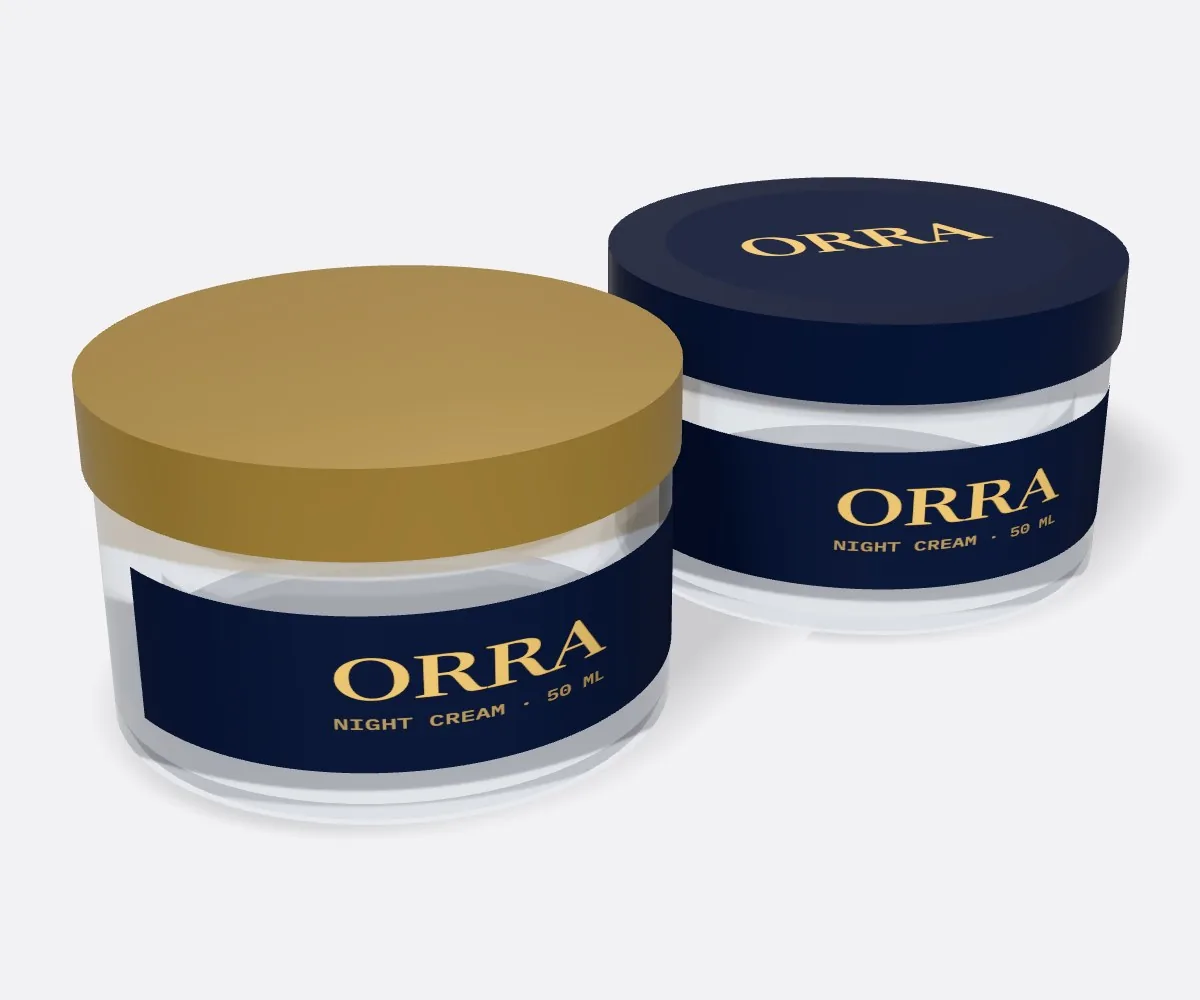
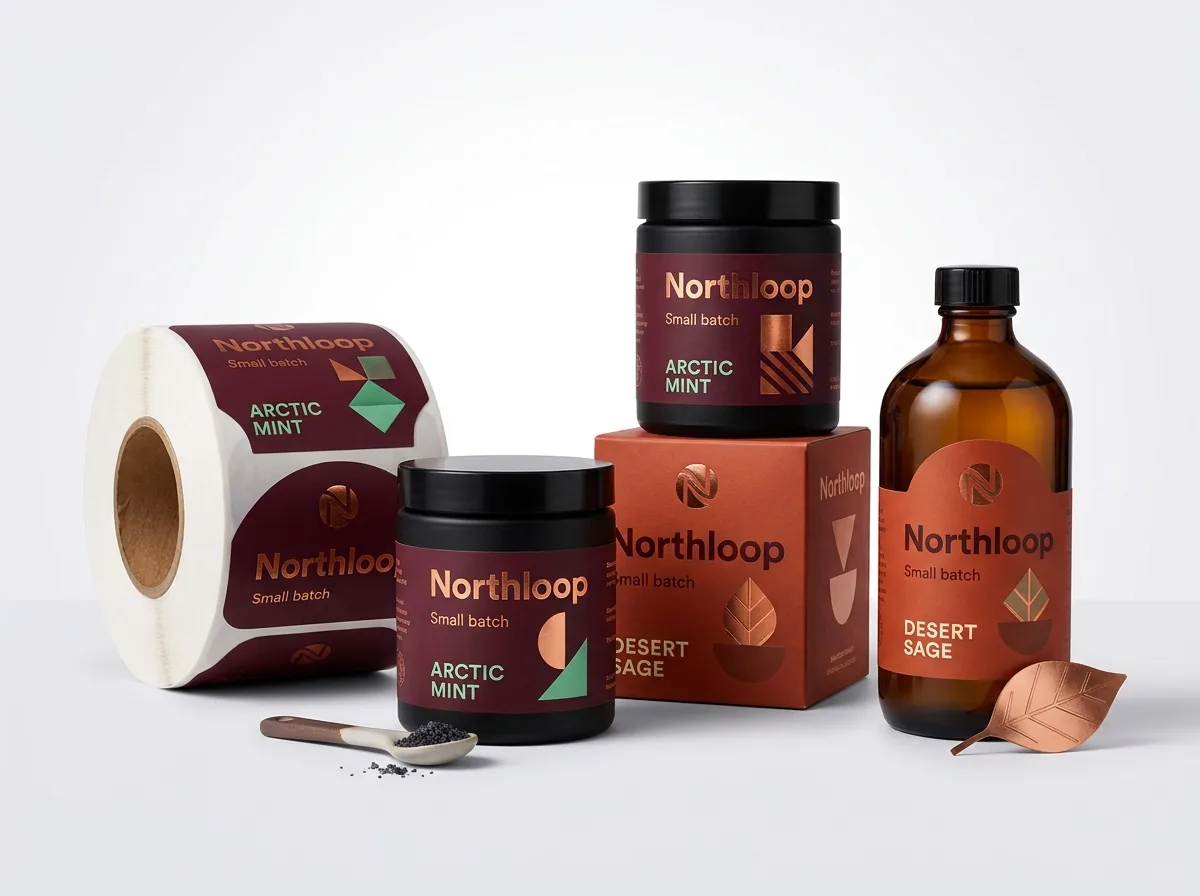
You do not have to choose between a sculpted brand silhouette and a roomy ingredient panel. Many wine, spirits, gourmet sauce, honey and skincare brands use a two-label setup: an expressive custom shape (such as an embossed foil crest, a Gothic arch or a die-cut emblem) on the front of the bottle, paired with a clean rectangular or square information label on the back. This hybrid layout gives your front panel maximum shelf presence without cluttering your logo with barcodes, nutrition facts or multi-language directions. Even better, separating the front brand crest from the back ingredient rectangle makes hand-application on round bottles much easier than wrapping one long 8-inch strip without crooked ends. At CubitPack, you can order both your front custom contour and your back rectangular panel in the same quote on custom roll labels: just pick 2 designs in Step 2 of the quote form so we print both to the exact same guaranteed Pantone colors.
Can automatic roll labeling machines apply custom shape labels?
If you apply labels by hand or with a manual tabletop dispenser, almost any smooth custom shape peels effortlessly. If you run an automatic wrap-around or tamp-blow labeling machine on a bottling line, keep two mechanical rules in mind when designing your contour. First, most automatic applicators use an optical or ultrasonic gap sensor that looks for the space between one label and the next on the roll liner. If your shape has a jagged multi-pointed leading edge (the edge that feeds off the roll first), the sensor can misread the gap and stop the label early. Orienting a flat bottom edge or a single smooth arched crown to feed off the roll first keeps sensor triggering rock-solid on high-speed conveyors. Second, avoid razor-thin tails or delicate unconnected peninsulas that might curl as the silicone backing liner snaps sharply around the machine's peel plate. When you request your quote, put your machine's core diameter and unwind direction in the notes so our prepress team sets up your roll layout for smooth dispensing.
- Hand & tabletop dispenser peeling: any smooth custom shape with >= 1/16 in corner radii peels cleanly.
- Automatic machine sensors: orient a flat edge or single smooth crown as the leading edge on the roll.
- Clear custom shapes on machines: let us know if your machine needs an eye-mark on the liner.
What are the most common mistakes when choosing between custom and standard shapes?
Picking the right shape comes down to matching your text volume, container curve and bottling speed to the cut line. Avoid these five common mistakes when planning your artwork and container layout for your next print run
- Assuming a custom arch, shield or scalloped contour costs extra for cutting dies when CubitPack includes custom dielines for free.
- Forcing a long nutrition panel, ingredient list and barcode into a heavily notched crest on a small 1 oz bottle where a full rectangle is needed.
- Using a plain flat rectangle on a strongly tapered jar or cup where a custom curved arc dieline is required to prevent wrinkling.
- Making the back rectangular ingredient label taller or wider than the narrow waist of the front custom crest, so the back label shows from the front.
- Designing a multi-pronged star edge as the leading roll edge for an optical gap-sensor labeling machine without checking sensor placement.
Find your label size
Suggested label size: 9⅛ × 2¾ in (width × height)
A typical starting point. Your account manager confirms the size on the proof.
Quote this size →Packaging for this
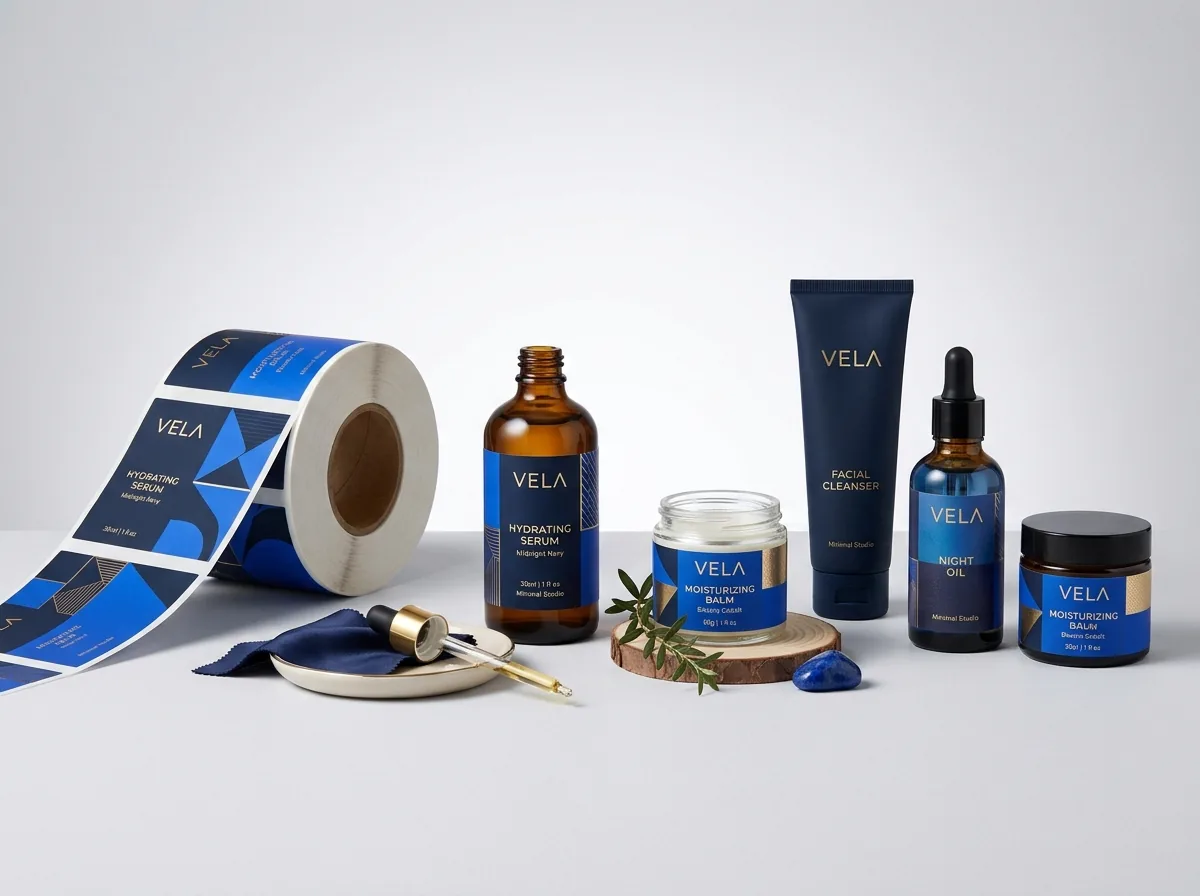
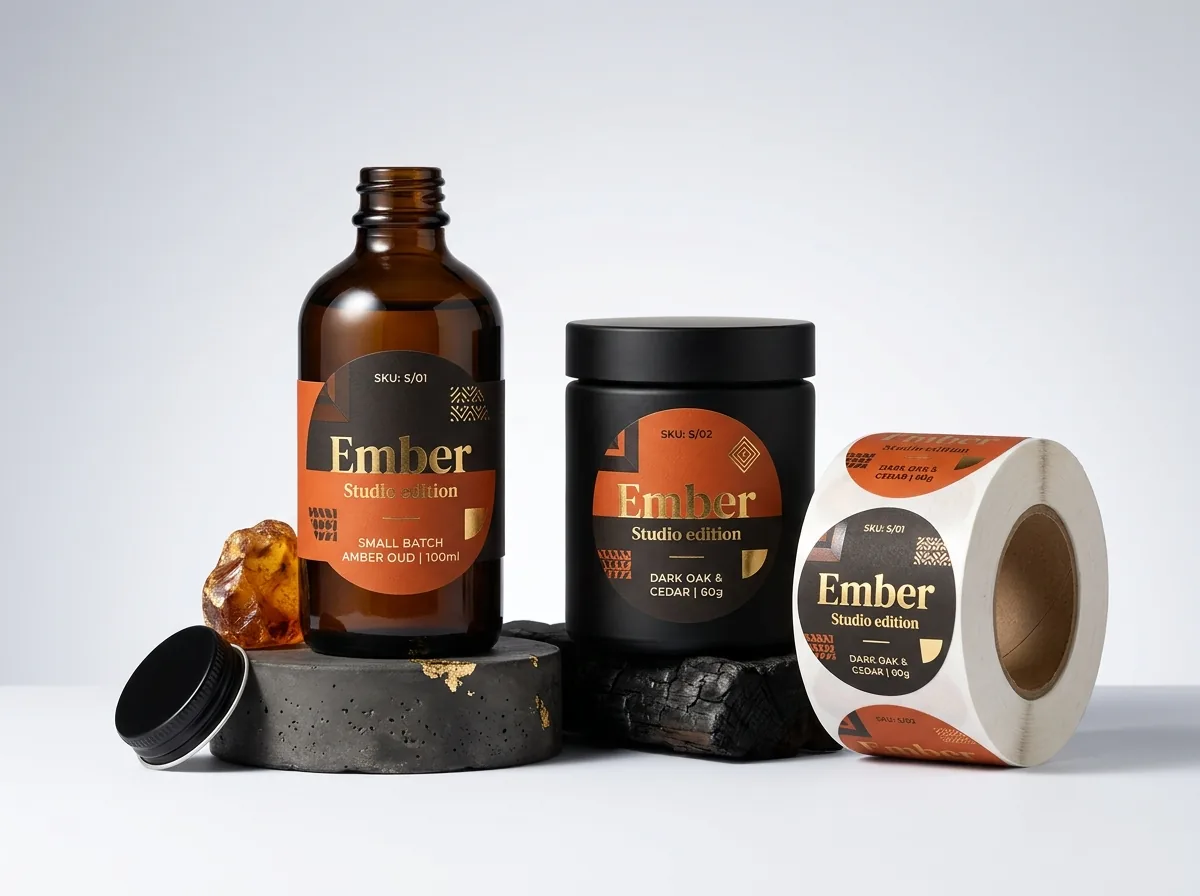
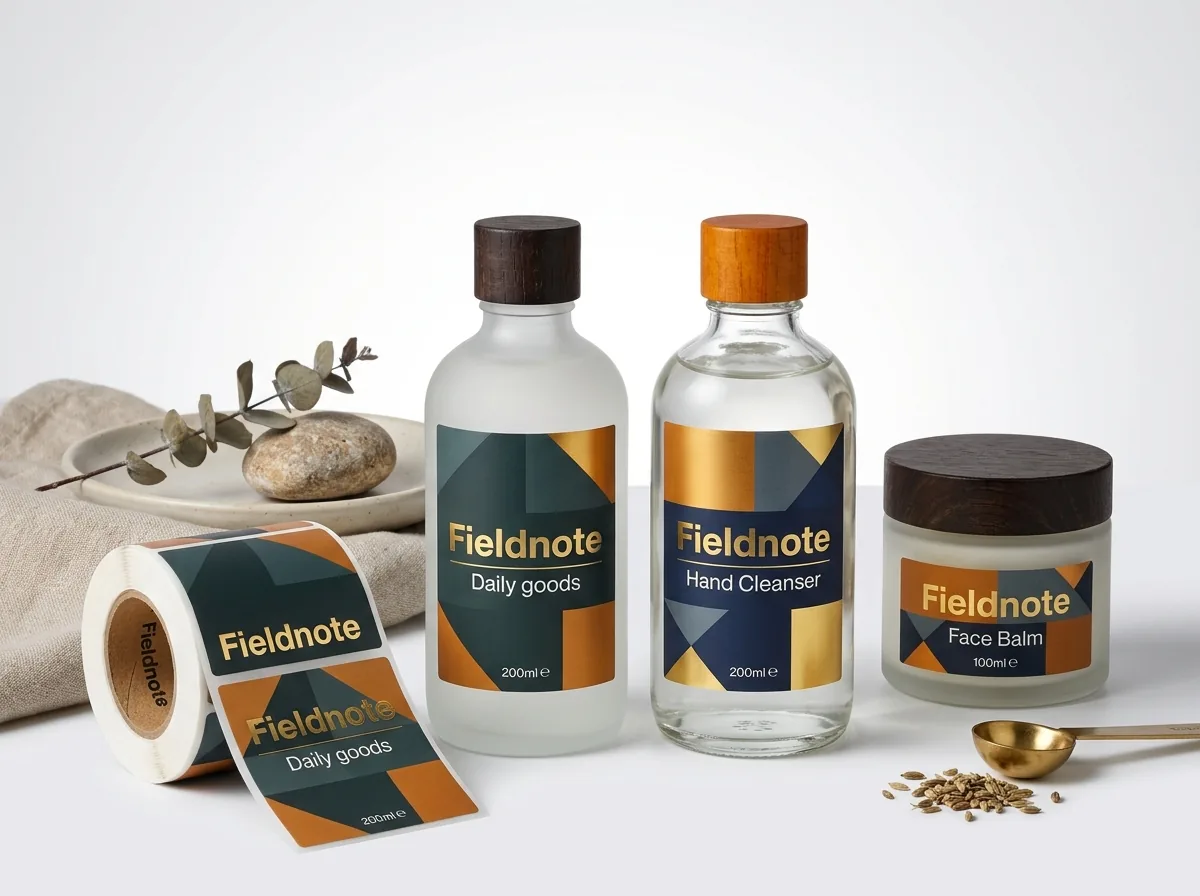
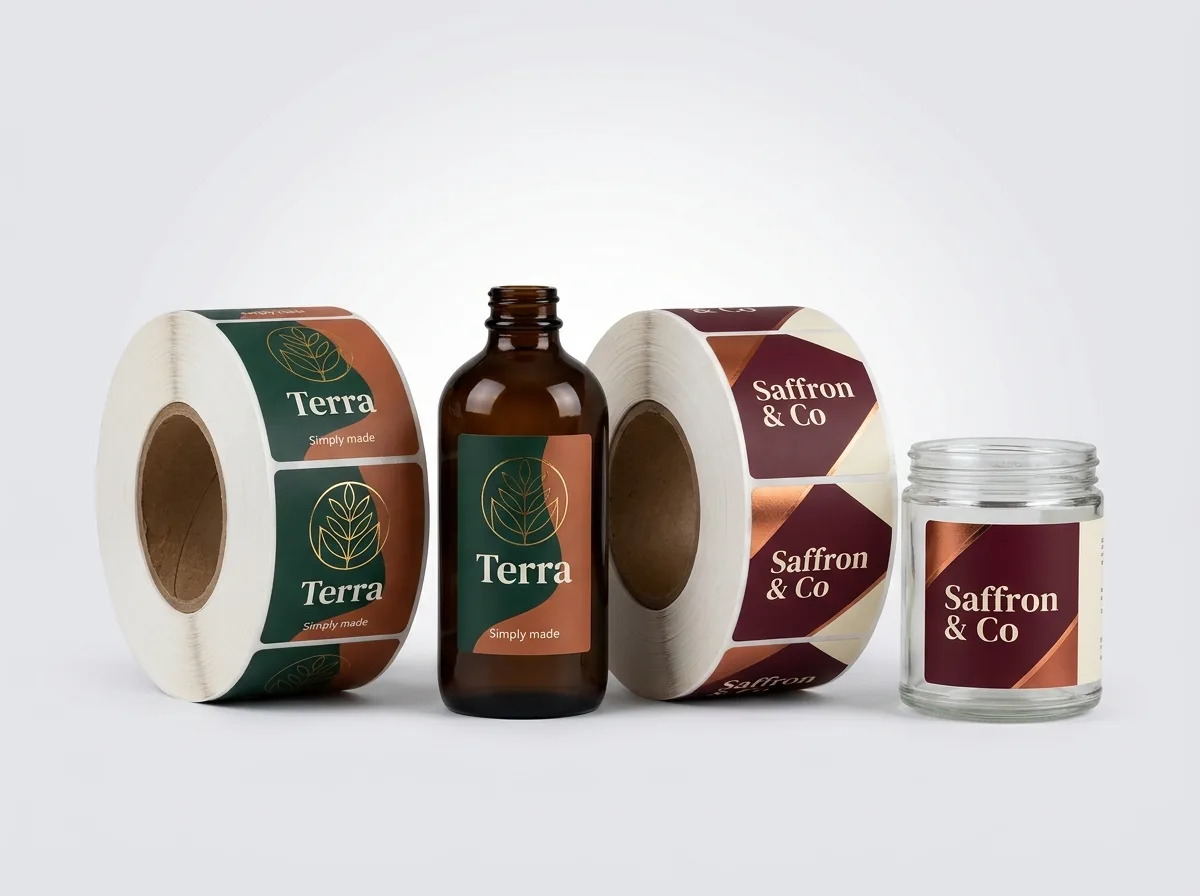
Ready to order custom shape labels? Compare up to 3 quantities with a free 3D mockup.
Request a Quote →Questions about custom shape labels
Why doesn't CubitPack charge extra for custom shape label cutting dies?
We build free custom dielines and never charge cutting die or printing plate fees on any order. That lets small and growing brands use arches, shields, scallops and logo contours starting at 500 labels without upfront tooling costs.
Should I use a custom shape label or a clear rectangle label to show off my jar?
Both work well! A custom arch or crest on opaque paper or foil creates a bold framed silhouette that contrasts with the glass, while a clear label lets your graphics float directly over the product inside.
Can I switch my existing rectangular label to an arch or crest without changing my jar?
Yes. Keep the same maximum width and height that already fits your jar's straight vertical wall, and ask our designers to round the top into an arch or notch the corners into an apothecary crest on your free proof.
Are custom shape labels slower to peel by hand than rectangles?
Not when the corners are rounded to at least a 1/16 to 1/8 inch radius. In fact, a smooth arch, shield or offset contour peels off a roll liner just as quickly as a standard rectangle.
Can I order a custom-shaped front label and a round lid seal in the same order?
Yes. Select 2 designs in Step 2 of the quote form and list the bounding-box size for your front contour and the diameter for your round lid seal in the notes so we quote them together.
What is the minimum order quantity for custom shape labels?
Our standard minimum is 500 labels, produced in 10-14 business days (with 4-5 day rush available) and shipped free to all 50 US states. Smaller trial runs are considered case by case.
Still have a question? Ask a packaging specialist.
Request a Quote →Request your custom shape labels quote
Tell us your size and quantities, and one dedicated account manager prepares pricing for each tier.
- Free design & AI-to-print studio + 3D mockup
- No die or plate charges · 4–5 day rush available
- Free shipping to all 50 states
- 10% off your first order
The text-area comparisons, tapered container fit rules, front/back pairing proportions and roll-applicator sensor guidelines in this guide were compiled and checked by a CubitPack packaging specialist. Spot something wrong? Tell us and we will fix it.
Sources
What changed
- October 22, 2026: First published.
- October 22, 2026: Updated specifications, terminology, and verified source links.
More guides
New packaging guides by email
Sizes, materials and design tips. Unsubscribe anytime.