
How do you measure and size custom shape labels for jars, bottles and pouches?
Short answer: Measure the flat straight area of your container, then size your custom shape labels by their outer bounding box (maximum Width × maximum Height in inches), adding ¼ inch over a standard rectangle to compensate for inward curves, arches or scalloped notches on jars, bottles and stand-up pouches.
On this page
- What is the outer bounding-box rule for custom shape labels
- What are the most popular custom shape label sizes by container
- How do I size arch, shield and scalloped labels so text stays readable
- How do I measure a tapered jar or cup for a curved arc label
- How do I size logo-contour labels for stand-up pouches and boxes
- Common mistakes
- FAQs
Request a custom quoteFree dieline & 3D mockup
Every custom contour (whether it is a cathedral arch, an apothecary crest, a scalloped medallion, a hexagonal badge or a mascot outline) is measured and quoted by its outer bounding box. Picture drawing the smallest possible straight rectangle around the outermost tips of your shape: the horizontal span from left to right is your Width (W) and the vertical span from top to bottom is your Height (H) in inches. When sizing a custom contour for a jar, bottle or stand-up pouch, remember that clipped corners, arched domes and inward notches trim away 15% to 30% of the corner area compared with a plain rectangle. Adding ¼ inch to your outer bounding-box width and height (within your container's straight wall limit) keeps your brand name and ingredient lines roomy. At CubitPack, every custom contour is cut with zero die fees.
What is the outer bounding-box rule for custom shape labels?
When you request a quote for contour-cut product labels, you do not need to calculate the complex surface area of every curve or notch. Label presses and laser or rotary cutters allocate material by the rectangular footprint that encloses your design, known in prepress as the outer bounding box. To find your bounding-box size, first measure the straight vertical wall of your jar or bottle (stopping ¼ inch before the top shoulder and base curve) or the flat printable face of your pouch inside the heat seals. That gives you the maximum rectangle your container can hold. Next, sketch your arch, crest or logo silhouette inside that rectangle. The distance between the leftmost point and rightmost point is Width (W), and the distance between the highest tip and lowest tip is Height (H). Entering those two numbers in the quote form gives you an exact price for any custom contour that fits inside that frame.
- Step 1 - Measure the container limit: find the flat or straight vertical wall height and usable width on your jar, bottle or pouch.
- Step 2 - Account for contour inset: add ¼ in to W and H (up to your wall limit) if your shape has scalloped, heart or shield indentations.
- Step 3 - Record max W × max H: measure from outermost left tip to right tip (W) and top tip to bottom tip (H) in inches.
- Step 4 - Check the inner safe zone: verify that all text sits at least ⅛ in inside the deepest inward dip of the cut path.
What are the most popular custom shape label sizes by container?
Because CubitPack never charges cutting die or printing plate fees, you can order any bounding-box dimension down to the sixteenth of an inch. Use the reference chart below to see how common jars, bottles, candles and pouches pair with arches, crests, hexagons and curved arcs. In every row below, the first number is maximum horizontal width (W) and the second number is maximum vertical height (H) in inches.
| Container or package | Bounding-box size (max W × H) | Popular custom contour & use |
|---|---|---|
| Jar lids, cosmetic compacts, box seals | 1.5 × 1.5 in or 2 × 2 in | Scalloped wax-seal badge, hexagon or heart |
| 5 oz hot sauce woozy bottle | 1.75 × 3 in or 2 × 3.25 in | Shield crest or notched apothecary front |
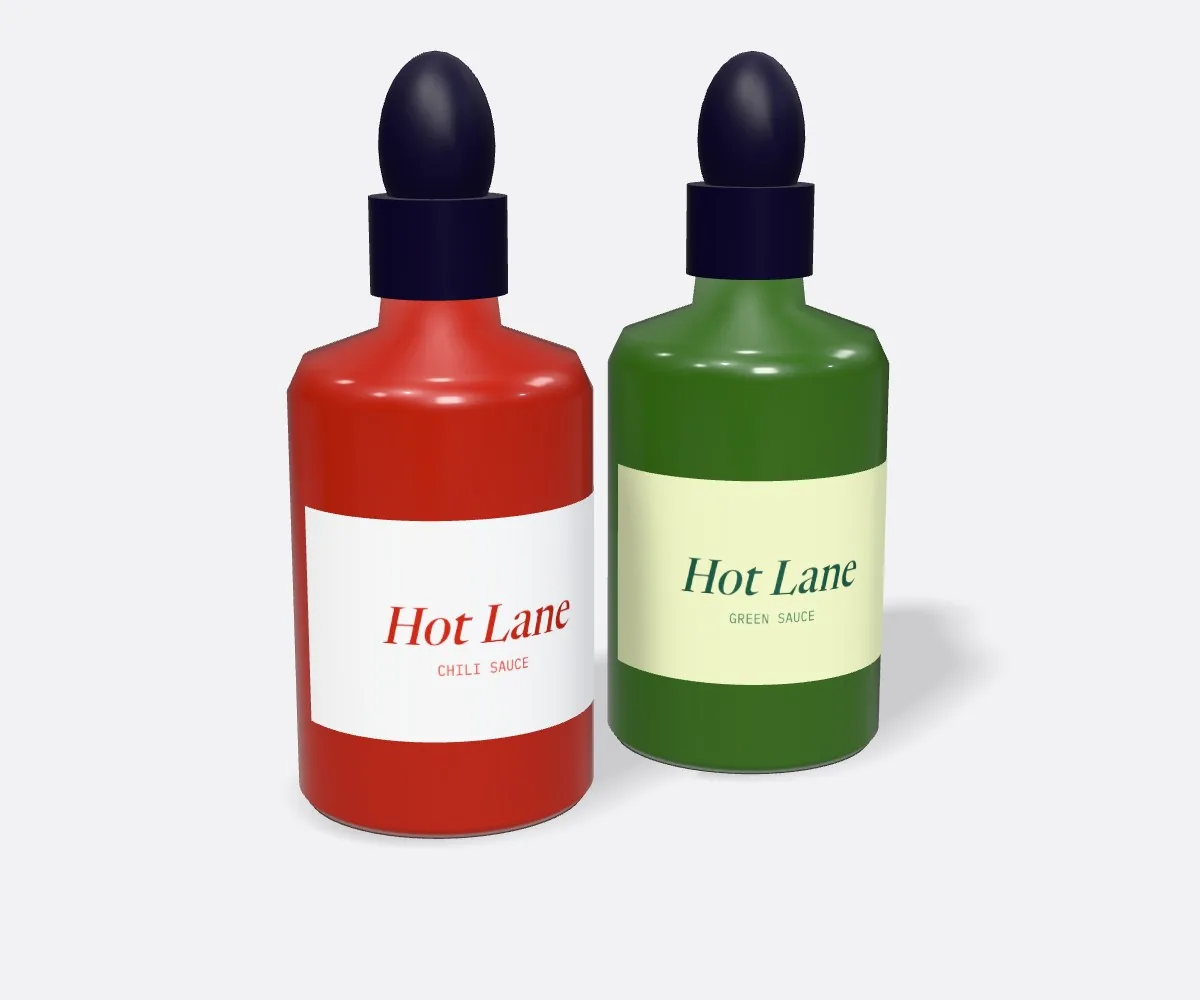
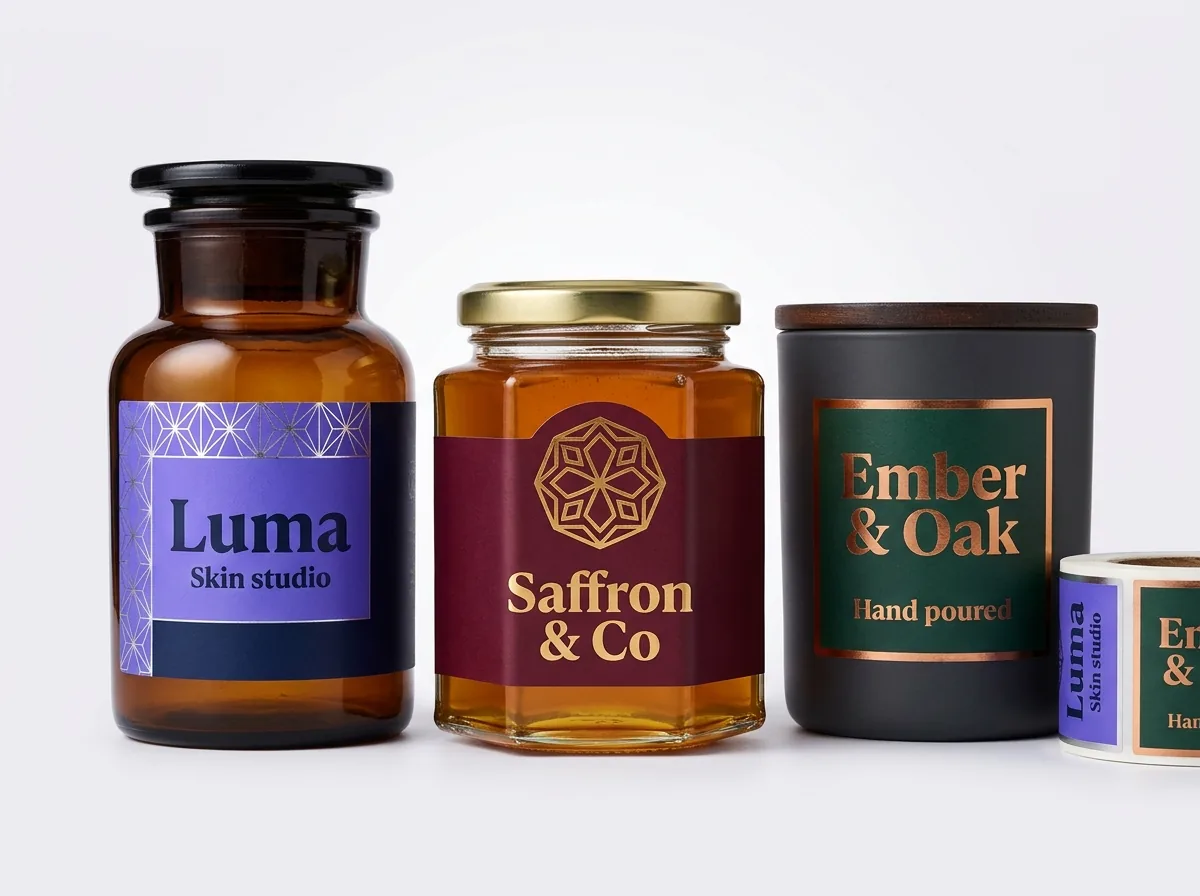
| 4 oz to 8 oz honey, jam or spice jar | 2.25 × 2.75 in or 2.5 × 3 in | Cathedral arch, honey-comb hexagon or ribbon crest |
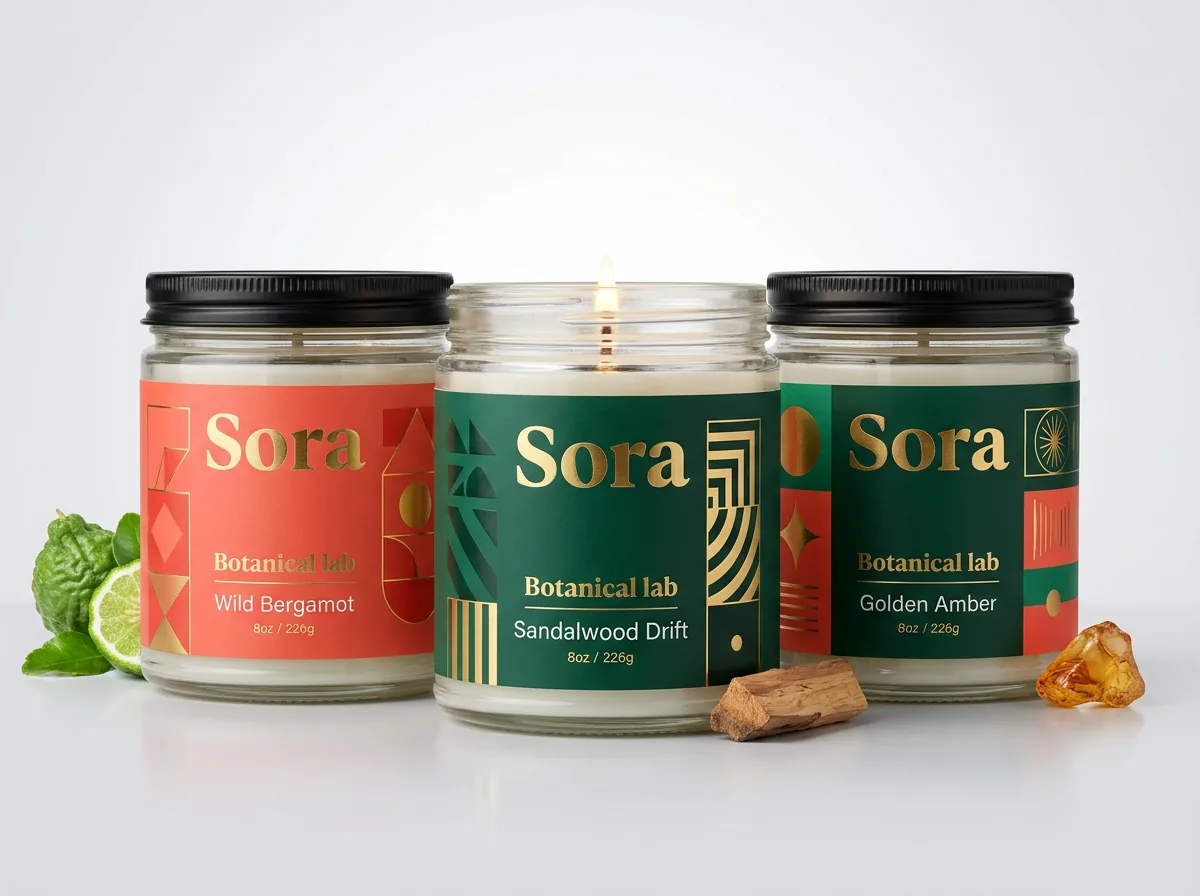
| 9 oz straight-sided candle tumbler | 2.5 × 3.25 in or 2.75 × 3 in | Rounded arch window, notched rectangle or dome |
| 12 oz craft beer can or beverage bottle | 3.25 × 3.75 in (front) or 7.5 × 3.5 in (wrap) | Mascot silhouette or wave-top wrap on rolls |
| 750 ml wine or spirit bottle | 3 × 4 in or 3.25 × 4.5 in | Two-part crest and arched belly label |
| 12 oz coffee bag or stand-up pouch | 3 × 4 in or 3.5 × 4.25 in | Cloud, coffee-bean or offset logo badge |
| Tapered glass jar or plastic deli tub | Custom arc (e.g. 5.5 × 2 in bounding box) | Curved banana-arc dieline matched to taper |
How do I size arch, shield and scalloped labels so text stays readable?
When switching from a standard rectangle to an arch, shield, diamond or scalloped stamp, the biggest surprise is how much corner room disappears. On a 2 × 3 inch arch label whose top forms a 1 inch radius semicircle, the top third of the label narrows rapidly toward the crown. If you try to place a wide horizontal brand wordmark at the very top of the arch, the letters have to shrink to fit inside the curve. To keep your typography bold on custom bottle labels and custom candle labels, either place a compact monogram or icon inside the upper arch dome and put your wide brand name across the full-width middle band, or increase your overall height by ¼ to ½ inch so the straight lower walls of the arch are taller. On diamond, hexagon or shield shapes where both the top and bottom taper inward, keep your widest product title across the horizontal equator of the badge and stack shorter net-weight lines in the lower point.
Know your size? Compare pricing across up to 3 quantities.
Request a Quote →How do I measure a tapered jar or cup for a curved arc label?
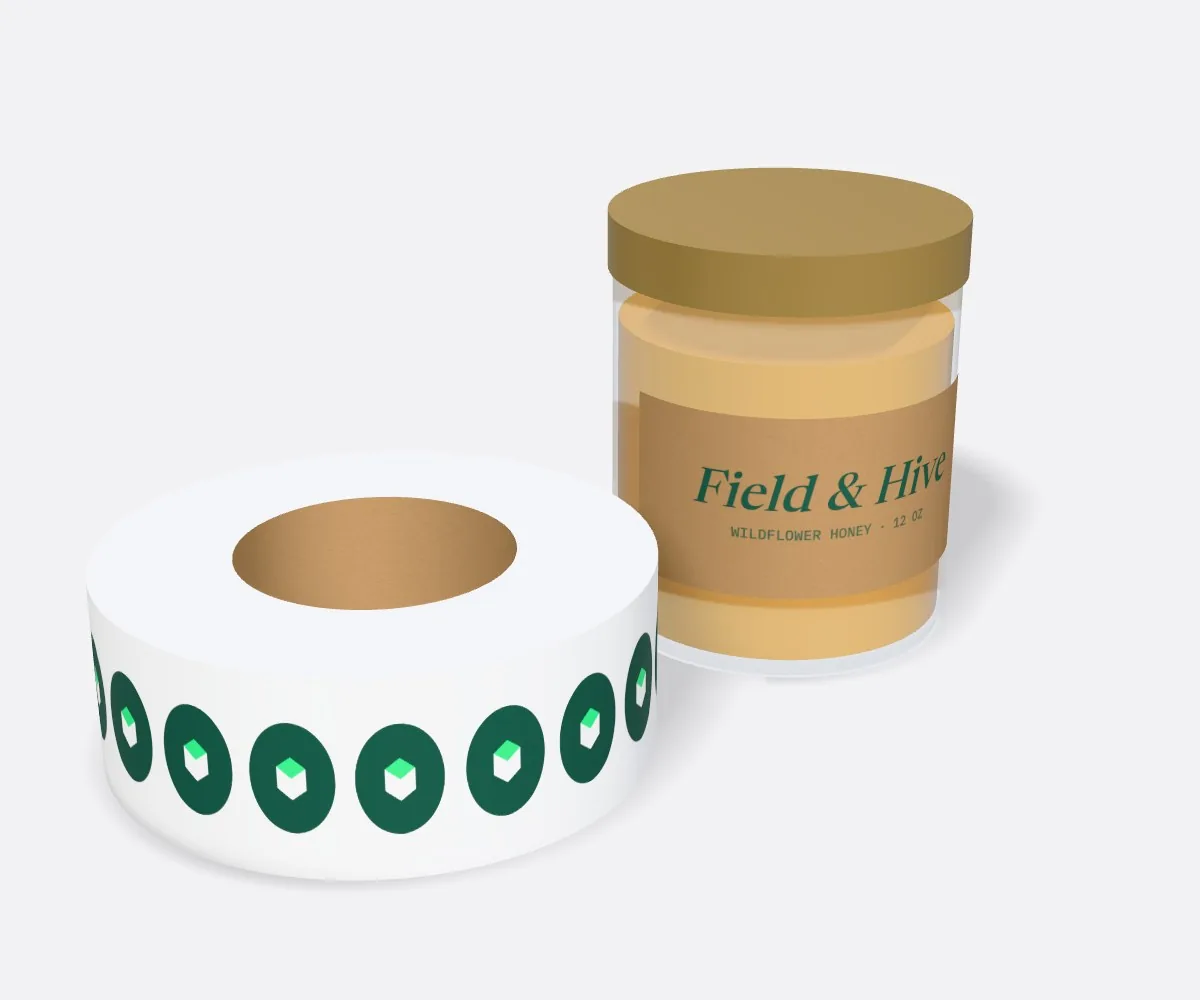
Many honey jars, bail-wire canning jars, candle vessels and plastic food tubs taper so the top rim is wider than the bottom base. When you wrap a straight rectangular label around a tapered cone, the top edge has a larger circumference to cover than the bottom edge, forcing the ends of the label to dive downward and form diagonal wrinkles. A custom curved arc label (shaped like a gentle banana or rainbow) solves that geometry completely. You do not need to calculate the arc math yourself: just measure three numbers on your container with a ruler or sewing tape and put them in the quote notes: the top diameter where the top of the label will sit, the bottom diameter where the bottom of the label will sit, and the straight slant height between those two rings. Our prepress engineers generate the exact curved dieline and show it wrapped on a 3D mockup of your custom jar labels before you pay.
How do I size logo-contour labels for stand-up pouches and boxes?
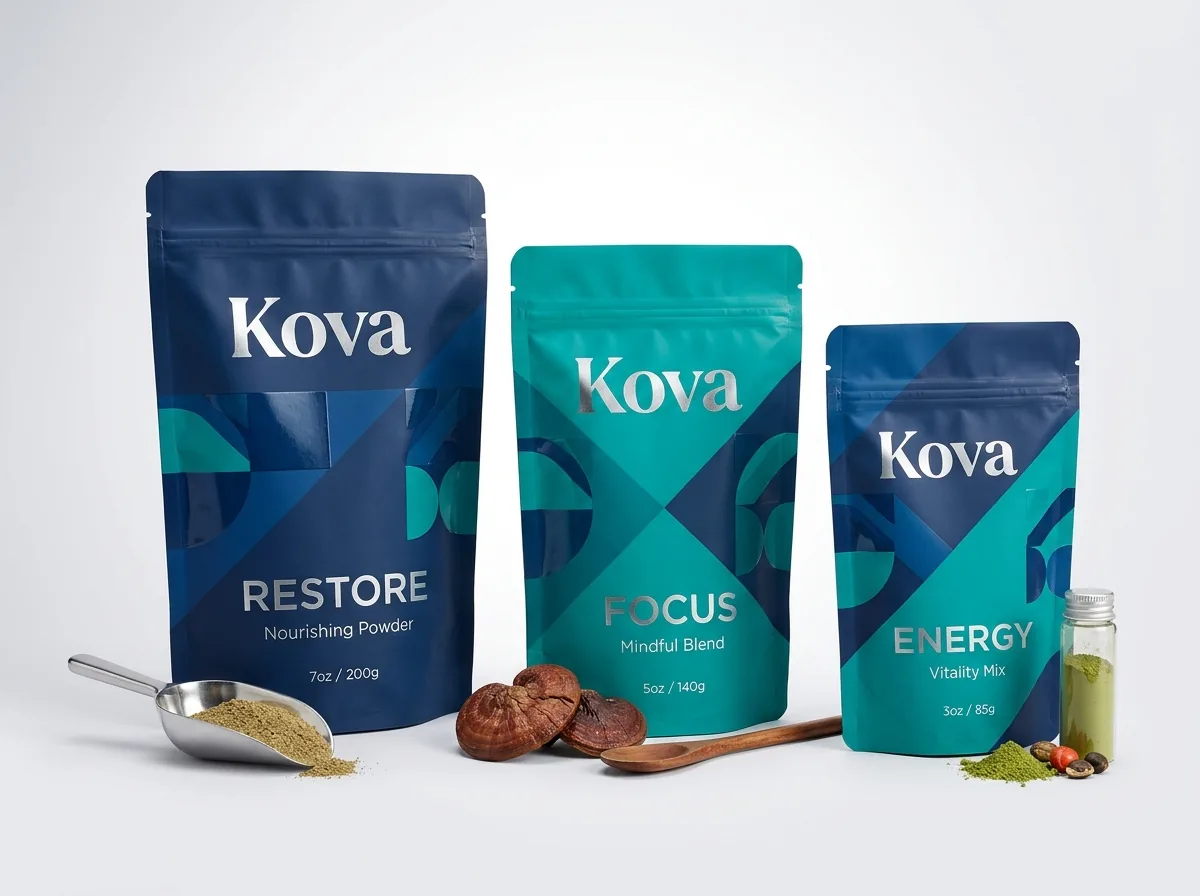
Applying a custom-shaped label to blank custom stand up pouches, mylar bags or kraft mailer boxes is a smart way to launch multiple flavors or seasonal editions at a 500-label minimum. Because flexible pouches have a bottom gusset that expands into a D-shape when filled, always measure the flat printable zone on a filled, sealed pouch rather than an empty flat bag. Keep the outermost tips of your cloud, wave or mascot contour at least ¼ inch below the zipper track and ¼ inch inside the left and right heat-sealed seams. If your contour has narrow sticking-out arms or tails, widen the offset border to at least ⅛ inch and round the tips so the label stays flat when the flexible pouch bends in a customer's hands. On rigid or folding cartons, leave at least ¼ inch between the outer edge of your custom crest and any box score lines so the sticker never bridges across a corner unless it is designed as a closure seal.
- Filled-pouch test: tape a paper cutout of your custom shape onto a filled pouch to verify it stays above the bottom gusset fold.
- Zipper & seal clearance: leave at least ¼ in between your outermost cut line and any pouch heat seals or tear notches.
- Shared bounding box: design all flavor contours inside the same 3 × 4 in bounding box to simplify packing and storage.
What are the most common custom shape label sizing mistakes?
Measuring only the narrow center of a contour or forgetting how tapered walls curve leads to cramped text and wrinkled edges. Avoid these five mistakes
- Entering the narrow waist width of an hourglass or shield label instead of the maximum outer width from tip to tip.
- Keeping the exact same dimensions as a rectangle when switching to a diamond, heart or deep scallop, which shrinks usable text space by 25%.
- Placing a wide horizontal headline inside the narrow top dome of an arch label where the curved cut line clips the first and last letters.
- Measuring the total height of a bottle from cap to base instead of stopping ¼ inch short of the curved glass shoulder and heel.
- Ordering a straight rectangular wrap for a conical tapered jar instead of giving top and bottom diameters for a curved arc dieline.
Find your label size
Suggested label size: 9⅛ × 2¾ in (width × height)
A typical starting point. Your account manager confirms the size on the proof.
Quote this size →Packaging for this
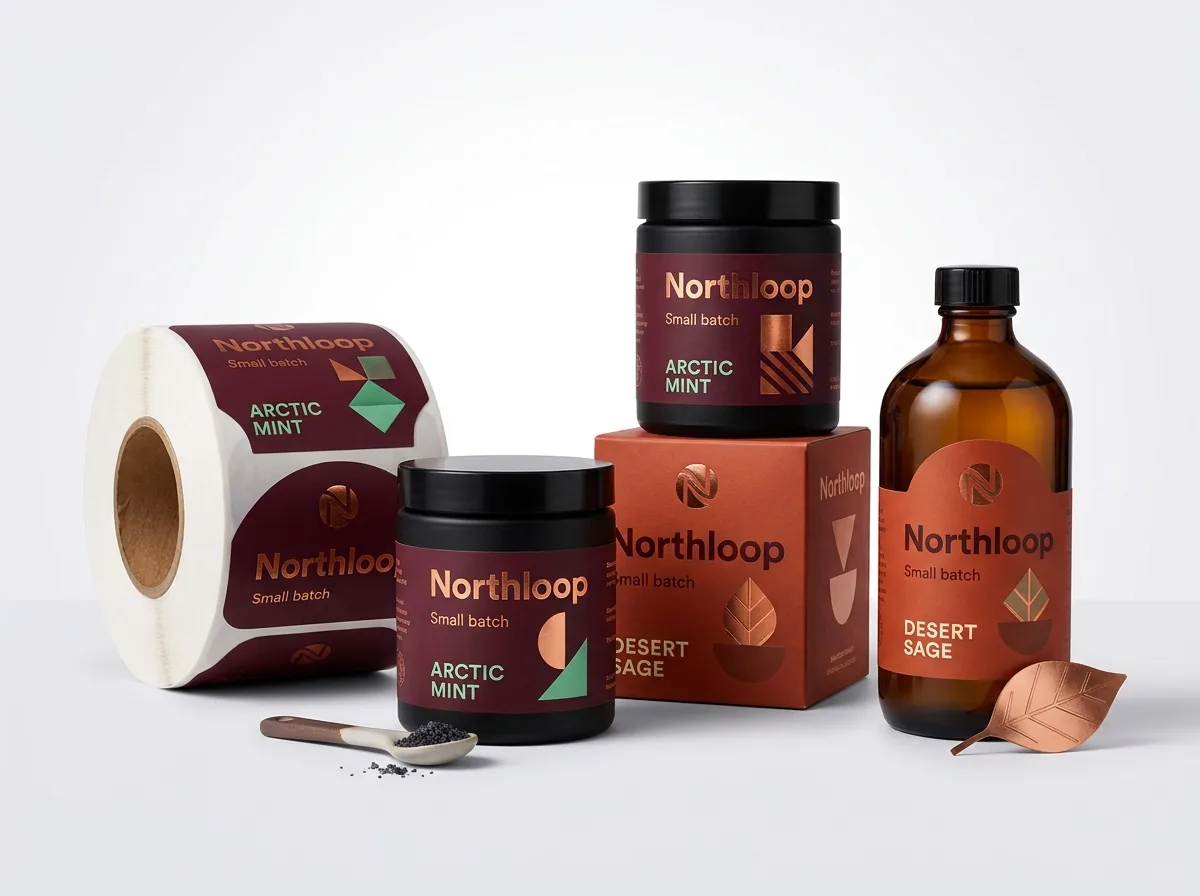
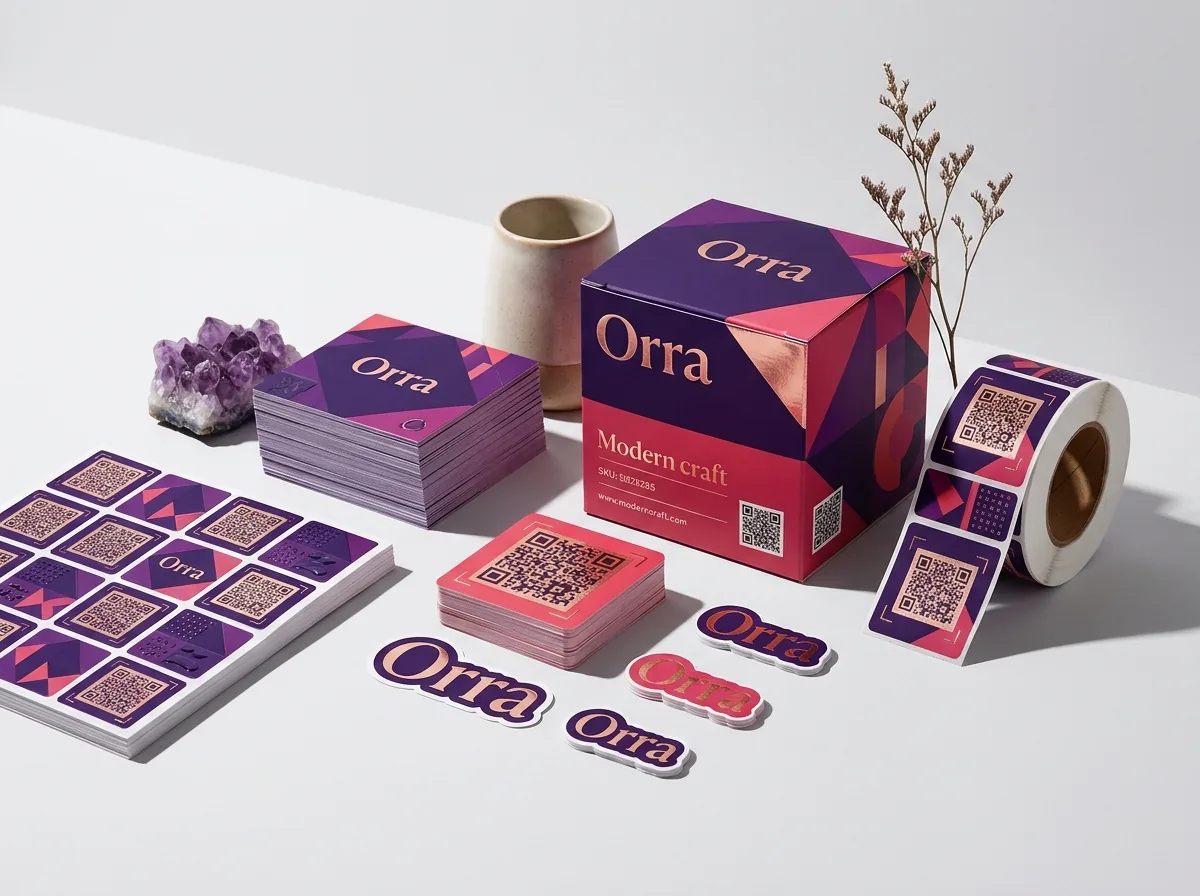
Ready to order custom shape labels? Compare up to 3 quantities with a free 3D mockup.
Request a Quote →Questions about custom shape labels
What dimensions should I type into the quote form for an irregular custom shape?
Enter the outer bounding box: the widest horizontal measurement from left to right as Width (W), and the tallest vertical measurement from top to bottom as Height (H) in inches, then choose Custom shape.
Does a custom arch, shield or scalloped shape cost more than a rectangle of the same size?
No. CubitPack never charges cutting die or printing plate fees. A 2.5 × 3.5 inch apothecary crest or arch label costs the exact same as a plain 2.5 × 3.5 inch rectangle on the same material and finish.
How much smaller is the usable text area inside a scalloped or shield label?
Inward scallops, shield tapers and arched tops reduce corner area by roughly 15% to 25% compared with a straight rectangle. Adding ¼ inch to your outer width and height keeps your center text area just as roomy.
What measurements do you need to create a curved arc label for a tapered jar?
Measure three numbers on the straight tapered section where the label will sit: the top diameter, the bottom diameter, and the slant height between them. Put those three measurements in your quote notes and our designers build the curved dieline for free.
Can I order a custom-shaped front label and a standard rectangular back label together?
Yes. Many wine, hot sauce, honey and skincare brands use a distinctive arch or crest on the front and a rectangular nutrition or ingredient label on the back. Select 2 designs in Step 2 of the quote form and note both sizes.
How can I check how my custom shape looks on my jar before printing 500+ labels?
Print your draft design at 100% scale on plain copy paper, cut along the outline with scissors, and tape it onto your actual jar or bottle. We also send a free digital proof and 3D container mockup before you pay.
Still have a question? Ask a packaging specialist.
Request a Quote →Request your custom shape labels quote
Tell us your size and quantities, and one dedicated account manager prepares pricing for each tier.
- Free design & AI-to-print studio + 3D mockup
- No die or plate charges · 4–5 day rush available
- Free shipping to all 50 states
- 10% off your first order
The outer bounding-box rules, contour text-area allowances and conical tapered-jar arc measurements in this guide were compiled and checked by a CubitPack packaging specialist. Spot something wrong? Tell us and we will fix it.
Sources
What changed
- October 22, 2026: First published.
- October 22, 2026: Updated specifications, terminology, and verified source links.
More guides
New packaging guides by email
Sizes, materials and design tips. Unsubscribe anytime.