
How to design custom QR code stickers that scan on the first try?
Short answer: To design custom QR code stickers that scan on the first try, export a vector SVG or EPS code at 0.8 × 0.8 in or larger, print dark modules on a solid white background with a 0.1 in quiet zone, set Error Correction to Level Q or H for center logos, and add a 3-to-5-word call to action.
On this page
- Which color combinations pass smartphone QR contrast rules and which fail
- How do you add a brand logo inside the center of a QR code without breaking it
- What call-to-action wording and frame layouts make customers actually scan
- How do you prepare vector artwork, 0.125 in bleeds and safe margins for print
- Common mistakes
- FAQs
Request a custom quoteFree dieline & 3D mockup
Designing a high-converting QR code sticker combines strict optical engineering with clear marketing copy. Smartphone camera algorithms locate a QR code by searching for three high-contrast dark finder squares surrounded by an unbroken light border (the quiet zone). Whenever a designer reverses the colors to white squares on a black background, drops the quiet zone to fit a decorative frame, or prints pastel ink on natural kraft stock, camera apps either stall for 5 seconds or fail to decode altogether. At the same time, a technically perfect black-and-white square with no context gets ignored by buyers who do not know what link it opens. Pairing a 100% black or deep Pantone vector matrix on a matte white window with an outer branded frame and a specific benefit-driven headline ('Scan for 15% Off' or 'Scan for Batch Lab Results') delivers both instant scanning and high engagement.
Which color combinations pass smartphone QR contrast rules and which fail?
You do not have to print every QR code in plain black and white, provided your artwork follows two non-negotiable optical rules from ISO/IEC 18004: maintain at least a 4:1 (and ideally 10:1) reflectance contrast ratio, and always keep the foreground modules darker than the background. Why does dark-on-light contrast matter so much? Native smartphone camera apps convert your sticker image into a binary threshold map in milliseconds. When the background square is bright white (reflecting 85% to 90% of ambient light) and the QR modules are printed in 100% black or a deep Pantone ink (reflecting less than 10% of ambient light), the camera locks onto the three corner finder patterns even in a dimly lit restaurant or warehouse aisle. When configuring custom printed QR code stickers across 500, 1,000, 2,500 or 5,000+ pieces, use the contrast matrix below to pick Pantone or CMYK combinations that pass on every iPhone and Android camera.
| Color setup | Foreground modules | Background & quiet zone | Scan verdict |
|---|---|---|---|
| Classic high contrast | 100% Black (K) ink | Uncoated or Matte White stock | Pass (fastest possible scan in low light) |
| Branded dark Pantone | Deep navy, forest green, burgundy or espresso (>= 70% darkness) | Solid white or pale warm cream (<= 10% tint) | Pass (matches brand palette cleanly) |
| Clear sticker on dark glass | 100% Black or dark Pantone ink | Opaque white ink underbase square (+ 0.1 in margin) | Pass (blocks dark bottle from showing through) |
| Inverted / reverse knockout | White or light cream squares | Black, dark navy or dark green background | Fail (many native camera apps cannot read inverted codes) |
| Low-contrast pastel or yellow | Yellow, light gold, baby blue, mint or light gray ink | White or kraft paper background | Fail (insufficient contrast under warm indoor light) |
| Metallic foil modules | Hot-stamped gold or silver foil squares | White or dark cardstock | Fail (foil flips between bright glare and dark shadow) |
How do you add a brand logo inside the center of a QR code without breaking it?
Placing a compact monogram or brand icon in the dead center of a QR code makes the sticker look custom-built and increases customer trust. The reason a QR code still works with its center covered is Reed-Solomon Error Correction, which duplicates data across the grid at four selectable levels: - Level L (Low, 7% recovery): Smallest module count, used only for clean codes with no logo overlay. - Level M (Medium, 15% recovery): Standard default for general packaging without a center icon. - Level Q (Quartile, 25% recovery): Restores up to 25% of covered modules; great for small center icons. - Level H (High, 30% recovery): Restores up to 30% of covered modules; recommended whenever you place a logo in the center. To add a center logo safely, generate your QR code at Level Q (25%) or Level H (30%), keep the logo plus its white padding border under 15% to 20% of the total QR matrix area, and never cover or touch the three large corner finder squares (or the smaller fourth alignment square near the bottom-right corner). Because Level H adds extra modules to store the backup data, step your inner QR matrix up from 0.8 × 0.8 inches to at least 1.0 × 1.0 inches inside a 1.5 × 1.5 inch or 2.0 × 2.0 inch sticker.
What call-to-action wording and frame layouts make customers actually scan?
Shoppers rarely scan a mystery QR square out of pure curiosity. Adding a 3-to-5-word action prompt in 8 pt to 11 pt bold type inside a colored pill badge or outer border tells the buyer exactly what reward or utility awaits on the other side of the camera tap. Match your call-to-action wording to the exact container where you apply your custom packaging stickers or custom seal stickers
- Reorder & Subscription Seals (Coffee bags, protein tubs, pet food): Print SCAN TO REORDER IN 2 TAPS or RUNNING LOW? SCAN FOR 10% OFF on a 1.5 × 2.0 inch sticker applied to the lid or upper bag gusset.
- Lab Certificates & Authenticity (Supplements, CBD, honey, cosmetics): Print SCAN FOR BATCH LAB RESULTS (COA) or SCAN TO VERIFY AUTHENTICITY on a 1.25 × 1.25 inch or 1.5 × 1.5 inch tuck-flap seal.
- Setup Videos & Manuals (Electronics, tools, kitchenware, hardware): Print 60-SECOND SETUP VIDEO or SCAN FOR USER MANUAL & WARRANTY on a 2.0 × 2.0 inch sticker placed on the top inner tray.
- Reviews & VIP Giveaways (Mailer boxes, thank you inserts, boutique bags): Print SCAN TO CLAIM YOUR FREE GIFT or LEAVE A 30-SEC REVIEW alongside your custom thank you cards.
- Tabletop Menus & Wi-Fi (Restaurants, taprooms, hotels, salons): Print SCAN FOR MENU & ORDERING in 14 pt type on a 3.0 × 3.0 inch matte die-cut table decal.
Know your size? Compare pricing across up to 3 quantities.
Request a Quote →How do you prepare vector artwork, 0.125 in bleeds and safe margins for print?
When a low-resolution 72 DPI JPEG screenshot of a QR code is scaled up or printed on a commercial press, anti-aliasing turns the crisp black corners into fuzzy gray pixels that slow down camera recognition. Follow these five prepress rules before uploading your artwork in Step 3 of the quote form (or just send us your logo and URL, and our prepress team will build the file for free): 1. Export the QR code as vector paths (SVG, EPS, AI or PDF): Keep every module as a sharp vector square in 100% K (0C 0M 0Y 100K) rather than four-color rich black (40C 30M 30Y 100K), so tiny registration shifts never create colored fringes around the squares. 2. Lock in a 0.1 inch (2.5 mm) blank white quiet zone: Place a solid white square behind the QR matrix that extends at least 0.1 inches past the black modules on all four sides. 3. Add a 0.125 inch (3 mm) outer bleed past the cut line: If your sticker has a colored outer border or dark background frame, extend that background color 0.125 inches outside the die-cut path (for example, a 1.5 × 1.5 inch sticker file with bleed measures 1.75 × 1.75 inches). 4. Keep text and the QR quiet zone 0.125 inches inside the cut line: Leave a 0.125 inch safe margin between your outer cut path and the edge of the white QR window or call-to-action lettering. 5. Select Matte finish in Step 2: Protect the ink from scuffing while keeping the surface 100% glare-free under indoor lights.
| Prepress element | Target spec | Why it matters |
|---|---|---|
| QR file format & ink | Vector SVG/EPS/PDF in 100% K or dark PMS | Crisp square edges with zero pixelation or registration fringe |
| Matrix & quiet zone | Min 0.8 × 0.8 in grid + 0.1 in white margin | Instant camera recognition at 6–10 in handheld distance |
| Contrast direction | Dark modules on solid white/cream background | Never invert to white-on-black or use pastel inks |
| Center logo & ECC | Max 15%–20% logo area at Level Q (25%) or H (30%) | Preserves full Reed-Solomon data recovery around the icon |
| Bleed, safe zone & finish | +0.125 in bleed · -0.125 in safe · Matte finish | Clean border trim and zero overhead light glare |
What design mistakes break custom QR code stickers on press?
Run through this 5-point prepress check before approving your digital proof and 3D mockup
- Uploading a blurry 72 DPI screenshot instead of a vector SVG/EPS: Pixelated edges soften the module corners; always use vector paths or let our prepress team generate your vector QR code for free.
- Printing the black QR modules in 4-color Rich Black instead of 100% K: Single-channel 100% black ink (or a single dark Pantone spot ink) keeps tiny 0.02 inch modules razor-sharp without multi-plate haloing.
- Covering more than 20% of the matrix with a center logo: Oversized center logos wipe out too many data modules even at Error Correction Level H; keep center icons under 15%–20% or move the logo above the grid.
- Using fancy circular dots or thin star shapes instead of square modules: Heavy stylized dot generators reduce dark-to-light area contrast and fail on older smartphone cameras; stick to square or slightly rounded modules.
- Hard-coding a temporary campaign link that expires in 60 days: If your product sits on retail shelves or in customer pantries for 12 months, use a permanent branded redirect URL you control.
Find your label size
Suggested label size: 9⅛ × 2¾ in (width × height)
A typical starting point. Your account manager confirms the size on the proof.
Quote this size →Packaging for this
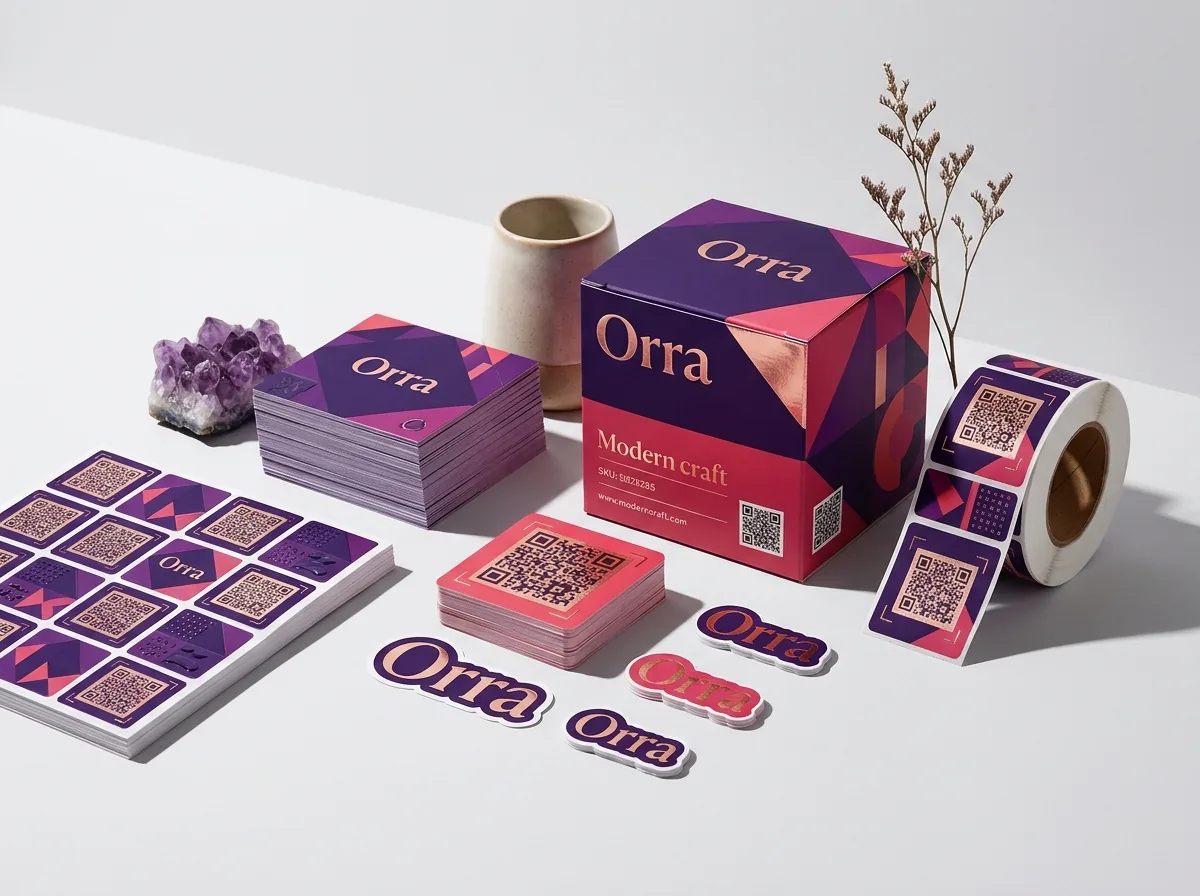
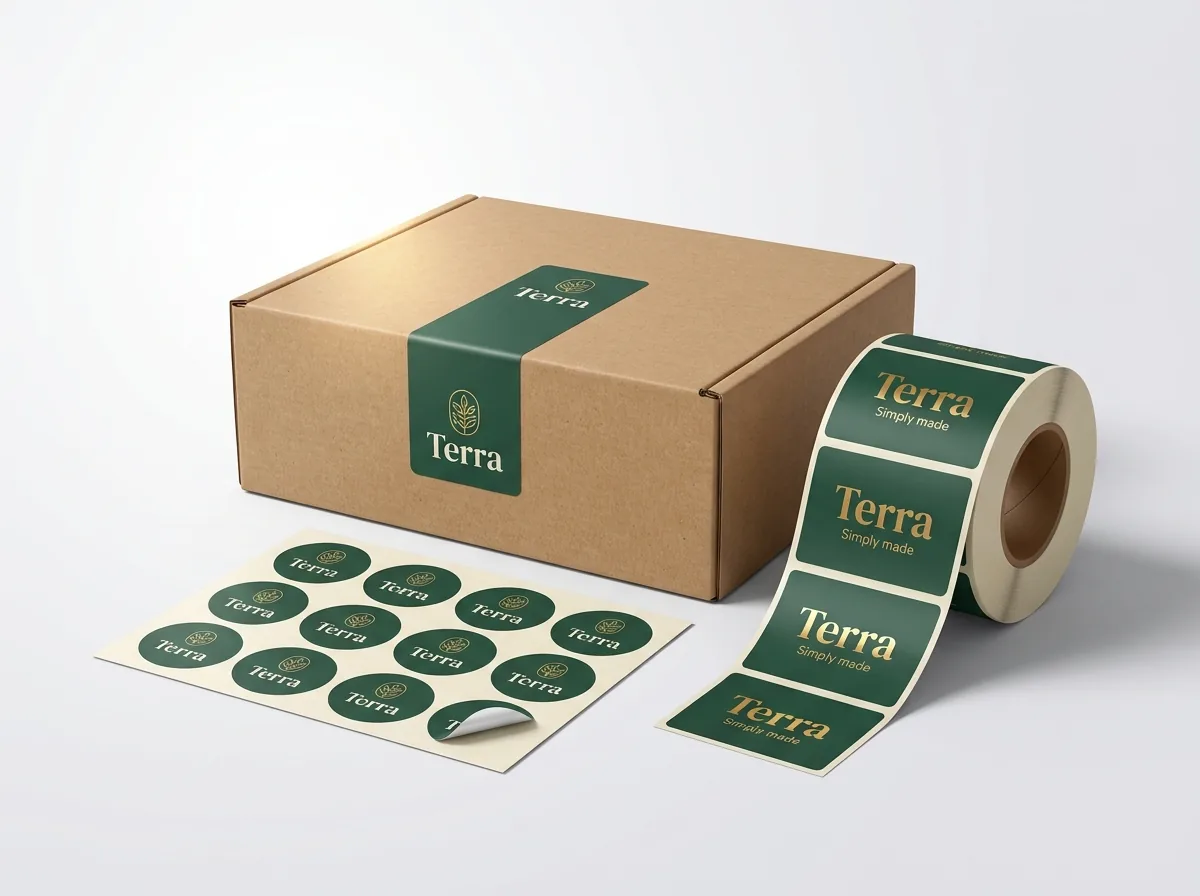
Ready to order qr code stickers? Compare up to 3 quantities with a free 3D mockup.
Request a Quote →Questions about qr code stickers
What if I only have a website link and do not know how to make a vector QR code?
No problem at all. Paste your destination URL in Step 3 of the quote form and upload your brand logo. CubitPack's prepress team will generate a crisp 100% black vector QR code with the right Error Correction level, frame it with your logo and call to action, and send you a free digital proof and 3D mockup.
Should I print my QR code in 100% K black or four-color rich black?
Always set black QR code modules to 100% K (0C 0M 0Y 100K) rather than four-color rich black. Printing the tiny 0.02 inch squares with a single black ink plate guarantees razor-sharp edges without any cyan, magenta or yellow ink peeking out along the edges.
Can I use a dark Pantone color like navy blue or forest green for the QR squares?
Yes. As long as the Pantone color has high ink density (similar to 70%–100% black value, such as deep navy, forest green, dark burgundy or espresso brown) and is printed on a clean white or pale cream background with a matte finish, smartphone cameras scan it just as fast as black.
Are dot-style or rounded-module QR codes safe to print on small stickers?
Slightly rounded module corners scan fine on 1.5 × 1.5 inch or 2.0 × 2.0 inch stickers, but disconnected tiny circular dots or diamond shapes reduce the dark fill area of each module. For compact 1.25 × 1.25 inch packaging stickers, classic connected square modules give you the highest scan reliability.
How much bleed and safe zone should I include on a 1.5 × 1.5 inch QR code sticker?
Extend your background color or outer frame 0.125 inches (3 mm) outside all four cut edges so your full bleed canvas measures 1.75 × 1.75 inches. Keep your white QR quiet zone, logo and call-to-action text at least 0.125 inches inside the 1.5 × 1.5 inch cut line.
What happens if I need to change the webpage link after my QR code stickers are printed?
A printed QR code encodes the exact URL characters in its black-and-white squares. If you encode a short redirect URL on your own domain (such as yourbrand.com/reorder or yourbrand.com/coa) or use a dynamic QR service, you can point that redirect to a new webpage anytime without reprinting your stickers.
Still have a question? Ask a packaging specialist.
Request a Quote →Request your qr code stickers quote
Tell us your size and quantities, and one dedicated account manager prepares pricing for each tier.
- Free design & AI-to-print studio + 3D mockup
- No die or plate charges · 4–5 day rush available
- Free shipping to all 50 states
- 10% off your first order
Written from ISO/IEC 18004 Reed-Solomon Error Correction (Levels L/M/Q/H), dark-on-light contrast rules and CubitPack commercial label prepress specifications (100% K vector modules, 0.1 in quiet zone, 0.125 in bleed). Checked by a packaging specialist.
Sources
- CubitPack product specifications: 500-sticker minimum, 10-14 business day turnaround (rush 4-5), free design and prepress help, Pantone matching guarantee and matte/gloss/foil/spot UV finishes
- ISO/IEC 18004: QR Code Bar Code Symbology Specification: Reed-Solomon Error Correction Levels L (7%), M (15%), Q (25%) and H (30%), dark-on-light reflectance contrast rules and 4-module quiet zone
What changed
- October 22, 2026: First published. Dark-on-light contrast rules, Error Correction Level Q/H center logo sizing, CTA copy and 100% K vector prepress specs verified.
- October 22, 2026: Updated specifications, terminology, and verified source links.
More guides
New packaging guides by email
Sizes, materials and design tips. Unsubscribe anytime.