
How do I lay out a custom food label with Nutrition Facts, ingredients and allergens?
Short answer: Divide your layout into two zones: the front Principal Display Panel (brand logo, product identity, flavor callout and net weight in oz and grams) and the side or back Information Panel (Nutrition Facts box, descending ingredient list, major allergens, business address and barcode). Order custom food labels with free prepress checks.
On this page
- What belongs on the Principal Display Panel (PDP) vs the Information Panel
- How do I fit Nutrition Facts and ingredients on small jars, bottles and tins
- Where should the UPC barcode and best-by date box sit on a food label
- How do I prepare bleed, safe zones and AI designs for food label printing
- How can I design multi-flavor food labels to lower my cost per unit
- Common mistakes
- FAQs
Request a custom quoteFree dieline & 3D mockup
Every retail food label has to balance two jobs at once: catching a shopper's eye in three seconds from the grocery aisle and presenting dense nutrition, ingredient, allergen and traceability text clearly once they pick the package up. US food packaging conventions solve this by splitting the label into two distinct zones: the Principal Display Panel (PDP) facing the shopper on the front, and the Information Panel immediately to the right of the PDP (on a wrap label) or on a separate back label. Keeping ingredients, barcodes and storage directions off the front third of the container gives your logo, flavor banner and food illustration room to breathe, while putting the Nutrition Facts, descending ingredient list, 'Contains' allergen line and company address together on a high-contrast background makes them effortless to read. At CubitPack, our prepress team checks small text clarity, adds ⅛ inch bleed and sends a 3D mockup for free before you pay.
What belongs on the Principal Display Panel (PDP) vs the Information Panel?
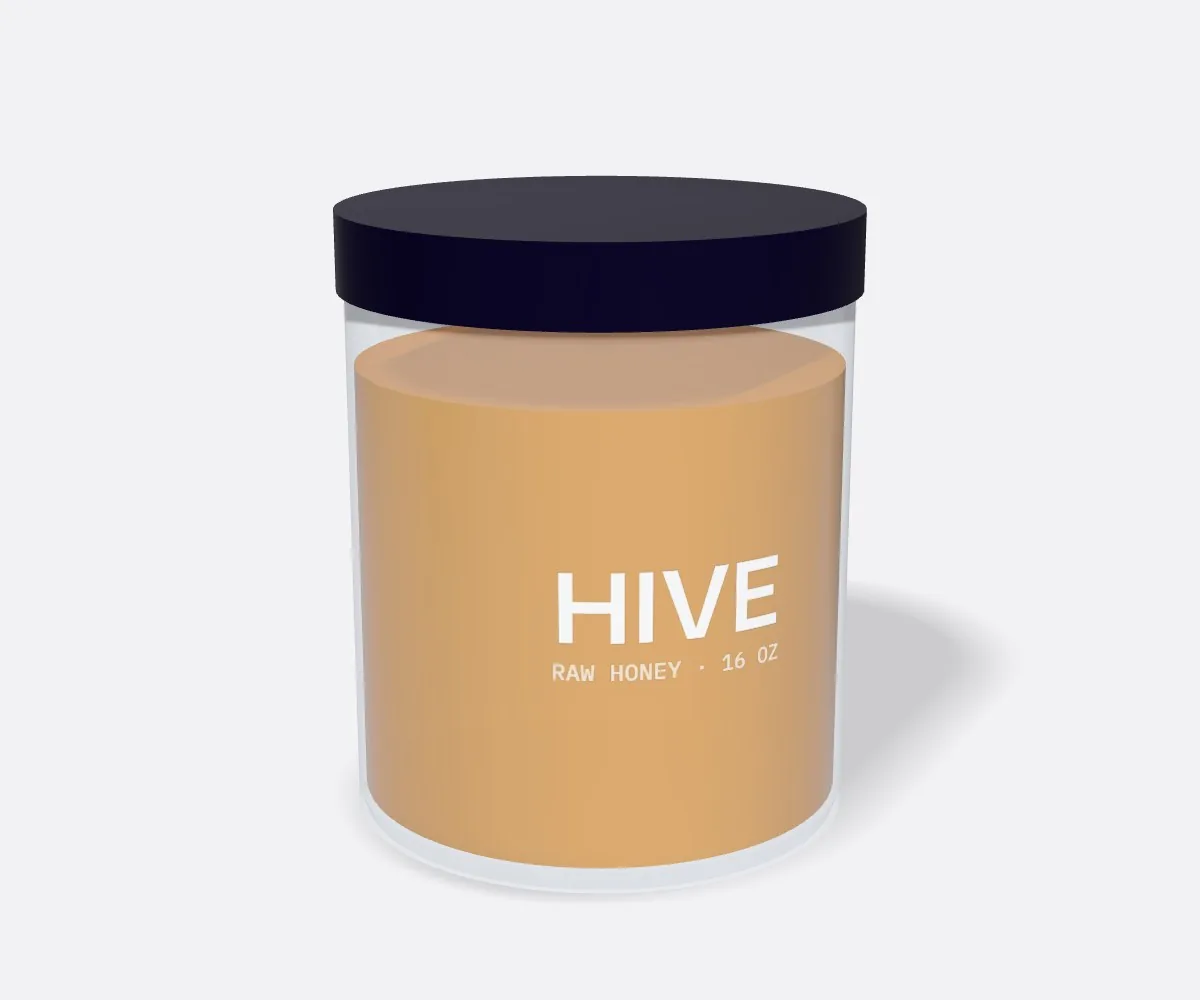
When laying out a full-wrap jar label or a two-piece front-and-back pouch set in Illustrator or Canva, start by drawing vertical column guides that separate the front-facing panel from the side or back information zone. On a round jar wrap, the Principal Display Panel should occupy no more than the center 30% to 35% of the total wrap width so the customer never has to rotate the jar to read the product name and net weight. Use the zone map below to organize your text blocks before setting font sizes and colors.
| Label panel & zone | Elements placed in this zone | Layout & prepress best practice |
|---|---|---|
| PDP (Front top & center) | Brand logo, statement of identity (e.g., Spicy Marinara Sauce), flavor variant | Keep inside the front third of a round cylinder so it reads in one glance |
| PDP (Front bottom 30%) | Net quantity of contents in US & metric units (e.g., Net Wt 12 oz (340 g)) | Parallel to the container base, ¼ in above the bottom cut line |
| Information Panel (Top) | Nutrition Facts table (vertical standard, tabular or linear format) | Black or dark text on a solid white or light high-contrast background |
| Information Panel (Middle) | Ingredient list (descending order by weight) + 'Contains:' allergen line | Use clean sans-serif type with generous line spacing; avoid metallic ink |
| Information Panel (Bottom) | Manufacturer, packer or distributor name, city, state and ZIP code | Placed directly below the ingredient and allergen statement |
| Back lower corner / margin | UPC-A barcode box + best-by / lot-code knock-out box | 1.25 × 0.75 in white barcode box; 1.25 × 0.5 in white date box |
How do I fit Nutrition Facts and ingredients on small jars, bottles and tins?
Fitting a full vertical Nutrition Facts box onto a 16 oz pasta sauce jar or a 3 × 4 inch snack pouch is straightforward, but on a 2 oz spice jar, a 4 oz honey jar or a narrow hot sauce bottle, vertical height runs out fast. Instead of shrinking a standard vertical Nutrition Facts table until the numbers blur, use one of three space-saving layouts on your custom printed food labels. First, switch from the tall vertical Nutrition Facts box to the side-by-side tabular format (wider and shorter) or the compact linear format used on small packages with limited square inches of label space. Second, extend a front-only label into a nearly full cylinder wrap (π × diameter minus ¼ inch gap) so you gain two extra side flanks on the left and right of your logo. Third, pair a clean front brand wrap with a round bottom or lid sticker using custom circle labels or a separate back sticker from our custom ingredient labels and custom nutrition labels options.
- Full-wrap 3-column grid: center column for brand and net weight, right flank for Nutrition Facts and ingredients, left flank for story and barcode.
- Tabular or linear Nutrition Facts: horizontal formats designed specifically for short jars under 2.5 inches tall.
- Two-label front-and-back split: keep your foil-stamped front badge small and place all dense compliance text on a white back rectangle.
- Matte finish over small type: choose matte lamination so overhead supermarket lights do not glare off 6 pt ingredient text.
- High-contrast allergen line: place your 'Contains:' major allergen summary right below the ingredient list in bold type.
Where should the UPC barcode and best-by date box sit on a food label?
Two small functional blocks can hold up a grocery distributor onboarding if they are placed carelessly: the UPC barcode and the expiration or lot-code stamp zone. On round jars and bottles, orient the barcode bars horizontally (ladder style, stacked from top to bottom) or keep the barcode box narrow enough that the curvature of the glass does not bend the outer bars away from the checkout laser. Always print dark black bars inside a solid white rectangle with at least ⅛ inch of quiet white margin on the left and right. Right beside or below the barcode, include a 1.25 × 0.5 inch white knock-out box labeled 'BEST BY / LOT:'. Leaving that rectangle white (and telling your account manager if you use an ink stamp, permanent marker or thermal coder) guarantees your kitchen crew can mark dates legibly on every batch. If you sell through natural-food grocers or regional supermarkets, test-scan a 100% scale paper printout of your barcode with a phone or handheld scanner after taping it around your curved bottle to verify first-pass scan speed.
Know your size? Compare pricing across up to 3 quantities.
Request a Quote →How do I prepare bleed, safe zones and AI designs for food label printing?
Before sending your food label file to press, check three boundary lines around your artwork: the cut line (your exact finished width × height), the bleed line (extending background colors and illustrations ⅛ inch past the cut line on all sides), and the safe margin (sitting ⅛ inch inside the cut line). Keep the outer border rule of your Nutrition Facts box, your net weight line and your barcode at least ⅛ inch inside the cut line so mechanical trimming never clips a rule. If you created your food illustration or flavor mascot with an AI generator, or if you have a Canva layout without bleed or vector outlines, upload what you have in the quote form. Through our print your AI design and free design help services, our prepress designers rebuild blurry text into crisp vector type, add the ⅛ inch bleed and custom cut line, and send a digital proof and 3D mockup on your jar or pouch before you pay.
How can I design multi-flavor food labels to lower my cost per unit?
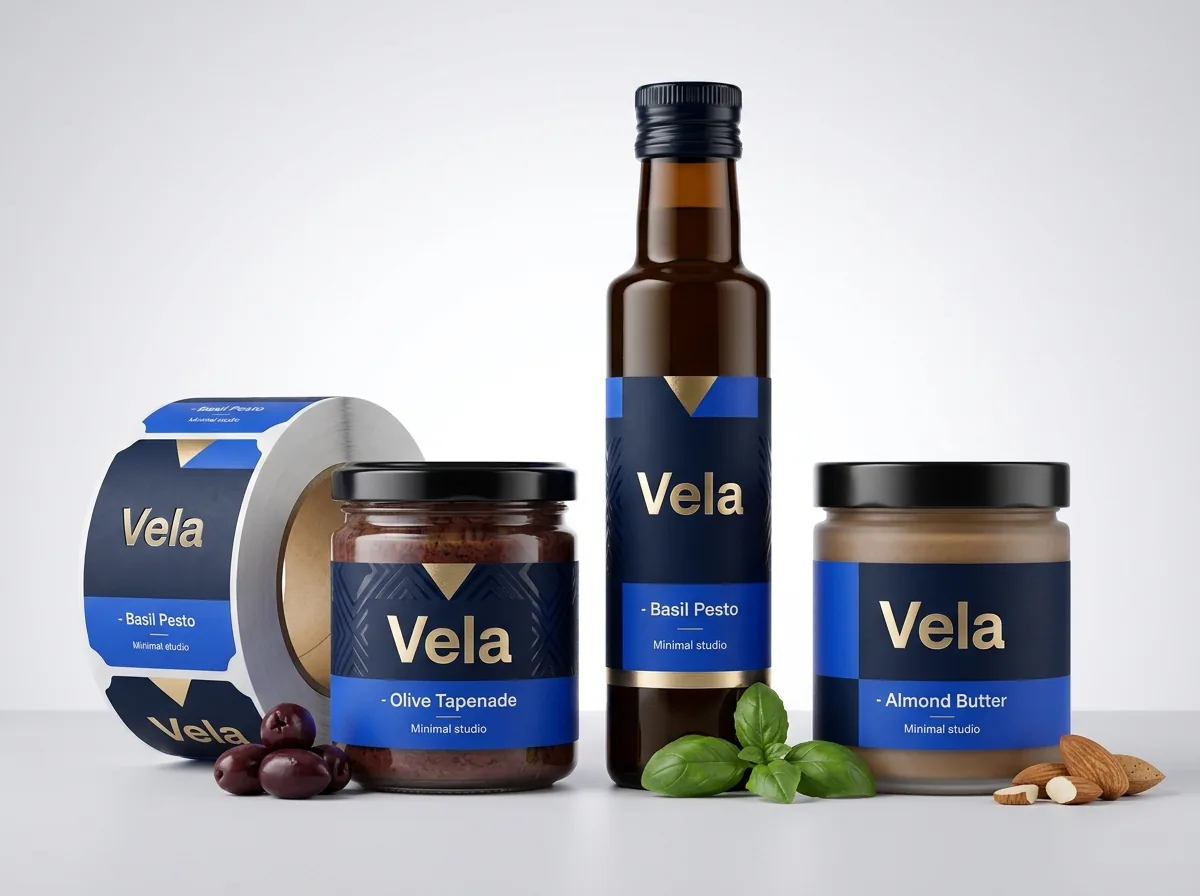
Four factors drive the unit price of custom food labels: label width × height, total quantity, material stock (standard stock vs custom clear labels or custom foil labels), and specialty finishes like hot foil stamping or spot UV. Because setup spreads across the run, ordering 1,000, 2,500 or 5,000+ labels across your product line lowers the cost per label significantly. To maximize volume savings across five jam flavors, four hot sauces or six spice blends, lock every SKU into the exact same label dimensions, corner radius and material stock. Keep your logo, net weight position and Nutrition Facts grid in fixed spots, and swap only the Pantone flavor band, illustration and ingredient list. In Step 2 of the quote form, select 2 designs or 3+ designs and request up to three quantity tiers to see where your price drops. You never pay die or plate charges, your first order is 10% off, and we beat any written US competitor quote for the same specs. If you also use round lid stickers to call out flavors from the top of a farmers-market crate or retail shelf, keep one universal body wrap across your jars and use 2 inch color-coded lid circles for each recipe batch.
What are the most common food label layout mistakes?
Most food label prepress revisions come from crowded front panels, four-color small type or unreadable barcodes. Check these five mistakes before approving your proof
- Making the Principal Display Panel wider than one-third of a round jar's circumference, forcing shoppers to turn the jar to read the product name.
- Setting tiny 6 pt ingredient lists in four-color CMYK black or light metallic ink instead of crisp 100% single-color black on a light background.
- Placing the outer border of the Nutrition Facts box right on the cut line without a ⅛ inch inner safe margin.
- Wrapping a wide horizontal barcode around a narrow 1.5 inch bottle neck where glass curvature prevents grocery scanners from reading the outer bars.
- Forgetting to leave a white knock-out box for stamping best-by dates and batch lot codes.
Find your label size
Suggested label size: 9⅛ × 2¾ in (width × height)
A typical starting point. Your account manager confirms the size on the proof.
Quote this size →Packaging for this
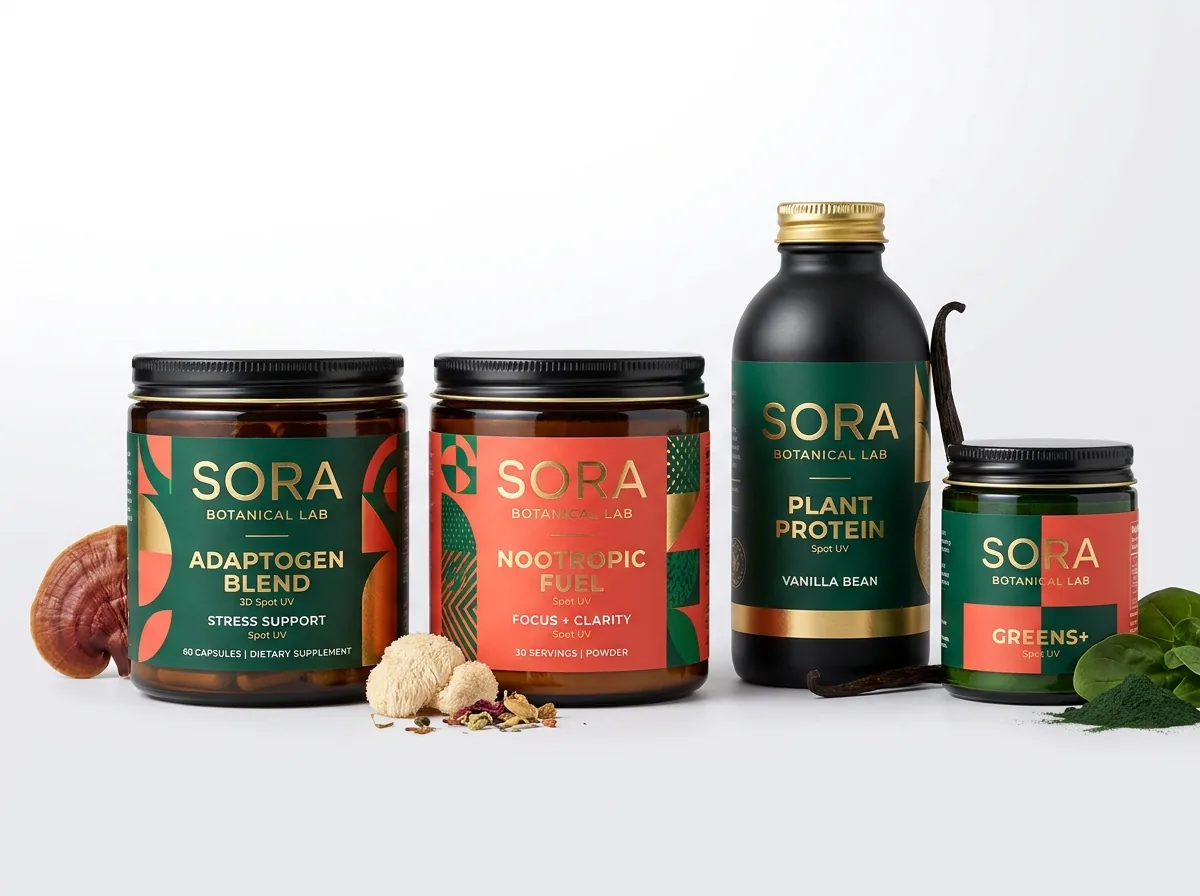
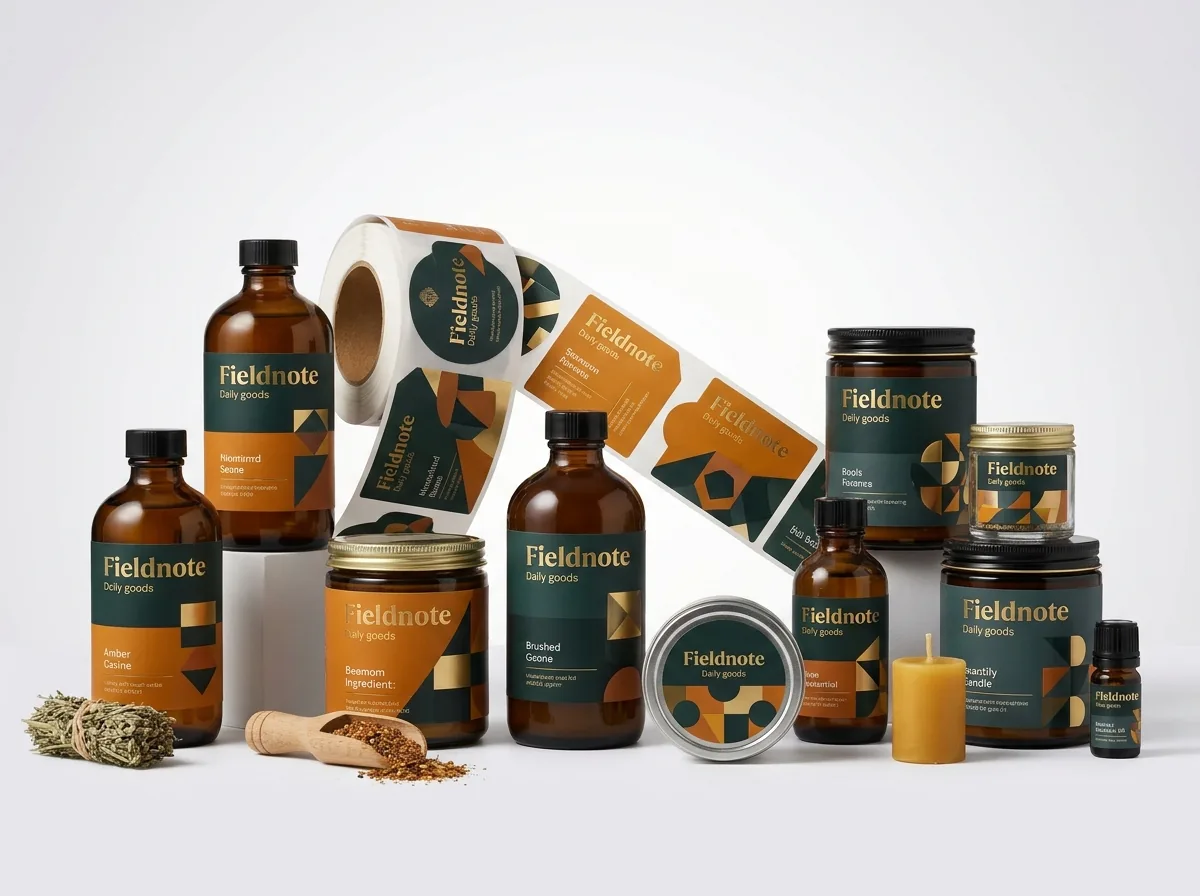
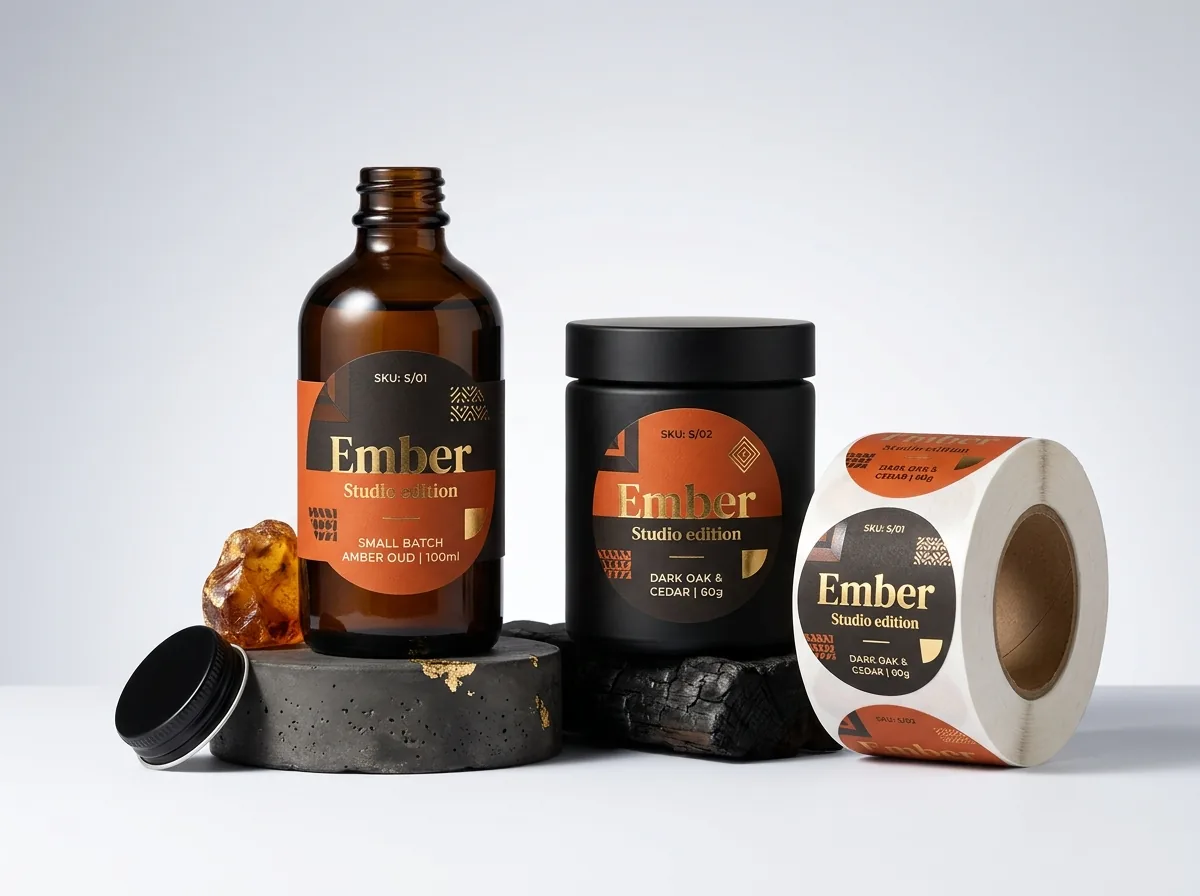
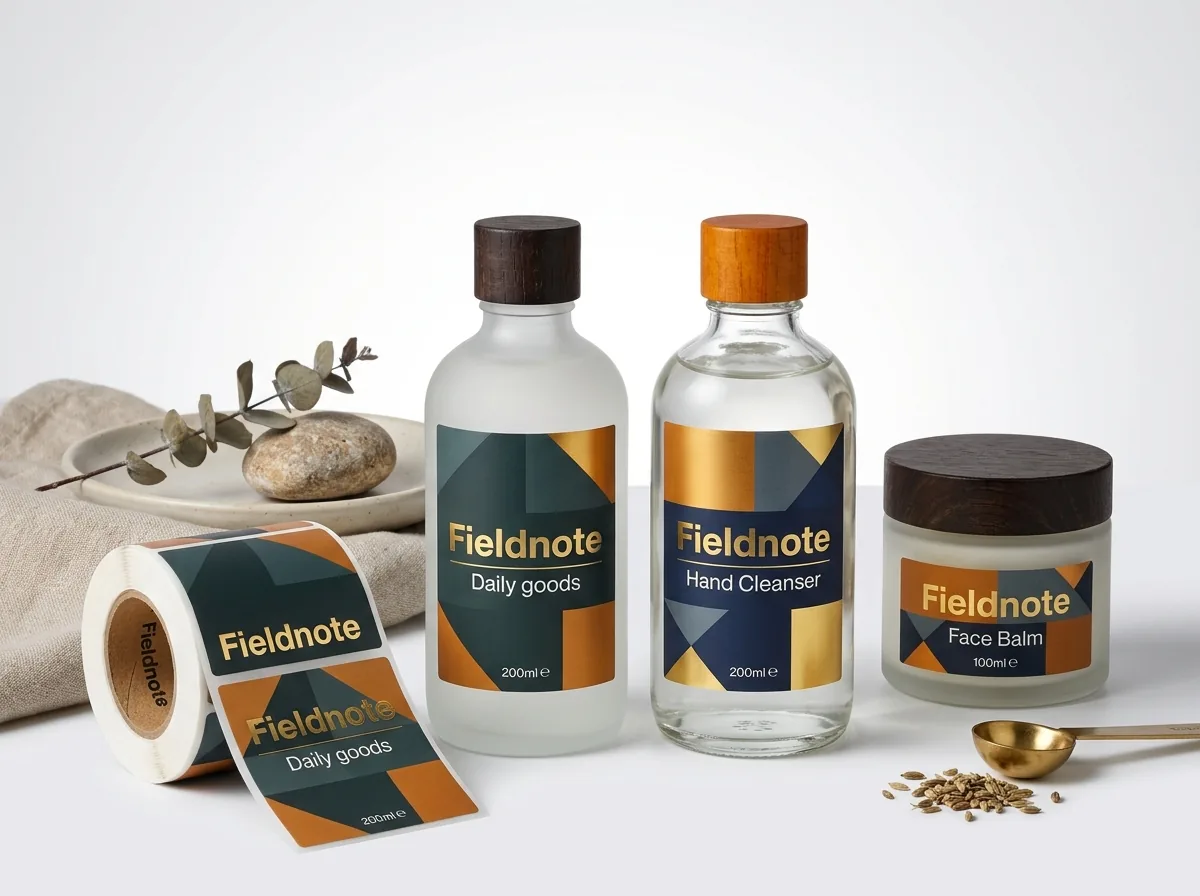
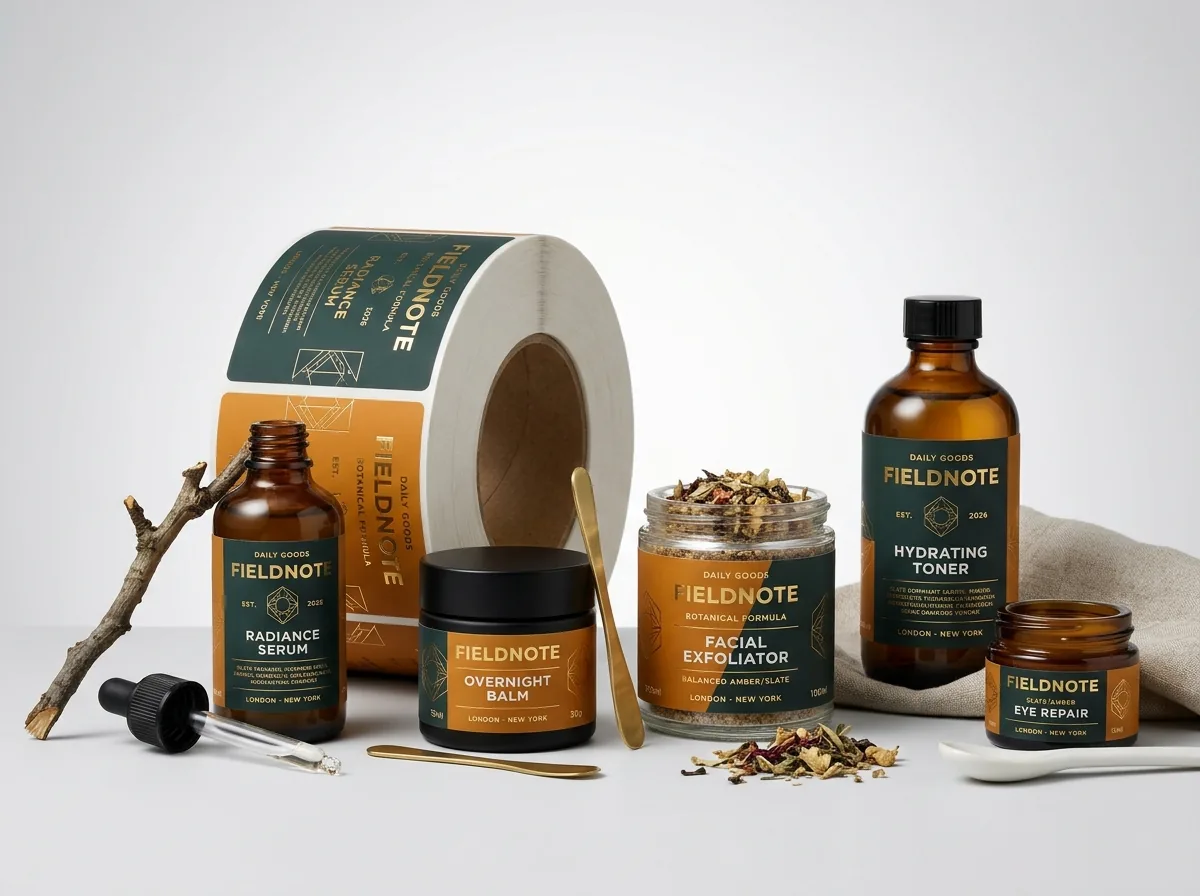
Ready to order food labels? Compare up to 3 quantities with a free 3D mockup.
Request a Quote →Questions about food labels
What four elements belong on the front Principal Display Panel of a food label?
The front Principal Display Panel (PDP) carries your brand logo, the statement of identity (the common name of the food, such as Strawberry Preserves), any flavor or dietary callout, and the net quantity of contents in both US ounces/fluid ounces and metric grams/milliliters on the bottom third.
Where does the ingredient list and allergen statement go in relation to Nutrition Facts?
On the Information Panel (immediately to the right of the front panel on a wrap, or on the back label), the ingredient list and 'Contains' major allergen statement sit directly below the Nutrition Facts box, followed by the name and address of the manufacturer, packer or distributor.
Does CubitPack check my small ingredient text before printing?
Yes. Our prepress team checks every file for resolution, font sharpness, ⅛ inch bleed and safe margins before sending your free digital proof and 3D mockup, and we print the exact wording you approve.
How do I prevent my recipe changes from wasting thousands of printed front labels?
Split your food packaging into a two-label system: order a higher quantity of your foil-stamped or color-coded front brand labels, and put the Nutrition Facts, ingredient list and barcode on a separate plain white back label that is inexpensive to update when an ingredient changes.
Why should a barcode on a narrow bottle be rotated vertically (ladder style)?
On narrow cylindrical bottles under 2 inches in diameter, a wide horizontal barcode curves away from the scanner beam at the left and right edges. Rotating the barcode 90 degrees so the bars stack like a ladder keeps every bar on the same flat vertical plane.
Can I send a Canva file or AI image and have CubitPack set up the dieline?
Yes. Upload your Canva PDF, Illustrator file or AI-generated illustration in the quote form. Our designers add the vector cut line, ⅛ inch bleed and safe margins for free and show you a 3D mockup on your container before payment.
Still have a question? Ask a packaging specialist.
Request a Quote →Request your food labels quote
Tell us your size and quantities, and one dedicated account manager prepares pricing for each tier.
- Free design & AI-to-print studio + 3D mockup
- No die or plate charges · 4–5 day rush available
- Free shipping to all 50 states
- 10% off your first order
The panel zone map, barcode orientation rules and prepress margins (⅛ inch bleed and safe zone) in this guide follow standard US food packaging conventions and CubitPack prepress checks. A packaging specialist reviewed every section. Spot something wrong? Tell us and we will fix it.
Sources
What changed
- October 22, 2026: First published.
- October 22, 2026: Updated specifications, terminology, and verified source links.
More guides
New packaging guides by email
Sizes, materials and design tips. Unsubscribe anytime.