
How do I design three-zone wrap-around rectangle labels?
Short answer: Divide the total width of your wrap-around custom rectangle labels into three vertical columns: the center 35% for your front brand panel, the left 32.5% for nutrition or supplement facts, and the right 32.5% for directions and your barcode. Add ⅛ inch bleed outside all four edges.
On this page
- How do I divide a flat wrap rectangle into center front, left and right zones
- Where do nutrition facts, ingredients and brand story belong on a three-zone wrap
- Why should barcodes on narrow bottles be rotated 90 degrees into ladder orientation
- How do I set up bleed, safe margins and seam edges on a wrap rectangle
- How can I preview my flat rectangle wrapped in 3D before printing
- Common mistakes
- FAQs
Request a custom quoteFree dieline & 3D mockup
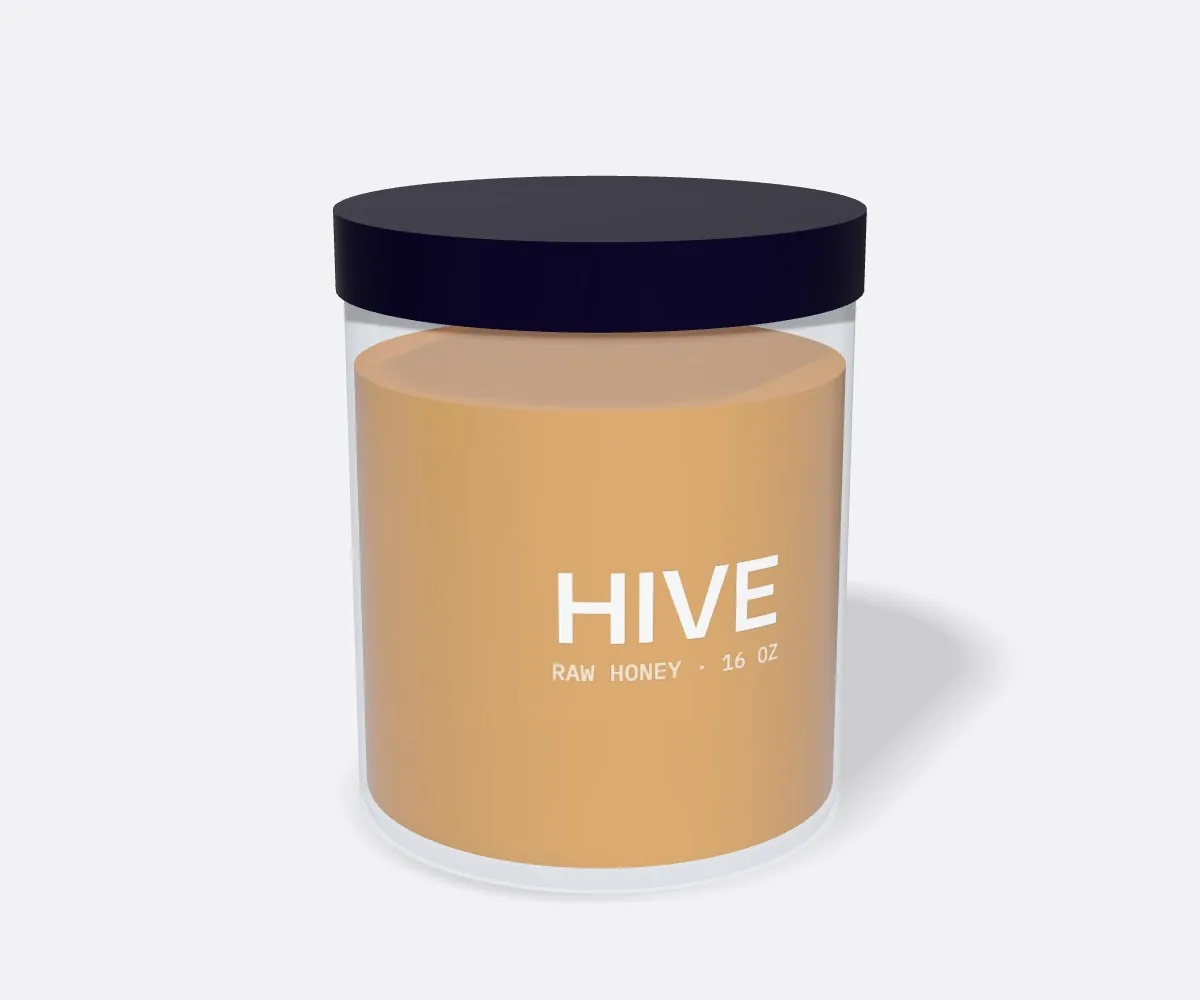
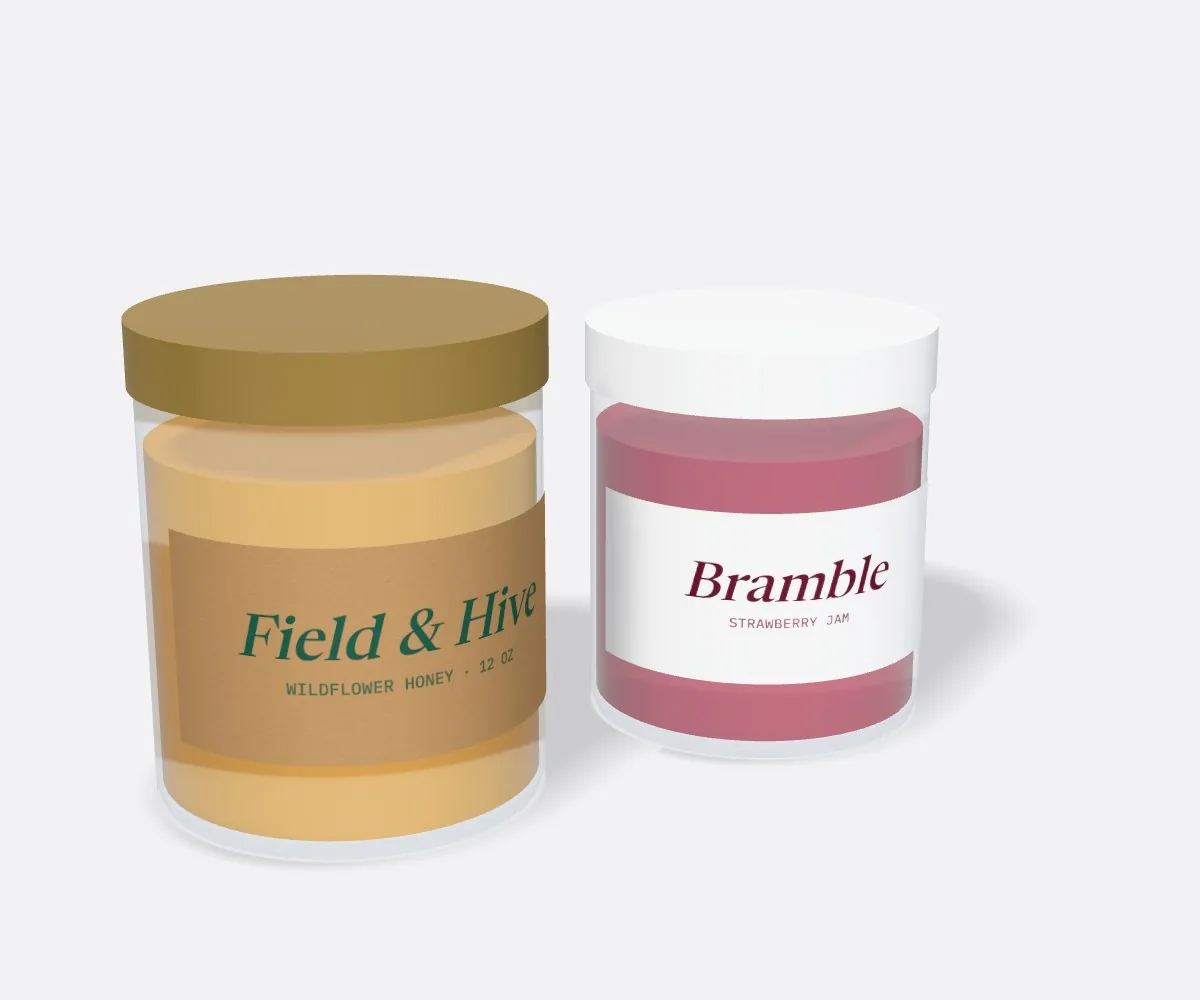
The biggest challenge when designing a wrap-around rectangular label on a flat monitor is remembering that the shopper never sees the whole rectangle at once. Once wrapped around a cylindrical bottle, jar or can, only the middle third of the rectangle faces forward on the shelf, while the left and right wings curve away into the side and back views. If you let your logo or product title stretch across 50% of the flat rectangle's width, the first and last letters vanish around the curved sides of the bottle. Dividing your canvas with vertical guide lines into a 32.5% left zone, a 35% center principal display panel and a 32.5% right zone guarantees that your front face reads in a single glance. When you order printed rectangle labels from CubitPack, we send a free 3D cylindrical mockup before payment so you can inspect the curve.
How do I divide a flat wrap rectangle into center front, left and right zones?
Before placing a single logo or text box in Adobe Illustrator, InDesign or Canva, drop two vertical non-printing guide lines across your rectangular artboard to divide the total width into three functional columns: the Left Side/Back Zone (32.5% of total width), the Center Principal Display Panel (35% of total width), and the Right Side/Back Zone (32.5% of total width). Leave a small ⅛ inch to ¼ inch breathing gutter between the zones so your front hero typography never collides with the edge of your Nutrition Facts box. Use the reference table below to see the exact three-zone column widths in inches for the five most common full-wrap bottle, jar and can rectangles. Keeping all front-facing brand elements, flavor badges and net-weight statements strictly inside the center 35% column ensures your product photographs cleanly from straight on and reads clearly on retail shelves.
| Total wrap size (W × H) | Center front zone (35% W) | Left & right side zones (32.5% W each) |
|---|---|---|
| 3.75 × 1.75 in (1 oz dropper) | 1.31 in center panel | 1.22 in left + 1.22 in right |
| 4.50 × 2.00 in (2 oz bottle) | 1.58 in center panel | 1.46 in left + 1.46 in right |
| 5.00 × 1.75 in (4 oz spice/sauce) | 1.75 in center panel | 1.625 in left + 1.625 in right |
| 6.00 × 2.50 in (8 oz jar/vitamin) | 2.10 in center panel | 1.95 in left + 1.95 in right |
| 8.00 × 4.50 in (12 oz beverage can) | 2.80 in center panel | 2.60 in left + 2.60 in right |
Where do nutrition facts, ingredients and brand story belong on a three-zone wrap?
Once your three vertical columns are marked, assign each column a clear job. The Center Principal Display Panel (35% width) holds only four high-impact elements: your brand mark, the product or flavor name, a short descriptor or illustration, and the net quantity statement along the bottom margin. Resist the temptation to squeeze warning paragraphs or social media icons into the center zone. Place your romantic brand story, usage directions, storage icons and company address in the Left Zone, and place your structured Nutrition Facts or Supplement Facts table, ingredient list, allergen statement and UPC barcode in the Right Zone (or swap Left and Right to match your industry convention). Separating narrative copy on one side from dense tabular compliance facts on the other side gives the bottle a clean, balanced hierarchy when a customer turns it in their hand.
- Center zone (35% width): Brand logo, product/scent title, hero illustration and net weight.
- Left wing (32.5% width): Brand story, usage directions, benefit icons and distributor contact line.
- Right wing (32.5% width): Nutrition or Supplement Facts box, ingredient list, lot/expiry box and UPC barcode.
- Internal column gutters: leave at least 0.125 in (⅛ in) of open background space between the center zone and side wings.
Why should barcodes on narrow bottles be rotated 90 degrees into ladder orientation?
One of the most costly prepress mistakes on small cylindrical bottles is placing a standard horizontal UPC barcode ('picket-fence' orientation, where the bars stand vertically side by side) around a tightly curved wall. When a barcode wraps horizontally around a cylinder under 2 inches in diameter (such as a 1 oz dropper vial, lip balm tube or spice shaker), the left and right ends of the barcode curve away from the checkout scanner beam. The laser or camera sees the outer bars as narrower than they really are, causing scan failures at retail registers. To eliminate curvature distortion on narrow cylinders, GS1 barcode standards recommend rotating the barcode 90 degrees into 'ladder' orientation so the dark bars stack horizontally like the rungs of a ladder running straight up the vertical wall of the bottle. Because a cylinder wall is completely flat from top to bottom, every single bar in a ladder barcode sits at the exact same angle to the scanner.
Know your size? Compare pricing across up to 3 quantities.
Request a Quote →How do I set up bleed, safe margins and seam edges on a wrap rectangle?
Every rectangular label file requires a ⅛ inch (0.125 in) outer bleed on all four sides and a ⅛ inch inner safe margin inside all four cut edges. Because you add ⅛ inch to both the left and right and to both the top and bottom, a 6.00 × 2.50 inch jar wrap requires a 6.25 × 2.75 inch full-bleed canvas and a 5.75 × 2.25 inch inner safe box. Pay special attention to the far left and far right vertical cut edges where the wrap nearly meets at the back of the bottle. Avoid placing half of a logo on the far left edge and the other half on the far right edge expecting them to butt together around the jar. Molded glass and plastic containers vary in circumference by up to 1/16 inch from batch to batch, which is why we size full wraps with a ¼ inch gap between the ends. Let your background color bleed cleanly off both ends so that ¼ inch gap looks like a neat vertical seam.
- Full-bleed canvas: add +0.25 in to ordered Width and +0.25 in to ordered Height (+⅛ in per side).
- Inner safe zone: subtract −0.25 in from ordered Width and −0.25 in from ordered Height (−⅛ in per side).
- Corner radius allowance: keep small corner text ⅛ inch inward so standard 1/16 inch rounded corners never touch type.
- Clear and foil stocks: specify a solid white ink backup layer behind small ingredient text and barcode quiet zones.
How can I preview my flat rectangle wrapped in 3D before printing?
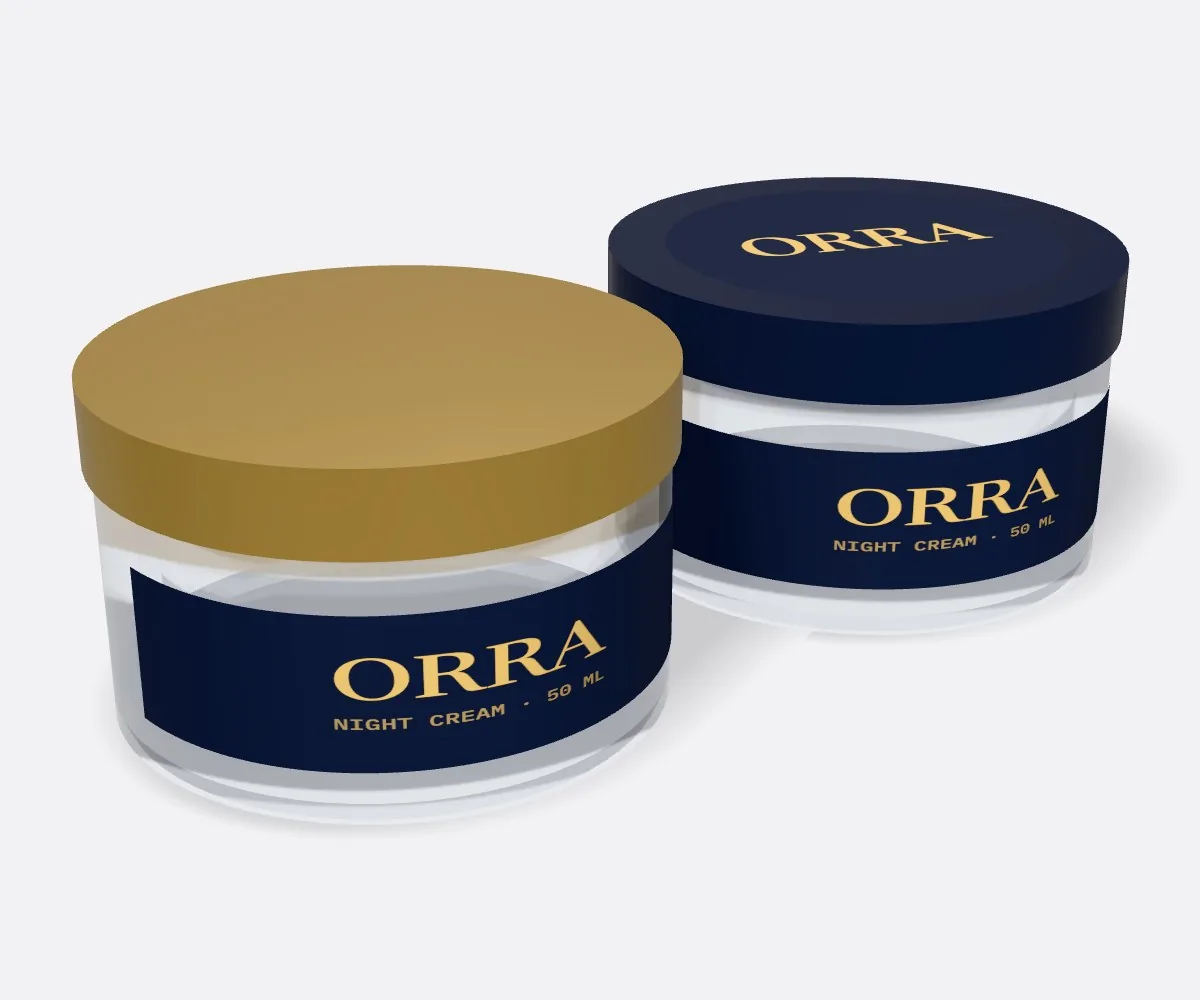
Judging whether your center front panel is too wide or whether your side nutrition table crowds the logo is difficult on a flat 2D PDF screen. That is why every order on our custom rectangle labels page includes both a 2D vector digital proof (showing exact bleed, cut line and safe margins) and an interactive 3D mockup wrapped to your dimensions before you pay. If the 3D view shows that your brand title wraps slightly too far around the left and right shoulders of the cylinder, our designers will tighten the center zone for free and send an updated proof in minutes.
- Check front head-on legibility: verify that the entire brand name and flavor title read clearly from straight ahead.
- Inspect side gutter spacing: confirm that the Nutrition Facts border does not peek into the front view.
- Verify back seam gap: check that the ¼ inch gap between the left and right ends sits cleanly at the back.
What are the most common wrap-around rectangle label design mistakes?
Wrap-around layouts run into trouble when flat-screen proportions meet curved 3D glass. Check your artwork for these five mistakes before approving your proof
- Stretching the front logo or product title across 50% of the rectangle's width so the outer letters disappear around the curved sides of the bottle.
- Placing a wide horizontal picket-fence barcode on a narrow 1 oz dropper bottle instead of rotating the barcode 90 degrees into a vertical ladder.
- Trying to join a split illustration or horizontal text line across the back wrap seam, where normal glass diameter tolerances shift the gap.
- Putting small ingredient text or a four-sided border rule less than 1/16 inch from the top, bottom or side cut lines.
- Printing dark barcode bars directly over custom clear labels or custom foil labels without a solid white ink rectangle behind the code and its quiet zone.
Find your label size
Suggested label size: 9⅛ × 2¾ in (width × height)
A typical starting point. Your account manager confirms the size on the proof.
Quote this size →Packaging for this
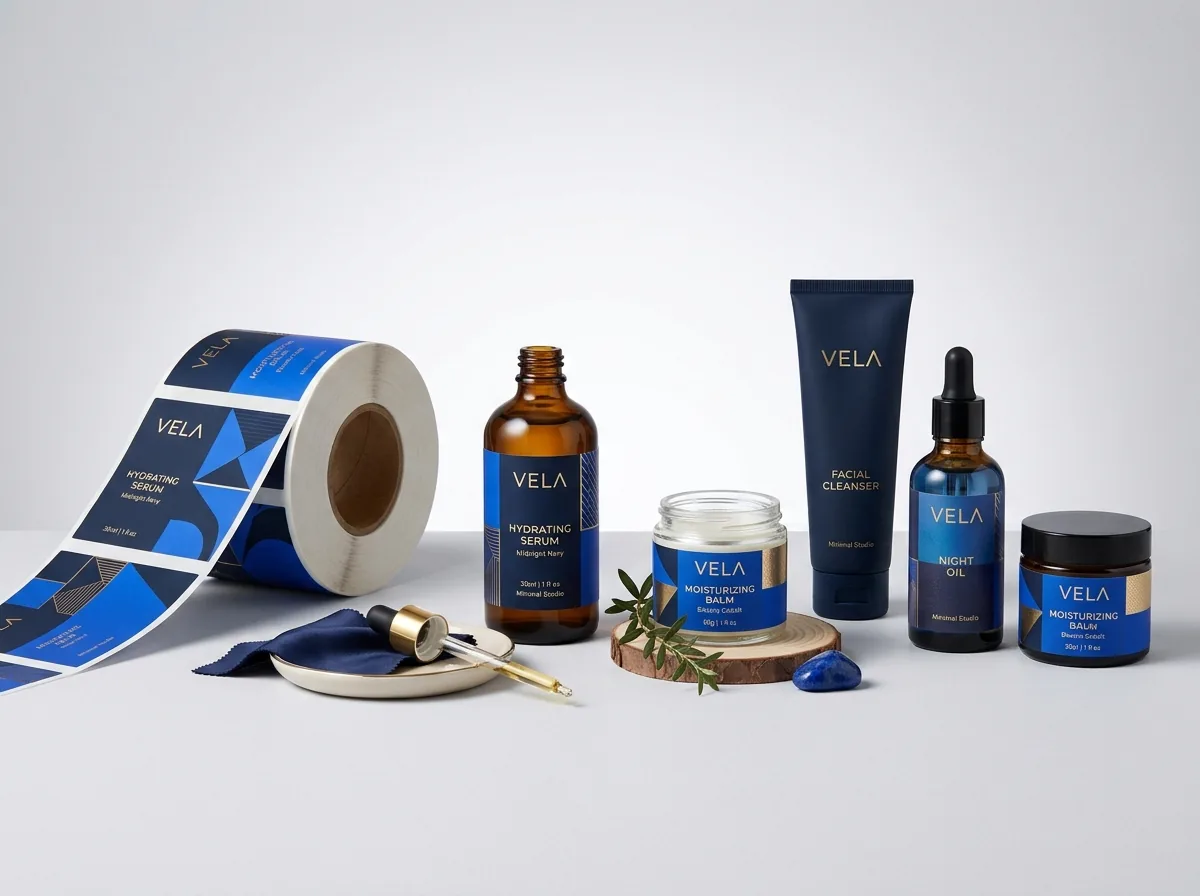
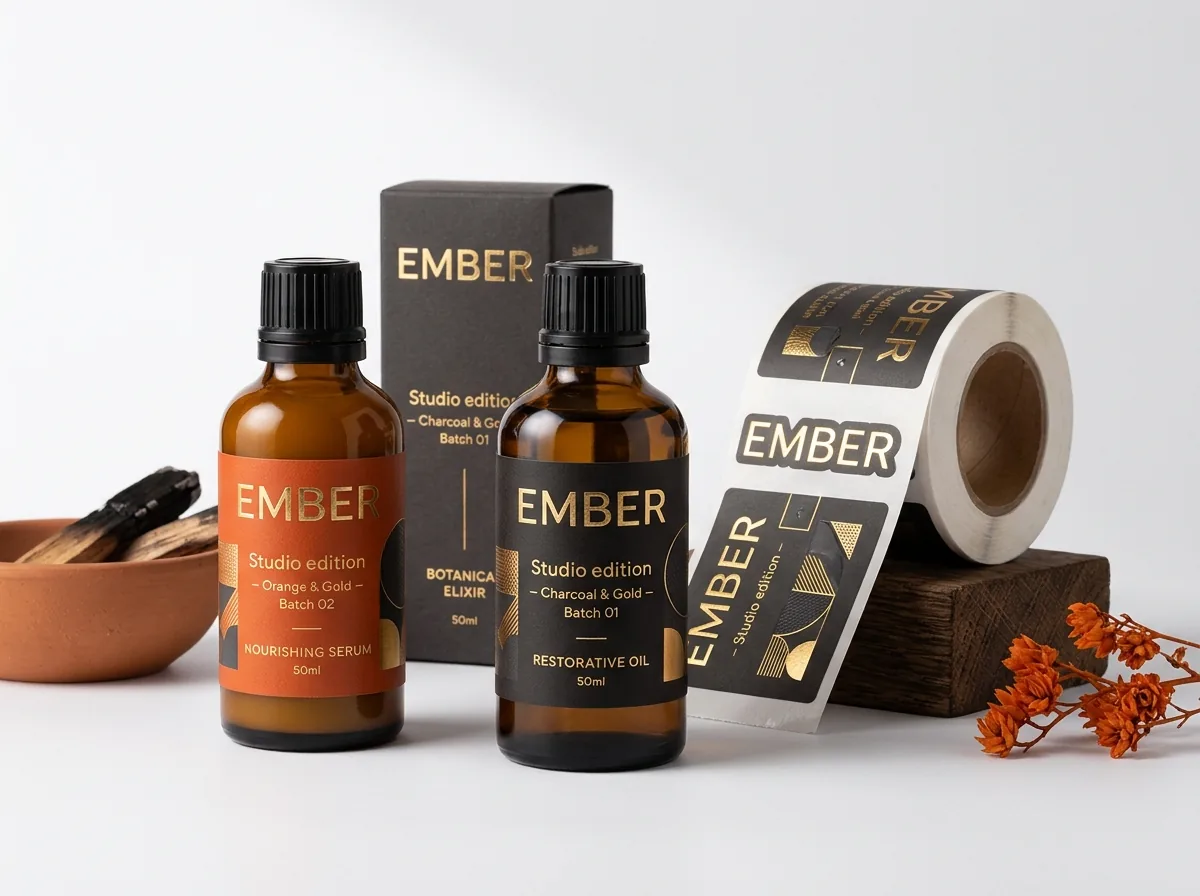
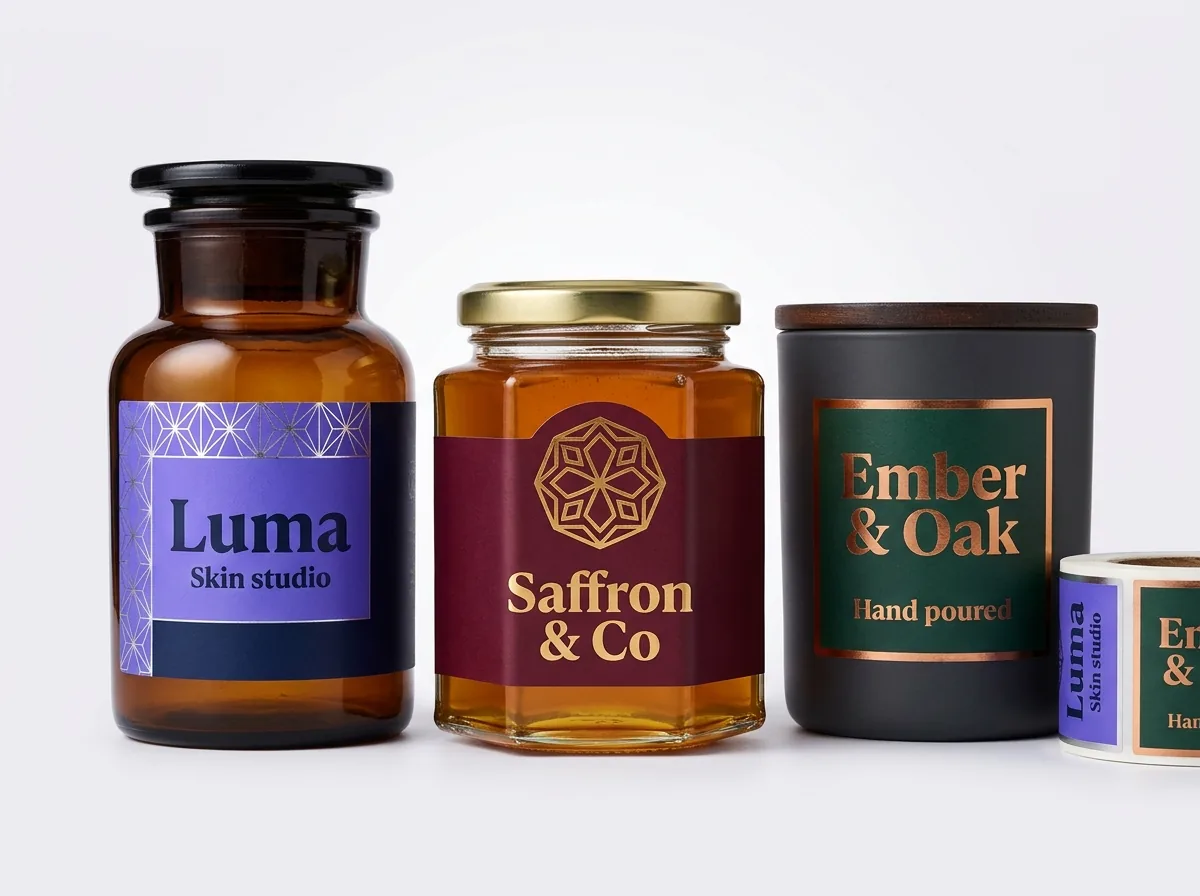
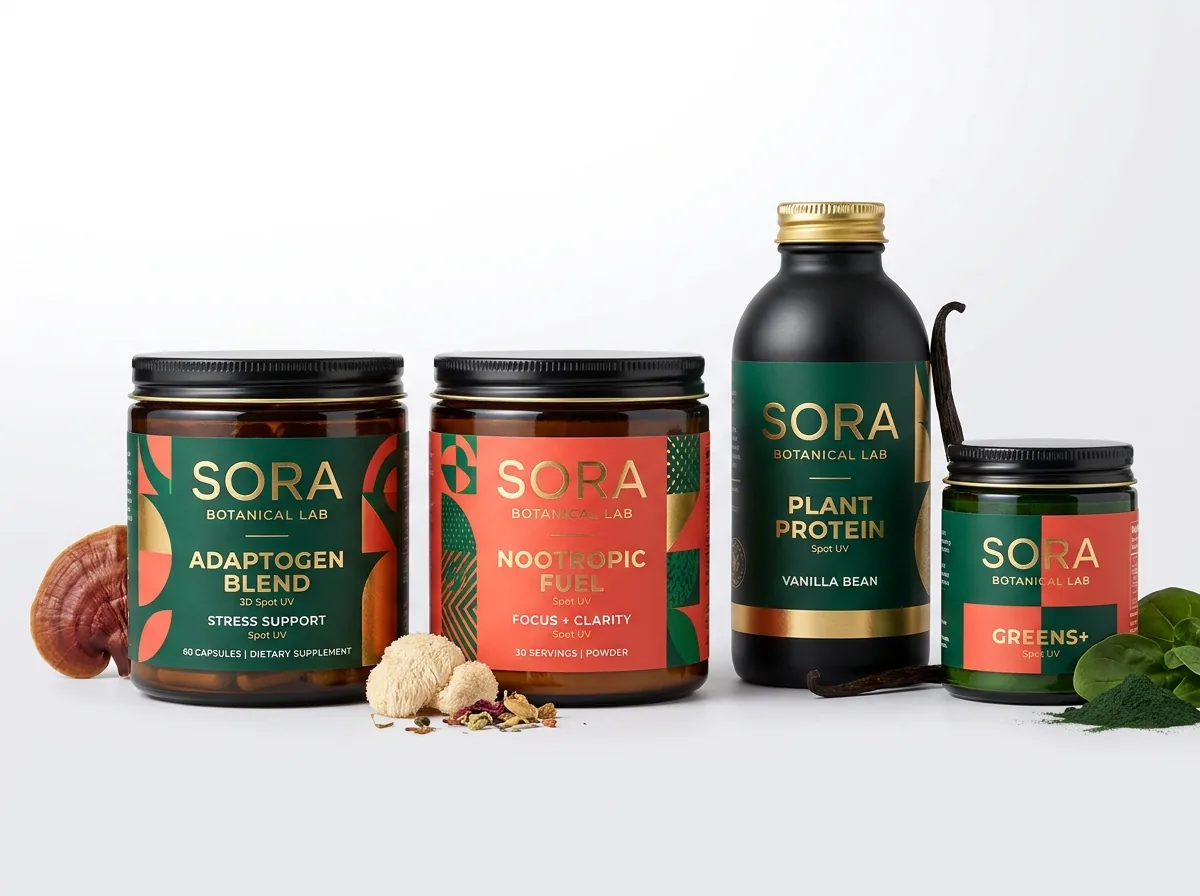
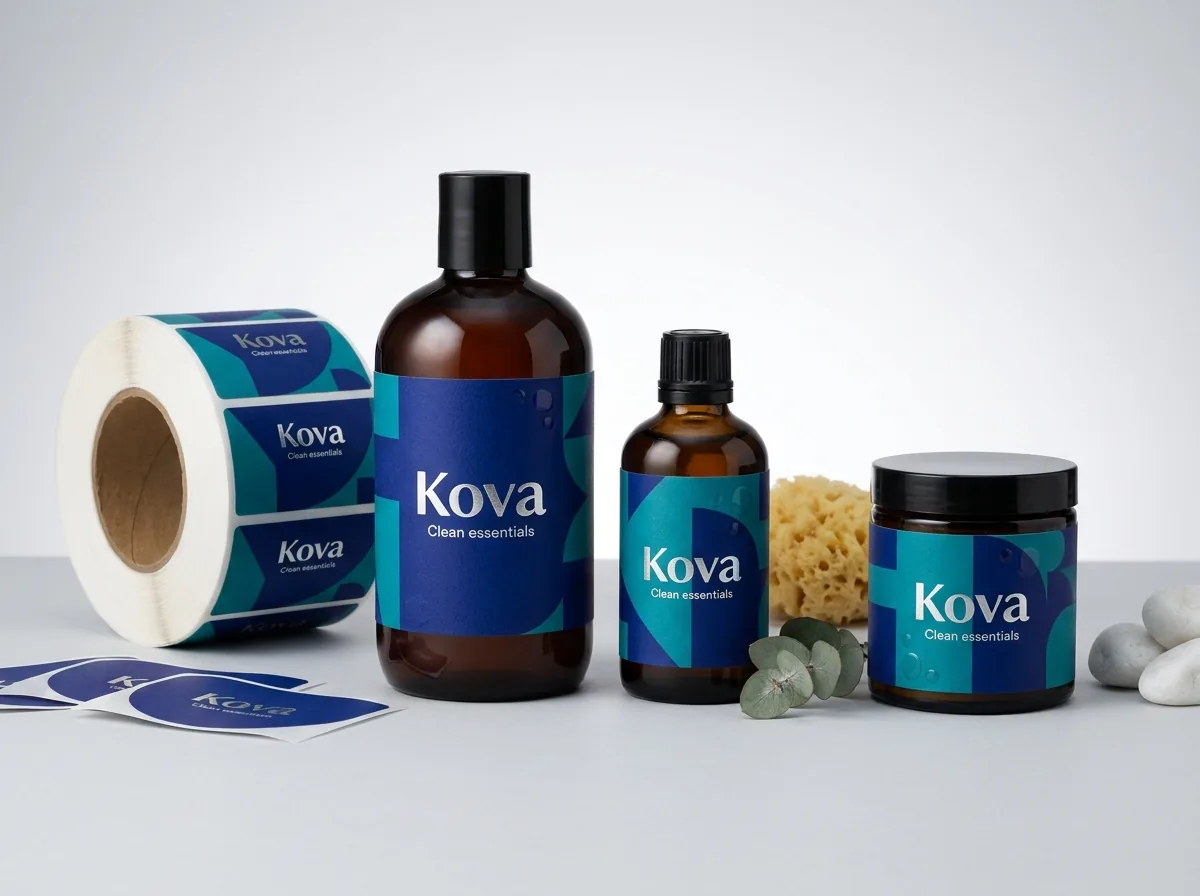
Ready to order rectangle labels? Compare up to 3 quantities with a free 3D mockup.
Request a Quote →Questions about rectangle labels
How wide should the front panel be on a full-wrap bottle label?
Keep your front Principal Display Panel to about 30% to 35% of the total wrap width (roughly equal to the bottle's diameter). That ensures shoppers can read the entire brand name and product title from straight on without rotating the bottle.
What is a ladder barcode and when do I need one on a rectangle label?
A ladder barcode is a standard UPC barcode rotated 90 degrees so the bars stack horizontally from bottom to top like ladder rungs. Use a ladder barcode on any cylindrical bottle or vial narrower than 2 inches in diameter so cylinder curvature never distorts scanner beams.
What should the full bleed dimensions be for a 6 × 2.5 inch wrap label?
Add ⅛ inch (0.125 in) of bleed to all four sides, making your total artwork canvas 6.25 × 2.75 inches. Keep all text, barcodes and logos inside the 5.75 × 2.25 inch inner safe zone.
Can CubitPack set up the three-zone guides and dieline for me for free?
Yes. Free design help is included on every order. Tell us your bottle diameter and straight wall height, or send your rough artwork, and our prepress team will build the three-zone wrap layout, digital proof and 3D mockup before payment.
What is the minimum font size for ingredient lists on rectangular labels?
For sharp readability on press, keep dark positive text on a light background at 5 pt or larger, and keep light knockout text on a dark background at 6.5 pt to 7 pt or larger so fine strokes never fill in.
Can I use gold foil stamping on just the center front zone of a wrap label?
Yes. Many brands apply hot gold or silver foil stamping or spot UV to the logo in the center 35% front zone while keeping the left and right side zones in crisp matte CMYK for easy ingredient reading.
Still have a question? Ask a packaging specialist.
Request a Quote →Request your rectangle labels quote
Tell us your size and quantities, and one dedicated account manager prepares pricing for each tier.
- Free design & AI-to-print studio + 3D mockup
- No die or plate charges · 4–5 day rush available
- Free shipping to all 50 states
- 10% off your first order
The 32.5% / 35% / 32.5% three-zone wrap division in this guide derives from cylindrical viewing arc geometry (~120 degrees front view) paired with GS1 ladder-barcode curvature rules for cylinders under 2 inches wide. Checked by a CubitPack packaging specialist. Spot something wrong? Tell us and we will fix it.
Sources
What changed
- October 22, 2026: First published.
- October 22, 2026: Updated specifications, terminology, and verified source links.
More guides
New packaging guides by email
Sizes, materials and design tips. Unsubscribe anytime.