
How do I design custom oval labels, arched text and bleed lines?
Short answer: Build your file around three concentric ellipses: the exact oval cut line, an outer bleed oval extended ⅛ inch past the cut, and an inner safe-margin oval inset ⅛ inch inside the cut. When ordering custom oval labels, curve headlines along the upper arc and keep body text centered.
On this page
- How do I set up the cut line, ⅛ inch bleed and safe zone on an oval dieline
- How do you arrange arched typography and concentric border rings inside an oval
- How do you design oval artwork for clear film, metallic foil and spot UV
- Where do barcodes go on an oval label, and how does roll unwind direction work
- How do you keep unit cost low when printing multiple oval scents or flavors
- Common mistakes
- FAQs
Request a custom quoteFree dieline & 3D mockup
Designing for an elliptical canvas requires a different layout strategy than a four-cornered rectangle. Because the top, bottom, left and right poles of an oval curve inward toward each other, dropping a standard rectangular text block onto an oval pushes the outer letters of the top and bottom lines right into the die-cut blade. Instead, strong oval layouts follow a diamond-or-arch hierarchy: curve your brand name or origin line along the upper and lower elliptical paths, reserve the widest horizontal equator across the middle for your main product title, and tuck short two-word callouts (such as net weight or batch number) into the narrow poles. Always extend background colors and patterns ⅛ inch outside the oval cut path for bleed, and inset any decorative concentric border rings at least ⅛ inch inside the cut line so normal mechanical cutting tolerance never looks lopsided.
How do I set up the cut line, ⅛ inch bleed and safe zone on an oval dieline?
Every print-ready file for custom printed oval labels starts with three concentric vector ellipses placed on separate layers in Adobe Illustrator or your design tool. If you do not have vector software - or if you generated your label concept with an AI image tool - upload your file as-is and CubitPack's prepress team will build the elliptical cut path, bleed extension and 3D mockup for free before you pay. When setting up the file yourself, remember that offsetting an ellipse by ⅛ inch (0.125 in) on all sides changes its aspect ratio slightly compared with simple uniform scaling. Always use an exact offset path command (+0.125 in for bleed, -0.125 in for the safe zone) rather than holding Shift and dragging a corner handle, which makes the bleed wider on the long axis than on the short axis.
- Cut line (Dieline): a 1 pt spot-color vector ellipse set to your exact finished Width × Height (for example, 2.5 × 1.5 in).
- Bleed line (+⅛ in outside): an offset ellipse measuring 2.75 × 1.75 in; pull all background colors, textures and photos out to this line.
- Safe zone (-⅛ in inside): an inset ellipse measuring 2.25 × 1.25 in; keep all lettering, logos and decorative border rings inside this boundary.
- Use Offset Path (±0.125 in) rather than uniform percentage scaling so the margin stays an even ⅛ inch around the entire curve.
How do you arrange arched typography and concentric border rings inside an oval?
Two classic design elements make an oval label look like a timeless apothecary crest or brewery medallion: type on an elliptical path and a concentric inner border ring. Both need one simple prepress safeguard so they print cleanly across thousands of labels. First, when you set a headline or location line (such as 'SMALL BATCH · EST. 2021') on an invisible inner oval path, keep the baseline of the letters at least ⅛ inch inside the cut line and avoid tracking the letters all the way around the sharp left and right vertices on a wide horizontal oval, where the tight curve tilts letters sideways. Second, if you include a decorative gold foil or ink border ring around the perimeter of the oval, inset that ring at least ⅛ inch (0.125 in) from the cut edge and make the stroke reasonably bold. A hairline ring placed only 1/32 inch from the cut edge will make even a microscopic 0.5 mm mechanical blade shift look noticeably wider on one side than the other.
| Oval design zone | What belongs here | Prepress rule to follow |
|---|---|---|
| Outer bleed rim (+⅛ in) | Background color, paper texture or full-bleed art | No text or border lines; trimmed away during die-cutting |
| Concentric border ring | Foil stamped, spot UV or printed frame line | Inset ≥ ⅛ in from cut line using Offset Path (not scaling) |
| Upper elliptical arc | Curved brand name, vineyard or apothecary header | Set on an offset path along the gentler top curve |
| Center equator (widest zone) | Primary product title, flavor/scent name or crest icon | Horizontal straight text fits longest lines here |
| Lower elliptical pole | Short net weight (e.g., 8 FL OZ / 236 ML) or badge | Keep line width short so outer characters clear the arc |
| Clear or foil underbase | Opaque white ink backup behind CMYK art | Choke white underbase 0.25 pt inside colored text edges |
How do you design oval artwork for clear film, metallic foil and spot UV?
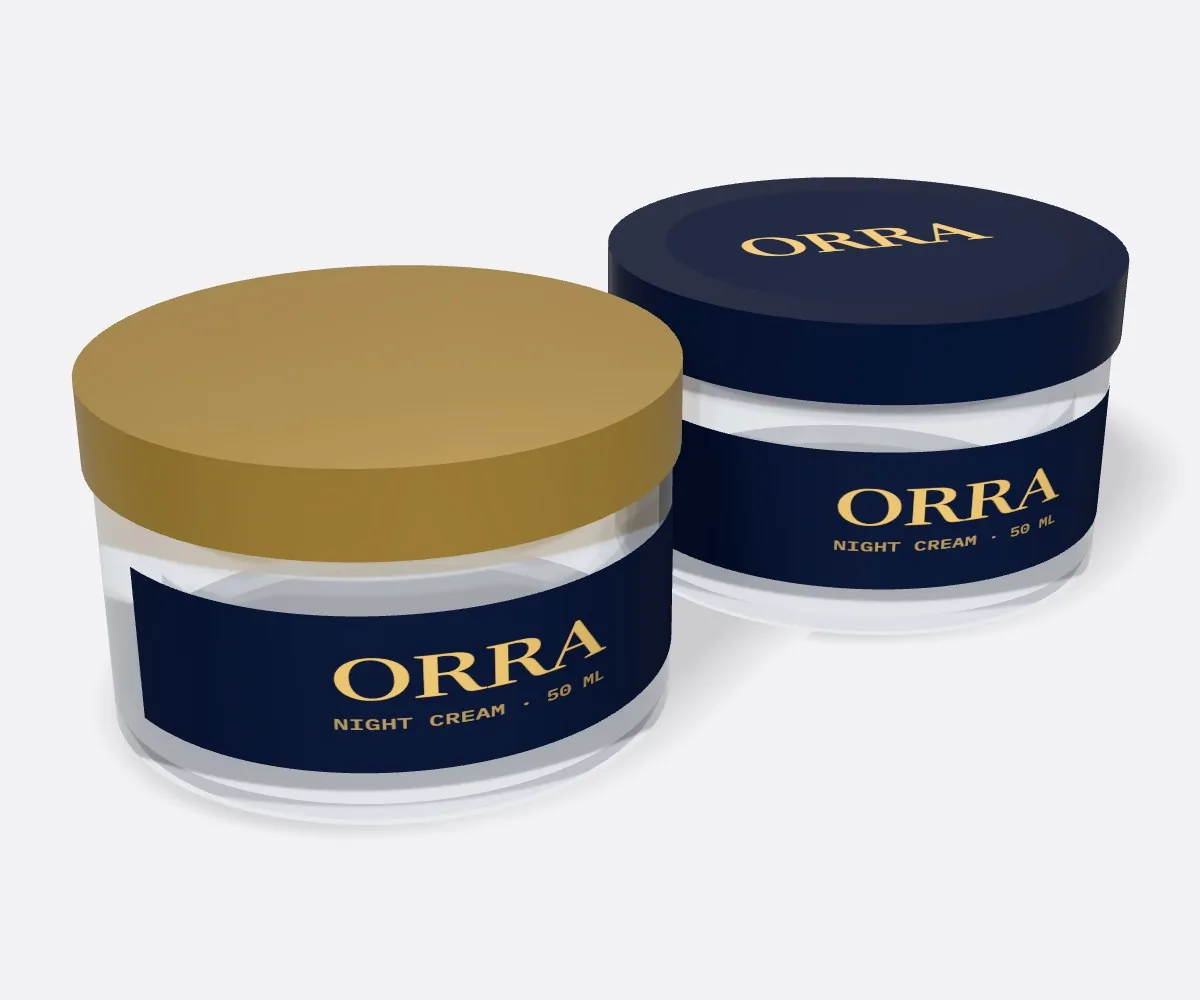
Because an oval acts as a framed window on the front of a container, pairing the silhouette with custom clear labels or custom foil labels creates a dramatic shelf contrast without paying for screen-printed glass. On clear oval labels applied to golden honey, amber maple syrup, green olive oil or pastel cosmetic serums, remember that standard CMYK printing inks are semi-translucent. Unless we print a solid opaque white ink layer behind your colored logo and text, the color of the product inside the jar will tint your artwork. In your design file (or by asking our free design team), mark which elements should have a white ink backup for solid opacity and which areas should remain completely clear so the product shines through. On metallic foil ovals or matte ovals with hot foil stamping and spot UV, keep metallic foil away from tiny 5-point ingredient text and use it on the oval border filigree, central monogram or main product name.
Know your size? Compare pricing across up to 3 quantities.
Request a Quote →Where do barcodes go on an oval label, and how does roll unwind direction work?
Retailers and warehouse scanners require a flat, high-contrast rectangular quiet zone around a UPC or EAN barcode. Placing a horizontal barcode too close to the bottom pole of a small oval causes two problems: the curved cut line clips the bottom left and right corners of the white barcode box, or the barcode wraps around the tight curvature of a narrow bottle where a laser scanner cannot read all the bars at once. If you are ordering a single vertical oval (such as 2 × 3 in or 3 × 4.5 in) that must carry the barcode, place the barcode higher toward the wider middle half of the ellipse, or rotate the barcode 90 degrees into a ladder orientation so the bars stack vertically along the straight axis of the bottle. Even better, pair your front oval with a separate back rectangle. When ordering custom roll labels for an automatic labeling machine, specify whether your horizontal or vertical oval should unwind top-edge first, bottom-edge first, left-edge first or right-edge first so the applicator places the oval upright on the container.
- Ladder barcode (vertical bars): prevents curved bottle walls from distorting the horizontal distance between barcode lines.
- Quiet zone clearance: keep the entire white rectangle of the barcode inside the -⅛ inch inner safe ellipse.
- Hand application on rolls: unwind direction does not matter when peeling ovals by hand or from a manual tabletop dispenser.
- Machine application on rolls: tell us your roll core diameter and unwind direction (1 through 8) in the quote notes.
How do you keep unit cost low when printing multiple oval scents or flavors?
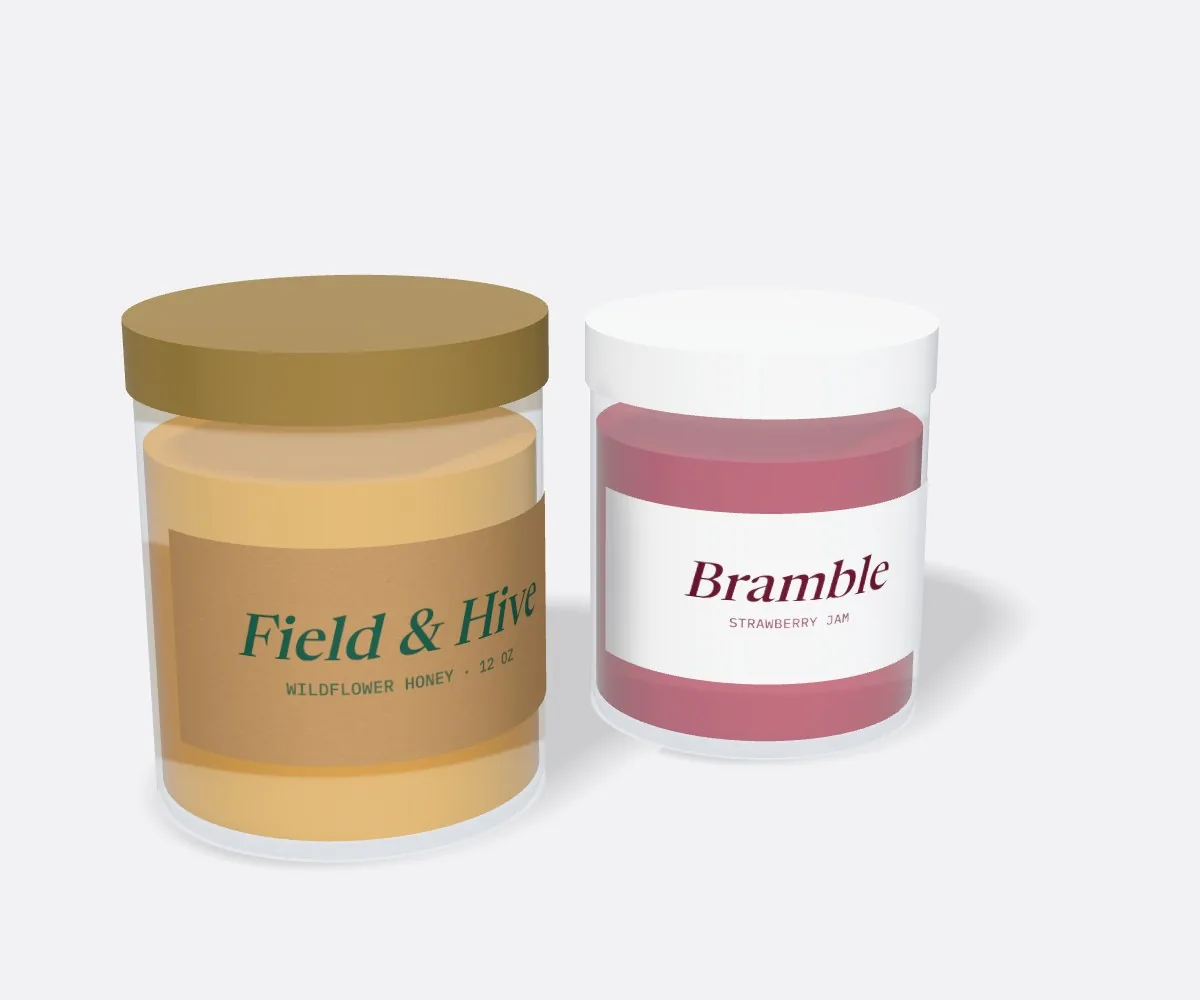
One of the biggest financial advantages of custom oval labels is how easily a single elliptical dieline scales across an entire product line. Whether you sell six flavors of hot sauce, eight botanical soap scents or four honey varietals, keeping the exact same Width × Height oval dimension, material stock and finish across every SKU lets CubitPack group your designs into one combined production setup. When you fill out Step 2 of the quote form, choose 2 designs or 3+ designs and list the breakdown per scent or flavor in the notes box. You can also enter up to three total quantities in Step 1 (such as 500, 1,000 and 2,500 labels) to see exactly how much the per-label cost drops as volume increases. Every order includes free design help, zero die or plate charges, a 10 percent discount on your first order, and our written US competitor price-beat guarantee.
What are the most common custom oval label artwork mistakes?
Almost every prepress delay on elliptical labels comes from scaling instead of offsetting the dieline or pushing text into the narrow poles. Check these five items before uploading
- Using uniform percentage scaling instead of Offset Path (±⅛ in) to build the bleed and safe zone, creating uneven side and top margins.
- Placing a thin concentric border ring within 1/16 inch of the cut line, where normal cutting tolerance makes the border look off-center.
- Setting wide horizontal lines of text near the top or bottom pole of the ellipse where the narrowing curve clips the first and last letters.
- Printing dark text directly on a clear oval label applied to a dark amber bottle without an opaque white ink backup layer.
- Placing a wide horizontal barcode across a narrow curved bottle where the outer bars wrap away from the retail scanner.
Find your label size
Suggested label size: 9⅛ × 2¾ in (width × height)
A typical starting point. Your account manager confirms the size on the proof.
Quote this size →Packaging for this
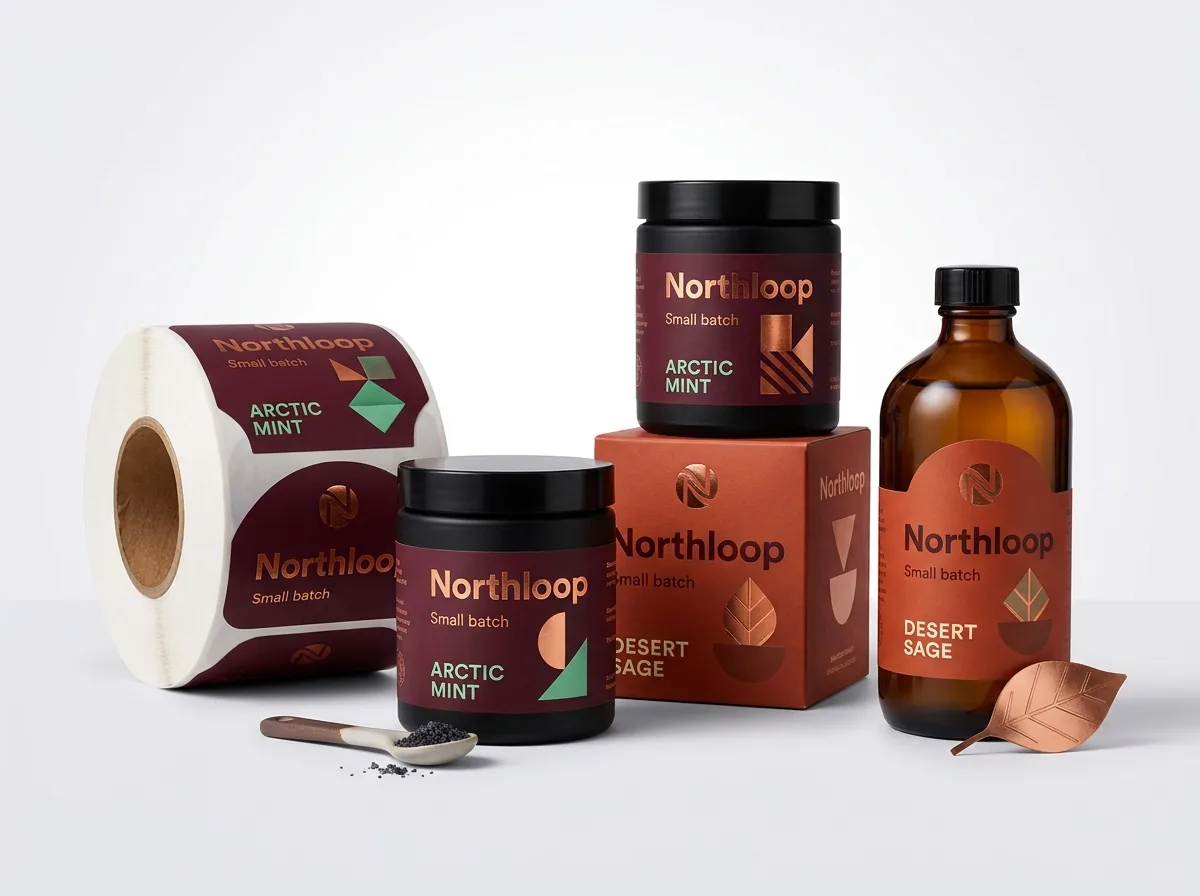
Ready to order oval labels? Compare up to 3 quantities with a free 3D mockup.
Request a Quote →Questions about oval labels
How much bleed and safe margin do custom oval labels need?
Extend all background colors, patterns and illustrations ⅛ inch (0.125 in) outside the oval cut line for bleed, and keep all text, logos and concentric border rings at least ⅛ inch inside the cut line. Always use Offset Path so the margin is uniform all the way around.
What if I only have a PNG, Canva file or AI image without an oval cut line?
Upload whatever file you have in the quote form and select Free design help or AI image. Our prepress designers will build the exact vector elliptical cut line, extend the ⅛ inch bleed, check text legibility and send you a 2D digital proof and 3D mockup for free.
Why should concentric oval border rings sit at least ⅛ inch inside the edge?
High-speed rotary and flatbed die cutting has a tiny mechanical tolerance. If a thin border ring sits right against the cut edge, even a 0.5 mm shift makes one side of the rim look twice as thick as the opposite side. Insetting the ring ⅛ inch keeps it balanced.
How do I print white ink on clear or metallic foil oval labels?
When you choose clear or metallic foil stock, the press can print a layer of opaque white ink directly on the stock or underneath your CMYK colors so they stay bright and solid. Just note where you want white ink in your quote notes and approve it on your proof.
Should a barcode on a vertical oval bottle label be horizontal or vertical?
On narrow round bottles (under 2.5 inches in diameter), orient the barcode in ladder style (bars stacked vertically) so the curvature of the glass does not distort the spacing between bars when a checkout laser reads it.
Can you match the exact Pantone color of my boxes on my oval labels?
Yes. Give us your Pantone (PMS) color code on the quote and we match it across both your custom oval labels and your custom boxes or pouches. Our Pantone match is guaranteed: if a printed Pantone color is clearly off from the approved spec, we reprint it.
Still have a question? Ask a packaging specialist.
Request a Quote →Request your oval labels quote
Tell us your size and quantities, and one dedicated account manager prepares pricing for each tier.
- Free design & AI-to-print studio + 3D mockup
- No die or plate charges · 4–5 day rush available
- Free shipping to all 50 states
- 10% off your first order
The prepress specifications in this guide follow standard commercial label offset-path tolerances (±0.125 in bleed and safe zone), GS1 barcode orientation rules for curved cylinders, and CubitPack's decided offers in our published product specifications. A CubitPack packaging specialist checked every step. Spot something wrong? Tell us and we will fix it.
Sources
What changed
- October 22, 2026: First published.
- October 22, 2026: Updated specifications, terminology, and verified source links.
More guides
New packaging guides by email
Sizes, materials and design tips. Unsubscribe anytime.